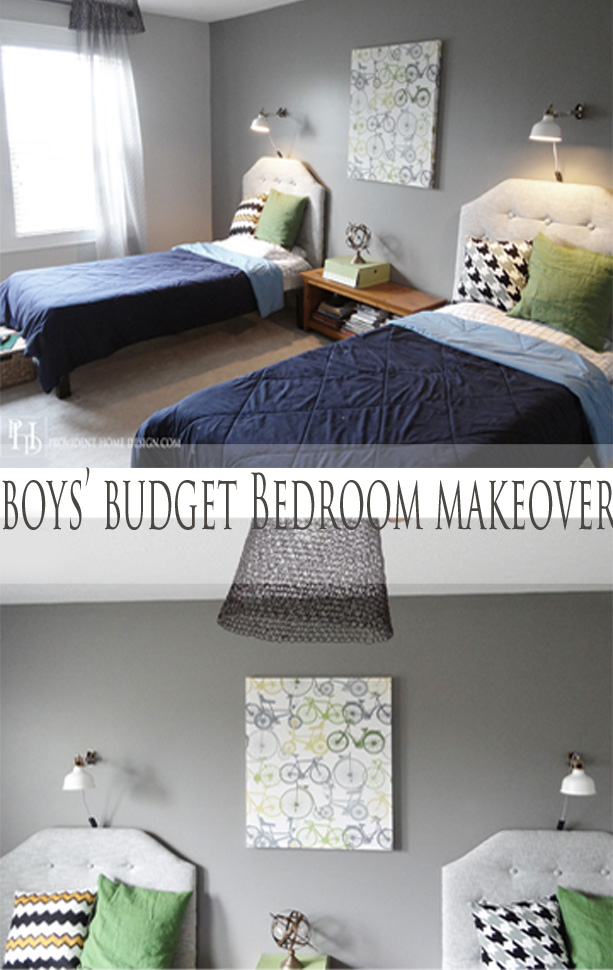
Hooray! The boy’s room is done! As much as I enjoy the process of decorating I must say my favorite part is when I can say it’s DONE! This room makeover took a lot of time and mental energy but all in all I’m happy with the results.
The goal of this room redo was to make the room more personal to my sons’ interests and stage of life. For example, my 8 year old’s favorite color is green and my 6 year old’s is yellow. I learned Here that I loved the combination of gray, green and yellow. Hence I decorated with 50 shades of gray and accents of green and yellow.
Also, my boys are now big time bike riders. We live at the end of a cul-de-sac and a good majority of their Summer has been spent riding their bikes around the cul-de-sac.
It felt safe to use a subtle bicycle theme because if it is anything like my childhood they will enjoy riding bikes for years to come. Okay, so on to the Before and After (the good stuff)!
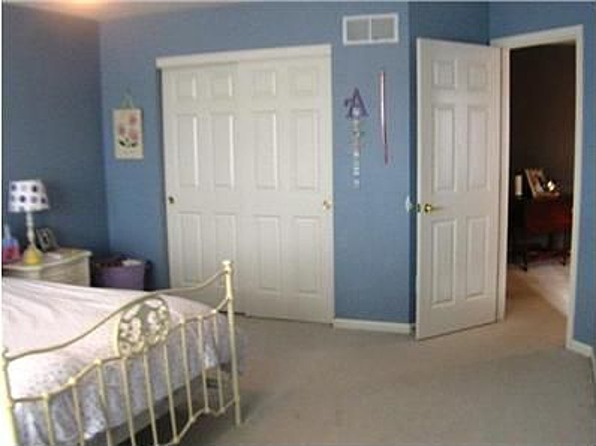
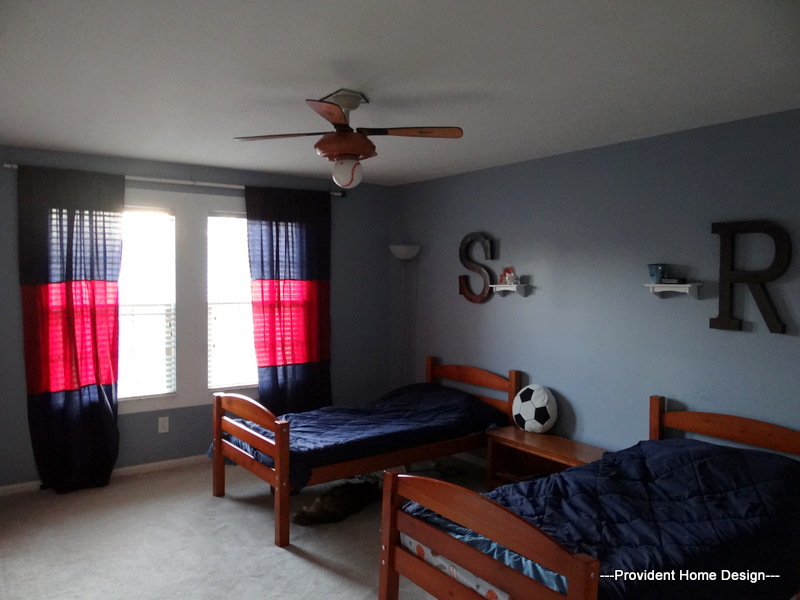
Before
Progress
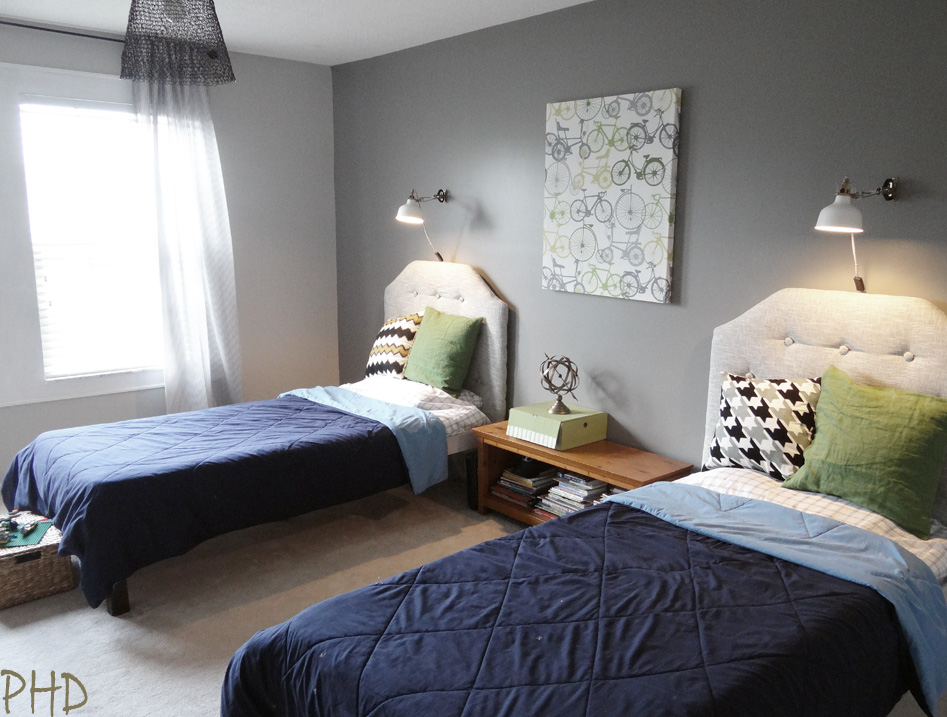
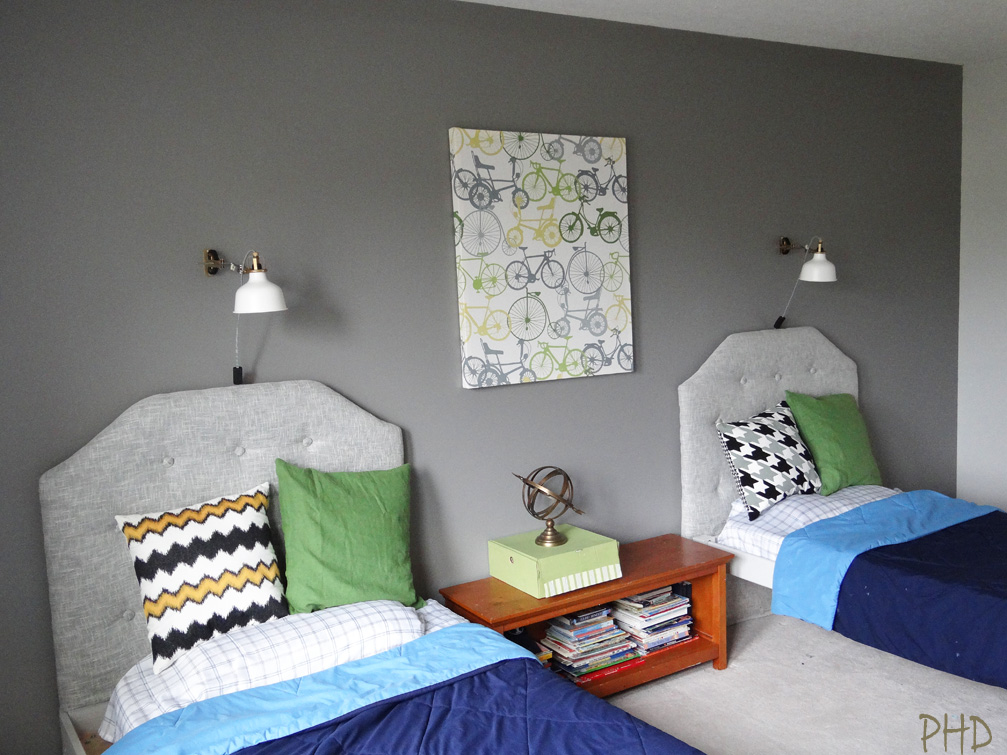
And Afters

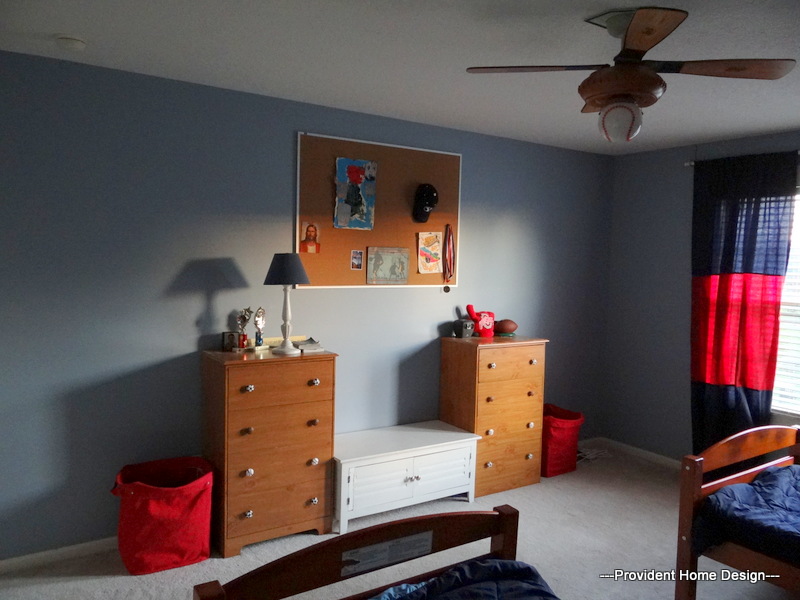
The side of the room across from the beds use to look like this.
Now it looks like this.
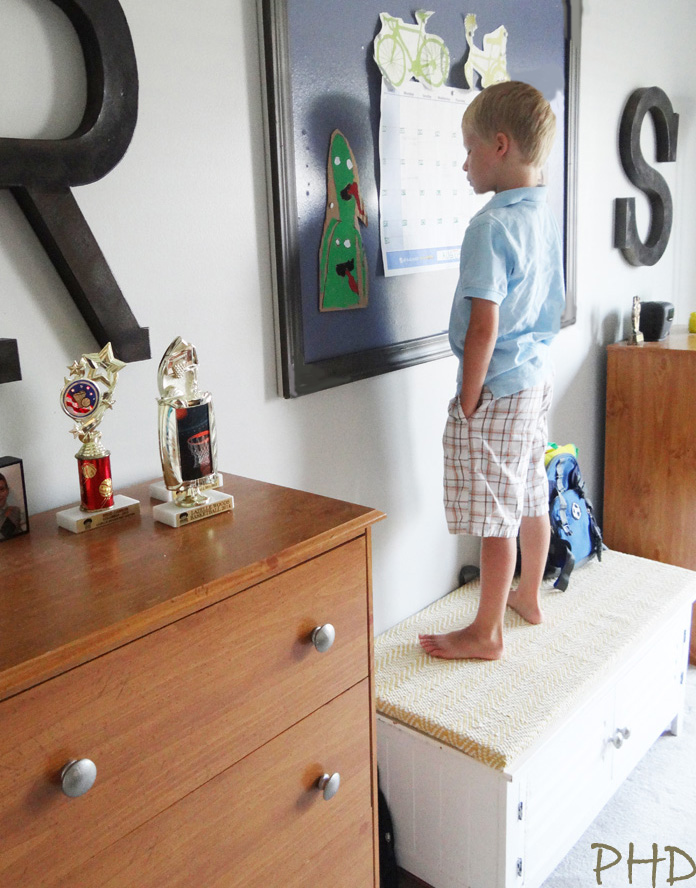
The boys made a special request that their R and S (first letter of their names) stay in the room. They are paper mache letters that I bought with 40% off coupons at Joann’s and spray painted. Their dresser knobs use to be different sports balls. I had hand-painted them years ago and was a little sentimental about spraying painting over them in silver. I decided that if the boys’ wanted to keep the sports ball dresser knobs that I would keep them but when I inquired of their preference they said “no, Mom, we don’t care about the knobs”. Well, that answered that!
When I took the bulletin board down to paint behind it I realized the other side of it was a pretty smoky blue color that went well with the new colors in the room. I tried pushing a pin in and sure enough it worked just like the normal roughly textured side. So, it is turned and framed out with a dark border.
The boys’ are now old enough to take interest in having their own calendar and they have enjoyed counting down the days to birthday parties and other important dates, like the first day of school!
I stapled a $15 Homegoods rug to a left over piece of plywood to create a durable, patterned place for the boys to sit or stand on when using their bench.
I was committed to spending as little as I possibly could on this redo while still getting the look I wanted. I was amazed with many of the deals I found.
Here is the Source List for this room makeover complete with prices!

Ikea Ranarp Wall Light– $19.99 each
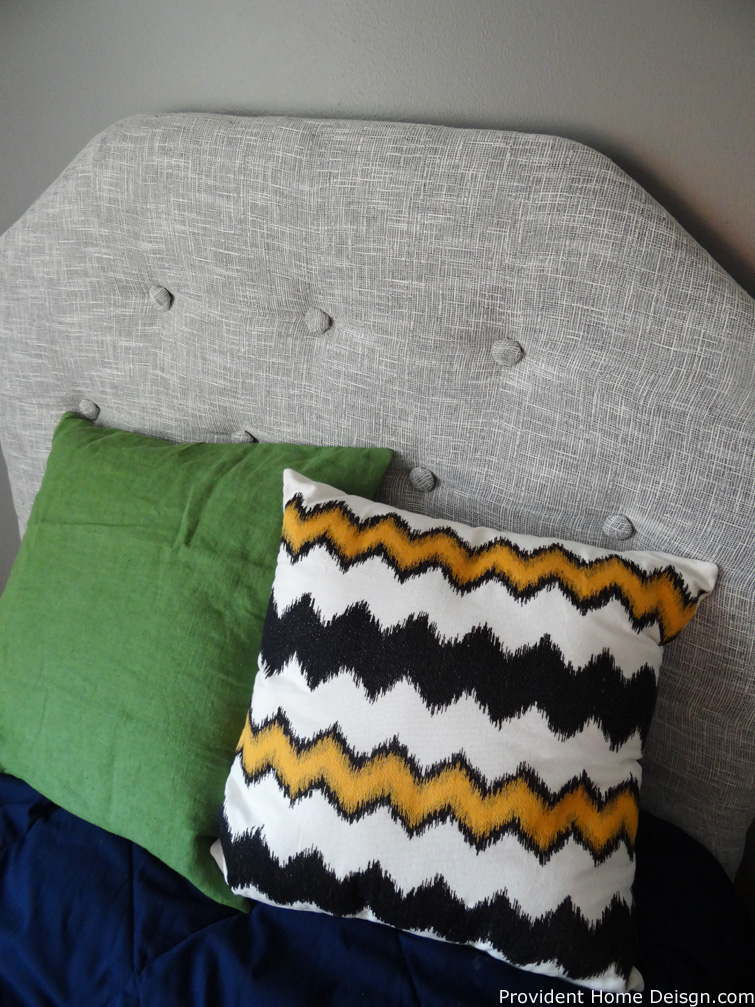
DIY Faux Tufted Headboards– $20 each
Ikea Green Pillow Cover– $7 each
Other accent pillows Hobby Lobby- $5 each (on clearance)
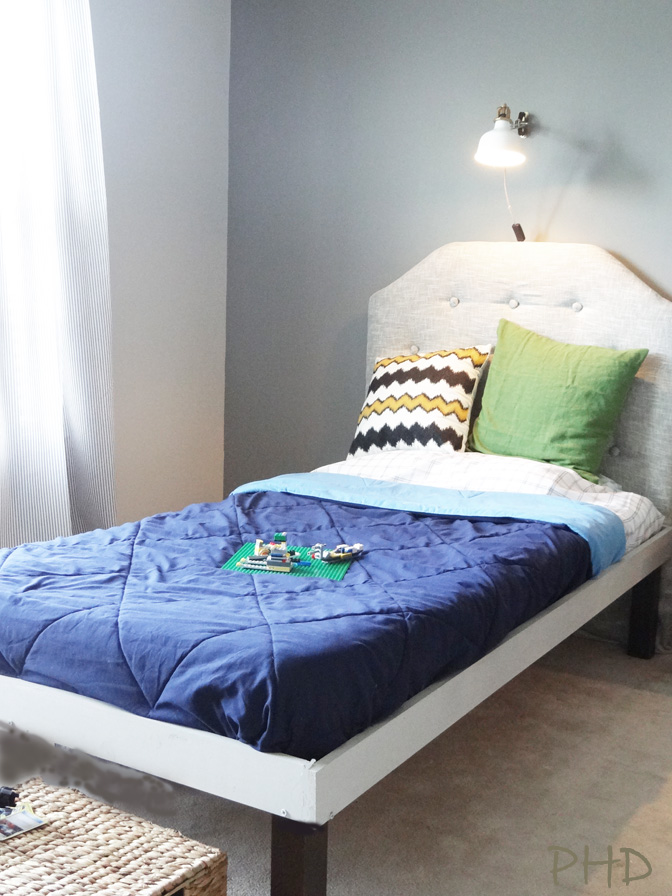
DIY Wood Bedframe (Tutorial to Here)- $47
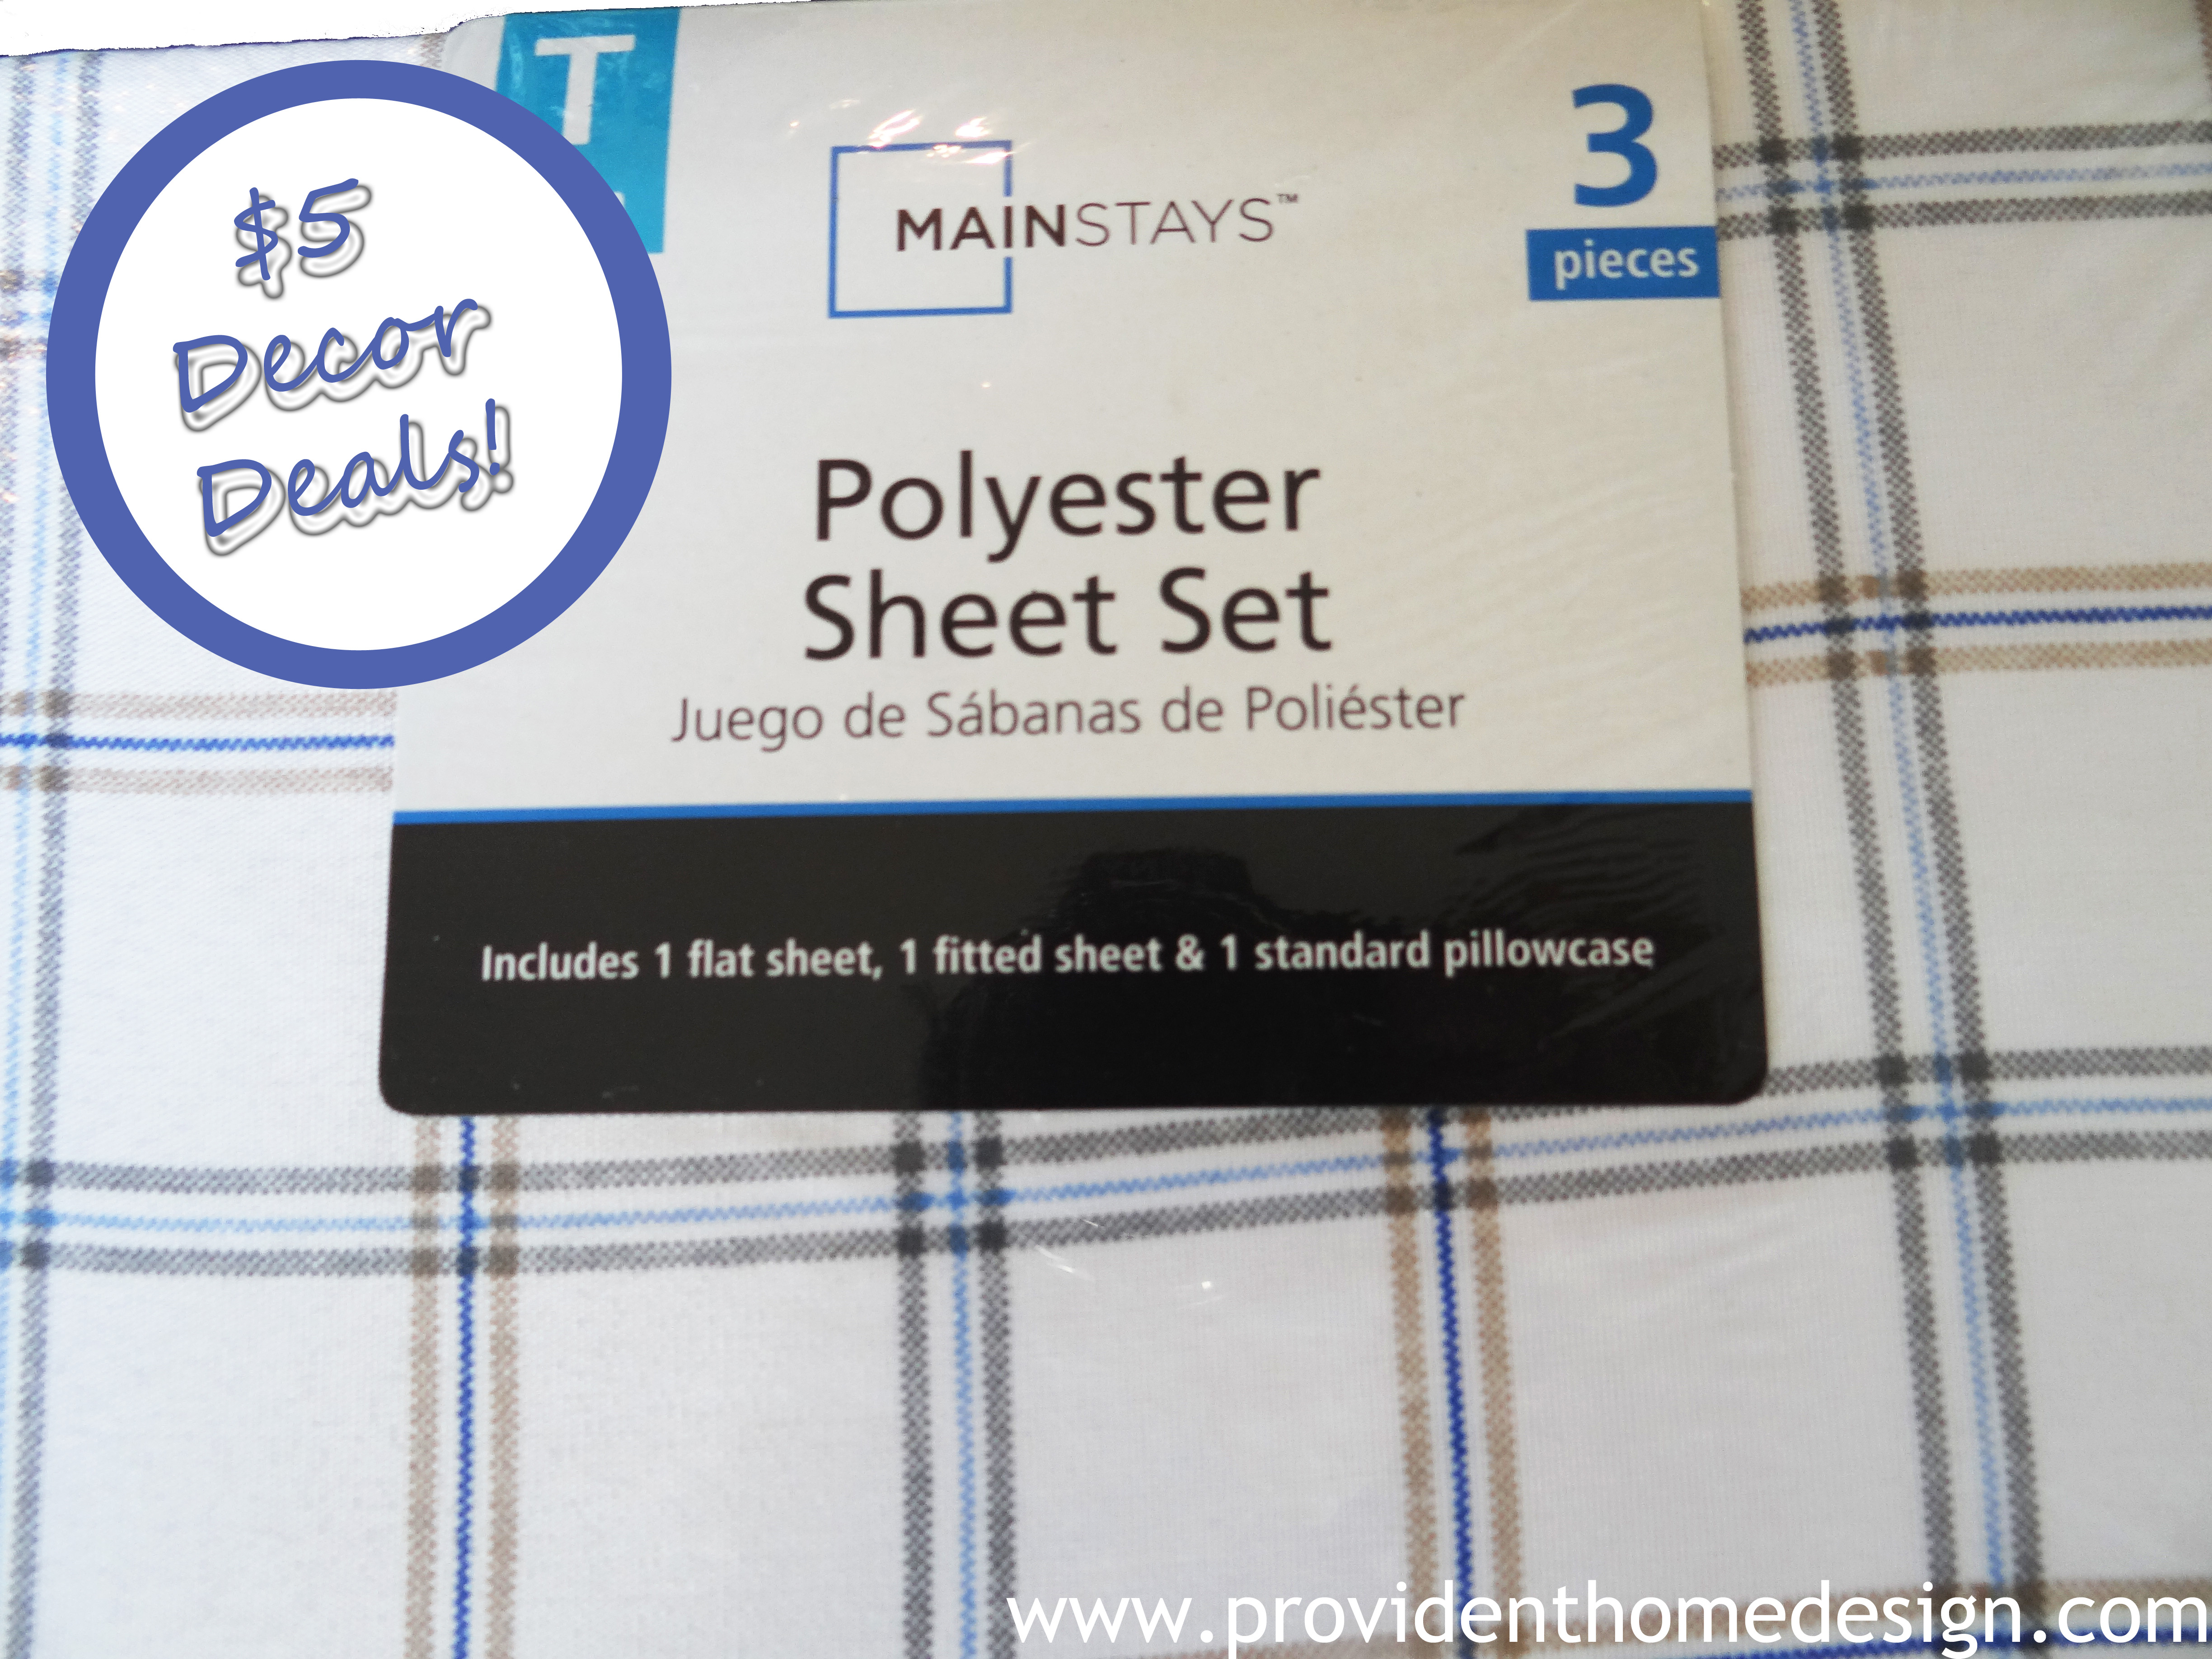
Walmart Mainstay Sheet Set- $5 each
Walmart Mainstay Reversible Comforter (already had)- $21 each
Faux/Exaggerated Window Casings– $12
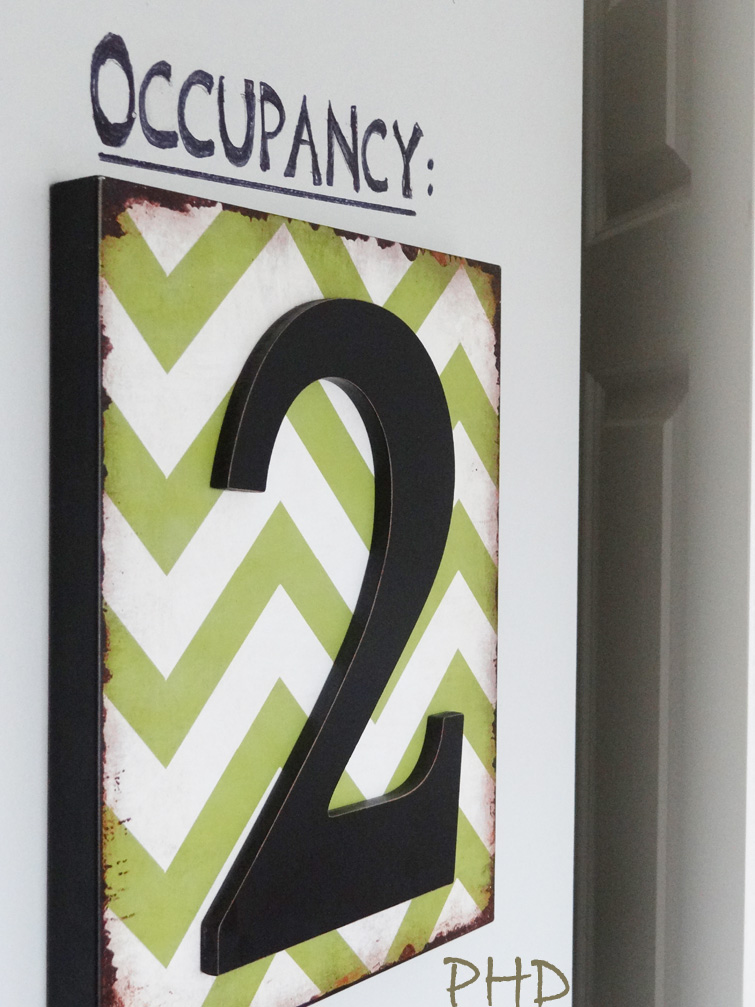
Green and White Chevron 2 Sign- $5.35 Clearanced at Hobby Lobby (Stenciled the word OCCUPANCY: above it)

DIY Bicycle Fabric Wall Art (Tutorial Here)- $28

IKEA Gulsporre Drapes (Gray and White Vertical Stripes)- $15 for pair
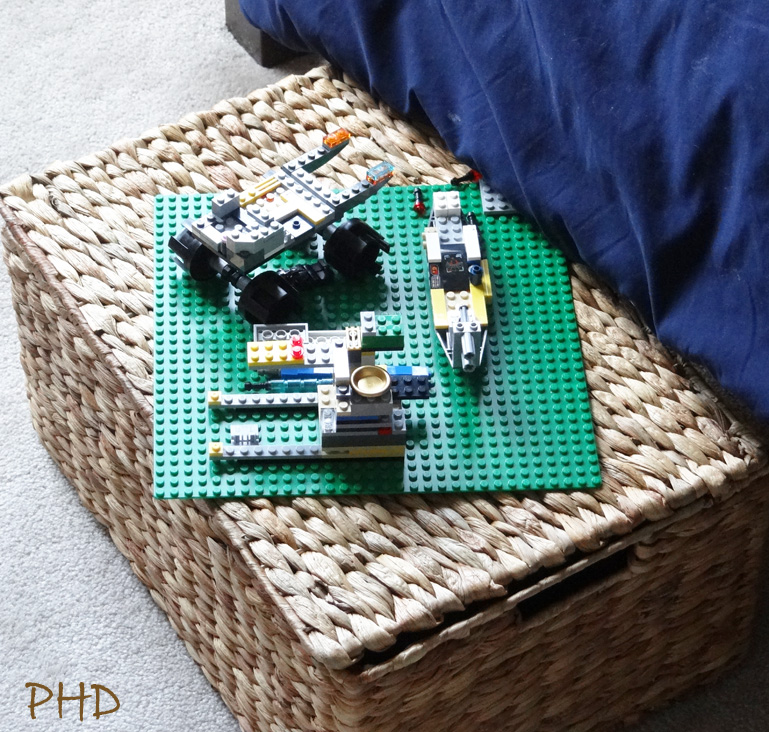
Homegoods Baskets at the End of the Boys’ Beds (aka toy storage)- $13.50 each
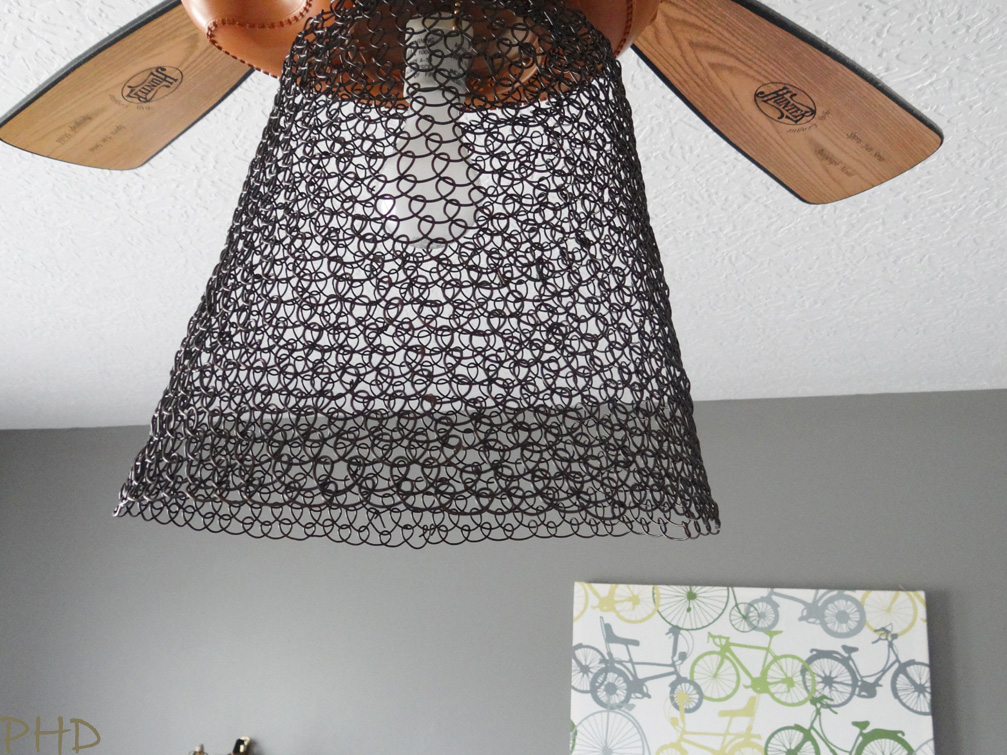
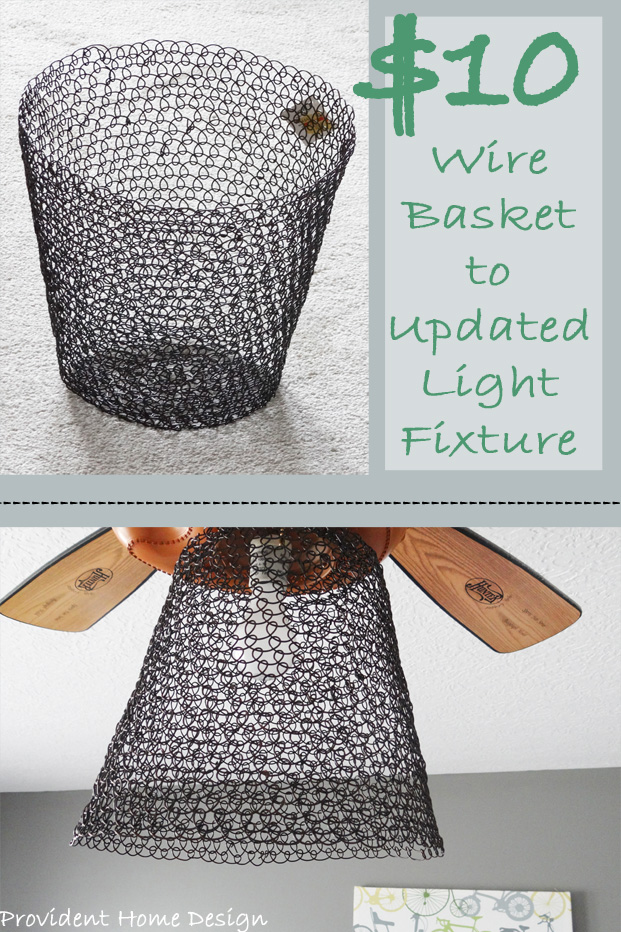
Lastly, the boys’ room came with a ceiling fan that is blatantly baseball themed. The fan body is shaped like a glove and the light bulb was enclosed in a (ceramic?) baseball. It was not in the budget to replace the whole ceiling fixture so I took off the baseball light cover to make it less theme-y. Then when shopping the great clearance aisles at Hobby Lobby a few weeks ago I scored a wire basket for $10.
I came home and used wire cutters to cut a hole on the bottom of the wire basket to the size of the light fixture and employed the fastening screws that were already there from the baseball cover. Voila, a super easy and inexpensive update for my boy’s bedroom makeover!
Wall Paint Colors- Behr Dophin Fin and darker accent wall is Sherwin Williams Dovetail.
I hope you enjoyed this room reveal! Anybody itching to do any DIYs this weekend?? I’m hoping to do something this weekend I’ve wanted to do for a long time … pull up the beat up carpet on our stairs! Til next time!

Related Posts From the Blog:
 Design 101-Symmetrical & Asymmetrical Balance
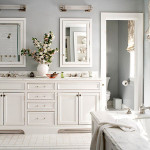 How to Replace a Hollywood Light with 2 Vanity Lights & How to Patch a Hole in the Wall like a Pro
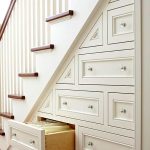 Friday 5 DIY
 A New Rug for the Living Room
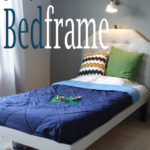 DIY Wood Bedframe in 5 Easy Steps
 Where to Find Good Deals on Rugs
 Design 101- Flow (Pt. 1)
 Love Your Kitchen Series- Unique Lighting