Boy did this week go by fast!! I hope it was good one for you!
Every so often I plan on sharing DIY projects that have caught my eye and that I think you might like!
So here is my first Friday 5 DIY!
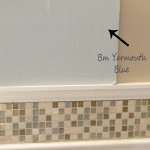
1. A few years ago when I attended our local Parade of Homes (a month early) I was googly eyes over this bathroom! I loved the walls and was surprised when I was told that it wasn’t wallpaper but stenciled!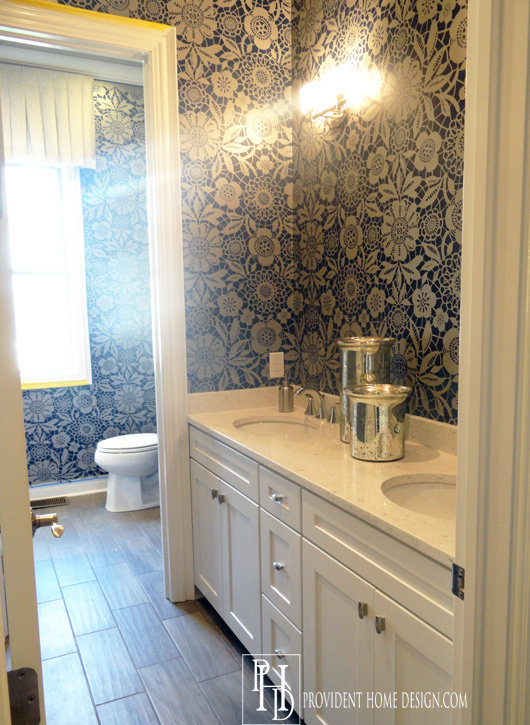
Stenciling (and wallpapering for that matter) seemed overwhelming at the time, however, I recently spotted Diane’s beautifully stenciled bathroom and she wrote a great tutorial to go with it!!
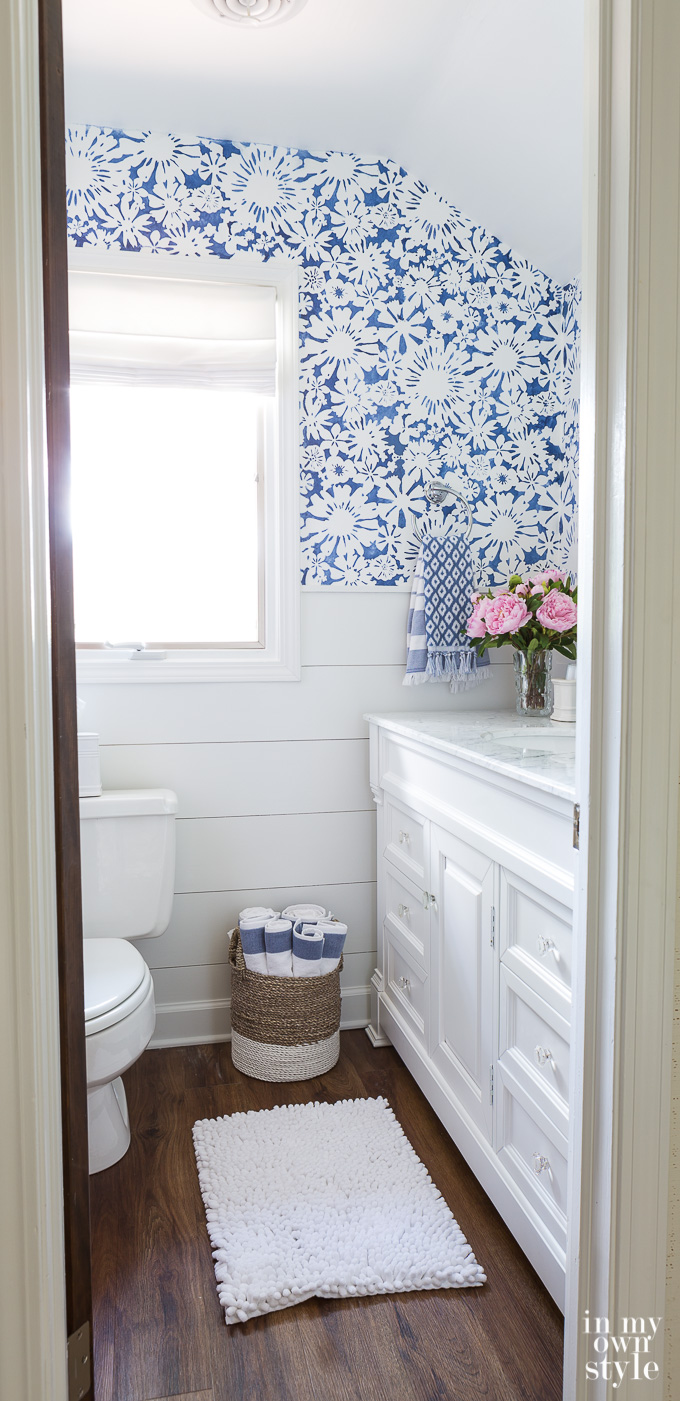
You can check it out on her website, In My Own Style,HERE!
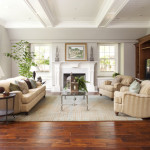
2. Remember a couple of years when I built this media center for my basement (tutorial HERE)??
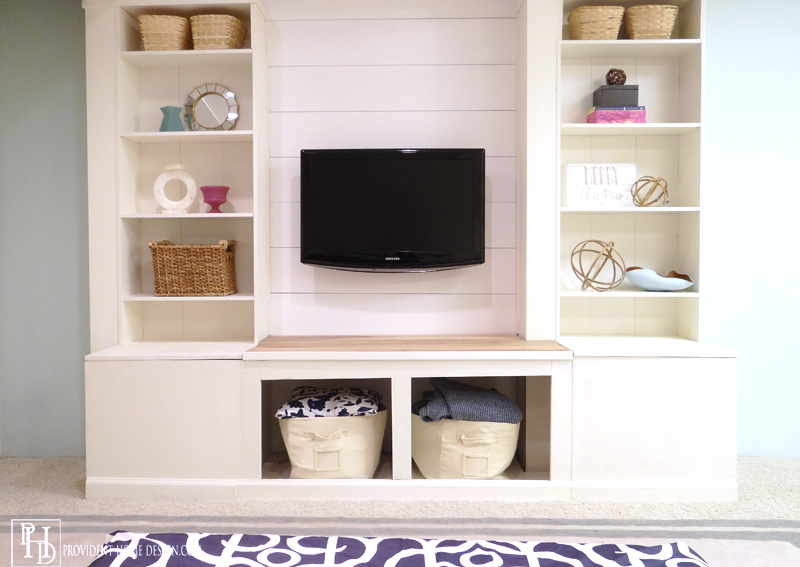
We still love it!
Corey from Hey There, Home recently built something similar but used a different method and I love how turned out! I like that her system has doors to the storage part instead of a lid.
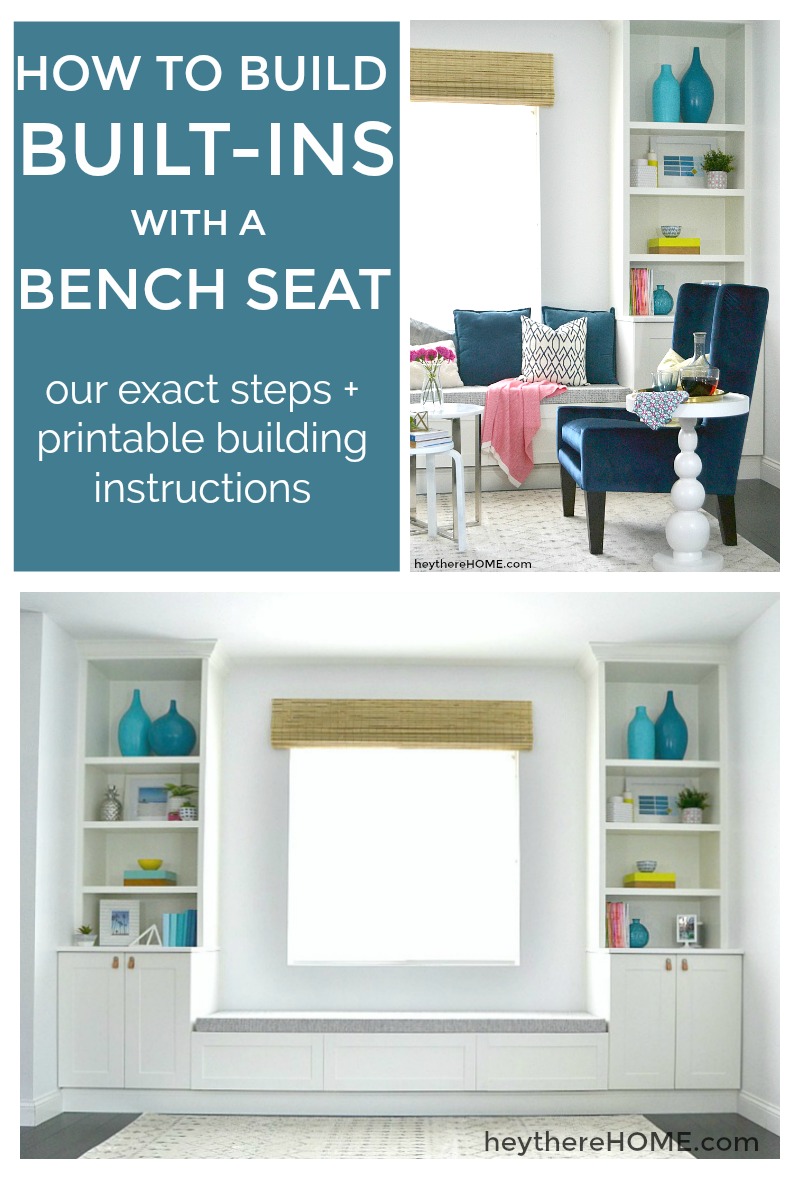
You can check out the tutorial HERE!
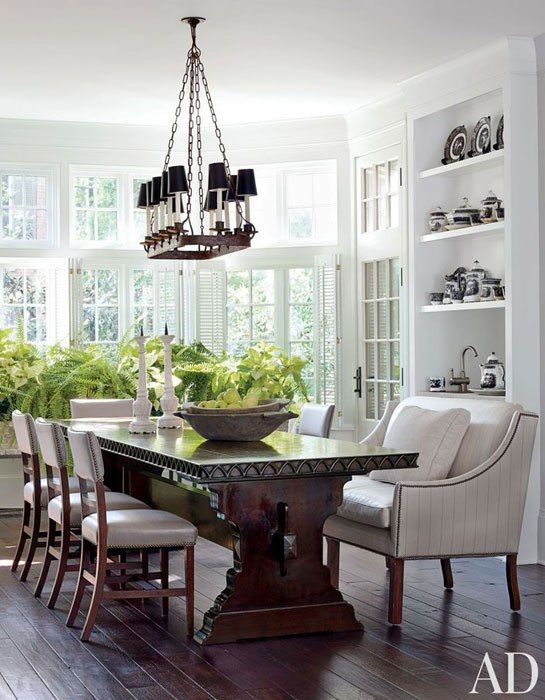
3. I’ve always thought that recessed nooks and cabinets are so unique and add so much character to a home.
Isn’t this one cool?
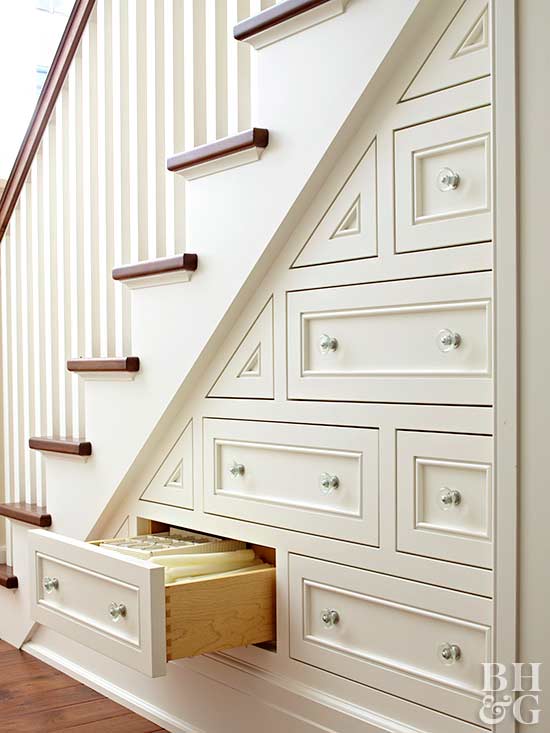
via BHG
But I’ve always wondered how people create recess spaces and reading Sandra’s tutorial of how she created a recessed cabinet in her bathroom helped me understand it a lot more!
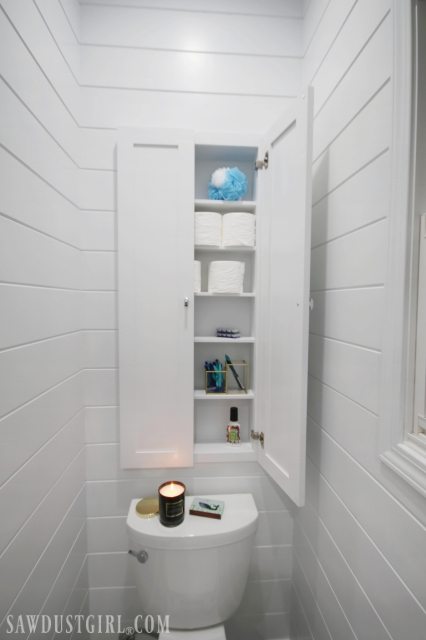
You can check out the tutorial at Sawdust Girl,HERE!
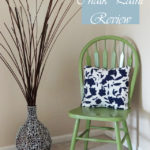
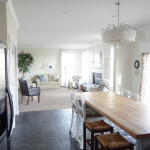
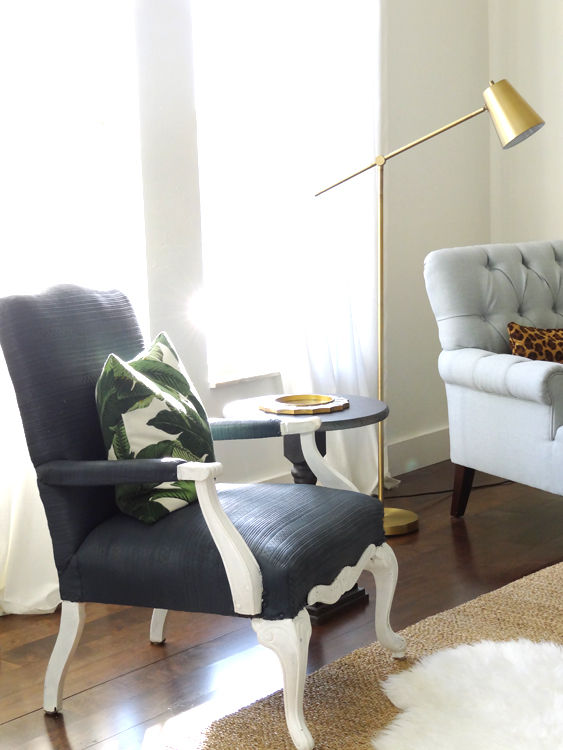
4. A few years ago I shared this super easy pedestal side table tutorial (HERE)!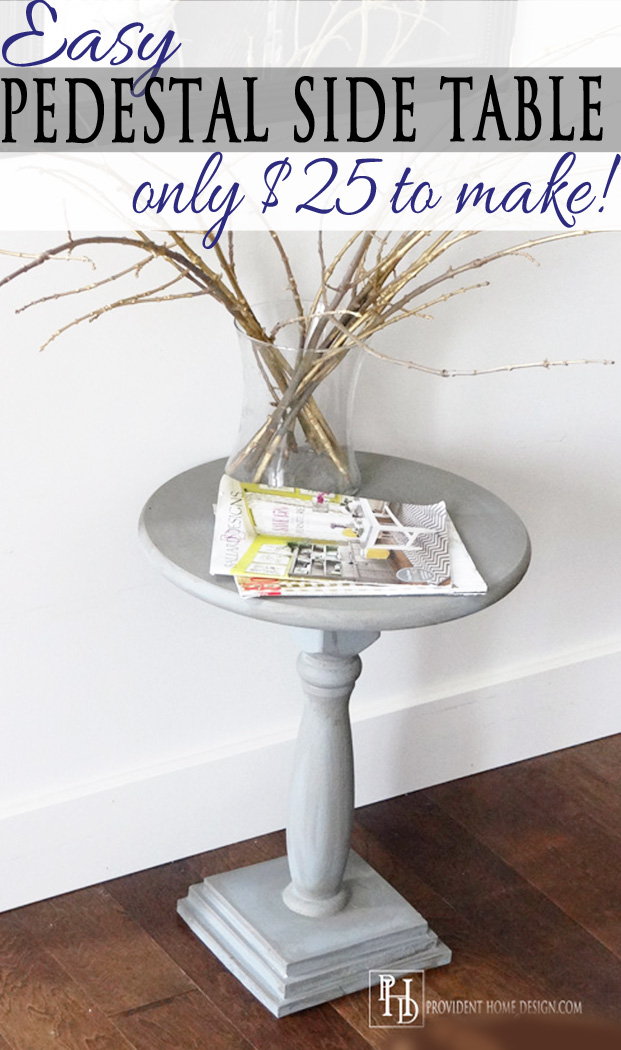
Since then I spray painted it espresso and it resides in our living room. I still love it!
I recently noticed this pretty console table. She used a different method but I think they have a similar look that I like a lot!

You can find the tutorial for the console table at The House of Wood,HERE!
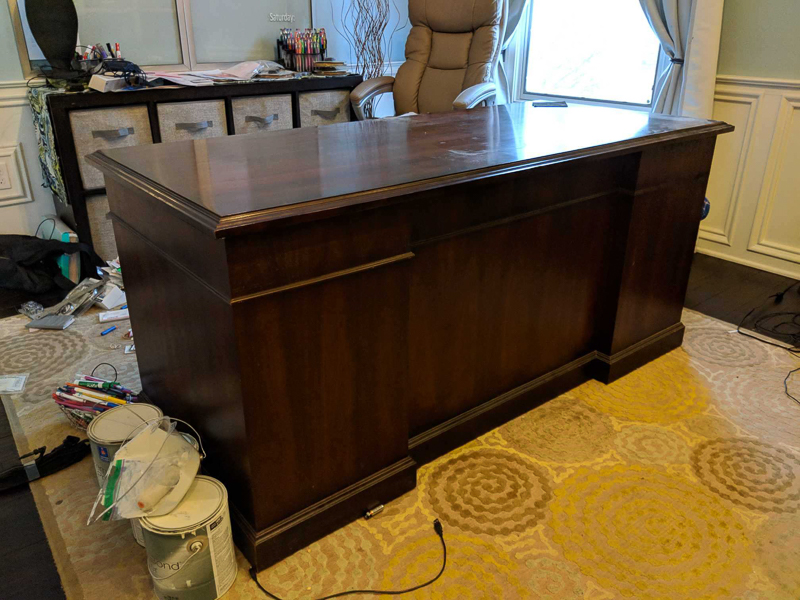
5. And lastly my friend Cindy recently made over her desk. She felt the desk was too dark and wanted to lighten it up.
BEFORE
AFTER
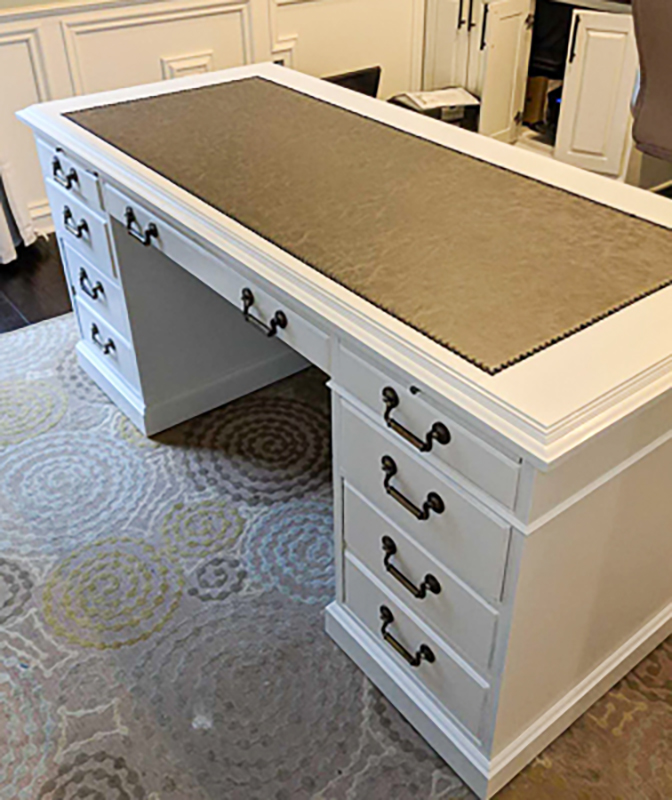
So she painted it white (HERE is my tutorial on painting wood furniture) and added a cool leather and nailhead detail on the top of the desk.
She did that by first adding wood trim around the top of the desk.

And then she cut the leather with an X-acto knife to fit the leather inside the trim pieces and adhered it with wallpaper adhesive.
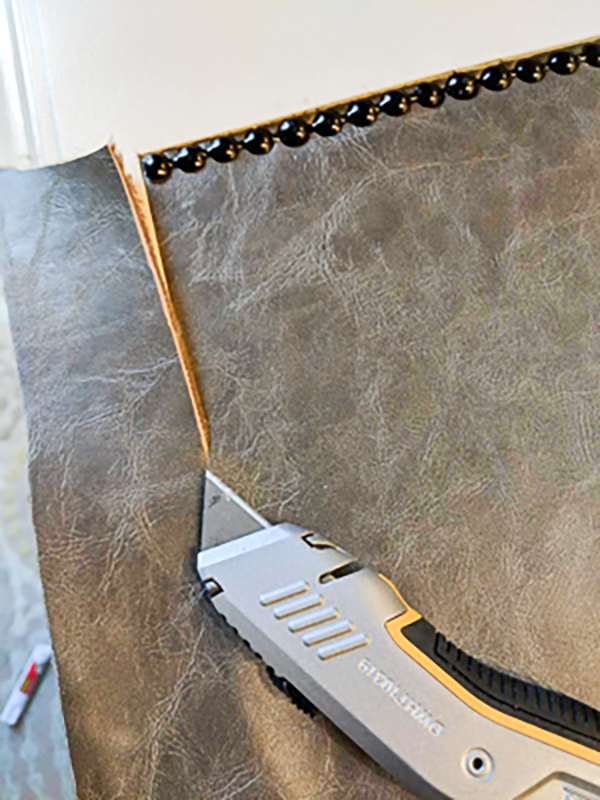
Lastly she added nailhead trim along the edge of the leather (HERE is my tutorial on installing nailhead trim).
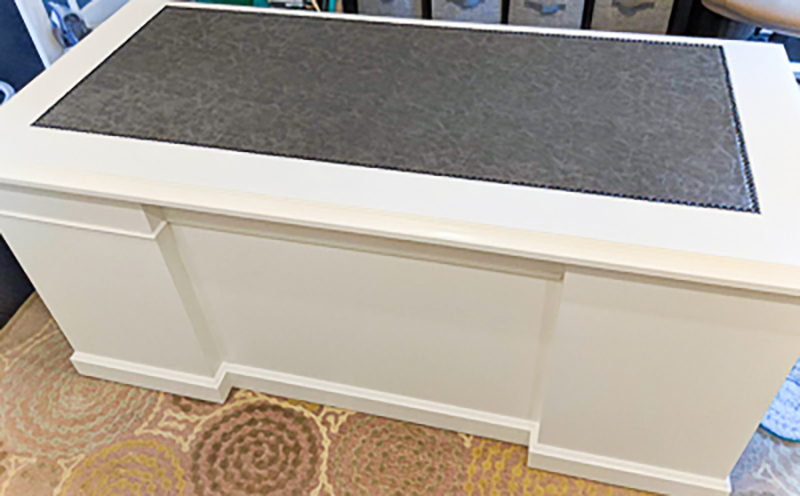
I think Cindy did such a great job making over her desk! Cindy doesn’t have a website but you can follow her projects on Instagram or Facebook.
I hope you’ve enjoyed seeing these DIY projects! It always gets my creative juices flowing when I see what other creative people are creating!
I hope you have a wonderful weekend!!