Provident Home Design

Decor, DIY, and Interior Design

  • HOME
  • ABOUT
    • About PHD
    • Contact Me
  • DIY PROJECTS
  • DESIGN 101
  • PAINT
  • HOME TOUR
  • DESIGN INSPO
  • DECOR TIPS

GET NOTIFIED VIA EMAIL WHEN THERE'S A NEW POST!

DIY Wood Bedframe in 5 Easy Steps

Happy Friday!  I was planning on sharing all the details and photos of our new floors today but then life happened!  It’s been a crazy week getting the kids back to school and finishing up the floors!

Boys Beds DIY

And of course the night after the floors got finished being installed our refrigerator had a pretty major leak resulting in about  5 ft x 5 ft of the wood floors needing to be replaced.  Fun times (Boohoo cry)!  So I’m hopeful by the end of next week there will be a lovely wood floors reveal post.:-)

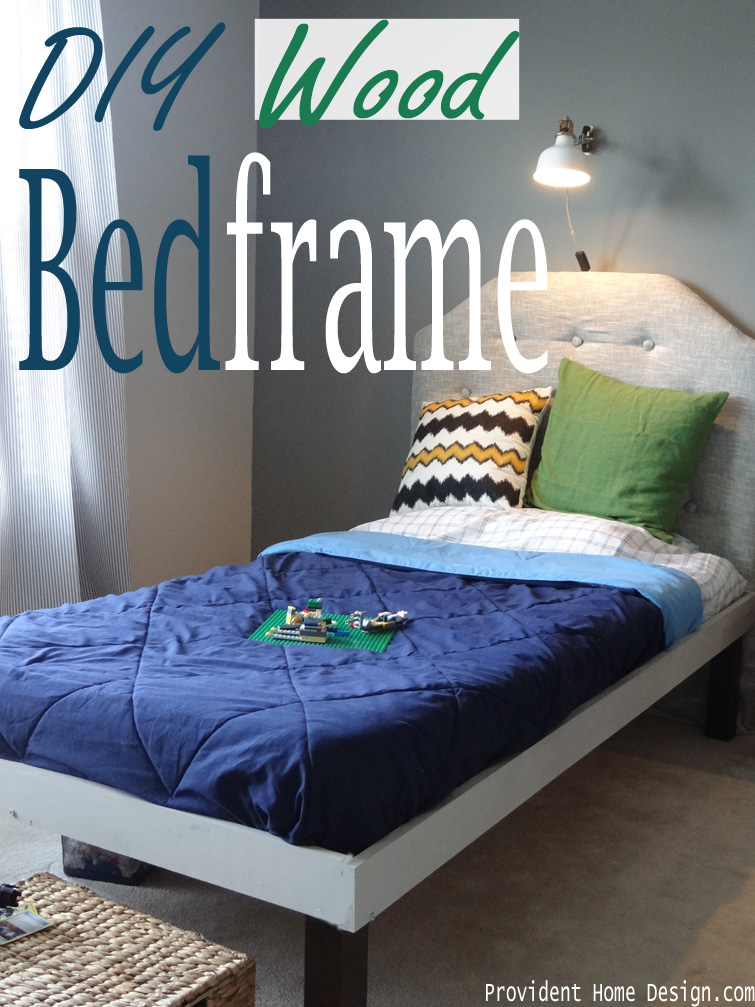
Today I want to share with you a simple step by step tutorial to making a bed.  To clarify I’m not talking about the kind of bed making that refers to sheets and comforters being tucked in just right.  I’m no Martha Stewart and half the time probably don’t make our bed (and a 100% of the time I’m about sure I don’t make it the proper way)!  I am speaking of making an actual wood bed which is something I never thought I could do.

Well, until I found Vintage Revivals tutorial on how to make a platform bed.  I made a few changes in how I made the bed and will share with you an easy 5 step tutorial.  I will share the supply list at the end of the post.  Sorry in advance about the low quality Ipad pictures.


DIY wood bed


In 5 Easy Steps:

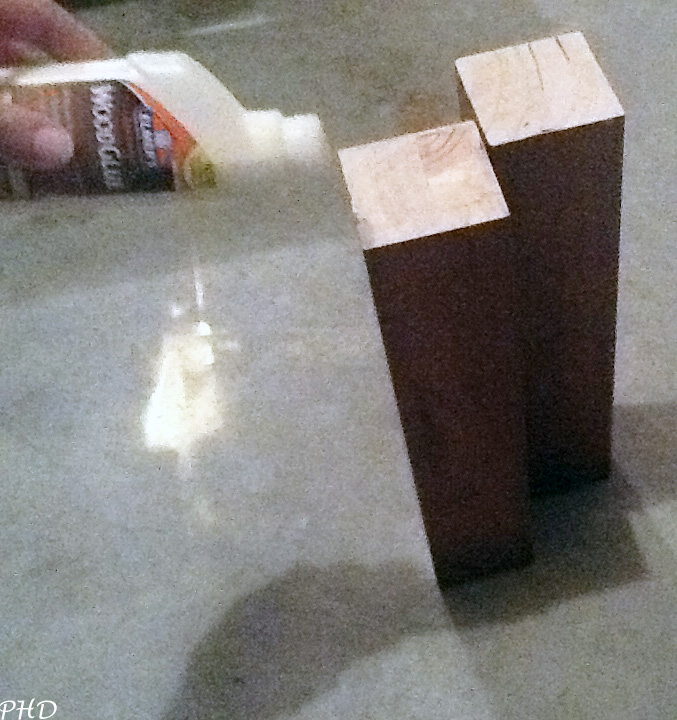
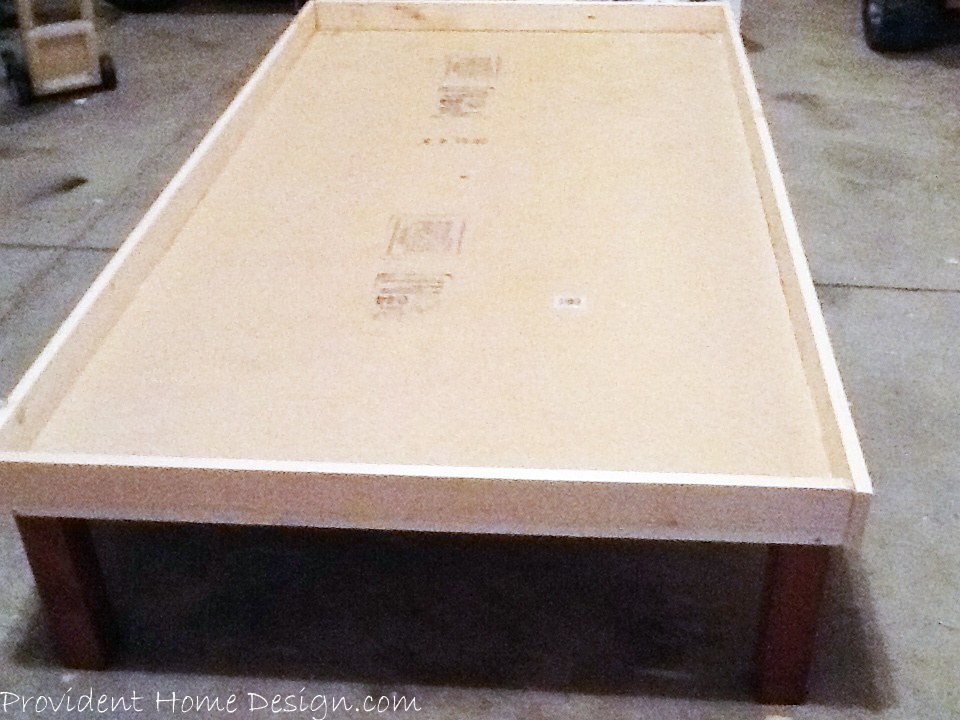
Step 1: Apply wood glue to the tops of all support legs.

glue on the legs of bed


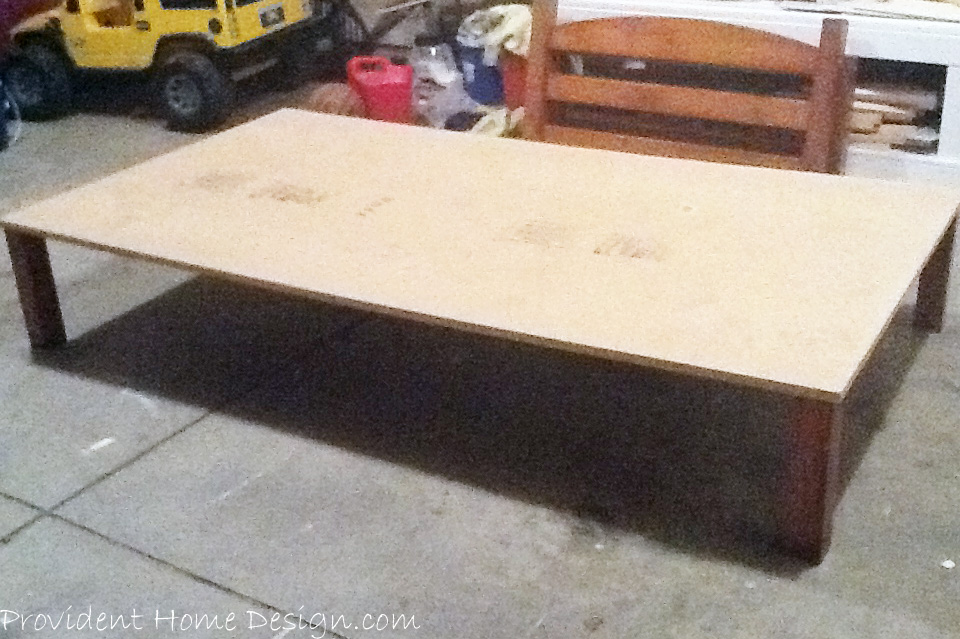
Step 2– Place particle board onto top on supporting legs and position them.  Note: You cannot see it in the picture but there is an additional leg placed under the middle of the particle board to give support to the middle section of the bed.

add legs to plywood


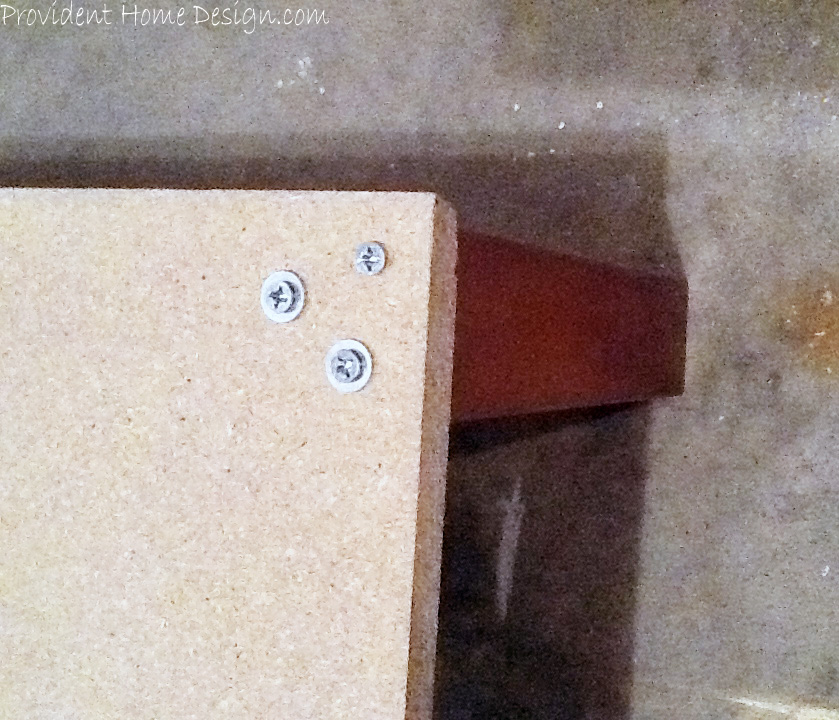
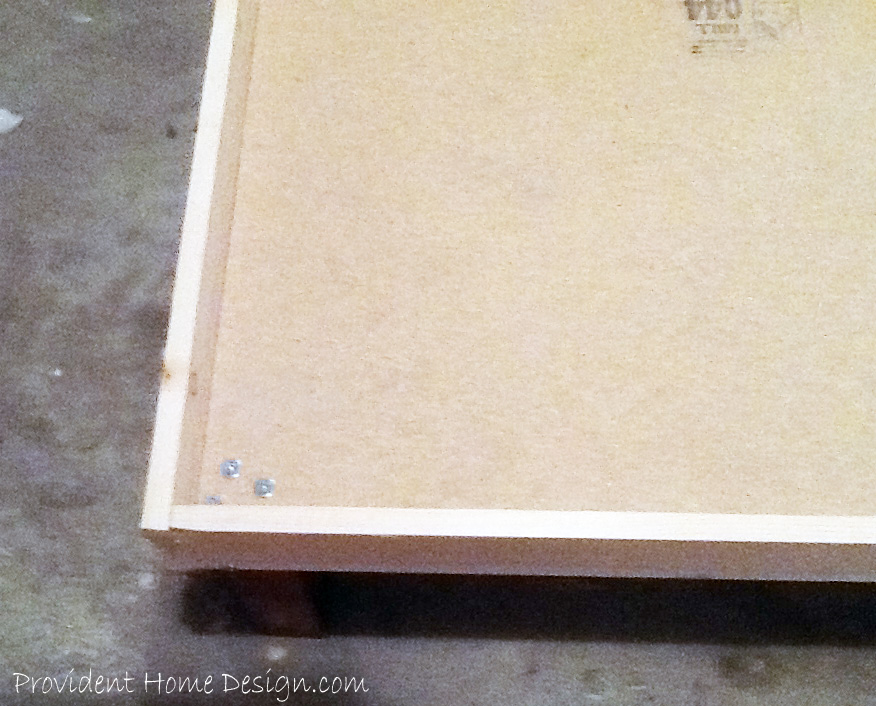
Step 3:  Drill 3 holes going through the particle board and into each leg.

drill holes into bed frame


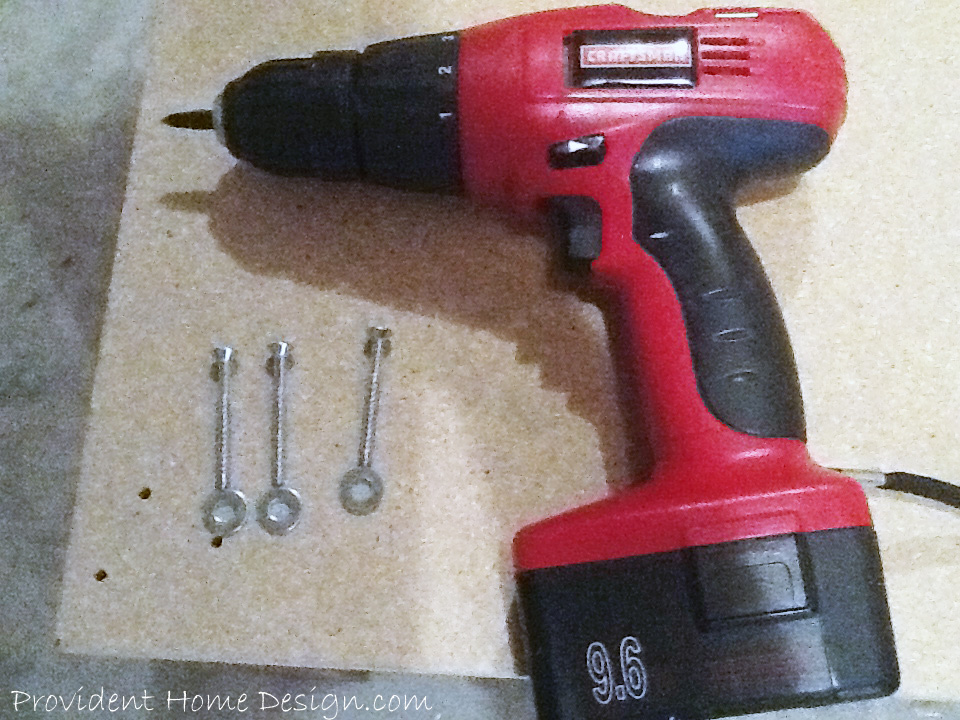
Step 4:  Using  2-inch screws drill the screws all the way down through the holes.  You may want to use a washer to sit under the screw.

put screws into legs


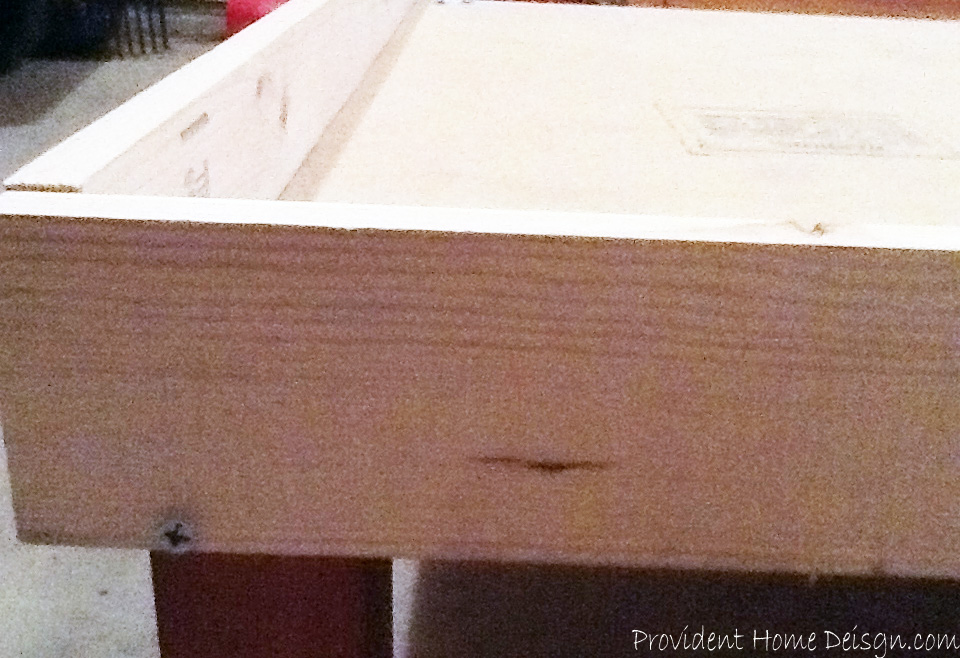
Step 5–  Last step is to add the sides to the bed.  You do this the same way as adding the legs–drill pilot holes and then drive in the screws.  Note:  Make sure to line up the screw so that it enters into the middle of the plywood and so that the horizontal sides and vertical sides match up nicely at the corners.  I don’t know why I took the picture below before screwing the screw in all the way but hopefully you can get the idea.

Screw bedframe into plywood


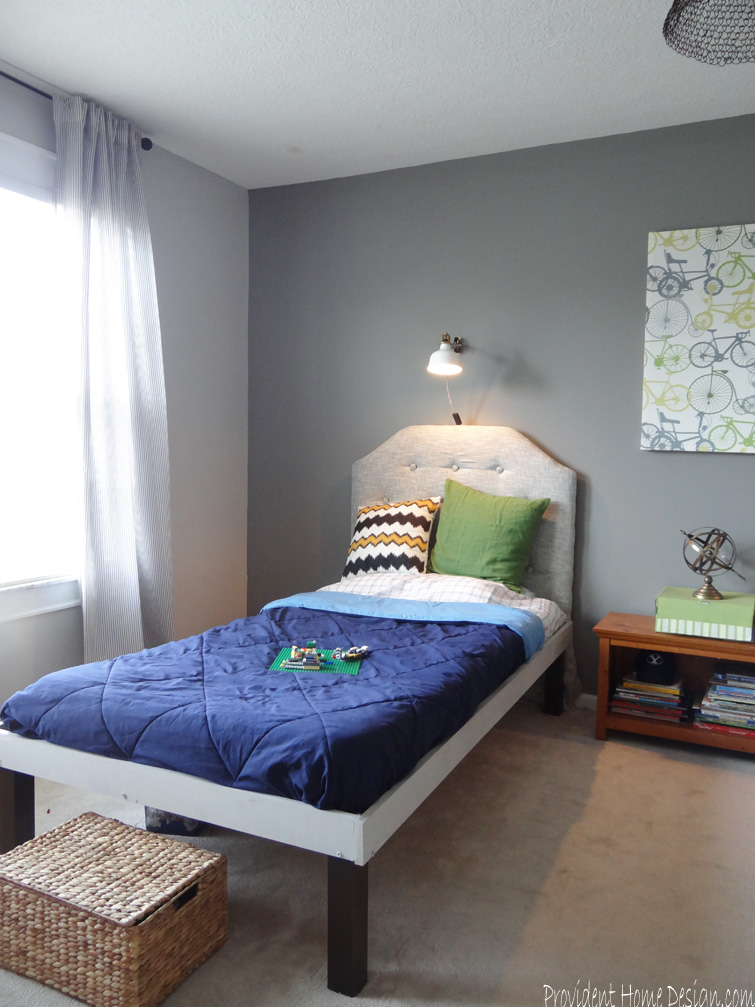
You’re finished!  You can paint or stain it to your desired color or just leave it o’ naturale.  Tip:  If there are any gaps where your corners meet you can fill them in with caulk for a more seamless look.

see screws on bed

bed frame all done


I decided to paint mine with the Behr Dolphin Fin paint I had left over from the walls and then I painted the legs espresso.

How to Make a Bed


The reason I needed to make a new bed for my son was because he completely split the wood of his previous bed (“No More Monkeys Jumping on the Bed”) and it was not fixable, believe me I tried.

boys room

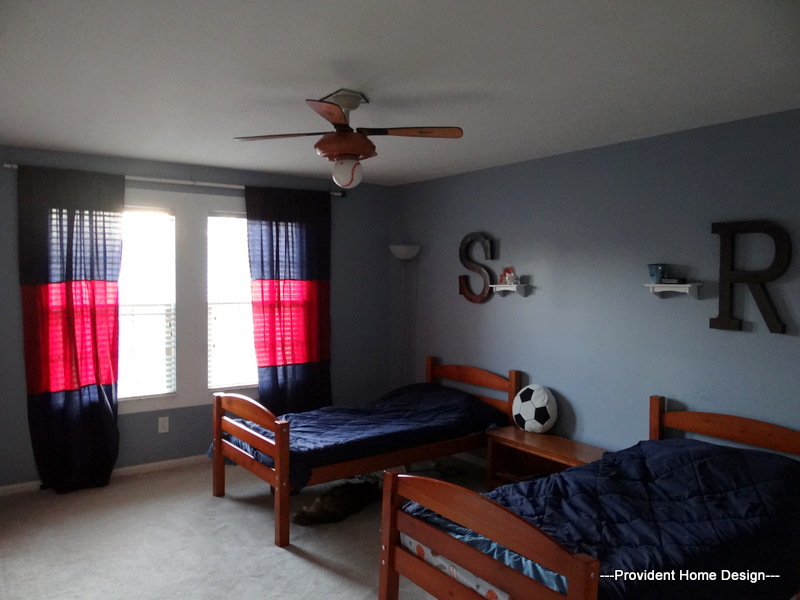
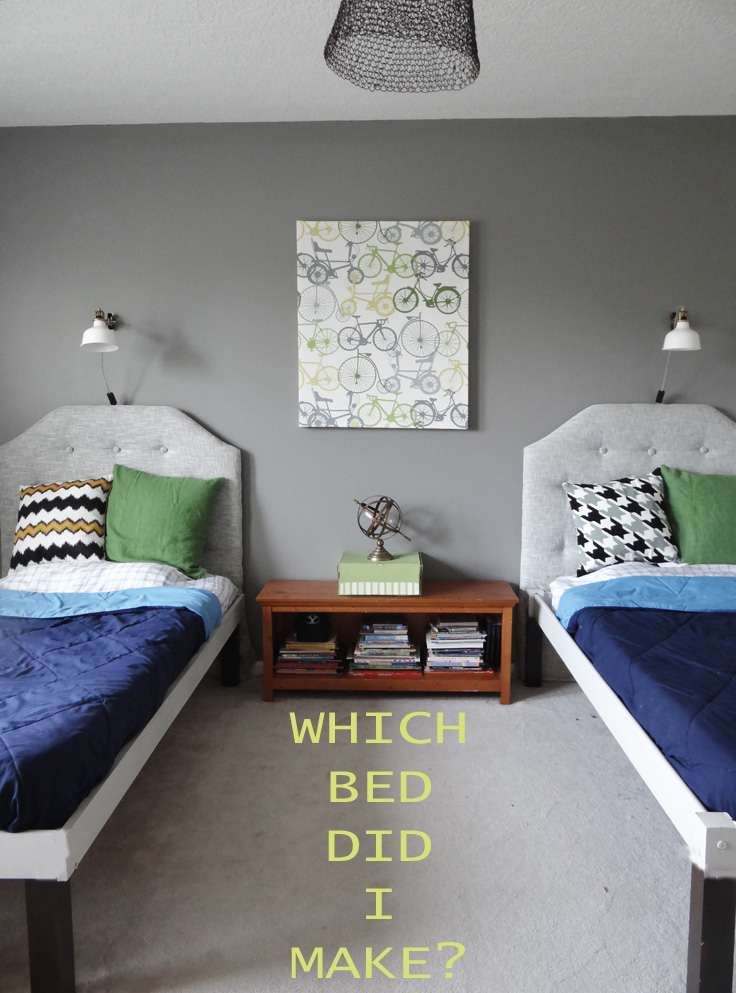
My sons’ beds were matching (as shown above) so after I made the new one I used a jigsaw to cut off the top part of the remaining oak bed’s headboard and footboard and then painted it to match the new bed I had made.


I am happy to have figured out a way to make them still match!!

How i made a bed

Answer: The one on the left.


The total cost to make the wood bedframe came to $48 and the total cost of one DIY Tufted Headboard was $20.  Total bed and headboard equaled $68, not bad!!


Here is the Supply List:


  (1) 3/4 inch 4×8 particle board- $21 at Lowes

(3) 8’ pieces of premium 1”x4” pine (cut 2 at 41” and 2 at 80” for standard twin size)- $20 at Lowe’s and they cut the wood for me.

(1) 8′ piece of premium 2.5″x 2.5″ pine (cut into (5) 13-16 inch pieces) – I don’t know how much this costs because I cut off and used the legs from my son’s old bed

#12 x 2 inch flat head screws- 25 ct. cost $6

wood glue

a drill

As always let me know if you have any questions!!  Hope you have a great weekend! 🙂


Related Posts From the Blog:

  • Boys Bedroom Makeover RevealBoys Bedroom Makeover Reveal
  • How to Paint a Gray Weathered Finish on FurnitureHow to Paint a Gray Weathered Finish on Furniture
  • Outdoor Bench Makeover & Best $15 Sander AroundOutdoor Bench Makeover & Best $15 Sander Around
  • Painting Wood Furniture (without sanding or priming)!Painting Wood Furniture (without sanding or priming)!
  • DIY Stretched Fabric Wall ArtDIY Stretched Fabric Wall Art
  • DIY Faux Tufted HeadboardDIY Faux Tufted Headboard
  • DIY Beadboard HeadboardDIY Beadboard Headboard
  • DIY Floating BenchDIY Floating Bench

before and afters// decorating// DIY// family// furniture// kids rooms// paint// tutorials// woodwork4 Comments

Subscribe

GET NOTIFIED VIA EMAIL WHEN THERE IS A NEW POST!

« Progress on the Floors & Inspiring Design
Blog Tour and Baseboards »

Comments

  1. Shanice says

    Sunday, August 17, 2014 at 5:13 pm

    Love this idea! I would love it if you joined and contribute your awesome posts at my link party at City of Creative Dreams, starts on Fridays 😀 Hope to see you there at City of Creative Dreams Link Party.

    Reply
    • Tamara says

      Sunday, August 17, 2014 at 6:15 pm

      Thanks for the invite, Shanice! I will definitely check it out! 🙂

      Reply
  2. Tracy Laverty says

    Sunday, August 17, 2014 at 10:46 pm

    Tamara- I love those beds!! They turned out looking amazing! And you’re busy ripping out your floors- wow! Can’t wait to see it done.

    Reply
    • Tamara says

      Monday, August 18, 2014 at 8:49 am

      Thanks, Tracy! 🙂

      Reply

Leave a Reply Cancel reply

Your email address will not be published. Required fields are marked *

Hello and Welcome!! My name is Tamara and this is where I share my tips and tricks to creating a beautiful home! If you are new, feel free to start HERE.

Subscribe

Get notified via email when there's a new post!

Join me on Instagram!

Load More...Follow on Instagram

More Blog Inspiration:-)

  • Icon Caroline on Design

    Close preview

    Loading...
  • Icon Centsational Girl

    Close preview

    Loading...
  • Icon Decorating Delirium

    Close preview

    Loading...
  • Icon Lauren Liess

    Close preview

    Loading...
  • Icon Life on Virginia Street

    Close preview

    Loading...
  • Icon Remodelaholic

    Close preview

    Loading...
  • Icon The Creativity Exchange

    Close preview

    Loading...
  • Icon Thrifty Decor Chick

    Close preview

    Loading...

Categories


Disclosure & Privacy Policy

You might also like

New Build Update-Paint, Lighting, and Floors oh My!

New Build Update-Paint, Lighting, and Floors oh My!

New Home Update

New Home Update

New Build Update- Cabinets are in!

New Build Update- Cabinets are in!

House Update–We Have Walls!

House Update–We Have Walls!

How to Paint Furniture to look Bleached out and House Update

How to Paint Furniture to look Bleached out and House Update

Join Me on Instagram!

Follow on Instagram

Copyright © 2019 · Savory theme by Restored 316

Enter your name and email to get my weekly post sent to your inbox... it's FREE!
Want to learn more about DIY, decorating, and making your home beautiful? Sign up below!
Your information will *never* be shared or sold to a 3rd party.