Hello! Now that I’m done with most of the big projects and makeovers in my home (at least for now) I’ve been working on some of the smaller projects that I’ve been putting off.
This week I was able to mark one of those projects off my “small project to-do list” (I had actually forgotten to put it on the list but you better believe I will put it on just so I can have the satisfaction of marking it off)!
So what was the small project that I did? I painted the tiny toilet room and the tiny toilet room’s cabinetry. Do you guys know what a tiny toilet room is (or maybe you call it by a different name like my friend who calls it “the pooper”)?
I don’t know how common it is but in our master bathroom there is a sink, a tub, and shower and then a separate tiny room within the bathroom that holds the toilet (think airplane bathroom small).
Although I’ve done a lot of work on my master bathroom I have neglected the poor tiny toilet room since the day we moved in.
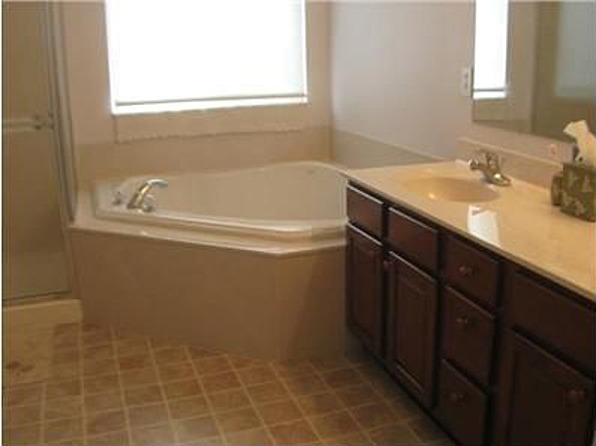
This was our bathroom before we moved in.
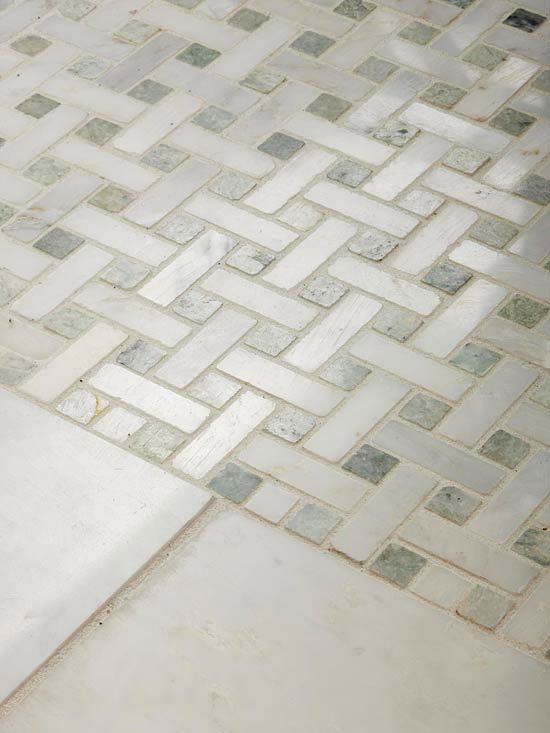
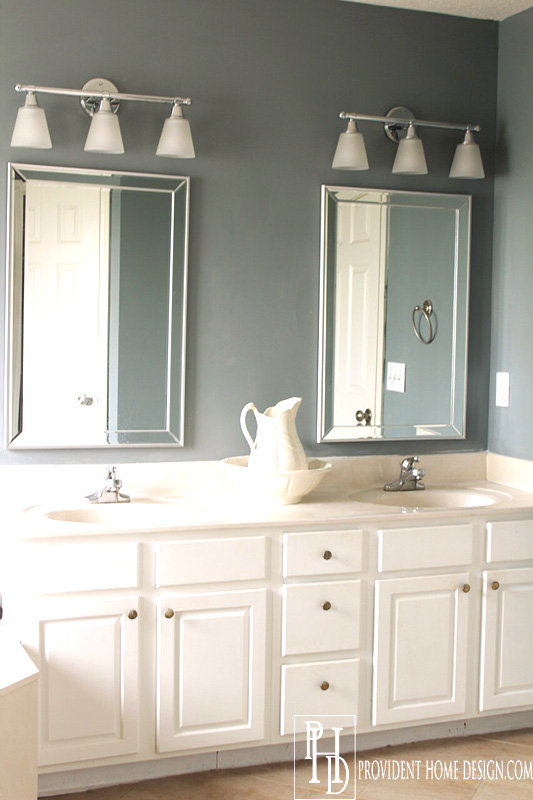
And here it is now after putting in new peel and stick vinyl flooring and painting the vanity and the walls.

I also switched out one mirror to two mirrors and the hollywood light to a vanity light over each mirror.
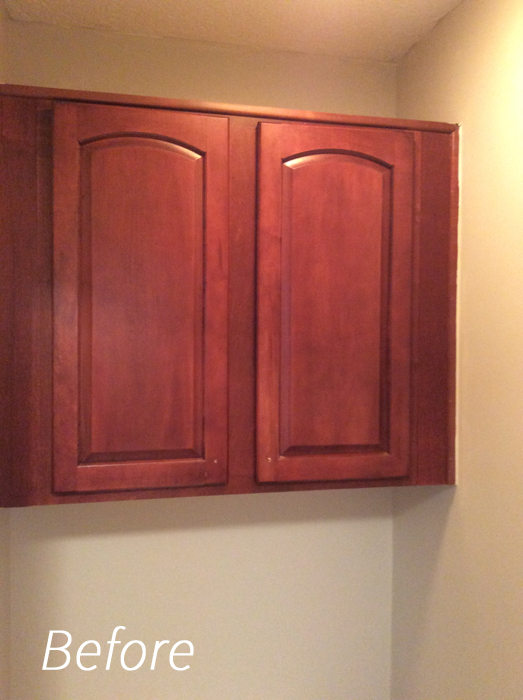
Here is our neglected tiny toilet room until this week! It didn’t go at all anymore with the rest of our bathroom!
And here it is now looking like it actually belongs to the same room!:-) Hooray!
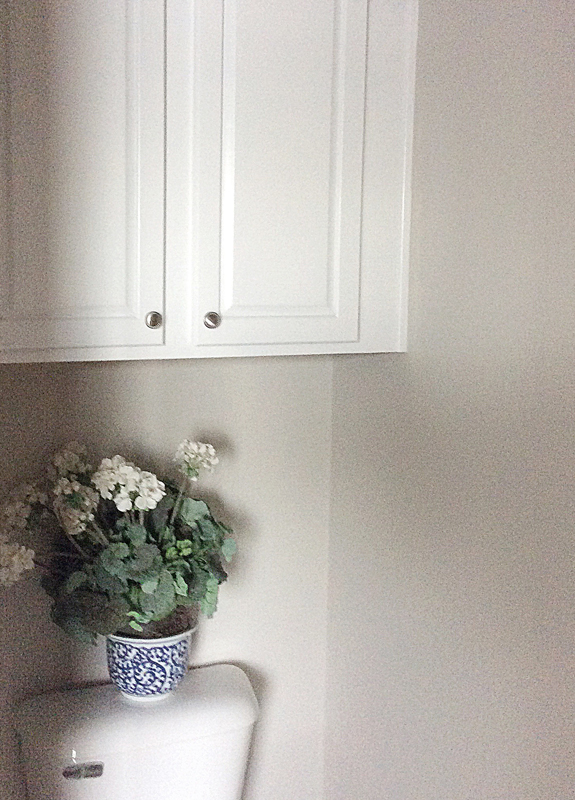
Since it’s such a small room I just wanted to keep the colors and decor light and simple. I went with Benjamin Moore Classic Gray on the walls and Behr Ultra Pure White on the cabinets.
Over the years I’ve gotten a lot of questions about painting cabinets.
My favorite way to paint cabinets is with a deglosser (instead of sanding) and 3 coats of Behr’s Alkyd Semi-Gloss Enamel (instead of using a primer first and ending with a varnish). This is the simplest and least expensive process and renders the best results!
It is the same method I used to paint my kids bathroom vanity and today I’m going to share the process again but give more information on some of the steps.
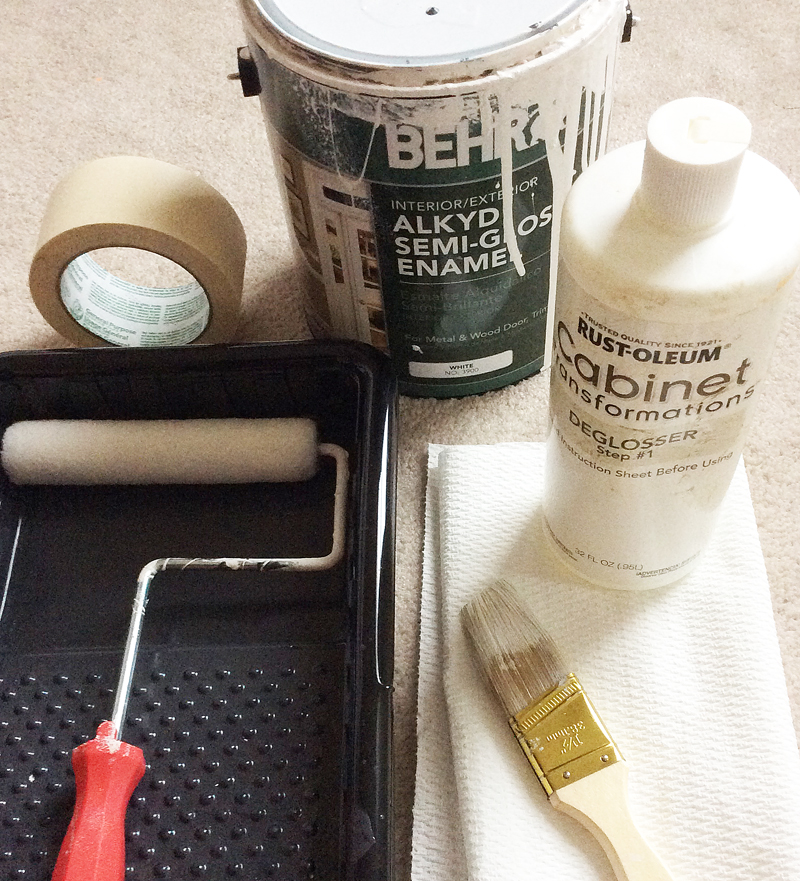
What you will need:
-A Gallon (it only comes in gallon size) of Alkyd Semi-Gloss Enamel in whatever color you want (I did Behr Ultra Pure White).
-A Painter’s Tray
-A Foam Roller
-Painters Tape
-2 Inch Angled Brush (I get mine from the Dollar Tree)
-Deglosser
-Scrub pad (or Rag or Paper Towel)
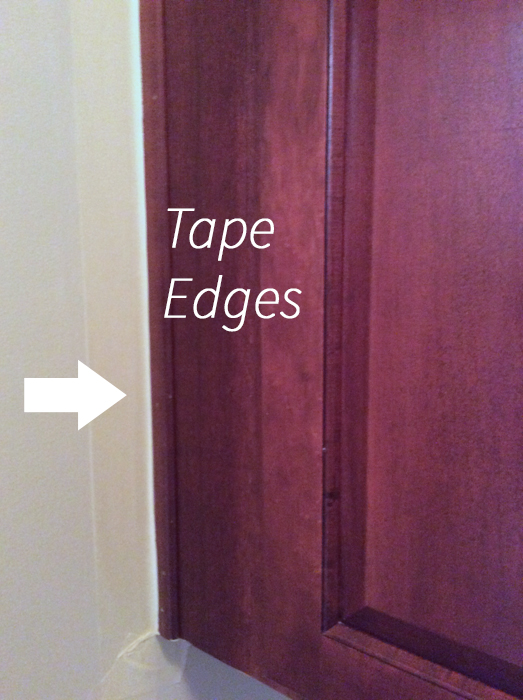
- First tape off any area next to where you will be painting that you don’t want to get paint on (i.e.: walls, inside the cabinet, hinges if you are like me and don’t take off the doors).
2. Apply Deglosser. I first learned about deglossers when I painted my kitchen cabinets white with the Rustoleum Cabinet Transformations Kit. The kit came with the deglosser which was to be used instead of sanding. I’ve used it for many other projects since.
You can buy deglossers at Home Depot but they don’t have many options. HERE are some options on Amazon (affiliate link).
I’ve had a lot of questions about how to use a deglosser and thought it would be easiest to share the directions straight from my deglosser bottle.

Now here comes the awkward part where I share pictures with you of my dirty paper towels.:-)
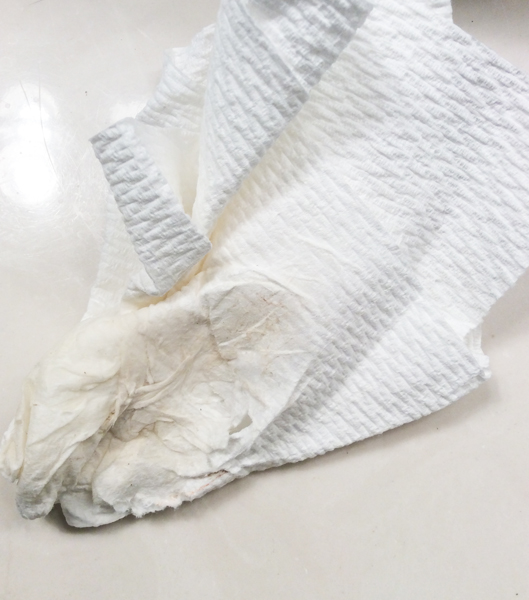
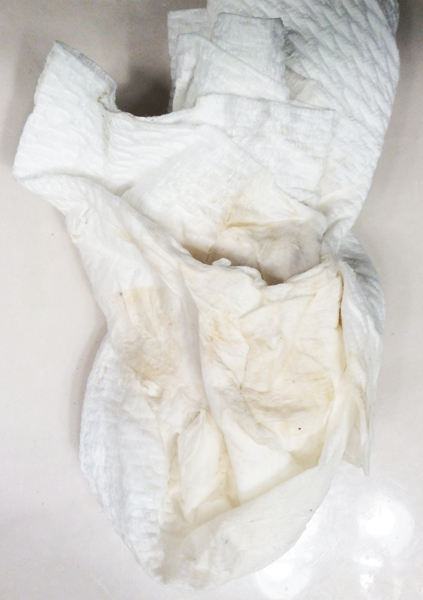
Aren’t you glad you got to see that?!:-) Really though people tend to get discouraged thinking they are doing something wrong when it doesn’t look like anything is coming off their cabinets.
I am here to say don’t freak out or worry if the cabinets don’t look different or your rag isn’t very colorful after deglossing. It is still working!
3. Start Rolling. I like to start with the roller and roll the door fronts of the cabinet.
Then I use my angled brush to pull the paint around the insets of the fronts as well as the top, bottom, and sides of the doors.

Next I brush (or roll if there is room) a thin layer of paint on the frame of the cabinets. I open the doors and do the same procedure on the insides of the cabinets.
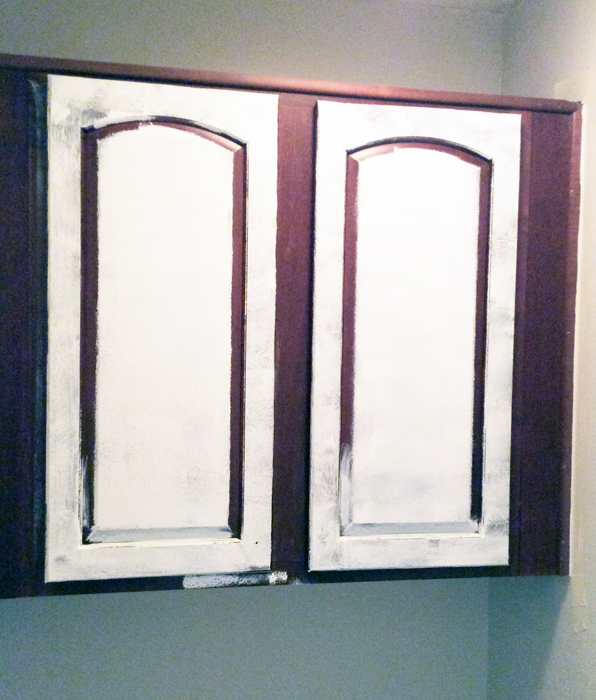
After 1 Coat
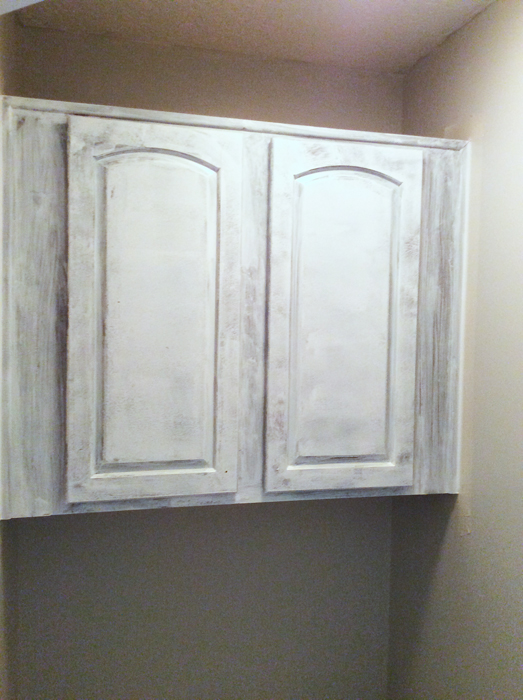
After 2 Coats
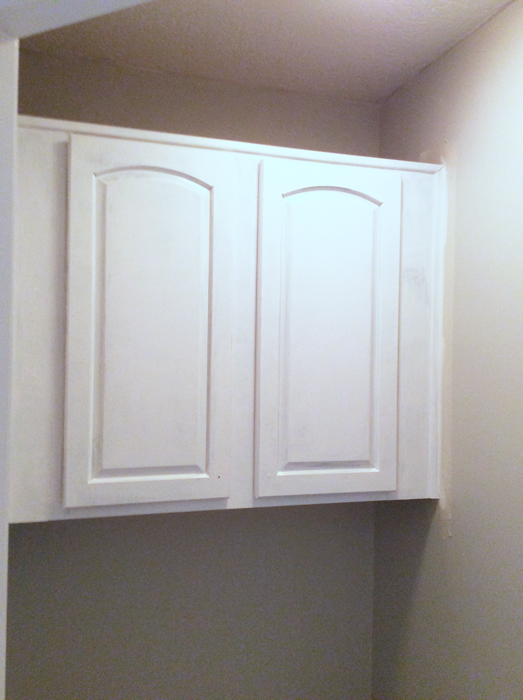
After 3 Coats
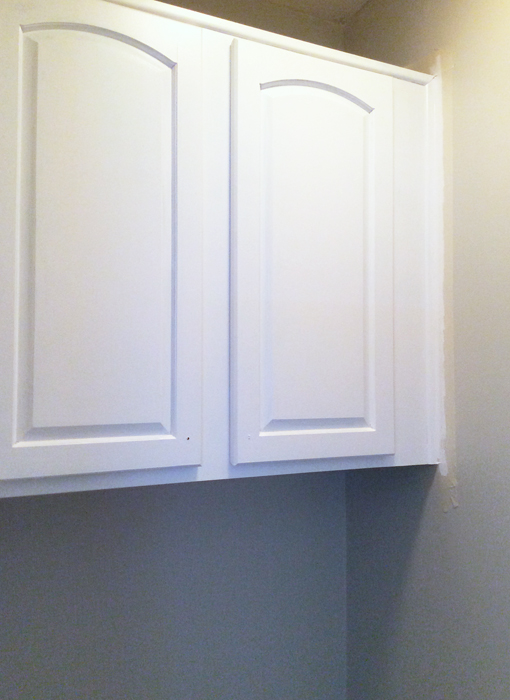
Ta-da! Pretty isn’t it? This paint dries super fast so I can often get away with waiting just an hour between coats. And it takes at least 7 days to cure completely so don’t clean it or give it a good wipe down before then.
Once it hardens up completely it is super durable. I haven’t had any problems with the kids bathroom vanity and it’s been over 2 years since I painted it (and they aren’t easy on them).
Would I use this process on kitchen cabinets? Yes! If I ever have to paint kitchen cabinets again I will use this process.
No sanding, no primer, no varnish…can’t beat that!
I hope this helps!
If you have any lingering questions please don’t hesitate to ask!! Have a great rest of the weekend!

Related Posts From the Blog:
 Design 101- Decorating with Heirlooms & Antiques
 How to Paint Furniture to look Bleached out and House Update
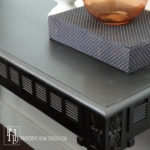 Tips & Tricks to Getting Free Furniture
 Easy Spring Wreath and 11 Curb Appeal Boosters
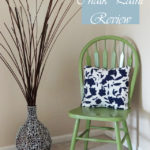 Chair Makeover & Americana Chalk Paint Review
 Our Media Room Makeover Reveal
 10 Steps to a Beautiful Master Bedroom
 The Secret to Painting Tall Walls