Provident Home Design

Decor, DIY, and Interior Design

  • HOME
  • ABOUT
    • About PHD
    • Contact Me
  • DIY PROJECTS
  • DESIGN 101
  • PAINT
  • HOME TOUR
  • DESIGN INSPO
  • DECOR TIPS

GET NOTIFIED VIA EMAIL WHEN THERE'S A NEW POST!

DIY Exaggerated Window Casings

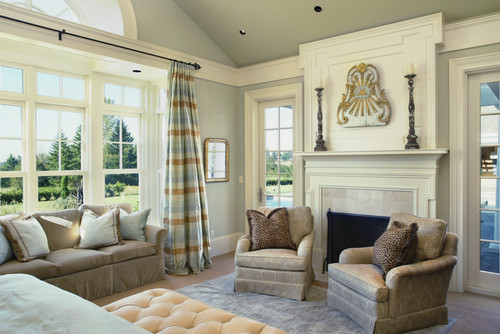
I have always loved the look of a window encased in a plethora of white molding.  It is especially attention getting when there are 2 or more windows situated side by side and the molding wraps around all of it!  Having the molding fill in all of the space between the windows gives the windows the illusion of being one large window entity.
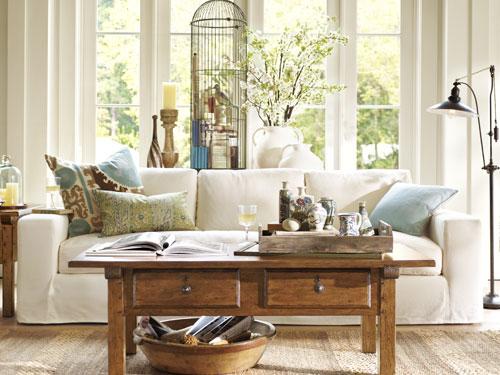
 

via Pottery Barn


Alan Mascord Design Associates Inc via Houzz


Feldman Architecture, Inc. via Houzz


Martha O’Hara Interiors via Houzz


Decorative Molding can be expensive especially as the width of the molding increases.  In an attempt to recreate this look in my boys’ room (without breaking the bank) I decided to try out a faux/exaggerated method that I had seen done on baseboards and crown molding but not windows.


Below is an exaggerated baseboard.

via Home Depot (tutorial found at this link)

This is where you paint above your existing baseboard white and then add another piece of smaller trim on top.  The paint gives the illusion of a taller baseboard without the price!

I have also seen this successfully accomplished with crown molding.

How to Create a Painted Faux Crown Moulding: After the room makeover

via Home Depot (tutorial for at this link)

So I figured that this method should work for window casings too, right??  I’m happy to inform you that the answer is, yes, indeed it does!

diy exaggerated window casings

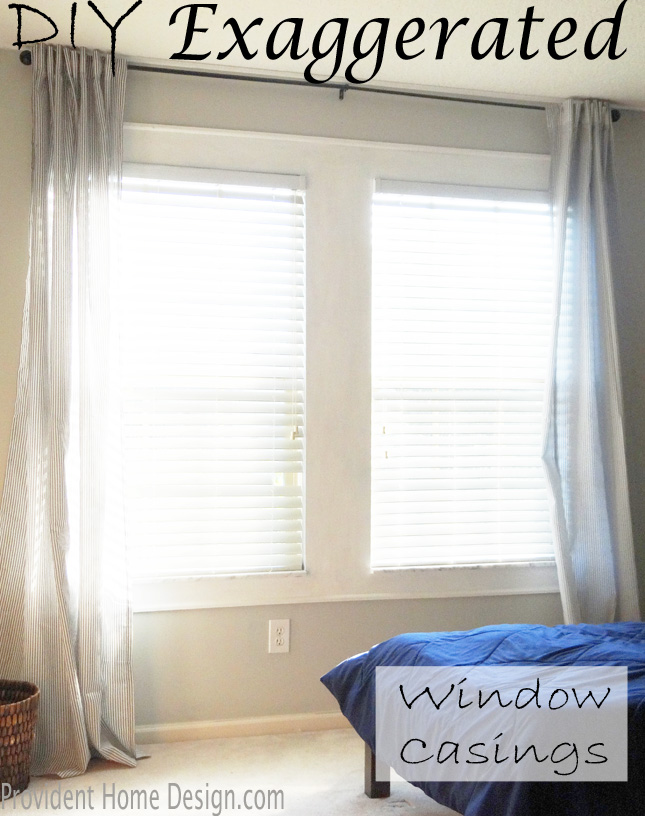
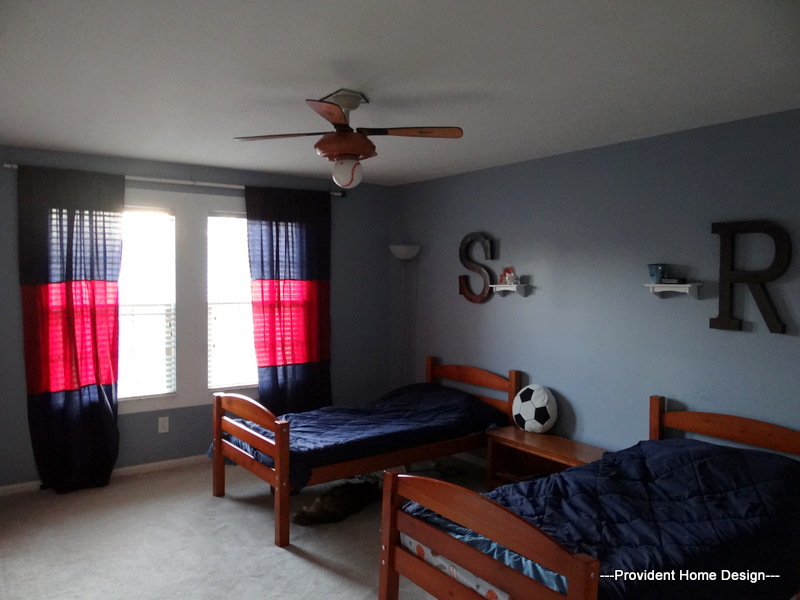
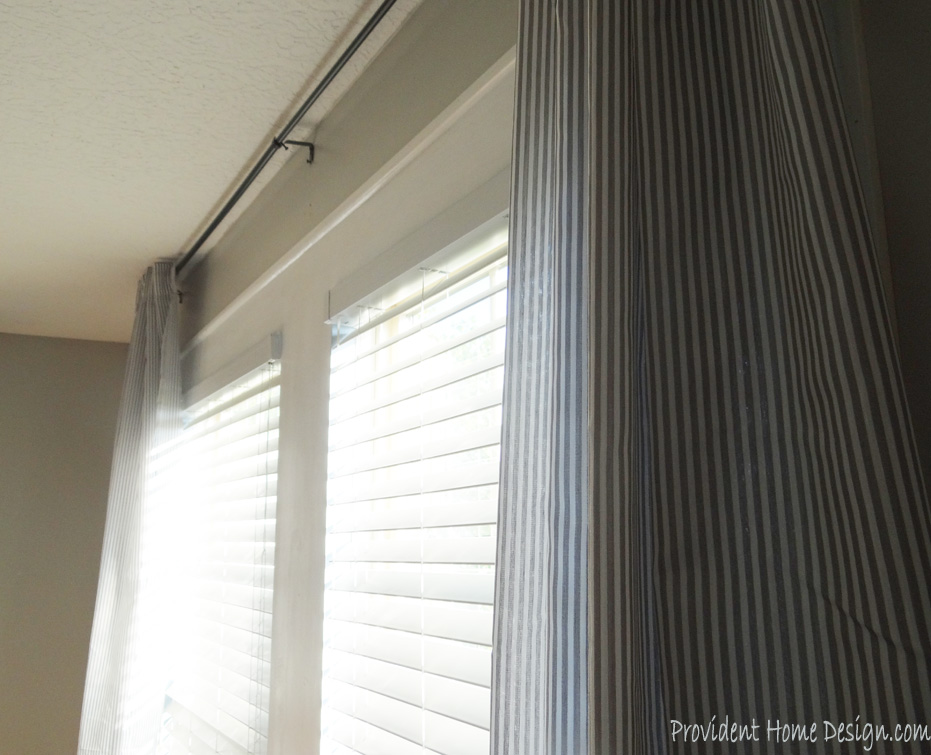
Before we bought our home the bedroom contained two windows with no molding or white paint.  The windows looked plain and uninteresting.

Soon after we bought our house I had so many projects that I knew that I wouldn’t be able to get to the boys’ room for awhile.  I did however quickly paint in between and around their windows in white to add some contrast and interest to their windows and room (shown below).

boys room

Now that I am in the process of tackling the boys’ bedroom head on (I’m about 78% done) I decided that it was about time I finished out my faux window casings.

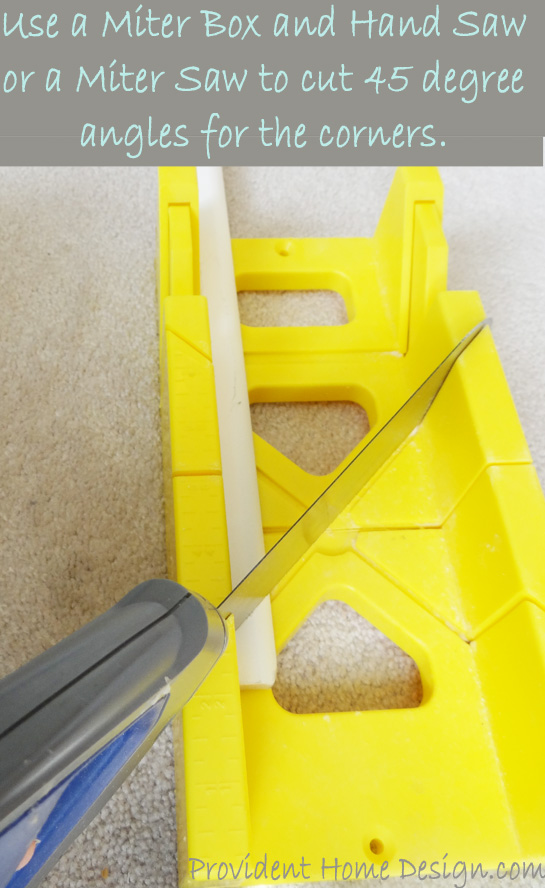
I chose to use the cheapest option of shoe molding.  I found it at Lowes’s for $2.84 for 8 feet.  I needed 4 of them.  So the total cost of the molding was around $12.

shoe molding


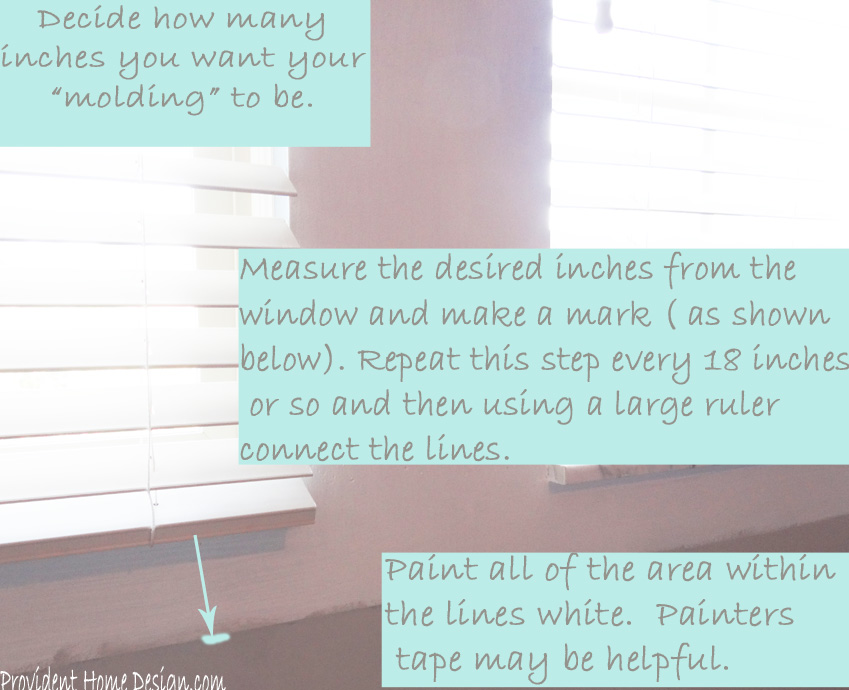
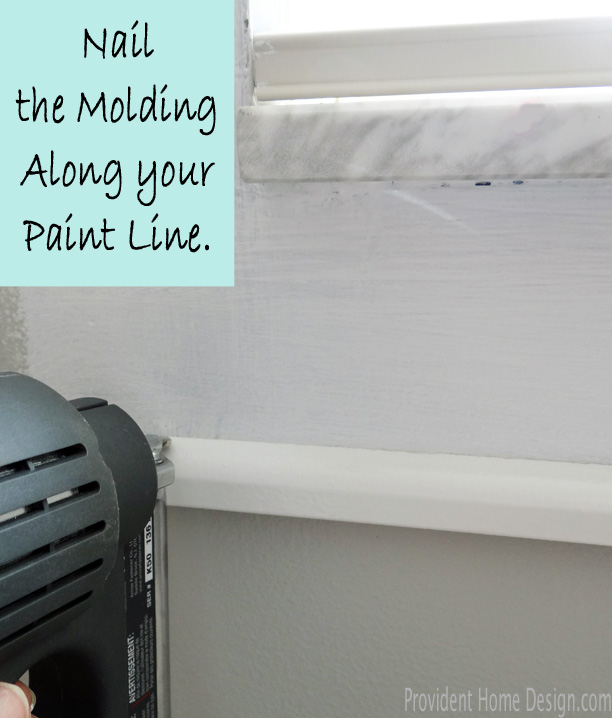
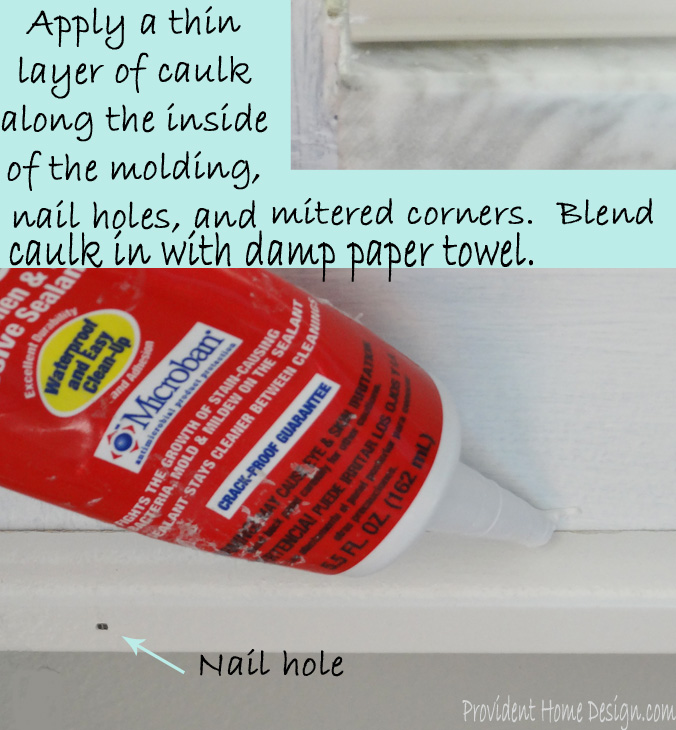
Here is how to create faux window casings!

how to exaggerate window casings


cut mitered corners


Nail in shoe molding


caulk shoe molding


Sit back and enjoy your newly cased windows! 🙂

DIY Faux Window Casings


Have you ever used paint to give the illusion of larger woodwork??  I love these kinds of projects where “the look” is achieved for less, a lot less!  If all goes well I’ll have the boys’ bedroom ready to reveal next week! We’ll see. 🙂

diy exaggerated window casings

Related Posts From the Blog:

  • New Build Update and Kitchen Plans!New Build Update and Kitchen Plans!
  • A New Rug for the Living RoomA New Rug for the Living Room
  • Ballard Designs Knockoff PaintingsBallard Designs Knockoff Paintings
  • Increasing Our Curb AppealIncreasing Our Curb Appeal
  • Seize the Day(and the New Year)!Seize the Day(and the New Year)!
  • 4th of July Home Decor Deals4th of July Home Decor Deals
  • Our Media Room Makeover RevealOur Media Room Makeover Reveal
  • No-Fail Abstract Painting TutorialNo-Fail Abstract Painting Tutorial

before and afters// decorating// DIY// kids rooms// money saving tips// paint// tutorials// window treatments// woodwork8 Comments

Subscribe

GET NOTIFIED VIA EMAIL WHEN THERE IS A NEW POST!

« Parade Of Homes Home Tour #1
Parade of Homes-House Tour #2 1/2 »

Comments

  1. http://seekinglavenderlane.blogspot.com says

    Friday, July 25, 2014 at 9:24 pm

    Such a great idea…not sure I have a spot in my house to do this…hmmm…

    Reply
    • Tamara says

      Friday, July 25, 2014 at 11:16 pm

      Thanks, Deb! 🙂

      Reply
  2. Calvin says

    Thursday, October 16, 2014 at 10:44 pm

    Very good idea there to make the windows look more elegant and it’s inexpensive. I guess the same method can also be applied to doors and wall skirtings (baseboard) to give a better look.

    Reply
    • Tamara says

      Thursday, October 16, 2014 at 11:04 pm

      Yes, Calvin, I definitely think so! 🙂 Thanks for stopping by today!

      Reply
  3. notquitewonderwoman2014 says

    Friday, December 5, 2014 at 8:54 pm

    Love your DIY, I just had to share on my blog post. Pretty ideas!

    Reply
    • Tamara says

      Friday, December 5, 2014 at 9:58 pm

      Thanks for sharing it!:-). I just had to go over and check out your blog (i love the title). You have such a fun writing style and I found it easy to keep reading more and more. Keep up the great work!;-)

      Reply
  4. Robin says

    Saturday, March 4, 2017 at 11:43 am

    The faux painted crown page from Home Depot is no longer. You can see it on the wayback machine page here: https://web.archive.org/web/20160724000231/http://blog.homedepot.com/painted-faux-crown-moulding/
    Same goes for the exaggerated baseboards. Here is a full page screenshot of it on the wayback machine http://www.page2images.com/tmp/20170304/9Vei5iA1ud8uwwuN.png

    Reply

Leave a Reply Cancel reply

Your email address will not be published. Required fields are marked *

Hello and Welcome!! My name is Tamara and this is where I share my tips and tricks to creating a beautiful home! If you are new, feel free to start HERE.

Subscribe

Get notified via email when there's a new post!

Join me on Instagram!

[instagram-feed]

More Blog Inspiration:-)

  • Icon Caroline on Design

    Close preview

    Loading...
  • Icon Centsational Girl

    Close preview

    Loading...
  • Icon Decorating Delirium

    Close preview

    Loading...
  • Icon Lauren Liess

    Close preview

    Loading...
  • Icon Life on Virginia Street

    Close preview

    Loading...
  • Icon Remodelaholic

    Close preview

    Loading...
  • Icon The Creativity Exchange

    Close preview

    Loading...
  • Icon Thrifty Decor Chick

    Close preview

    Loading...

Categories


Disclosure & Privacy Policy

You might also like

The Final Before & After of our Current Home

The Final Before & After of our Current Home

New Build Update-Paint, Lighting, and Floors oh My!

New Build Update-Paint, Lighting, and Floors oh My!

New Home Update

New Home Update

New Build Update- Cabinets are in!

New Build Update- Cabinets are in!

House Update–We Have Walls!

House Update–We Have Walls!

Join Me on Instagram!

[instagram-feed num=9 cols=9 showbutton=false]

Privacy

Copyright © 2021 · Savory theme by Restored 316

Enter your name and email to get my weekly post sent to your inbox... it's FREE!
Want to learn more about DIY, decorating, and making your home beautiful? Sign up below!
Your information will *never* be shared or sold to a 3rd party.