Hello! I hope you’ve had a wonderful week!
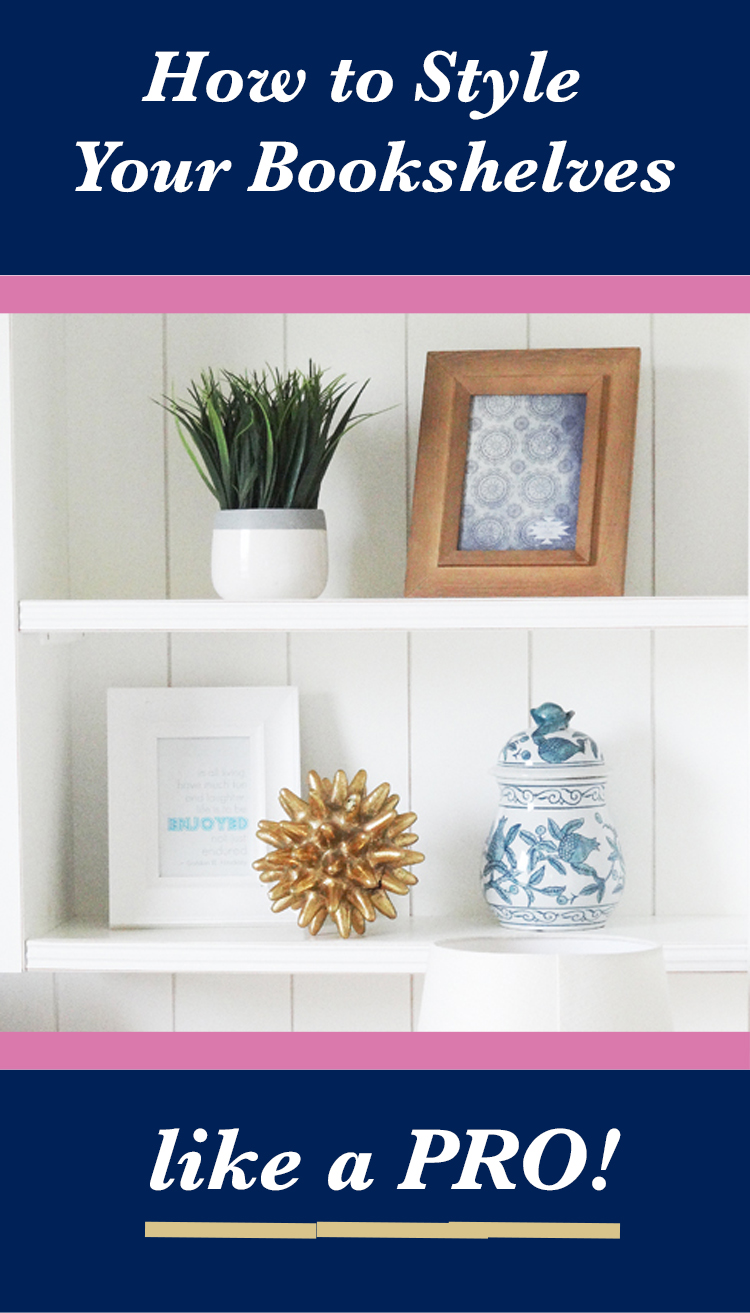
I’ve gotten some questions lately on how to style bookshelves and so today I’m going to share my 8 tips to becoming a master bookshelf stylist in your own home!
This isn’t something that I intrinsically knew how to do. It took a lot studying and some practice (and I’m sure I still have more to learn) but I am confident this post will help you decorate your bookshelves like a pro!
8 Tips to a Well-Styled Bookshelf
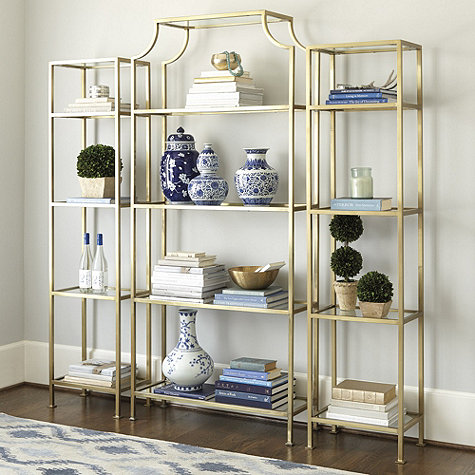
Tip #1. Layering– Just like layering a room is important to creating depth and interest so is layering a shelf (the post about layering a room can be found HERE). Layering a shelf is best achieved when you stack items on top of each other with the smallest item on the very top.
via Ballard Designs
For example, if you have a beautiful decorative bowl you can add layers to it by adding a couple of large books underneath it and then another layer by putting decorative balls inside of the bowl.

via Ballard Designs
Homework (yes, you’re getting homework today):-) When you are done reading this post look through all of the photos and in each one find the instances layering was utilized.
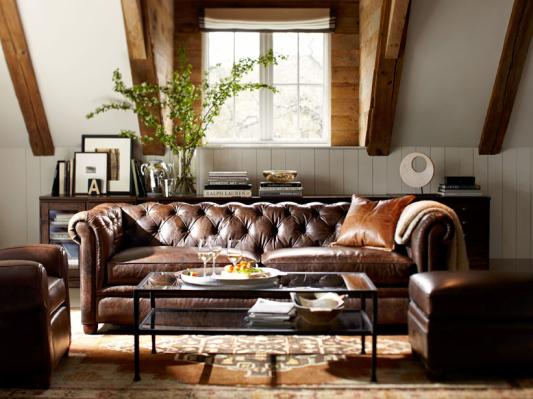
For example, in the first picture on the top shelf a potted plant was placed on top of what appears to be a stack of books.
Tip #2. Groupings– Just as layering adds interest and depth vertically groupings add interest horizontally. A grouping usually looks best when items are grouped together with 1,2, or 3 items and when there is a maximum of 3 groupings on one shelf.
Groupings are divided from each other on the shelf by space (normally 3 or more inches apart).
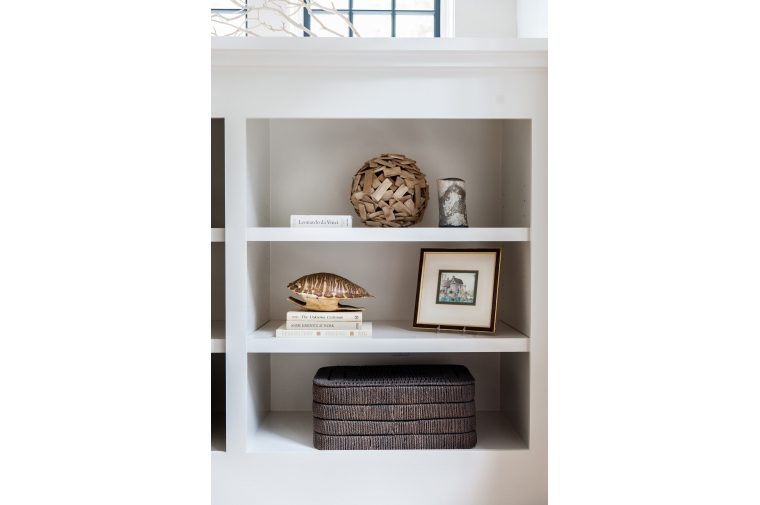
Let me explain with the picture below. On the top shelf there are 3 items grouped into one grouping. On the middle shelf there are 2 groupings, a framed picture by itself in one grouping and a shell layered on top of books in the other grouping.
Then on the bottom shelf there is one big item in one grouping.
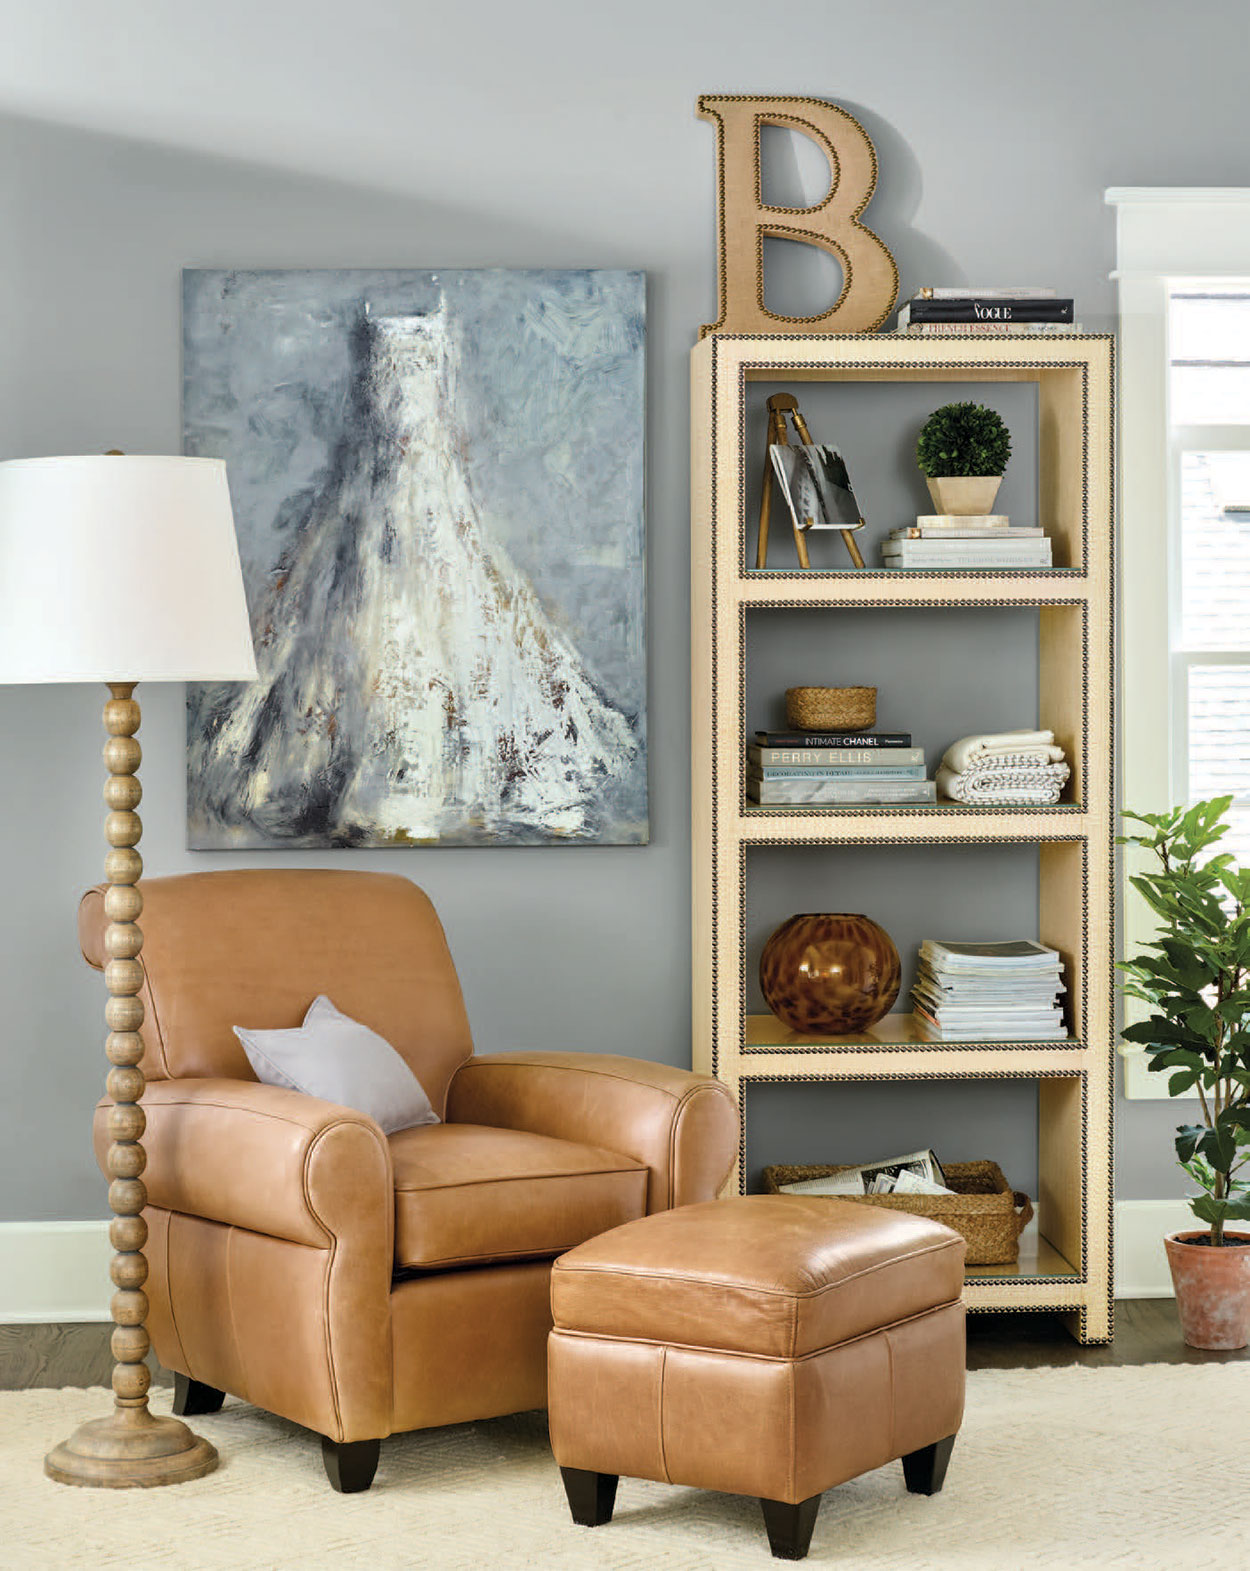
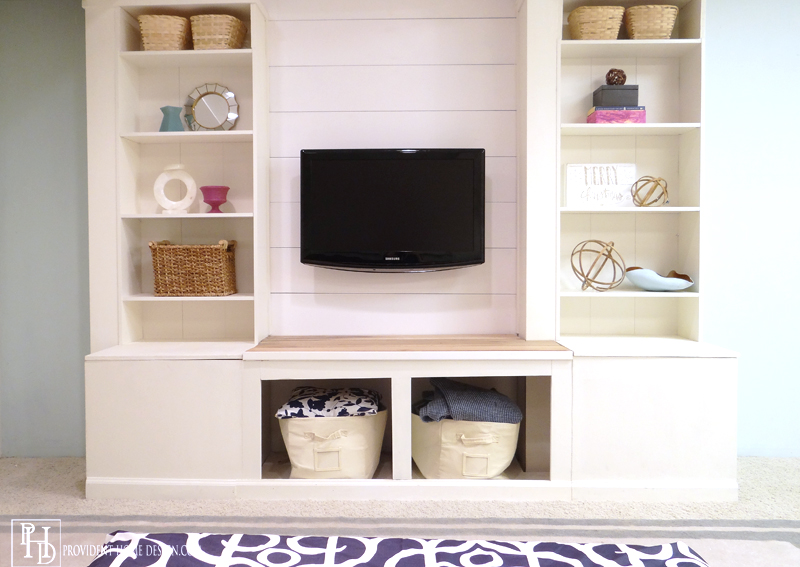
I love the styling done in the built-ins below by the uber-talented Studio Mcgee. Let’s go through the groupings together. The top shelf has 3 groupings. The 2 trophies are one grouping, the decorative item on the book is the second grouping, and the wood bowl is the third grouping (I don’t know what that white thing is, a speaker?)
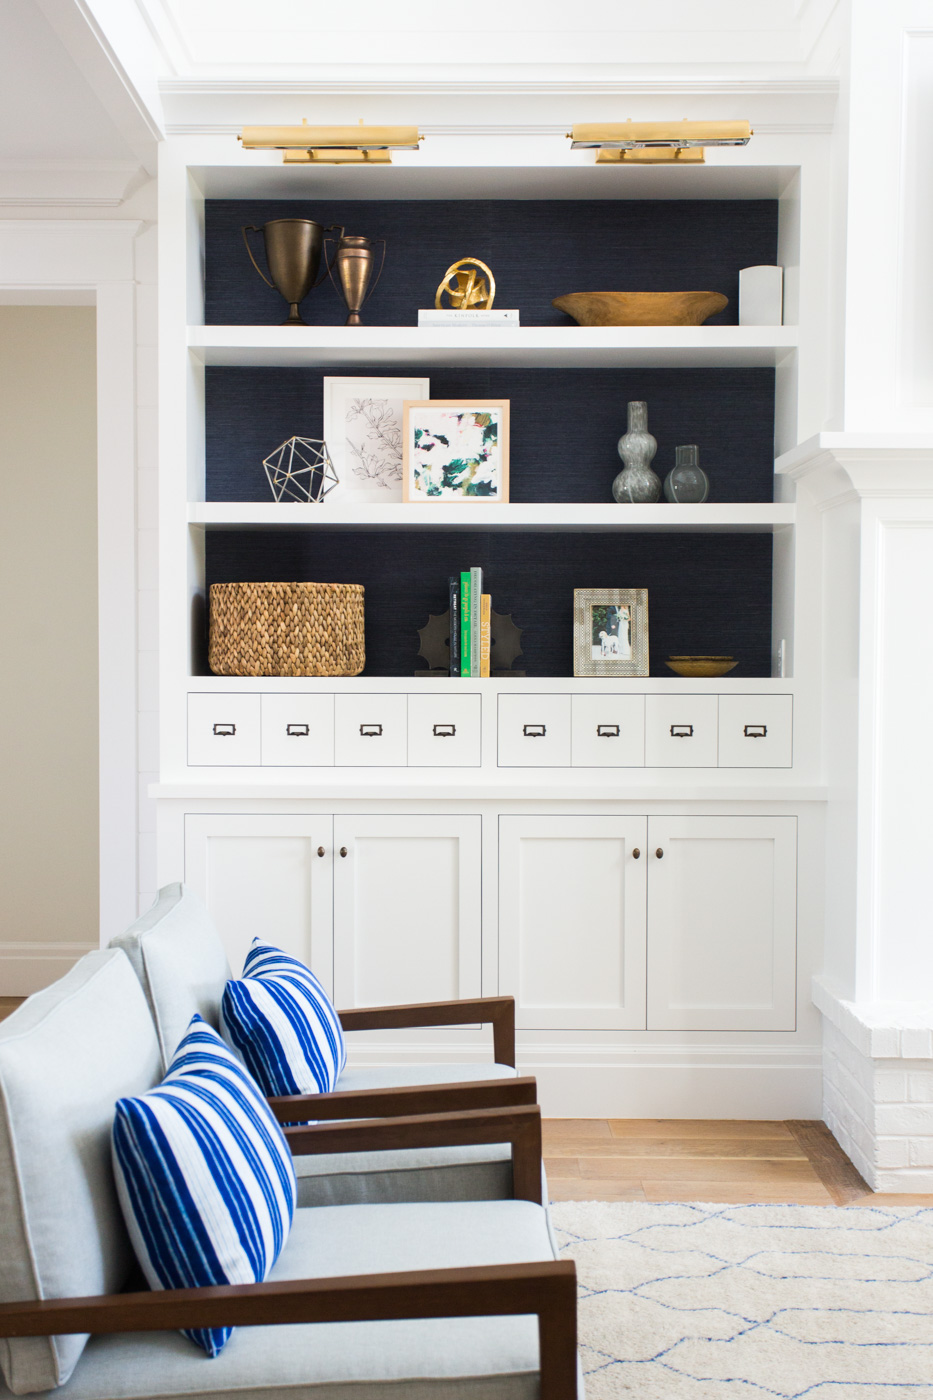
Still looking at the picture above the middle shelf has 2 groupings (one grouping with 3 items and the other with 2). And lastly the bottom shelf has 3 groupings (first grouping is the basket, second grouping the vertical books between bookends, and the third grouping a framed picture with 2 little plates stacked).
Homework- Okay, so now after you find all the layered items in the photos you will need to find all the groupings!:-)
Tip #3. Variety of Shapes– Bookshelves look styled best when there are a variety of shapes of items used. Rectangular items look amazing grouped with round items. Be sure to add both “rounded” and “squared off” items to your shelves to get the designer end result!
Homework- Look for the rounded items in the picture below. Now find the squared off items.
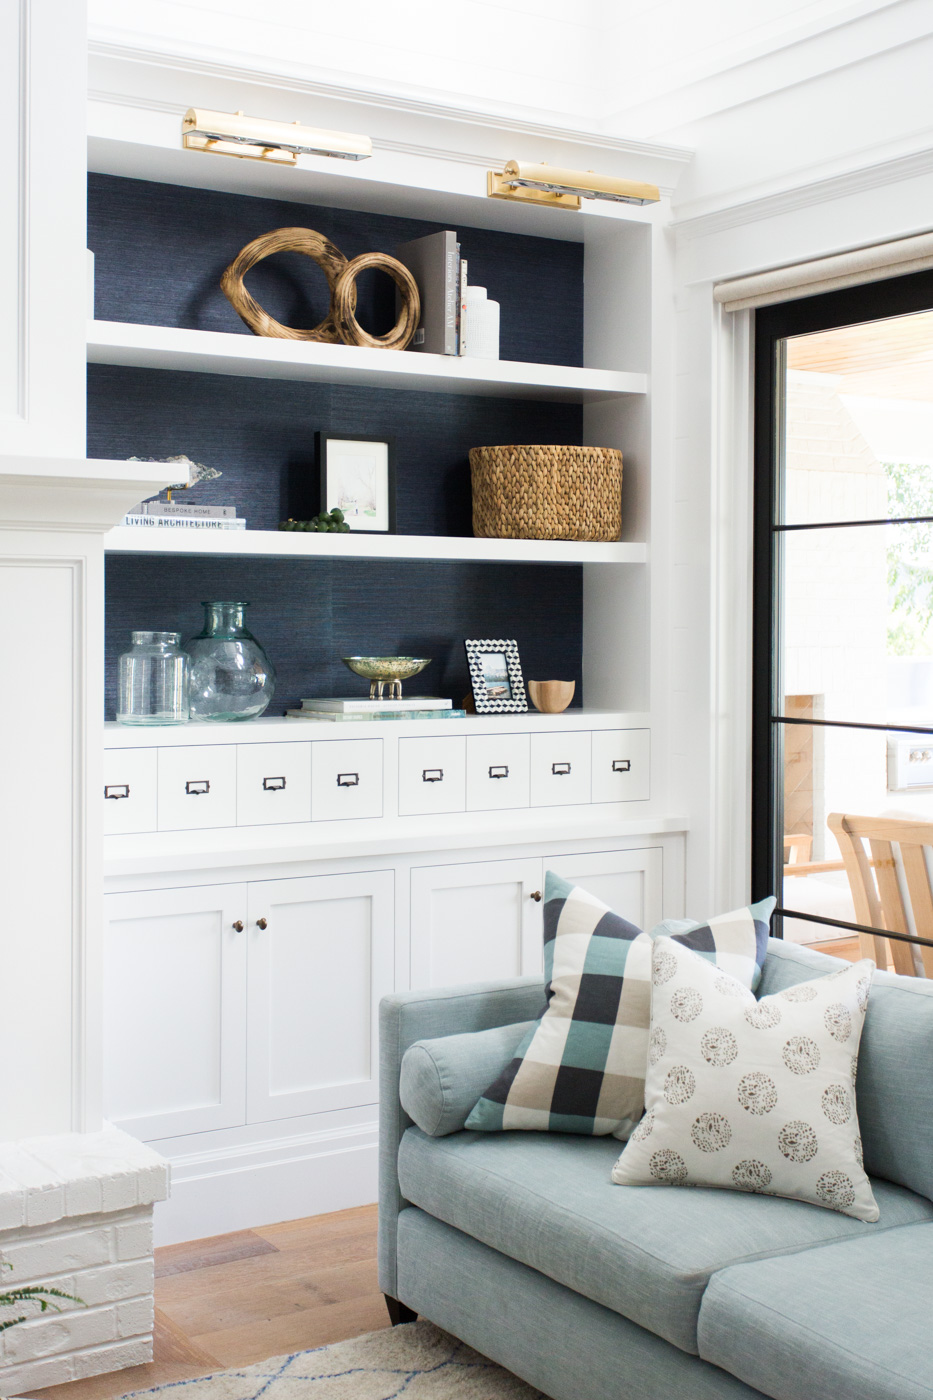
via Studio Mcgee
Don’t forget to do this exercise at the end for the rest of the photos in the post!
Tip #4. Add Art– There is something unexpected and eye-catching (in a good way) 🙂 about both framed and loose art being displayed on bookshelves.
Remember my post on Designer Art Look A-Likes for Under $10? There are so many great, inexpensive (like $5 inexpensive) printables on etsy that you could print out on your printer and add to your bookshelves to add interest.
via Studio Mcgee
Need a grouping idea? Get an 8x 10 and a 5×7 of two different printables and group them with a decorative bowl and you’ve got a killer grouping!
Tip #5. Add Texture– Texture brings interest to bookshelves. Examples of decor items with texture include a geode rock, driftwood, or a deeply grained wooden statue. The possibilities are endless.
One of my favorite textured items to use on bookshelves are woven baskets. Woven baskets are rich with texture but are also super functional!
They are the perfect bookshelf storage method because they hide all the “not so pretty” items you may need stored on the bookshelf while at the same time adding textural interest!
Homework- Look for the textural decor items in this post.
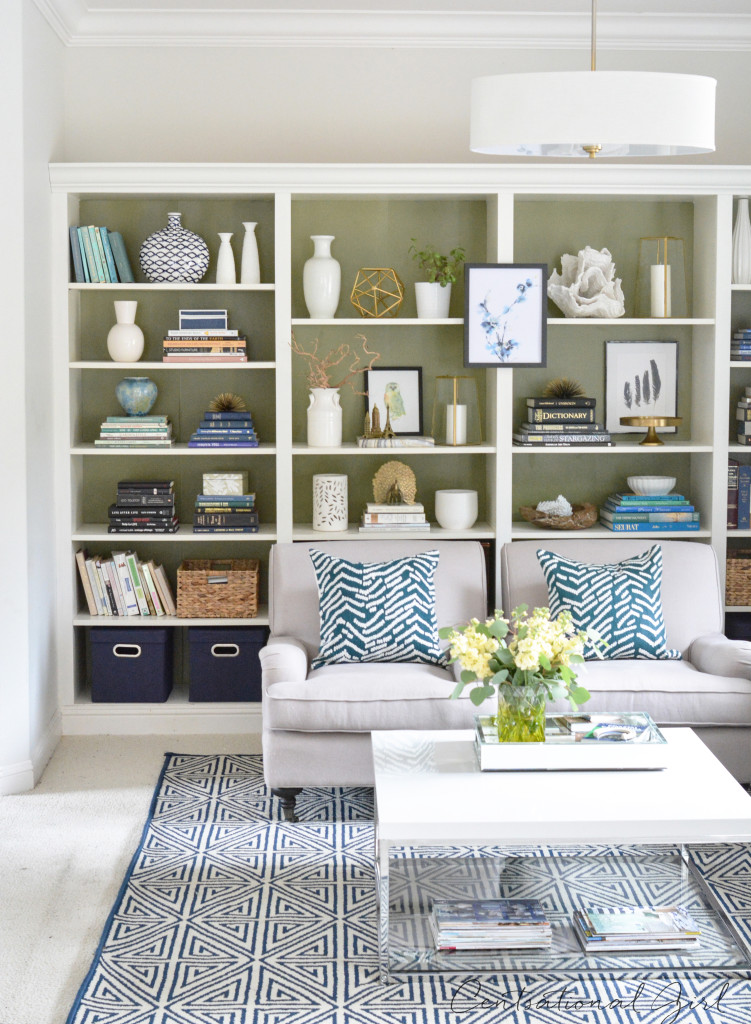
Tip #6. Change Direction of Books– What’s a bookshelf without books? Whether it adorns just a handful or your bookshelf is filled to the brim with books remember this tip I learned from a home stager years ago.
Instead of organizing your books just vertically or just horizontally, do a little of both.
This bookcase below was masterfully styled! Find the books that are vertical and the ones that are horizontal.
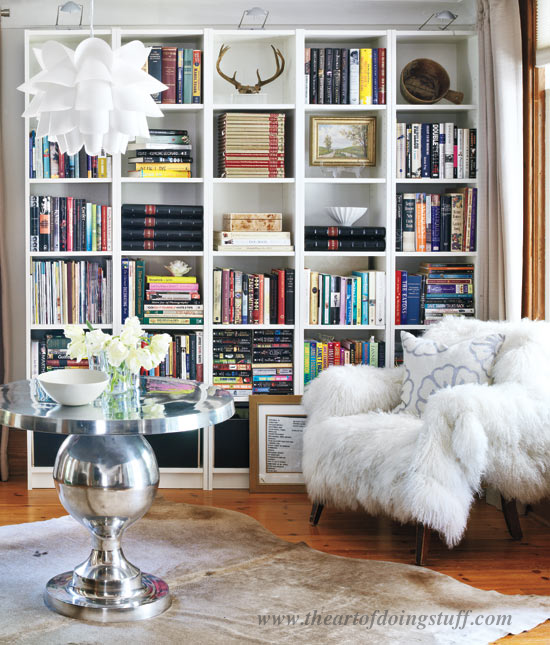
Photo: Donna Griffith for Style at Home via The Art of Doing Stuff
We will touch upon this tip again in Tip#8!
Tip #7. Add Botanicals- If you’ve read THIS post you already know how much I love incorporating plant life (real or fake) indoors. Bookshelves are a great place to display flowers, grasses, branches, and succulents.
via Ballard Designs
Smaller plants like succulents are perfect layered on top of books. Also, flower pots and vases are often rounded so can come in handy when needing a rounded item to balance out a squared item on the bookshelf.
Tip #8. Play Around- It’s important not to expect that if you buy varying shapes of decor items and plunk them down on your shelves in groupings that you will get it right the first time! In reality it will take playing around with different grouping and layering options until it looks satisfactory to you.
I recently refreshed the shelves above our computer. I brought together several items both new and old that I thought could work well on the shelves (8 of them did not make the cut). I played around with them for probably 20 or so minutes trying out several different grouping options until I came up with what’s below.
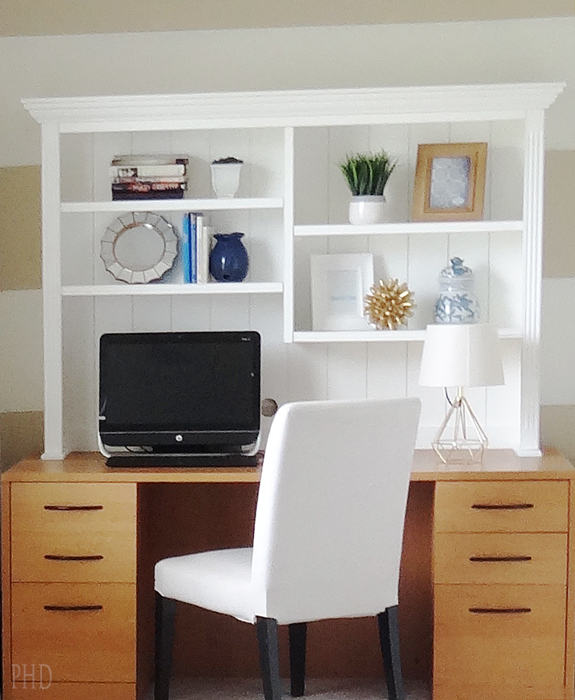
Even professional interior designers with lots more experience styling than me “play around” with their shelves for awhile before they get them picture perfect!
On the left bottom shelf in the picture above I first tried the books horizontally with the round navy vase on top but then I remembered the stagers advice from years ago and turned the books vertically and voila the heavenly angels began to sing!:-)
So don’t be afraid to try to play around with your bookshelves. It’s all part of the learning process!
This was a lot of information so if you are feeling overwhelmed I don’t blame you! Let yourself take a break and come back another time to do the homework exercises. If you aren’t feeling overwhelmed go ahead and look for examples in each photo of the tips we discussed today
I hope this Design 101 post is helpful to you as you go about decorating your shelves! Feel free to share it on Facebook and/or Pinterest below if you feel like it could help others!
Have a wonderful weekend!!:-)

Related Posts From the Blog:
 Outdoor Furniture & Decor Deals
 What I’ve Learned in my First Year of Blogging & a Favor to Ask
 Tool Time with Tamara- Air Compressor and Nail Gun Kit
 Benjamin Moore’s 2018 Color of the Year
 My Christmas Home Tour & More
 New Build- Bonus Room Reveal
 One Room Challenge Week 5- One Week Left!
 20+ Budget-Friendly Drapes