A month or so back I mentioned in one of my posts about wanting to tear up the carpet on my stairs. Well I did and project Replace Carpet with Stair Runner is done!
Are you ready for some before and afters??
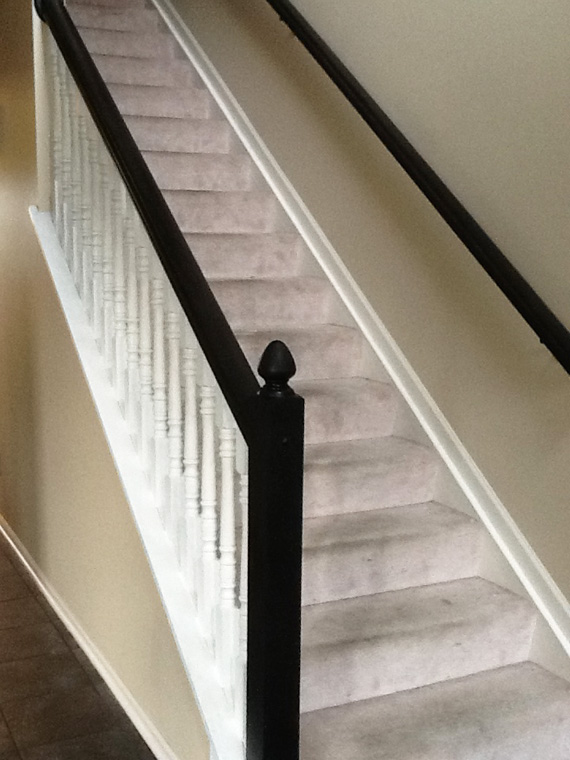
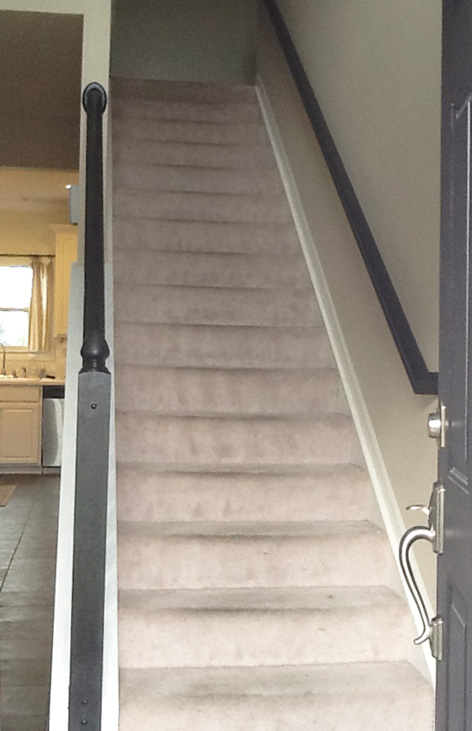
The Before– A boring beige carpet that was a magnet for dirt and cat hair.
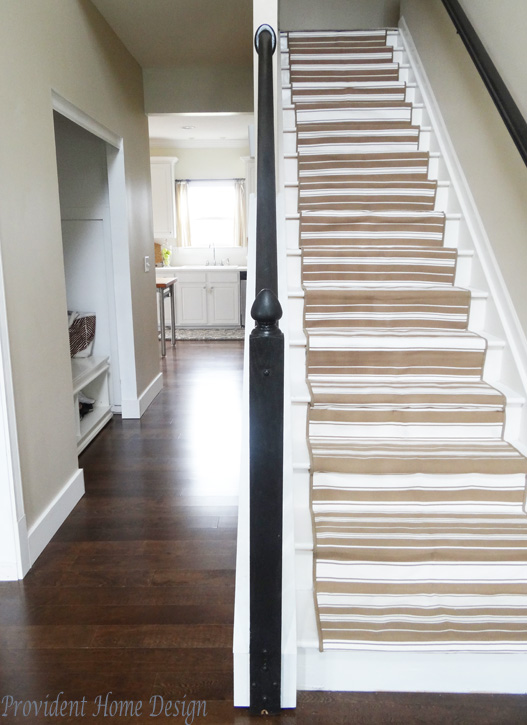
The After-A fresh, clean runner protected with Scotch Guard
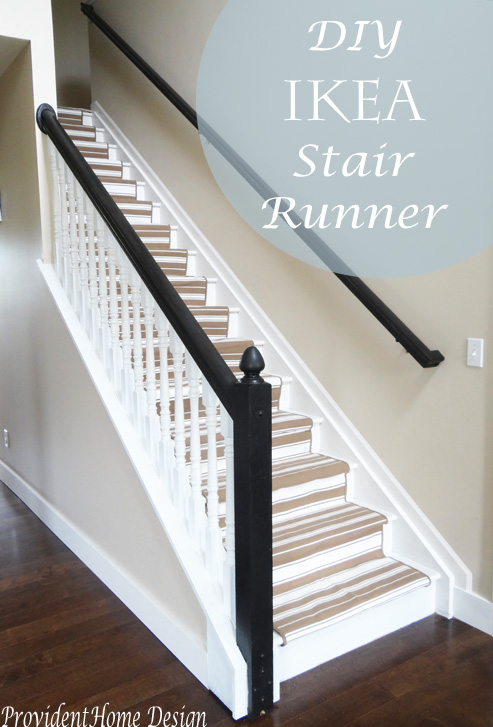
I’m super happy with how it turned out and the lightness and brightness it brings to the entryway.
Before:
After:
Big Difference, isn’t it?? (shake your head and nod, yes):-)
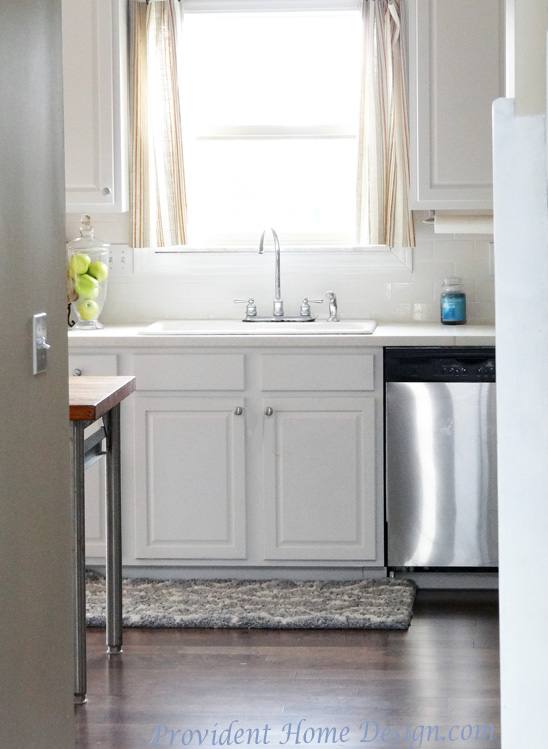
As you may have noticed in the photo above our kitchen gets a lot of light and our front entry is 2-story with a window so it gets light but the hallway going to our kitchen is always dim.
I always feel like when I invite guests over I have to take them through a dark tunnel (my hallway) and I feel the need to encourage them to “go towards the light, go towards the light”.
A project I plan to do in the future to hopefully lighten up the hallway is to paint it all white and add decorative molding! I’m excited! So excited that I created a terrible photoshopped picture of it all white and boxed up in molding.

I know it’s an absolutely hideously lazy photoshop job but it still makes me excited.:-)
Okay, sorry, back to the stairs! Do you wonder how much this DIY stair runner cost? Most stairs runners cost over $200 even DIY-ed. This cost me about $65.
A few months ago when I went to IKEA (a 4 hour round trip) to buy some items for the boys’ room makeover I also went to check out a rug runner I thought could work as a stair runner.

Above is the one, the Alslev Rug. It comes in 2 sizes a 2 ‘ 7 “x 4 ‘ 11” for $16.99 and a 2 ‘ 7 “x 6 ‘ 7 ” for $19.99.
The weekend I went I lucked because there was a deal going on where you could purchase the Alslev Rug smaller size for $9.99 and longer size for $12.99 if you were an IKEA Family card member. I signed up to be a IKEA Family card member to get the deal!
I came home with 3 smaller sizes and 2 longer size. In retrospect I wish I would have just bought all of the longer sizes even if it did cost a little bit more.
One reason is because it looks better and installs quicker using the longer rugs and second reason because although the description says the two sizes are the same width (2’ 7”) the longer rug was actually about an inch to an 1 /1/2 less wide.
So here is the Project Replace Carpet with Stair Runner tutorial:
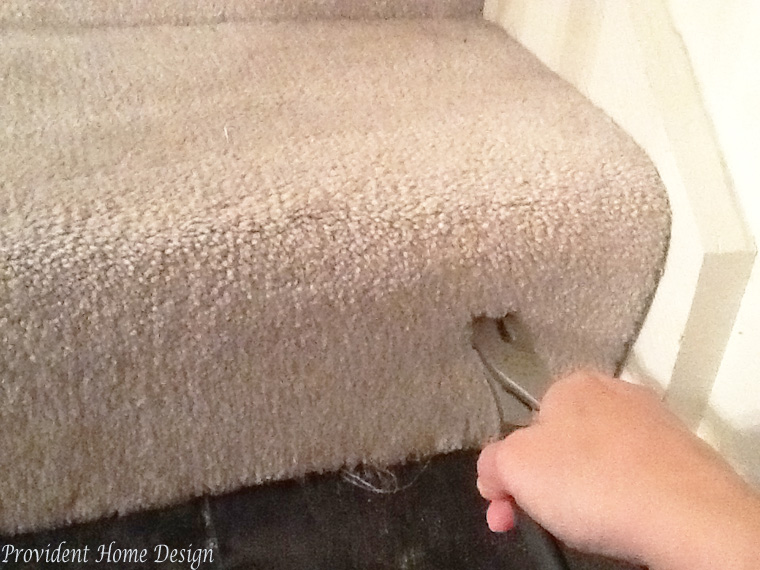
1. I started with the bottom step by using pliers to pull carpet away from stairs.
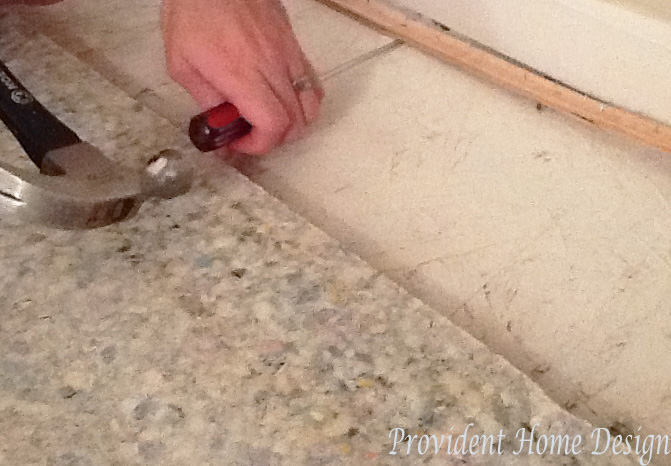
2. Once you get the carpet up this is what you will see. The blue stuff is the carpet padding and the arrows show where the nail strips are.
With a flat head screw driver up against the nail strip strike the end of the screw driver with a hammer until you can get under the nail strip and pull it up (you may want to use gloves during this step).
TIP: Getting the nail strips up is the longest part of the process. I only had a little bit of time each night to work on this project so I did a few steps at a time and then put the carpet back down over the steps. I wouldn’t pull the whole carpet off the stairs all at the beginning unless you knew you were going to have the time to get all the nail strips up in one big block of time.
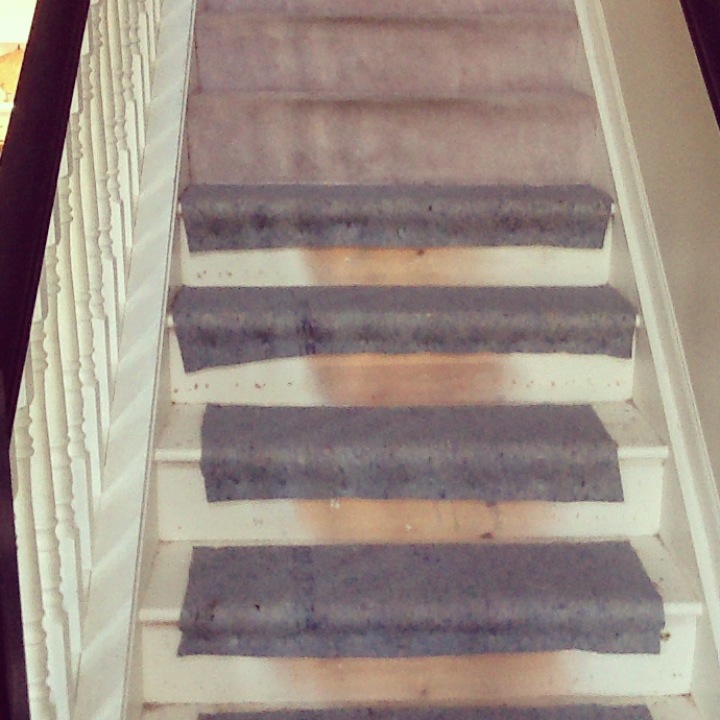
3. Once the strips were up I cut away the edges of my carpet padding. I knew I wanted to keep the carpet padding for the stair runner because then I would have to buy new ones plus it was conveniently there.
So with scissors I just trimmed away the padding on the sides (as shown in the first couple of steps) and then removed the staples that had been used to keep the padding down on the sides. To get up the staples just use your flathead screw driver to get up under the staple and pop it up.
4. There will be some holes and imperfections left from the staples and nail strips so the next step is to patch up the imperfections. I used spackle and a putty knife to fill in holes and to scrape excess spackle away.
5. Once the spackle is dry lightly sand and wipe away dust and debris.
6. Now you are ready to paint! I gave the sides of the stairs(where the runner wouldn’t cover) a fresh coat white paint.
7. Next I followed the tutorial over at Young House Love for installing the runners. You can find it HERE.
I will let you know how the new stair runner holds up! I’m really hoping that the scotch guard can keep it fresh and clean! I figure if it gets dingy after a few years it didn’t cost too much so I could rationalize taking it off and staining the steps to match the new hardwoods and to do the beautiful brown and white look!
In the meantime I’m enjoying the new stairs:-)
Has anyone else tackled their stairs and have additional advice to share?
Related Posts From the Blog:
 10 Steps to a Beautiful Master Bedroom
 12 Days of Christmas Recap & Link Up Party
 A Bit of Everything- A Recipe & Halloween Decorating
 Need a Valentine’s Gift Idea?
 No-Fail Abstract Painting Tutorial
 Tips & Tricks to Getting Free Furniture
 Design 101-Masculine vs. Feminine
 Free Abstract Art Printables (and Week 5 ORC Update)