Hello! I hope you’ve had a good week! Earlier in the week I was at Remodelaholic.com sharing the steps I took to make a Cornhole Set from a pallet. I love how the game turned out and will share some sneak peeks of it at the end of this post.
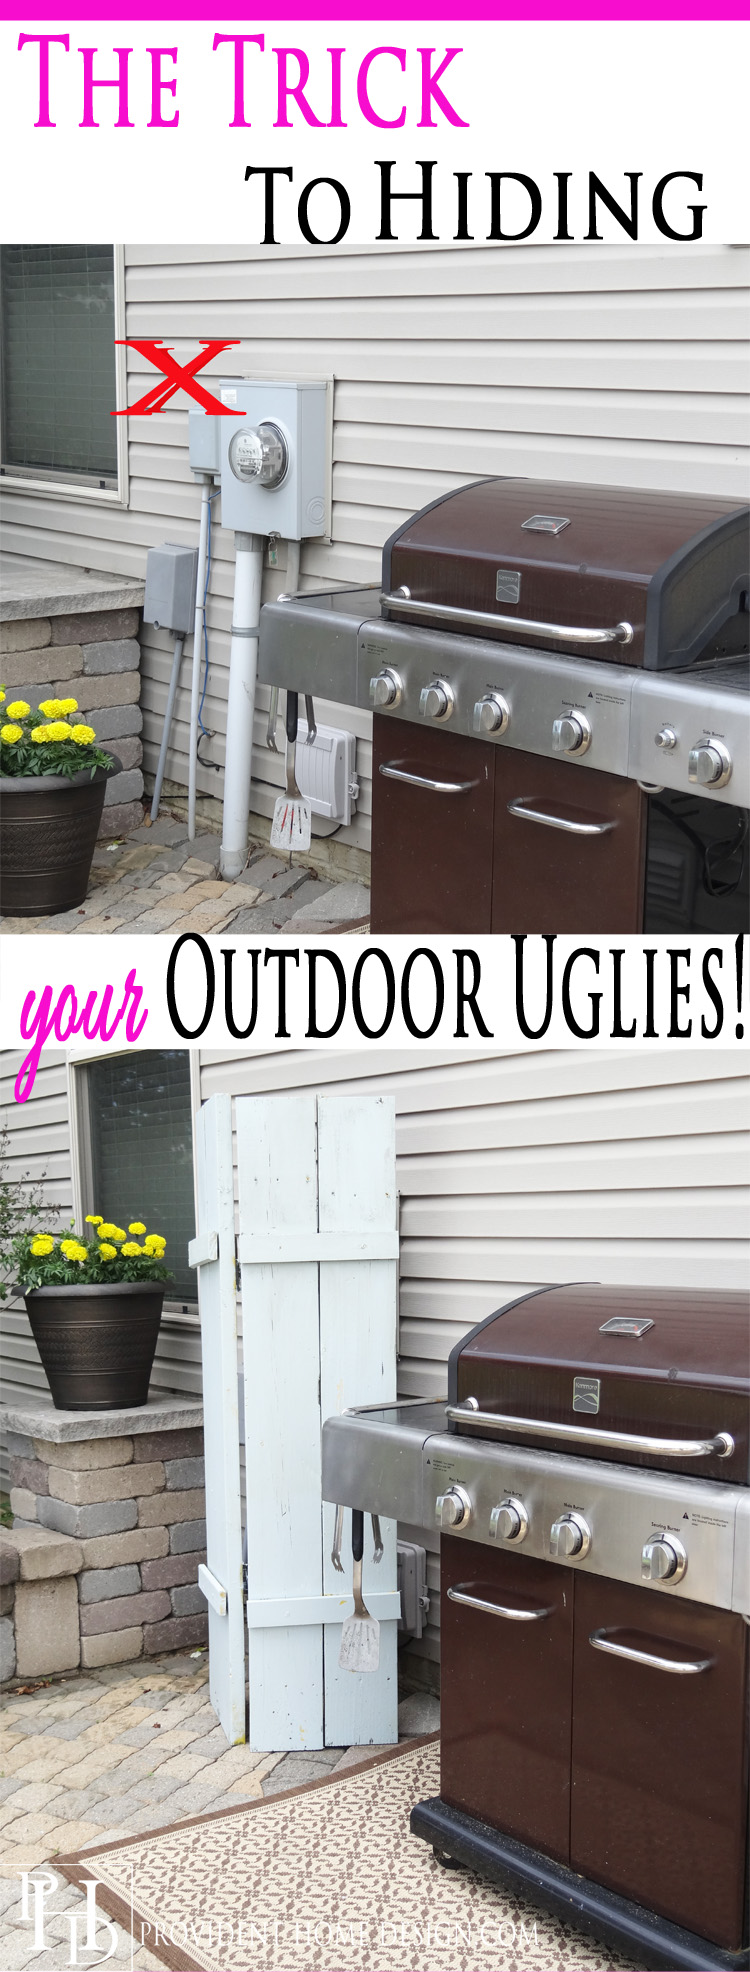
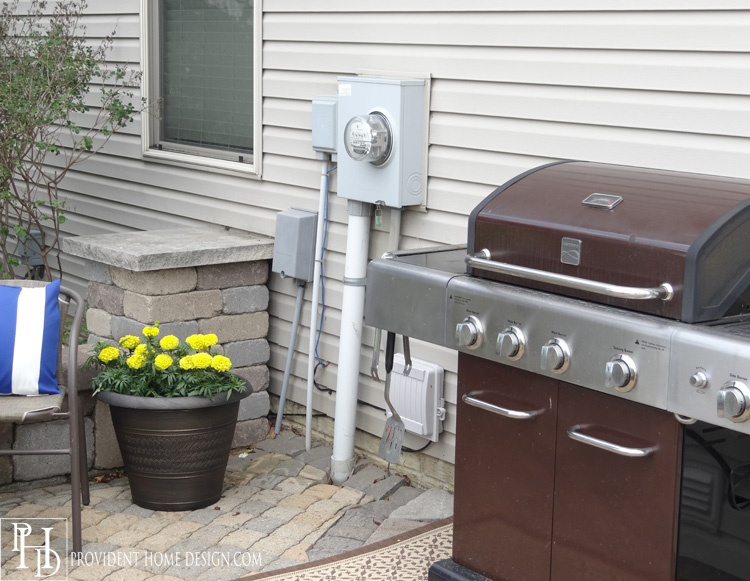
Today though I want to talk about the uglies in our yards that we have no control over! Yes, the water meters and other utility fixtures.
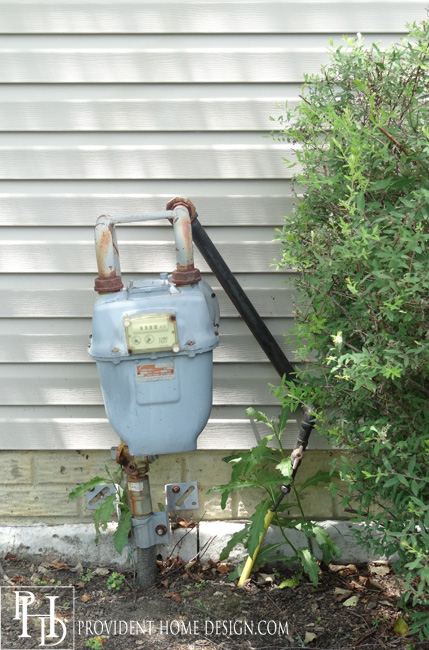
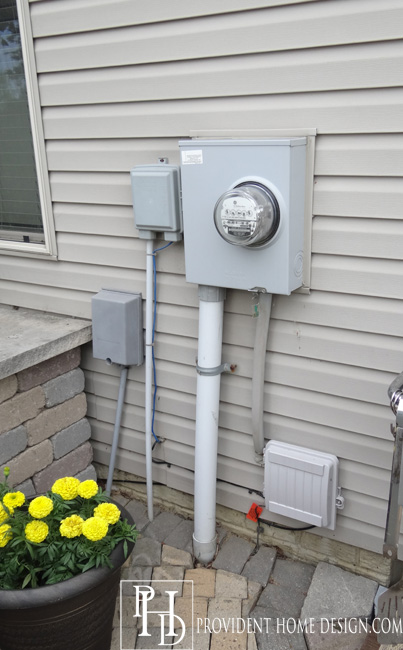
I know they serve an important purpose and are functional but they sure don’t make them aesthetically pleasing (where was the landscape designer at that meeting?)! As shown above I have one on the side of my house and one on my back patio.
They’ve got to figure out a better way to do it (and not only for the aesthetic reasons)! Earlier this month I was out in the back weeding the flower beds. I was having a peaceful break from the kids until I heard a loud man’s voice right behind me from out of the blue. I about had a heart attack and made an audible “aahh” and a noticeable jump to my feet.
Oh, sorry, Ma’am I was trying not to scare you…just checking the water meter! Ugghh, little did he know he almost got Kung Fu chopped!:-)
Thankfully though I’ve got a great DIY solution for those pesky, unattractive utility fixtures!
While on Hometalk recently I was inspired by the photo below. This is a photo of some old shutters pieced together to hide her utility fixtures. I thought it was brilliant!
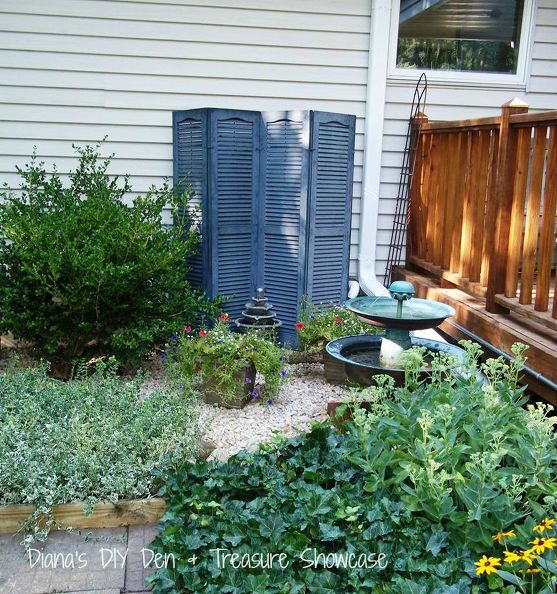
via HomeTalk
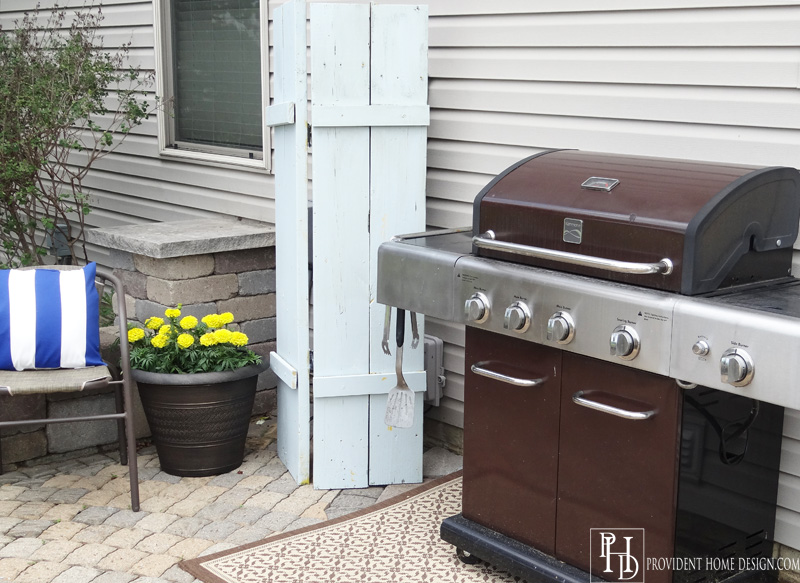
I didn’t have any old shutters but I did have some wood in my garage that I could use. I decided to craft my own shutters. What do you think?
Before:
After:
This is a very simple, easy project even a beginner could do. I had some wood on hand but an excellent option of wood for this project are the pressure- treated 6ft. fence boards found HERE.
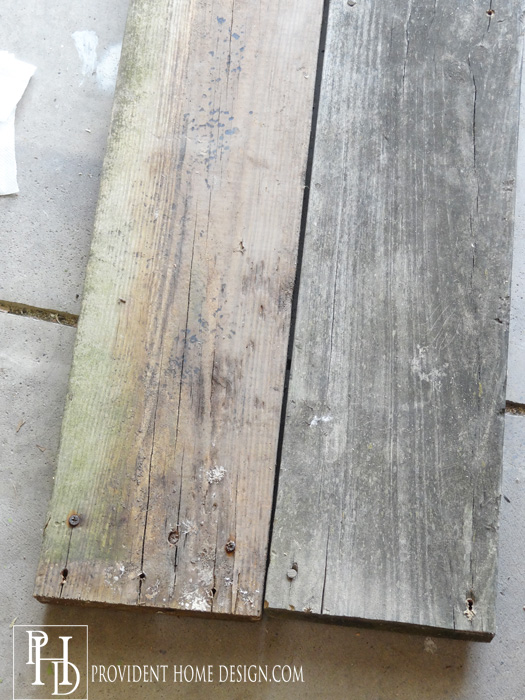
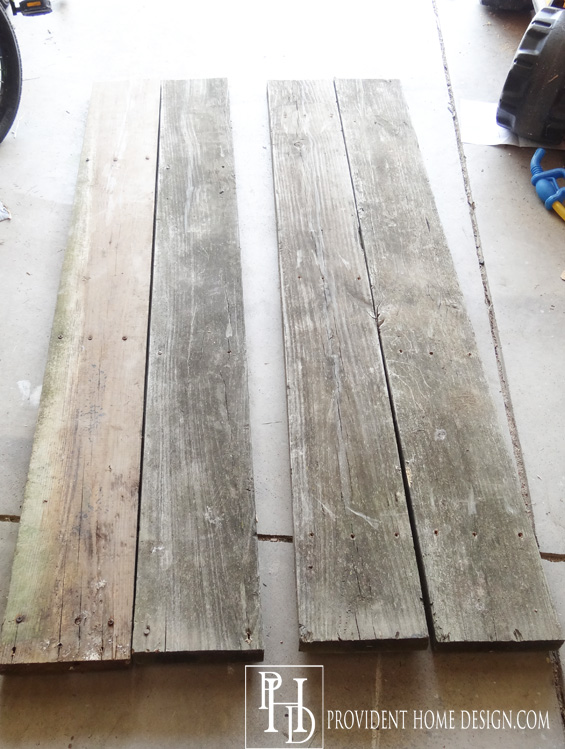
The fence boards are only a $1.20 a board and since they are 5 1/2 inches wide (mine are 7 inches wide) I would do 3 on each side for a total of 6 boards (I used a total of 4 boards because my boards were wider). I cut my boards to a height of 62.5 inches.
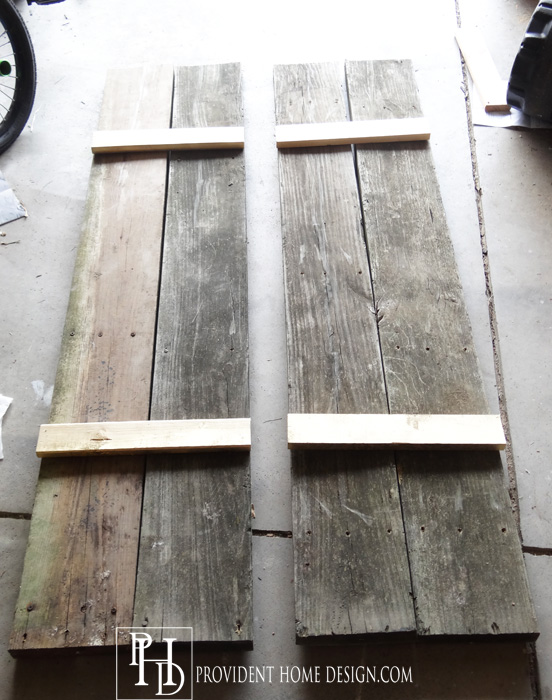
Assuming you will use the fence boards set the boards down next to each other in two groups of three.
Next lay a 1×3 cut to width of each shutter panel. If you do two panels of three boards of fencing then you will need (4) 1×3’s cut to 16.5 inches long. Mine were 14 inches long.
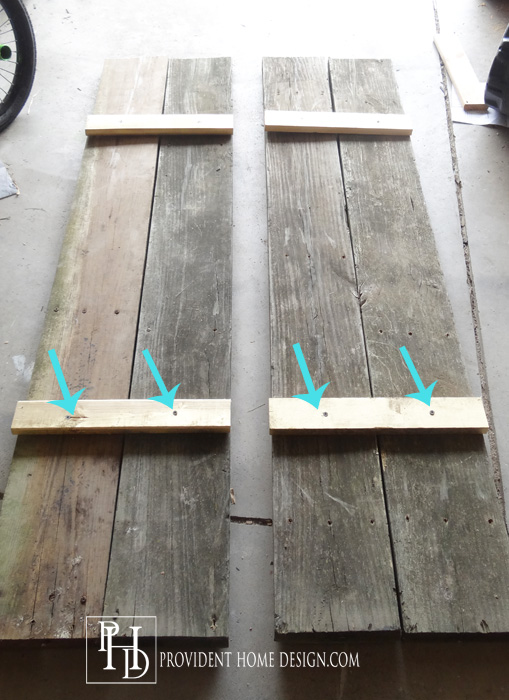
Drill 2 inch screws in each board as shown below. Do the top section the same as the bottoms.
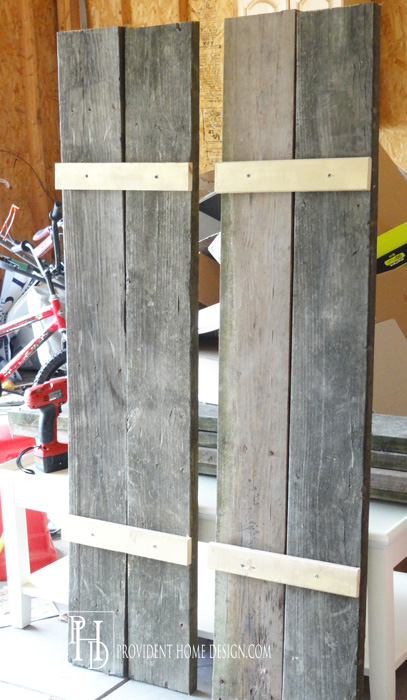
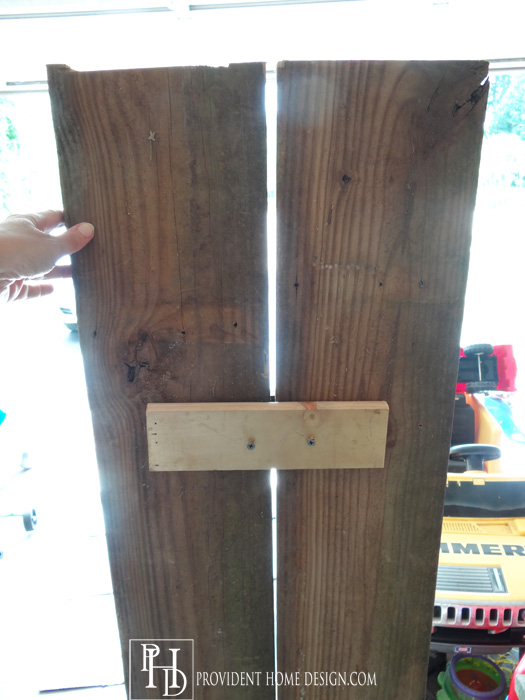
On the backside of the boards attach two more 1×3’s on each panel to reinforce the ones on the front as shown below.
Now drill in 2 door hinges to hold the panels together. Make sure the hinge can close all the way towards you before attaching it.
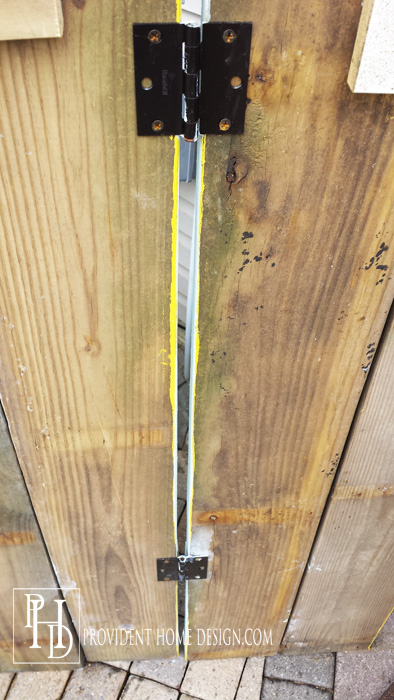
Now you can paint or stain it to your hearts content! I thought bright yellow would be a fun pop of color until I got it in it’s place and stepped back. Paired with the brown grill it reminded me of two things– McDonald’s (?) and potty words.

Hence, I painted over it in a bright light blue! Much better than the yellow and definitely much better than utilities.
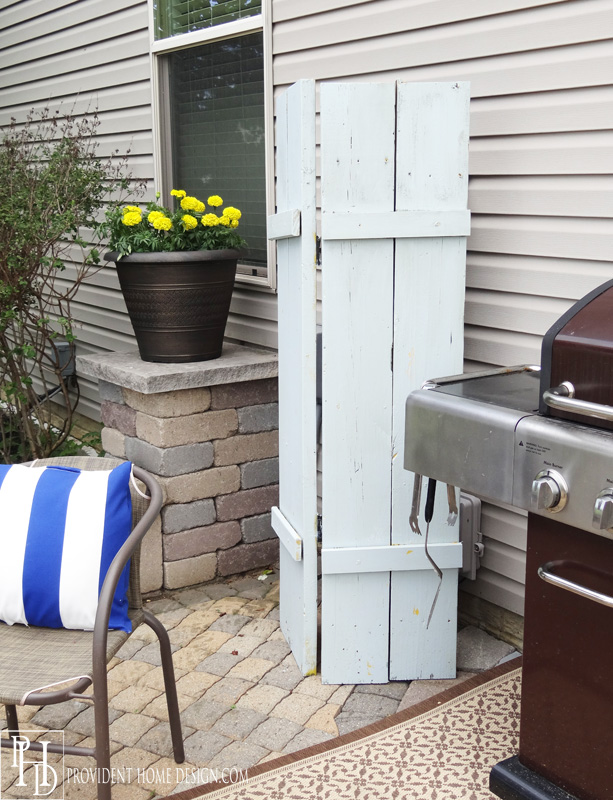
And when the water meter guy comes again to scare me he can easily pull back the panels to read the meter. Think you will give this a try?
As promised here are your sneak peek photos of the DIY Cornhole Set. The kids have been enjoying it (as well a certain adult).
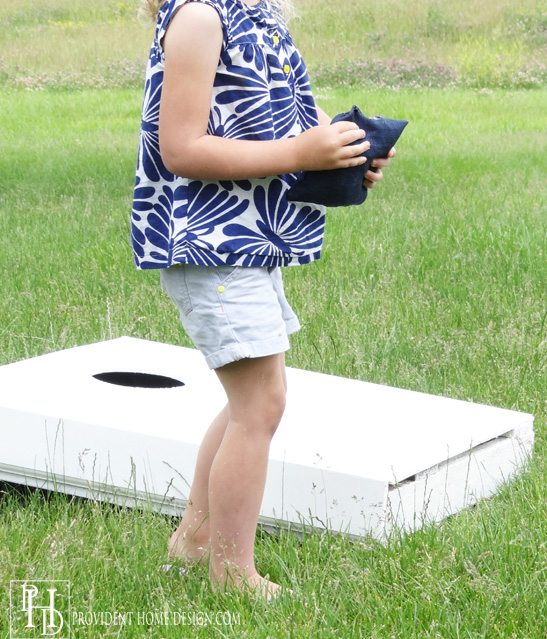
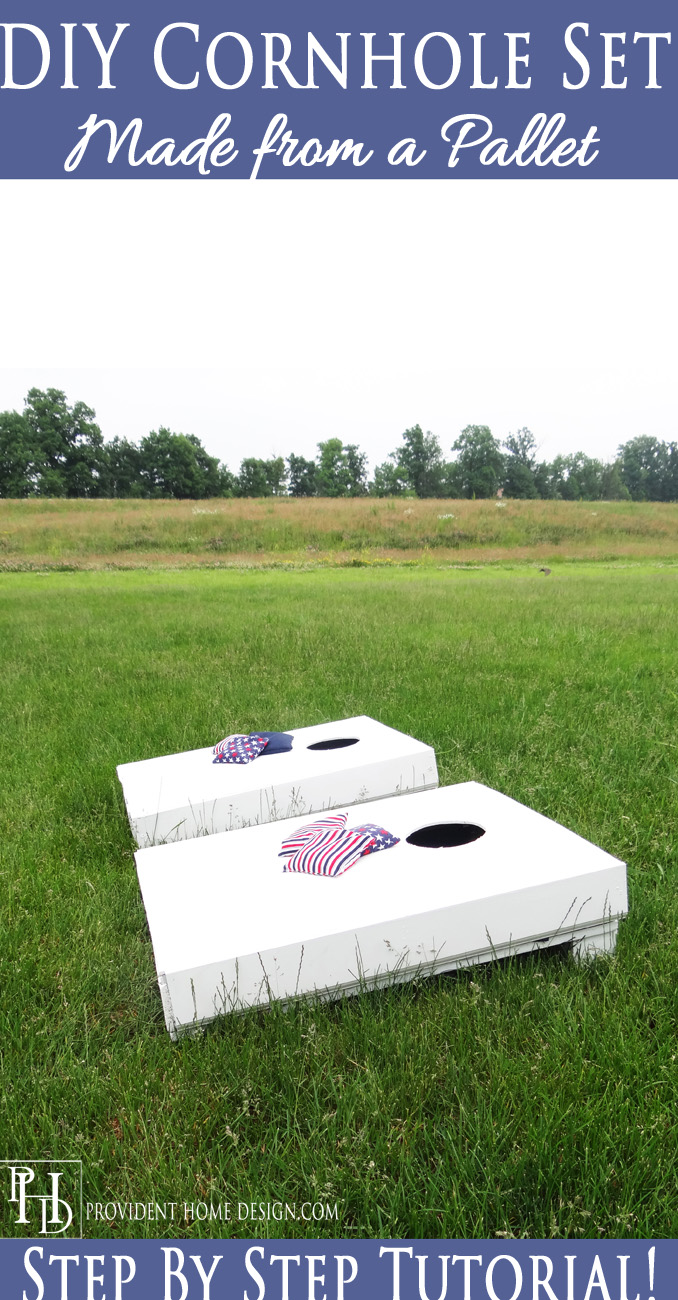
You can find the tutorial for the cornhole set, Here!
Hoping to get the laundry room makeover I’ve been working on done in time for next weeks post! As always, thanks for being here!