Provident Home Design

Decor, DIY, and Interior Design

  • HOME
  • ABOUT
    • About PHD
    • Contact Me
  • DIY PROJECTS
  • DESIGN 101
  • PAINT
  • HOME TOUR
  • DESIGN INSPO
  • DECOR TIPS

GET NOTIFIED VIA EMAIL WHEN THERE'S A NEW POST!

Best Tip for Picking the Right Paint Color for a Room

So, in the past when I’ve tried to decide on a paint color for a room I would pick up a few paint samples and paint them on the wall.  It used to drive my craaazy because I would have 3+ colors on the wall next to each other and it would be so hard for me to imagine the room with only one specific color when all the other colors were right next to it!

Well, I have since found a better method for trying out paint colors and have put the ax on painting colors directly on the wall!

No painting samples on wall


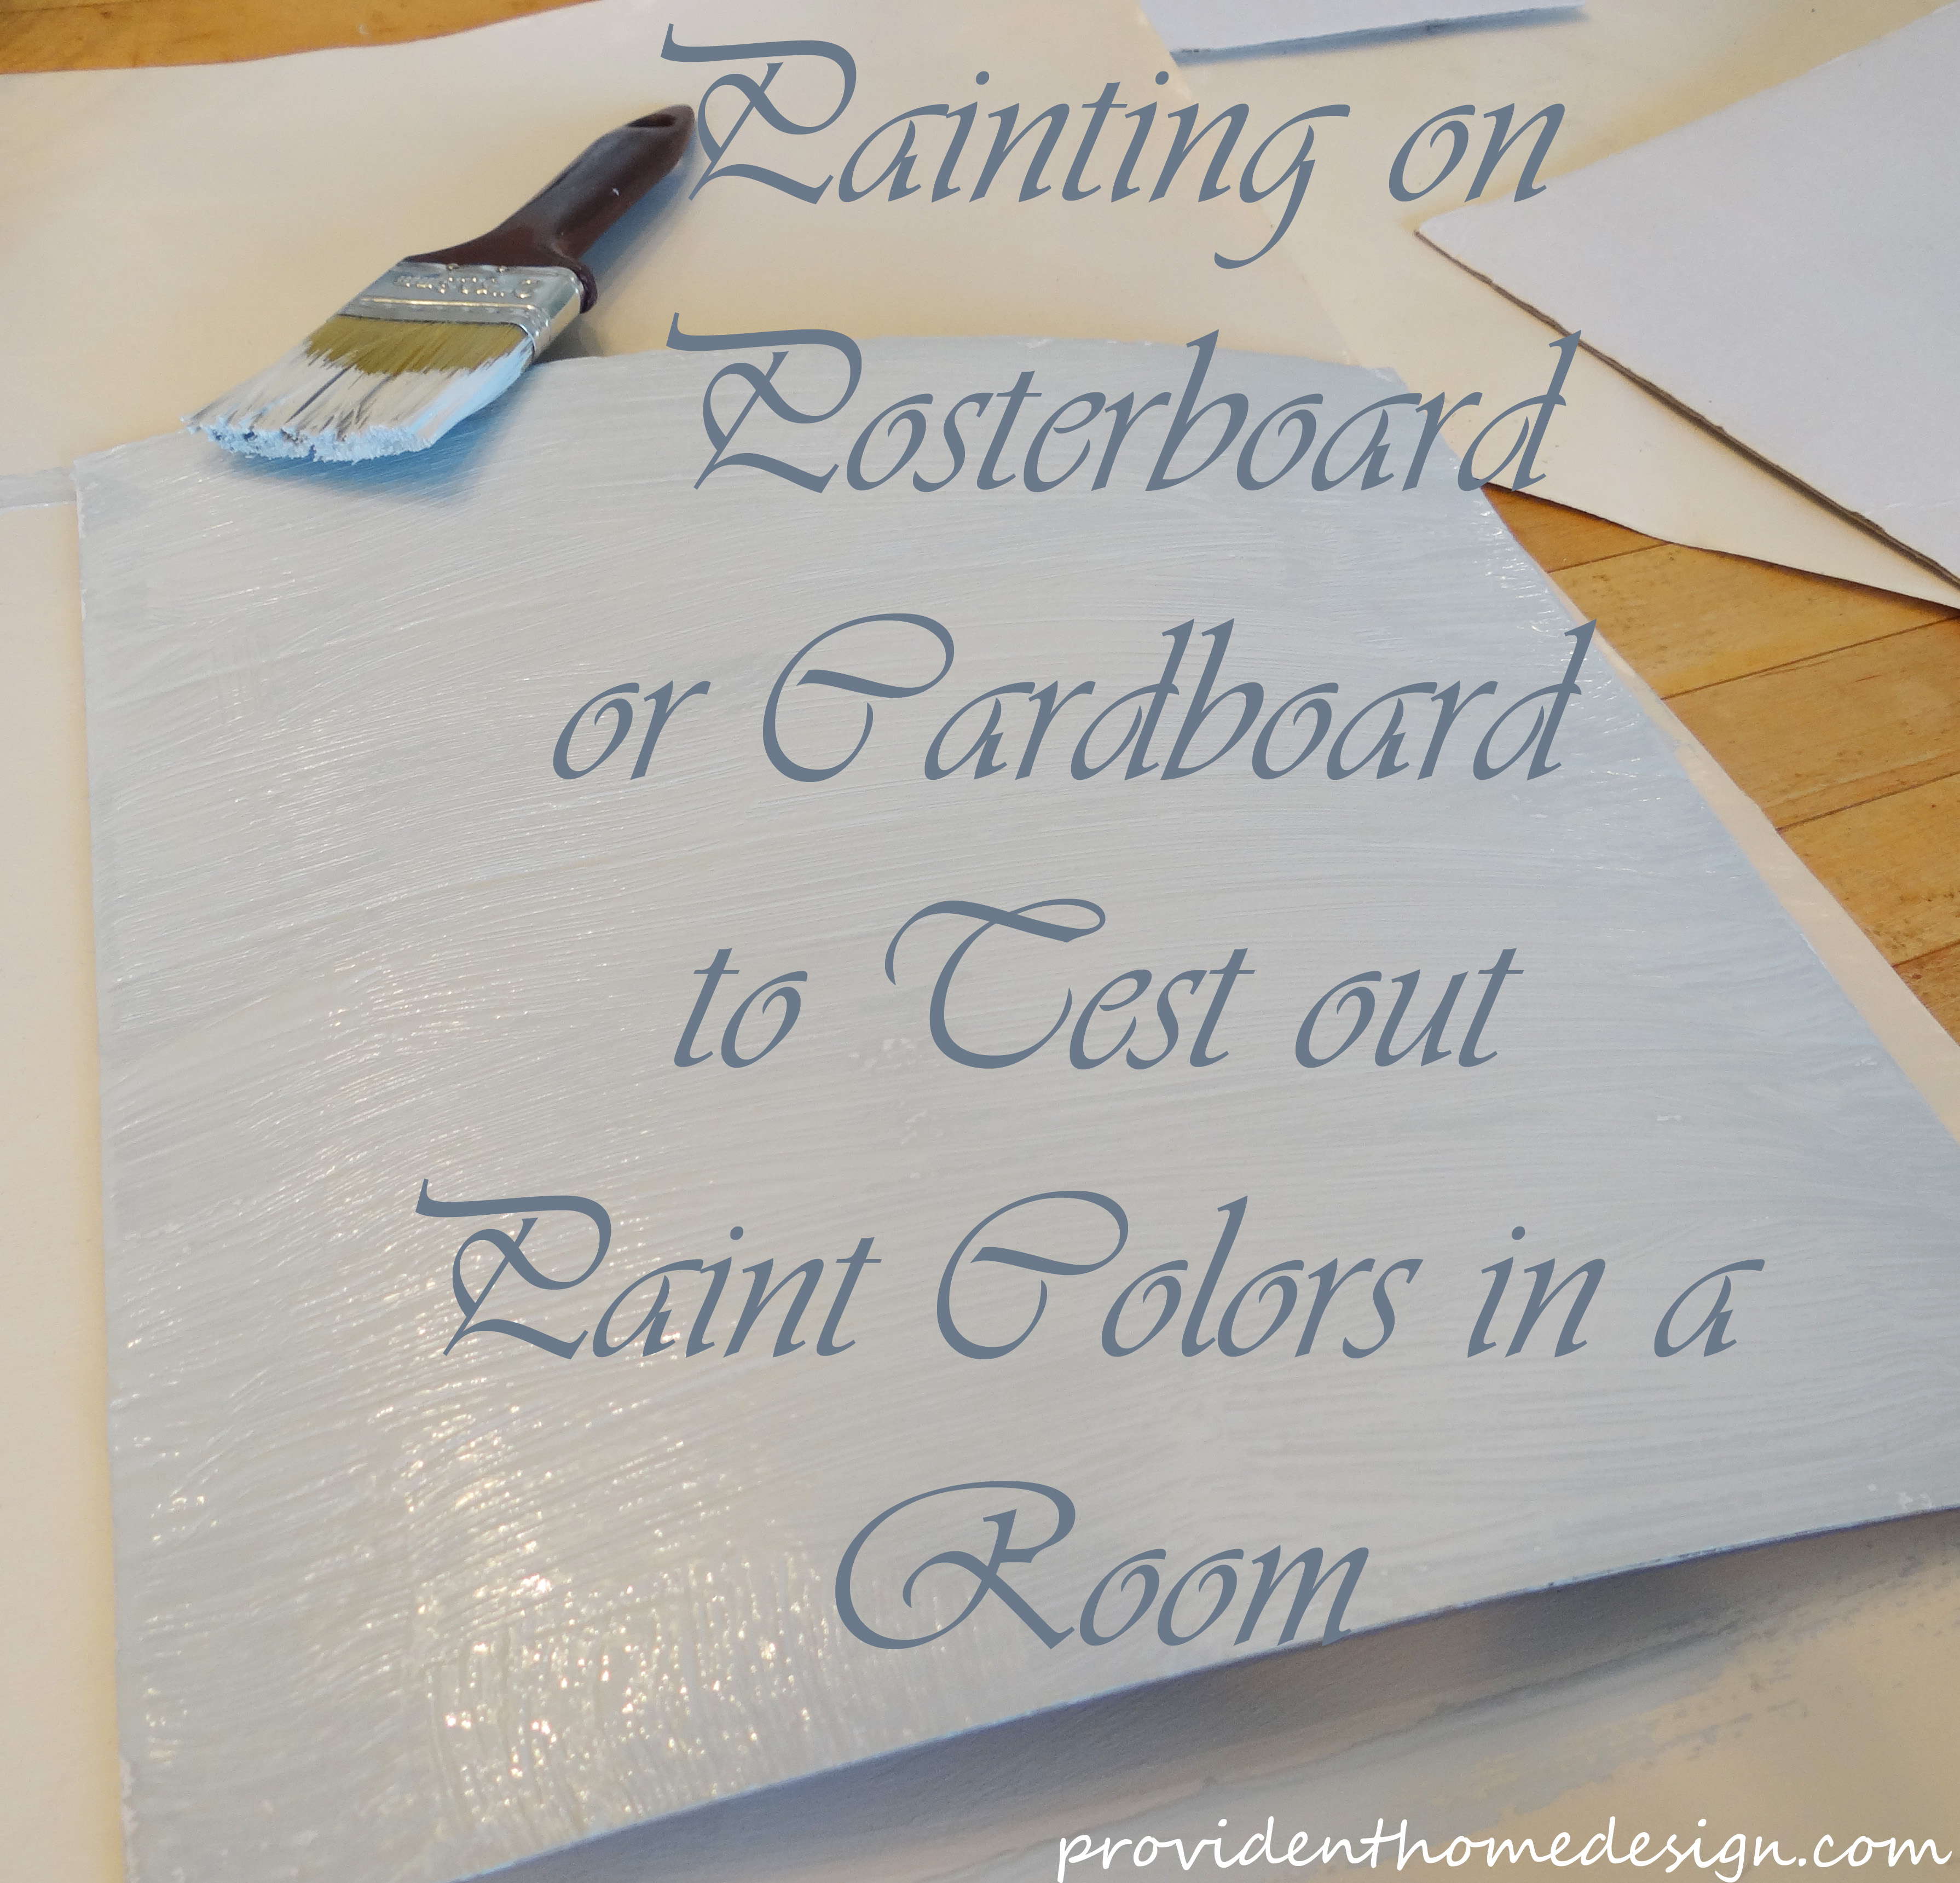
Now what I do is get poster board at the dollar store (they are only 50 cents a piece) and paint each poster board a different color.  I will usually pick up a 3-pack ($1) of brushes while I am  there.  For this particular project I happened to have some white cardboard on hand so I just used it instead of poster board.

paint


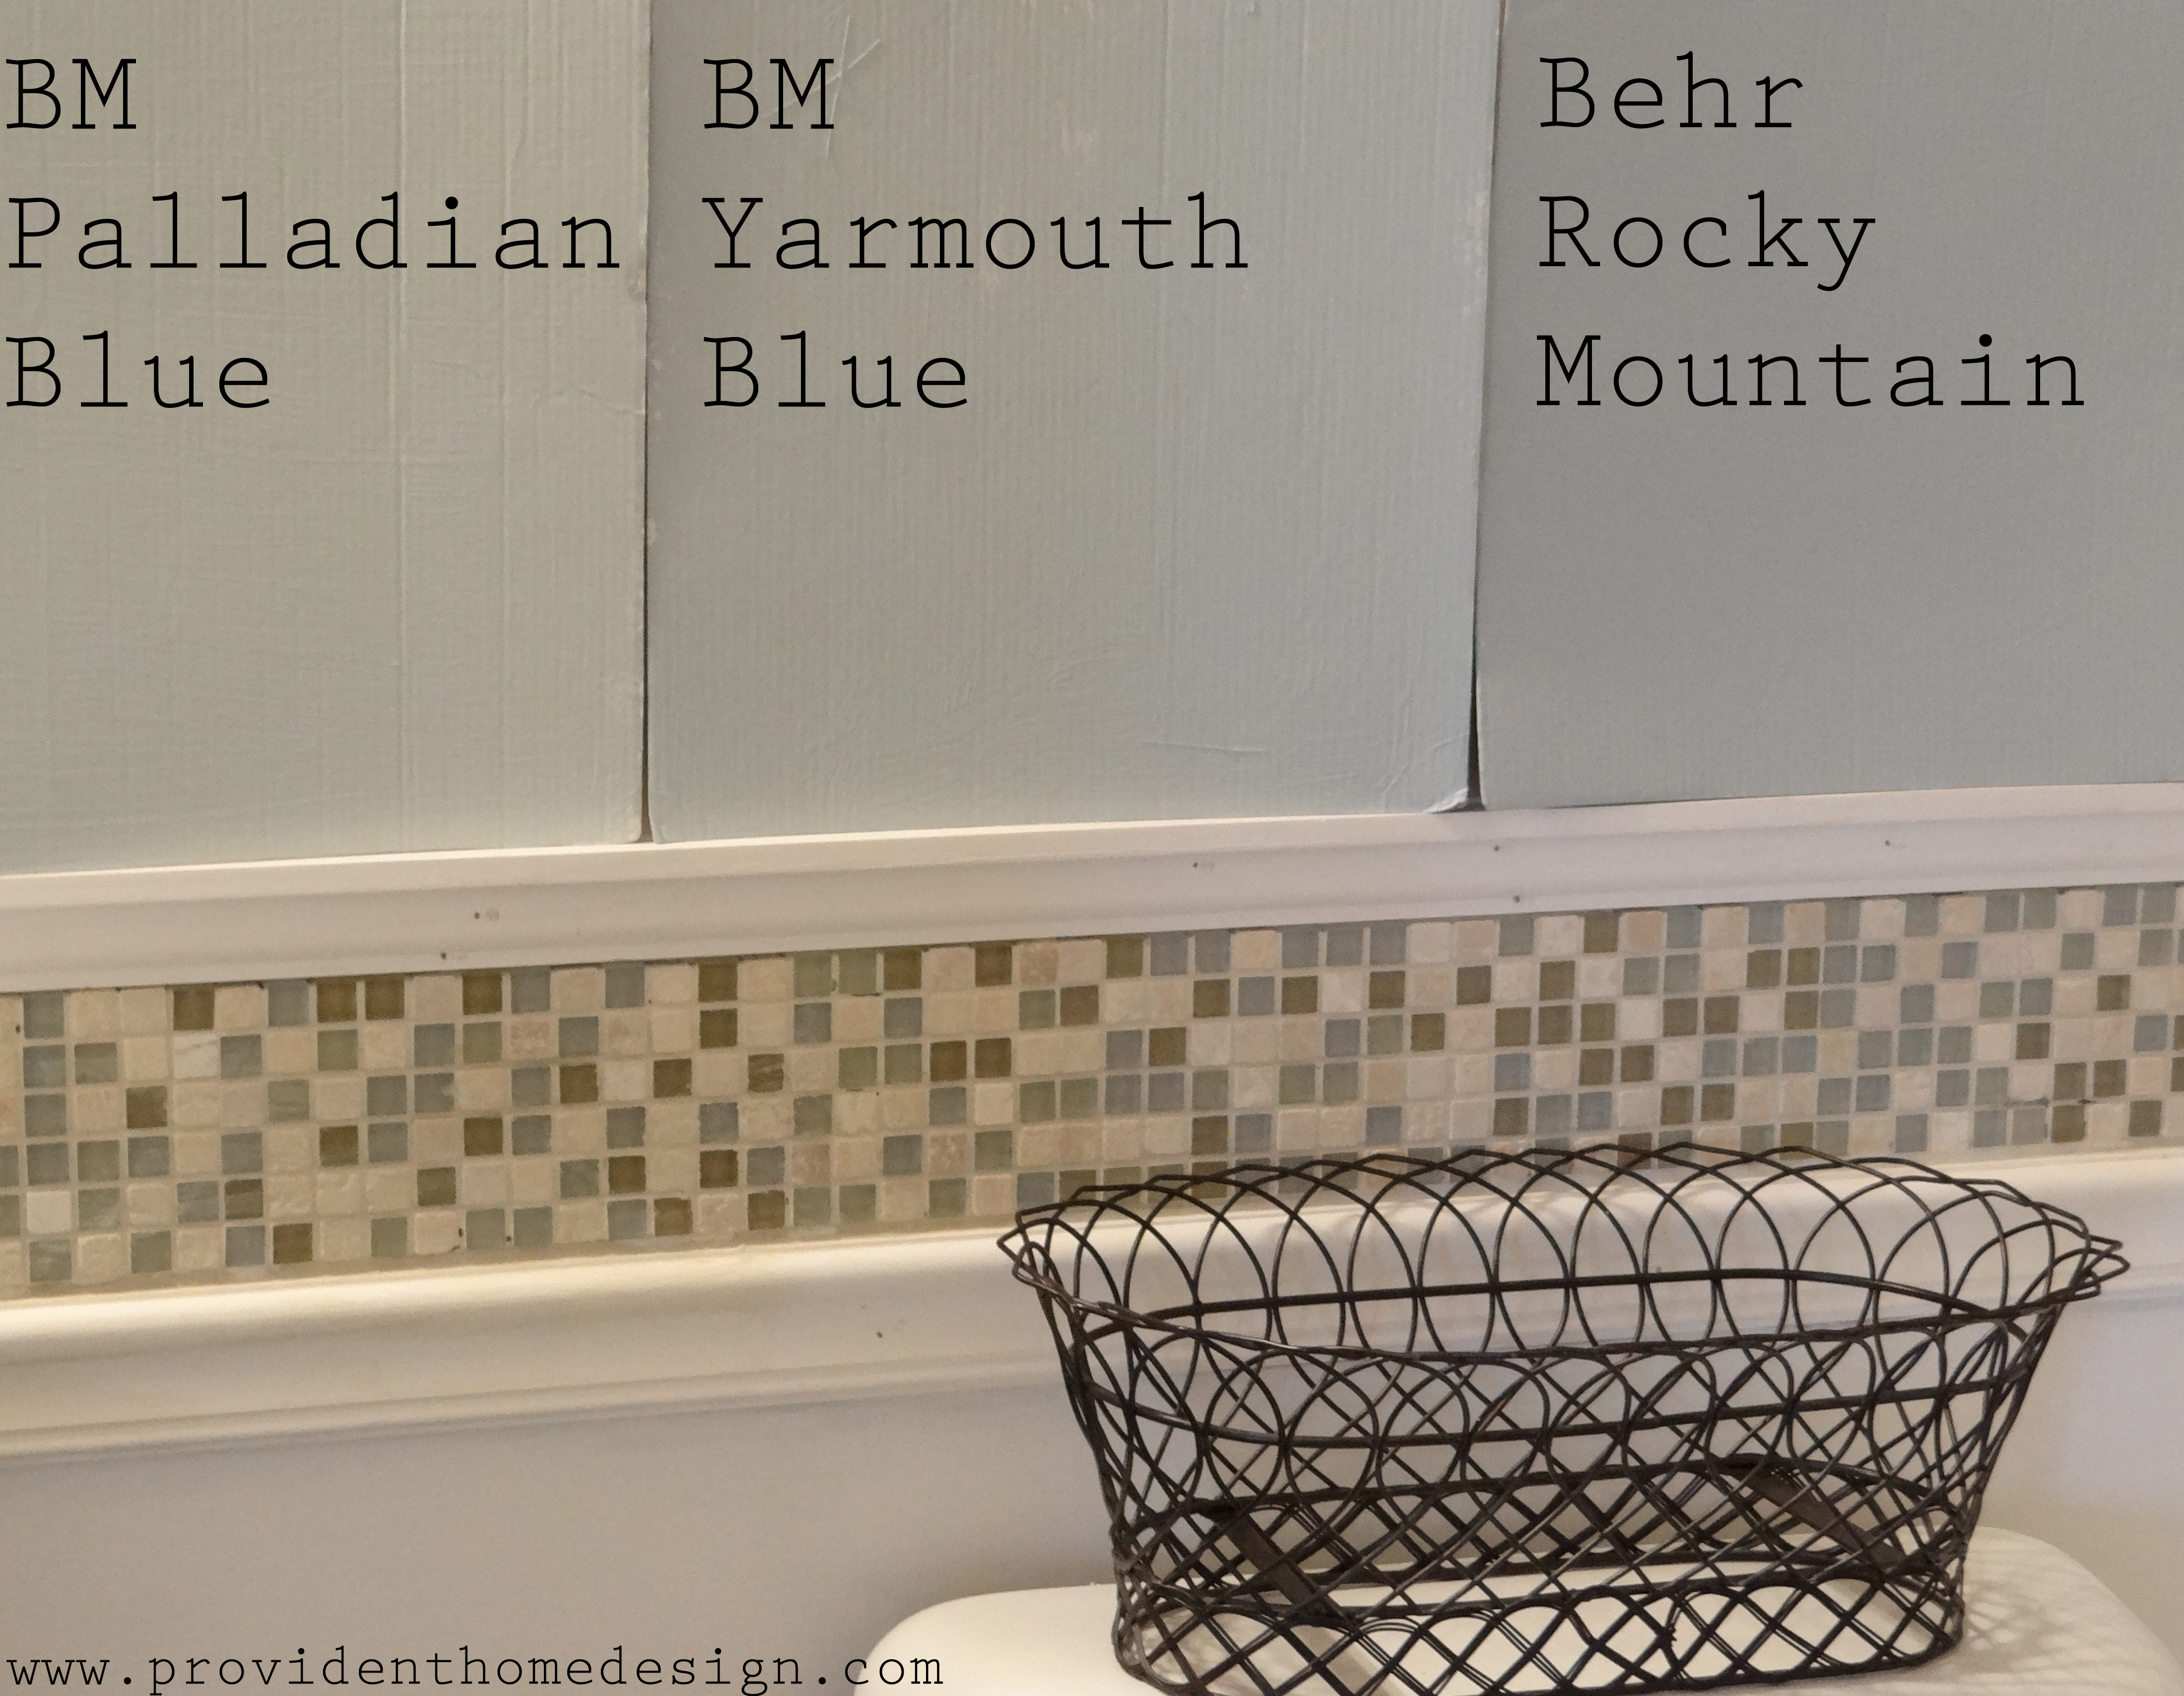
I favor this method because it gives me lots of options.   I can view the colors in the room together.

Paint colors


Or I can have just one color up at a time and view it separately.

bmyarmouthblue


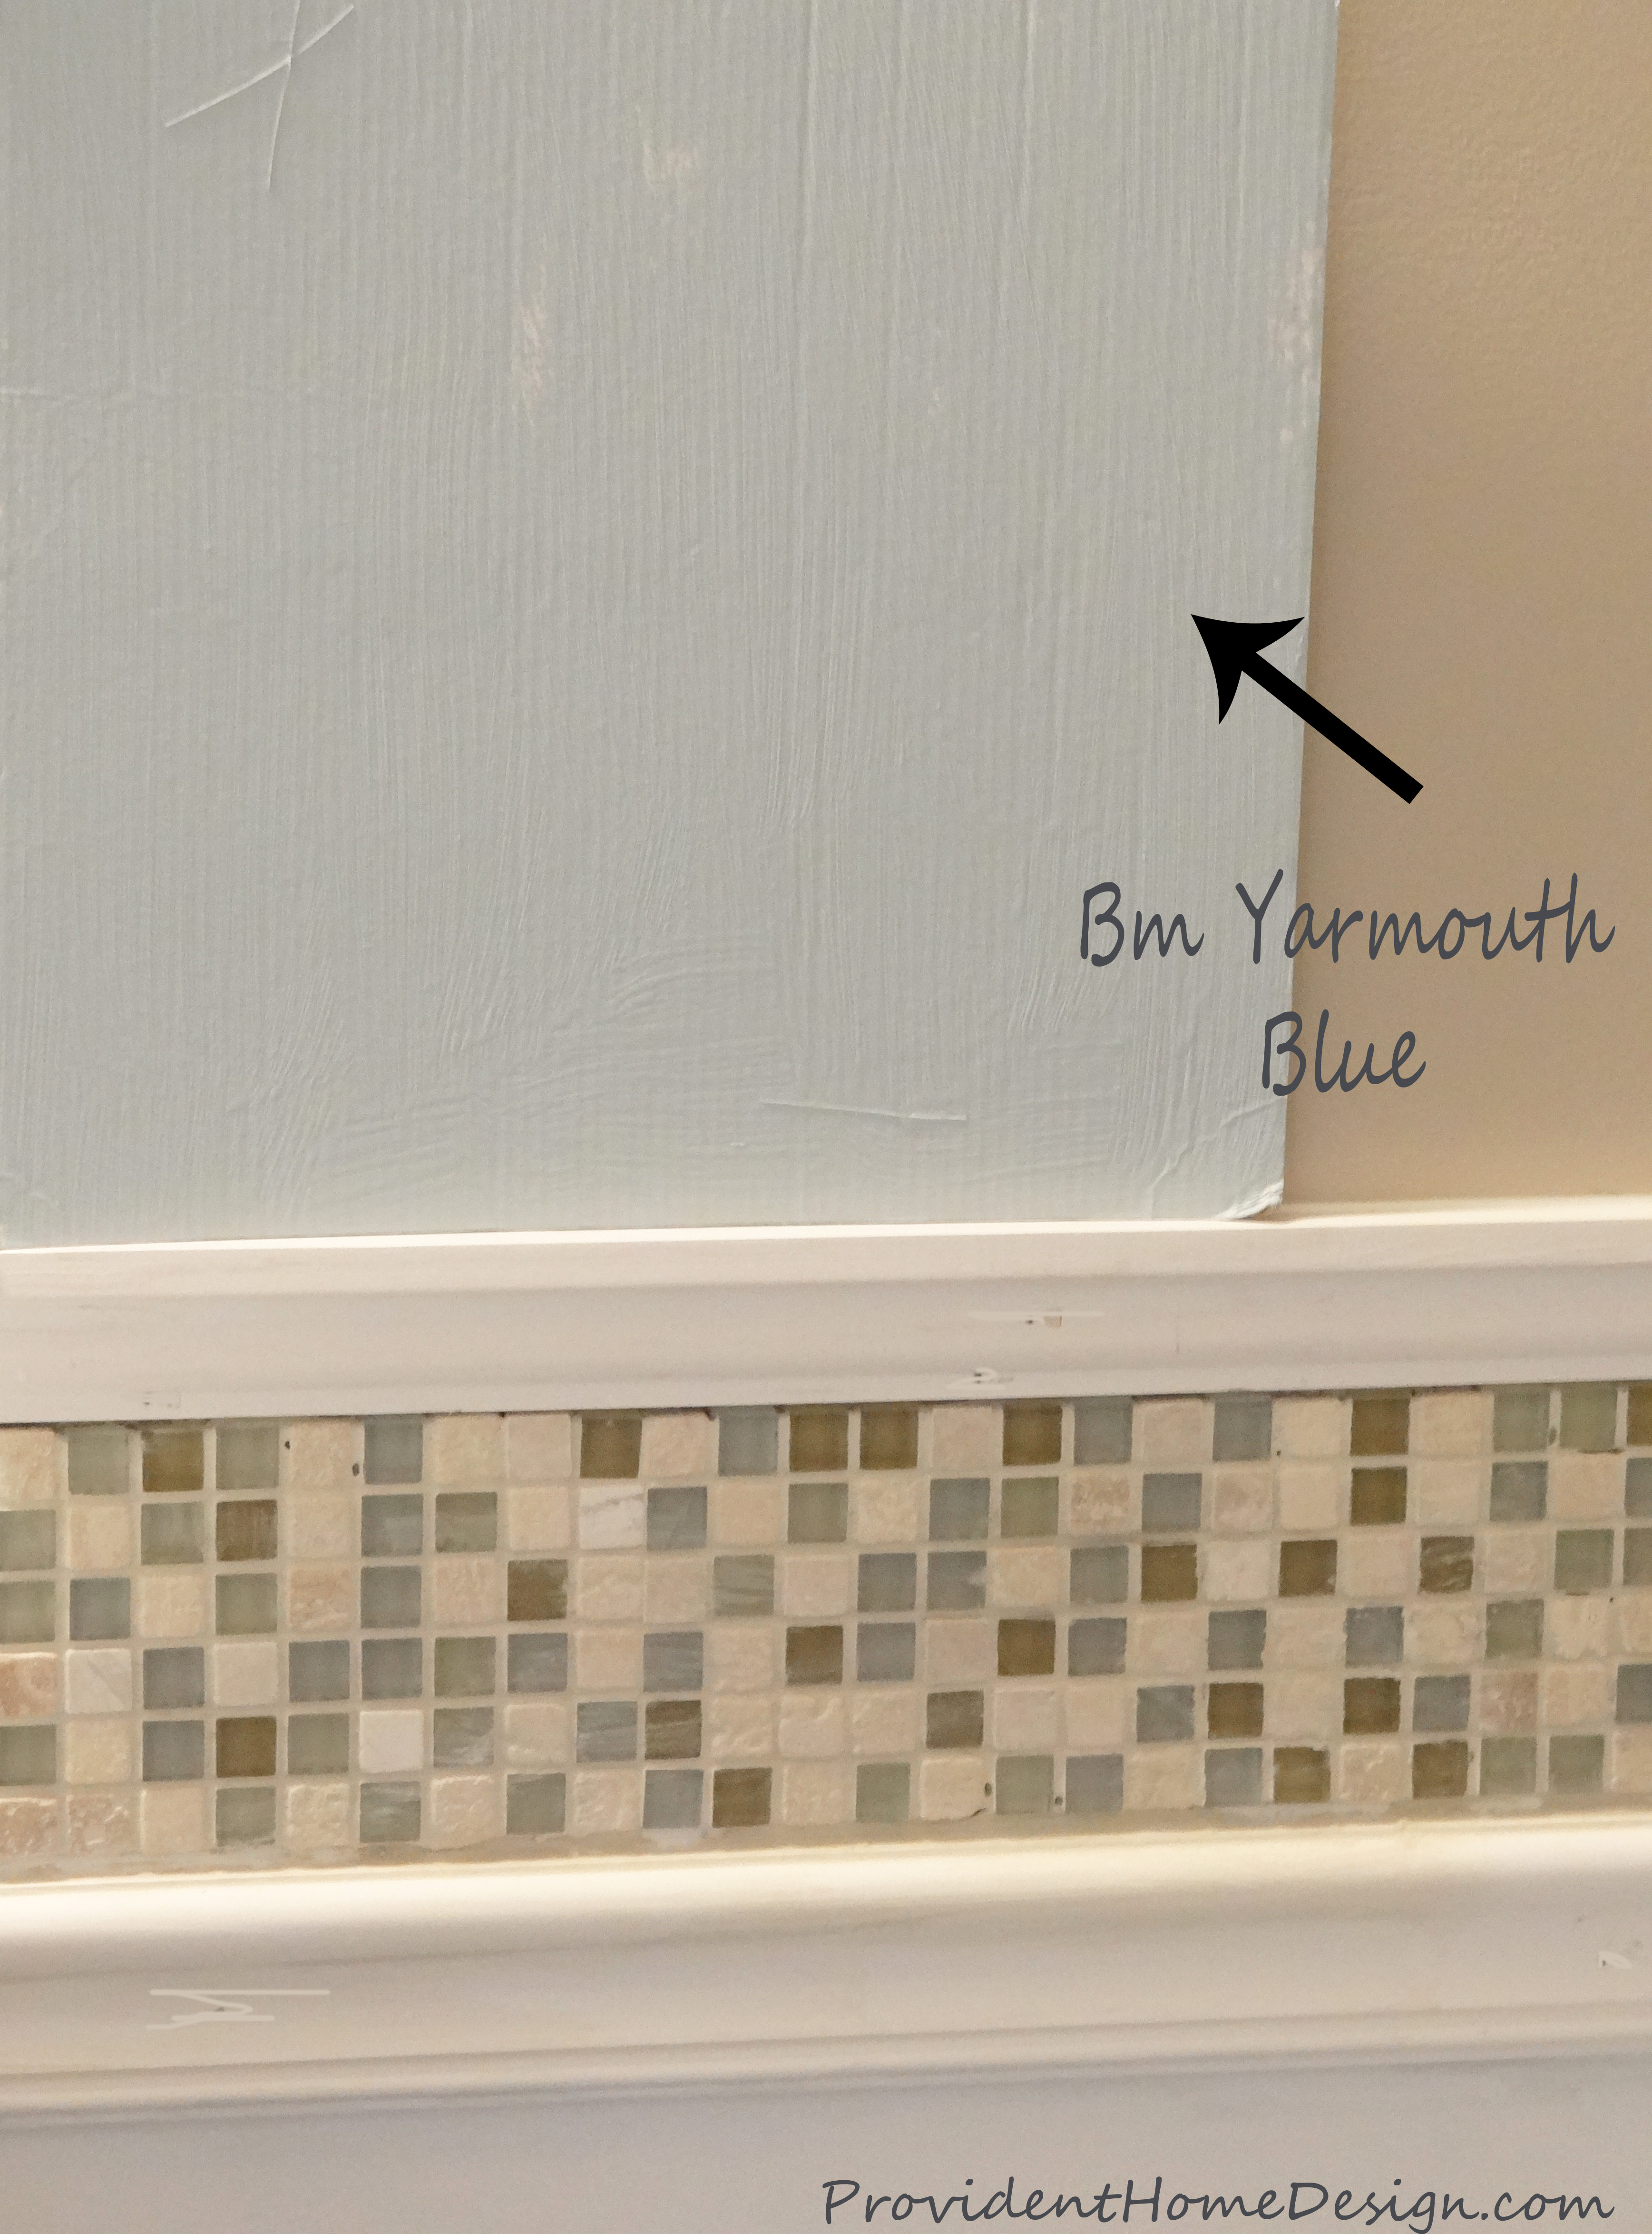
I can also move the poster boards around the room to see how the paint colors look in different parts of the room and with a variation of lighting schemes.  You would not believe how much the lighting in a particular room can affect what the color looks like!!

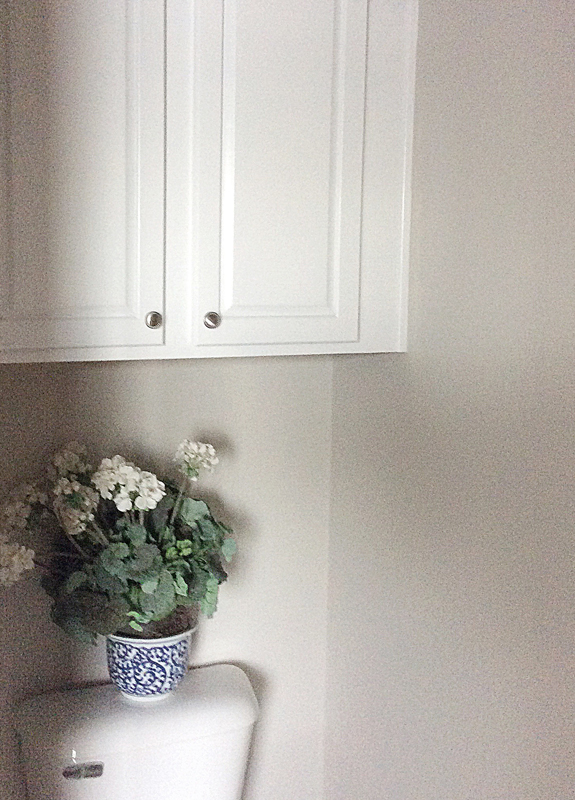
For example, I loved Sherwin Williams Agreeable Gray in my south-facing dining room that got a lot of afternoon sunlight.  I loved it so much that I painted in my laundry room that has no windows and I hate it–it looks like a dirty, dingy gray-ish brown.

Lesson learned try out the paint color in every room and every wall first which you can easily do with the sample and poster board method!

This mode for picking a paint color in also extremely useful when choosing paint colors for a room or house you don’t live in yet!

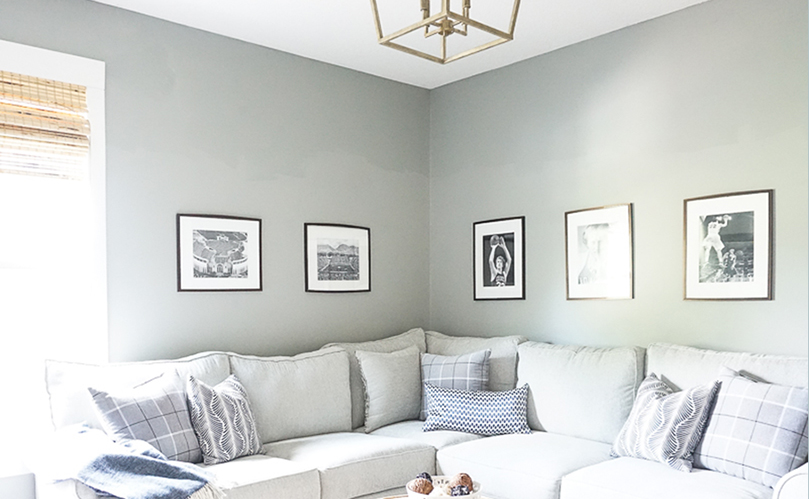
For example, this past Summer my parents moved to a new home.  Most of the house that they were going to buy was painted in bold colors that did not appeal to them.  The home had a great room with a 2-story ceiling.  They decided they were going to need to hire painters to paint their home and they wanted to do it before their furniture was moved into the new house.  My mom and I researched several colors online.  She wanted a warm, inviting off-white color to be painted throughout most of the house.

We got samples (at Home Depot for $3 a pop) of 5 paint colors.  We painted the poster boards and took them to the home inspection.  While my Dad followed the inspector around my mom and I carried the poster boards around the house trying the colors out one by one in different areas of the home.  It was really nice having the large size of the poster board to display the color around the house.  Ultimately, she chose Benjamin Moore Feather Down.

via Décor pad


I must say we were all a little nervous that we were choosing 2,000+ square feet of paint being painted based on a poster board swatch of color.  But I am happy to report that the paint on the walls turned out just as she had hoped and just as it had appeared on the poster board!  YAY!

You can also do this when building a home.  You can paint the poster boards and hold them up to the walls in your temporary home,  at your builders selections place (next to your selections), as well as in the new home once the drywall is up.

So, have I decided on a paint color for my bathroom???  Nope not yet, although I am leaning towards Behr Rocky Mountain.

I want the bathroom to have a feeling of richness and elegance.  I’m still working out the details of how to accomplish this feat.  Remember this is how the bathroom started (minus the chair rail).

bathroom before


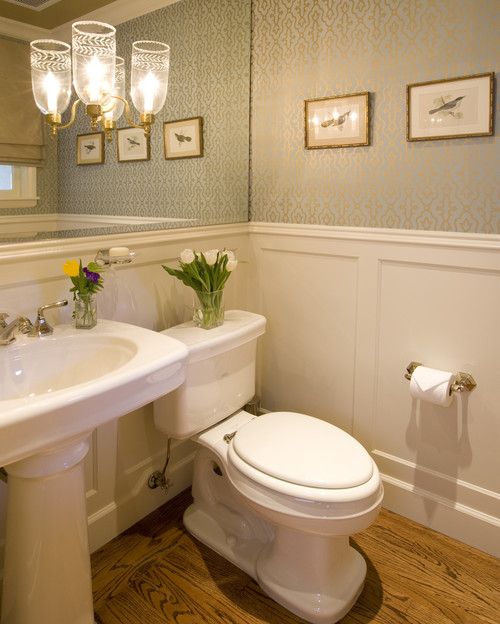
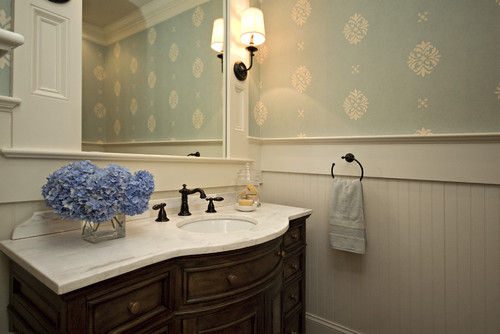
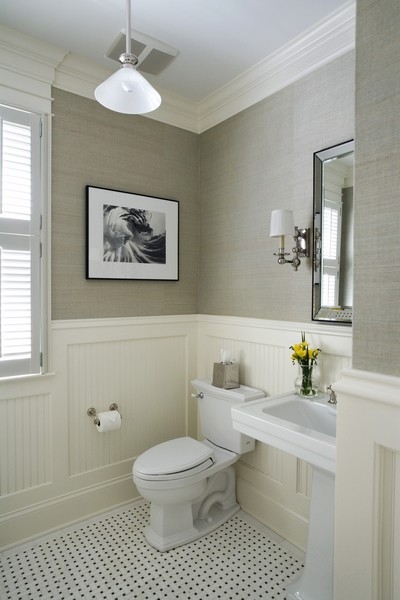
And here are some inspiration photos of bathrooms that have the rich, elegant ambience that I am trying to capture.


 Alexandra Luhrs Interior Design via Houzz


Elizabeth Reich via Houzz


Driggs Designs via Houzz


Orren Pickell Building Group via Houzz


I’m getting there, little by little.  I hope you found this post on choosing paint colors helpful!!:-)  Til next time!!


Signature


The Tip for Choosing Paint Colors that Works Every time

Related Posts From the Blog:

  • Home Decorating Goals for the New Year!Home Decorating Goals for the New Year!
  • New Build Update-Paint, Lighting, and Floors oh My!New Build Update-Paint, Lighting, and Floors oh My!
  • Outdoor Bench Makeover & Best $15 Sander AroundOutdoor Bench Makeover & Best $15 Sander Around
  • This Week’s DealsThis Week’s Deals
  • Intro to Love Your Kitchen Series–Painting CabinetsIntro to Love Your Kitchen Series–Painting Cabinets
  • DIY Christmas CountdownsDIY Christmas Countdowns
  • Powder Bathroom Makeover RevealPowder Bathroom Makeover Reveal
  • The Exterior Drawing of the House we are BuildingThe Exterior Drawing of the House we are Building

decorating// money saving tips// paint9 Comments

Subscribe

GET NOTIFIED VIA EMAIL WHEN THERE IS A NEW POST!

« Love Your Kitchen Series-Backsplashes
Design 101-Flow Pt.2 & Color Repetition »

Comments

  1. Amy says

    Saturday, March 29, 2014 at 5:43 pm

    Thanks to you, this is the method we used for picking the paint colors for our new home. The painters are almost finished and we are so happy with the results! You have some great blues to choose from in your bathroom, happy painting!

    Reply
    • phdesign says

      Sunday, March 30, 2014 at 5:27 pm

      Yay, glad it’s turning out well!!! Thanks for sharing!:-)

      Reply
  2. Elizabeth says

    Monday, April 7, 2014 at 9:08 pm

    I need to try this. I have seen giant paint chips at ACE hardware but they are about $6-8 a piece! This is a much better idea 🙂

    Reply
  3. phdesign says

    Monday, April 7, 2014 at 9:45 pm

    Thanks for stopping by, Elizabeth! It makes me happy to hear that you like this idea!:-)

    Reply
  4. Crystelle Boutique says

    Tuesday, April 8, 2014 at 4:30 pm

    I love it!!! In fact, tI came up with a method similar to this last time I painted….. It was so fun to see this linked up at our party. I pinned!! Thanks much!! 🙂
    “hugs” Crystelle
    Crystelle Boutique

    Reply
    • Tamara says

      Sunday, February 21, 2016 at 11:47 pm

      Thanks, Crystelle!

      Reply
  5. Barbm1712 says

    Tuesday, April 12, 2016 at 12:37 pm

    I really like your idea! I use Benjamin Moore paint exclusively having had a few issues with the brands at HD/Lowes. Does BM sell samples? I will be having the master bedroom and bathroom repainted this summer and while I’m pretty sure about the color I want in the bedroom, the bathroom only has one small window and I’d like to make sure the color wouldn’t ‘grey-out’ the space and make it feel like a cave. I’m going for a ‘cottagey’ look and would like a soft dusty blue but don’t want to make it too grey.

    Reply
    • Tamara says

      Tuesday, April 12, 2016 at 3:44 pm

      Hi, Barb, I’m glad you like the idea! Yep, Benjamin Moore has samples but they are pint sized and probably a bit more expensive then the HD and Lowes price. I’m not sure what blue color you have in mind but you might want to consider Benjamin Moore Summer Shower for your bathroom. Best wishes!!:-)

      Reply
  6. Mom, Review This says

    Tuesday, July 19, 2016 at 3:23 pm

    Something else they don’t tell you about paint samples — the ones you get from Sherwin Williams are NOT regular paint. They are a special formula of paint and guess what we found out — the sample swatches show right through THREE coats of regular wall paint. Just to clarify — I can’t see the sample colors through the paint we chose, but at an angle in any light situation I can see the splotch a clear as day as if they finish of the sample couldn’t be covered by the regular paint. I am so angry at myself for painting those samples on the wall. No one told us we would have to sand those samples off the wall before painting. I wish I had seen your tip sooner. Needless to say I will be using your idea when we choose paint for our new construction.

    Reply

Leave a Reply Cancel reply

Your email address will not be published. Required fields are marked *

Hello and Welcome!! My name is Tamara and this is where I share my tips and tricks to creating a beautiful home! If you are new, feel free to start HERE.

Subscribe

Get notified via email when there's a new post!

Join me on Instagram!

[instagram-feed]

More Blog Inspiration:-)

  • Icon Caroline on Design

    Close preview

    Loading...
  • Icon Centsational Girl

    Close preview

    Loading...
  • Icon Decorating Delirium

    Close preview

    Loading...
  • Icon Lauren Liess

    Close preview

    Loading...
  • Icon Life on Virginia Street

    Close preview

    Loading...
  • Icon Remodelaholic

    Close preview

    Loading...
  • Icon The Creativity Exchange

    Close preview

    Loading...
  • Icon Thrifty Decor Chick

    Close preview

    Loading...

Categories


Disclosure & Privacy Policy

You might also like

The Final Before & After of our Current Home

The Final Before & After of our Current Home

New Build Update-Paint, Lighting, and Floors oh My!

New Build Update-Paint, Lighting, and Floors oh My!

New Home Update

New Home Update

New Build Update- Cabinets are in!

New Build Update- Cabinets are in!

House Update–We Have Walls!

House Update–We Have Walls!

Join Me on Instagram!

[instagram-feed num=9 cols=9 showbutton=false]

Privacy

Copyright © 2021 · Savory theme by Restored 316

Enter your name and email to get my weekly post sent to your inbox... it's FREE!
Want to learn more about DIY, decorating, and making your home beautiful? Sign up below!
Your information will *never* be shared or sold to a 3rd party.