Provident Home Design

Decor, DIY, and Interior Design

  • HOME
  • ABOUT
    • About PHD
    • Contact Me
  • DIY PROJECTS
  • DESIGN 101
  • PAINT
  • HOME TOUR
  • DESIGN INSPO
  • DECOR TIPS

DIY Topiary Tutorial –Easy & Inexpensive!

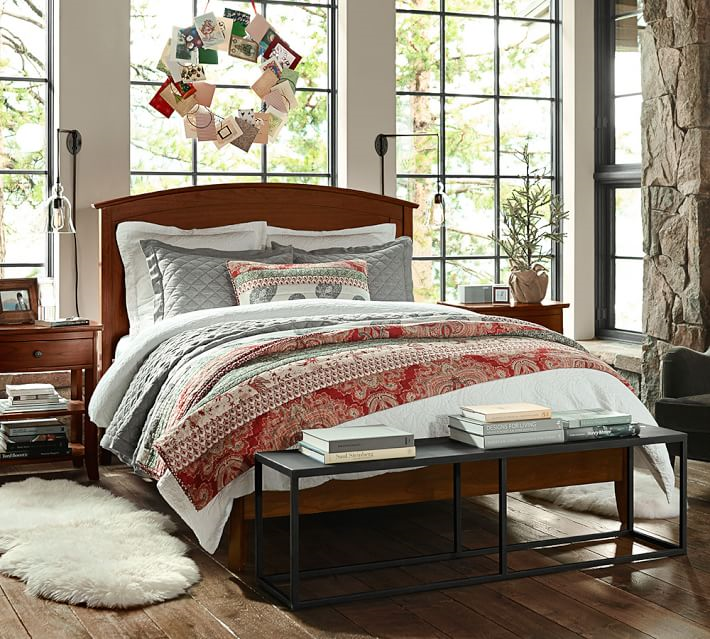
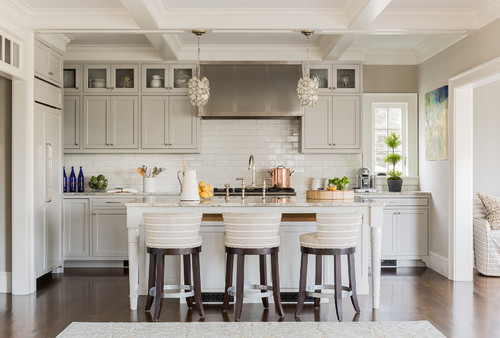
Topiaries are a timeless decor piece and are extremely versatile!

DIY Topiary Tutorial
Fiorella Design via Houzz
DIY Topiary Tutorial
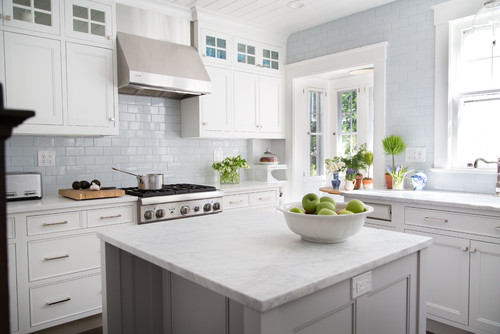
Studio Dearborn via Houzz
DIY topiary tutorial
Smith & Vansant Architects PC via Houzz


The only problem is they also can be super pricey.  For example these two small topiaries are on sale at Kohl’s right now for $66.39.  That’s $33 per topiary and it is not uncommon to see them go for much much more than that (clarification the extra much was not a typo)!:-)
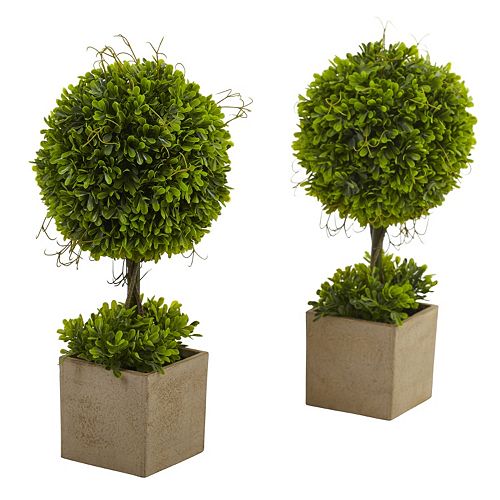
Kohl's Topiaries
via Kohls


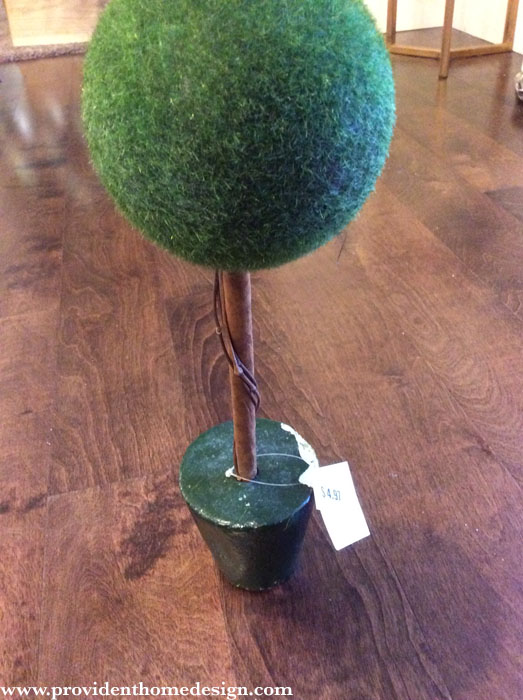
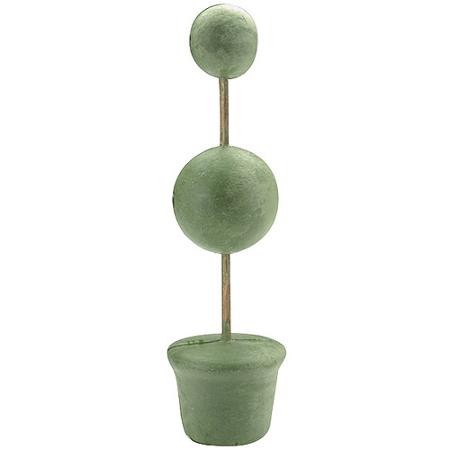
I recently spotted a topiary form on one of those rare occasions when I was without my kids and found myself meandering in the craft aisle at Walmart (oh the life of a mom with young kids).:-)


The topiary form was only $4.96 and the wheels immediately started turning on how I could transform it with just a few bucks.
How to make a Topiary


I ended up buying two and as you can see below each has it’s own place in our Christmas decor right now.
Christmas DIY Topiary


Christmas Mantel with DIY Topiary


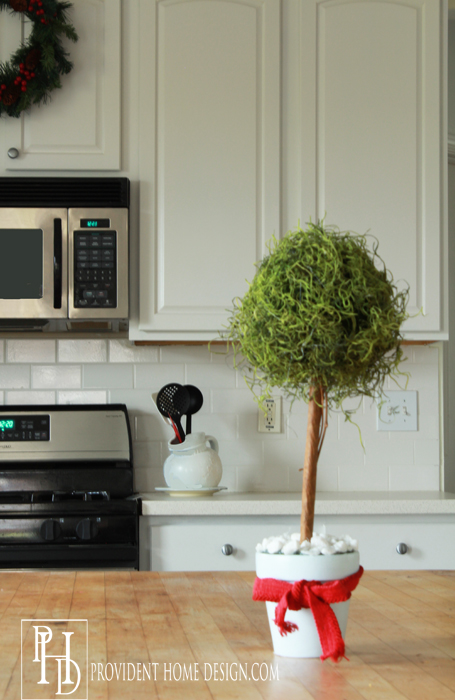
I just love them!  If you haven’t read my post on the importance of decorating with botanicals yet, you should can HERE.   And then you will love them too!:-)


SUPPLIES:
Topiary Form
Terra Cotta Pot
Rocks
Spanish Moss
Glue Gun


DIY Topiary Tutorial: 


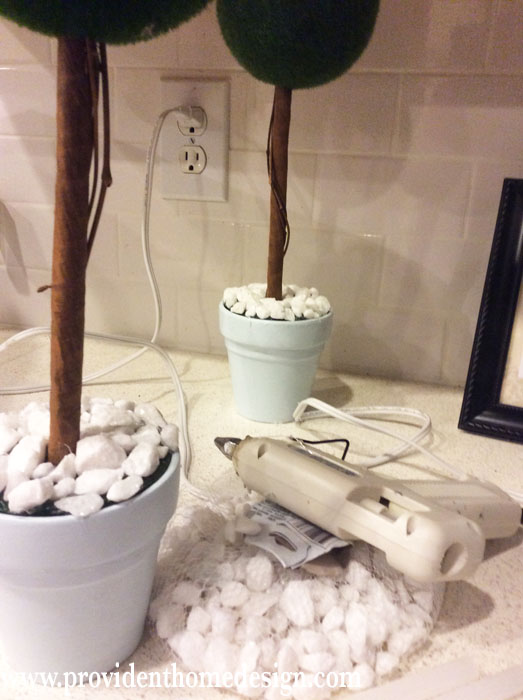
DIY-ing these topiaries was pretty much like dressing a mannequin (although I imagine it’s a bit less awkward).:-)  In the Walmart craft aisle I also picked up a couple of terra cotta pots that were the perfect size for the topiaries.  They were under a dollar each.


Then I picked up a bag of white rocks at the dollar store for (yeah, you know) a dollar.  I painted  the pots light blue with some left over wall paint and hot glued the rocks as shown below.
DIY Home Decor Topiary


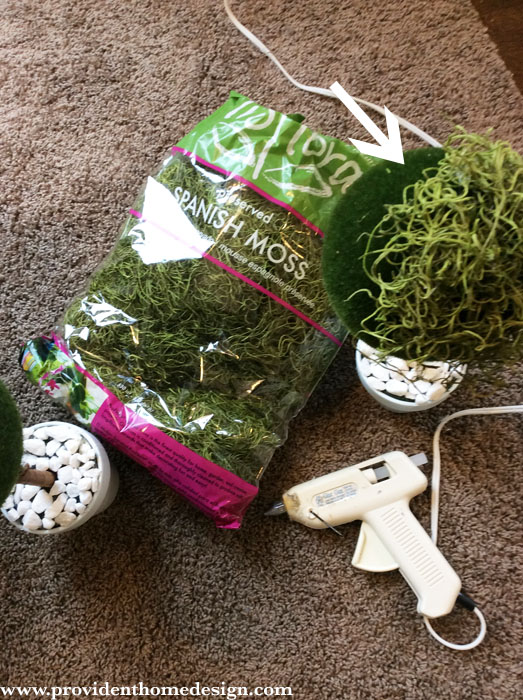
Then using the hot glue gun again, I glued spanish moss to the ball part of the topiary.  I bought the spanish moss at walmart (it was close to where the topiary form was in the craft aisle).


I bought the biggest bag not knowing how much it would take but I hardly made a dent in it so you can get away with the smaller bag which I think cost around $3.
How to Make a Topiary


That’s it!  It’s that simple!  And the price comes to about $9 each!
The two-tiered topiaries are pretty as well!
Two Tiered Topiary DIY
 Julia Cutler Interior Design via Houzz


My Walmart didn’t sell them in the store but I noticed they do have them available online and can ship to store for free.  They are about 14 inches high and cost $6.99 per two-tiered topiary form.

Two-tiered DIY Topiary
via Walmart


I plan to use my topiaries year round but may change up the location they are in and the ribbons they are accented with!


If you have boxwood bushes you could try using boxwood trimmings instead of spanish moss and mist them with water every so often to keep them alive (I would research it out first if you go this route)!


I hope you enjoyed this simple DIY!  As always let me know if you have any questions!


We’re just a couple of days away from Christmas and I want to wish you and yours a wonderful Christmas!!
Christmas Card


I’ll be back after Christmas to share with you my home goals for the New Year.  Be thinking about what your goals are for your home and how I can help you achieve those goals in the New Year because I’ll be asking!!:-)


Merry Christmas!!
Signature


DIY Topiary Tutorial

Related Posts From the Blog:

  • House Update–We Have Walls!House Update–We Have Walls!
  • My Friday 5- Design Inspiration from the WeekMy Friday 5- Design Inspiration from the Week
  • A Bit of Everything- A Recipe & Halloween DecoratingA Bit of Everything- A Recipe & Halloween Decorating
  • New Build- Bonus Room RevealNew Build- Bonus Room Reveal
  • The Look for Less and a Bathroom Update!The Look for Less and a Bathroom Update!
  • New Build Update and Kitchen Plans!New Build Update and Kitchen Plans!
  • Sneak Peek of the 2015 BIA Parade of HomesSneak Peek of the 2015 BIA Parade of Homes
  • 2 Year Old Drama2 Year Old Drama

budget decor// decorating// DIY// holiday// kitchen// money saving tips// tutorials2 Comments

« 12 Days of Christmas Recap & Link Up Party
Home Decorating Goals for the New Year! »

Comments

  1. Amy says

    Wednesday, December 23, 2015 at 11:56 pm

    Cute picture! Your family is growing up!

    Reply
    • Tamara says

      Thursday, December 24, 2015 at 2:48 pm

      Thanks, Amy!!:-)

      Reply

Leave a Reply Cancel reply

Your email address will not be published. Required fields are marked *

Hello and Welcome!! My name is Tamara and this is where I share my tips and tricks to creating a beautiful home! If you are new, feel free to start HERE.

More Blog Inspiration:-)

  • Icon Caroline on Design

    Close preview

    Loading...
  • Icon Centsational Girl

    Close preview

    Loading...
  • Icon Decorating Delirium

    Close preview

    Loading...
  • Icon Lauren Liess

    Close preview

    Loading...
  • Icon Life on Virginia Street

    Close preview

    Loading...
  • Icon Remodelaholic

    Close preview

    Loading...
  • Icon The Creativity Exchange

    Close preview

    Loading...
  • Icon Thrifty Decor Chick

    Close preview

    Loading...

Categories


Disclosure & Privacy Policy

You might also like

The Final Before & After of our Current Home

The Final Before & After of our Current Home

New Build Update-Paint, Lighting, and Floors oh My!

New Build Update-Paint, Lighting, and Floors oh My!

New Home Update

New Home Update

New Build Update- Cabinets are in!

New Build Update- Cabinets are in!

House Update–We Have Walls!

House Update–We Have Walls!

Join Me on Instagram!

[instagram-feed num=9 cols=9 showbutton=false]

Privacy

Copyright © 2022 · Savory theme by Restored 316