Hello! I’m excited to share a new project I’m going to be working on with a client friend. She is interested in getting direction in updating her kitchen.
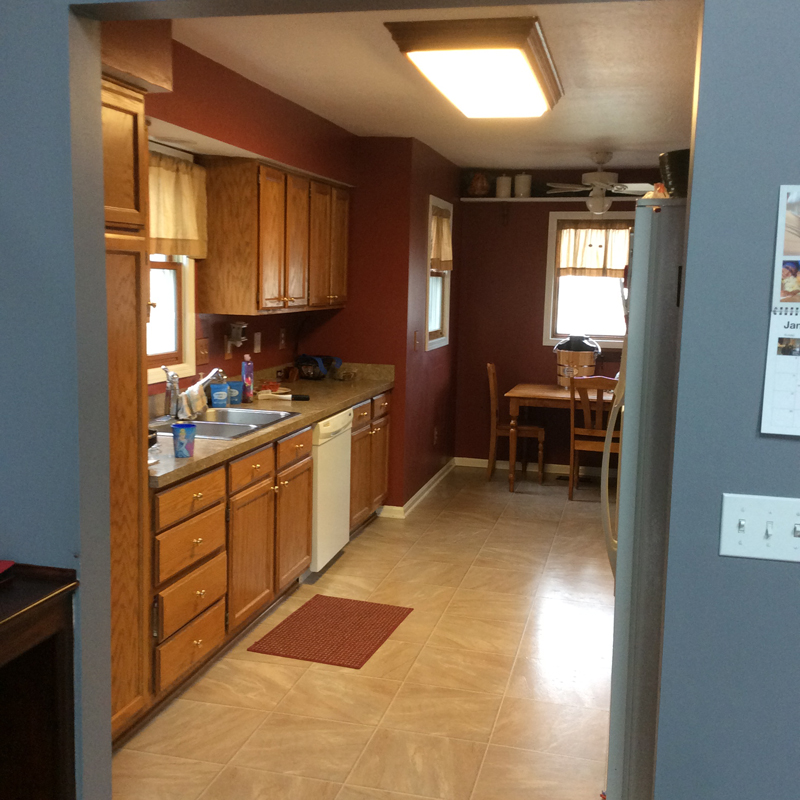
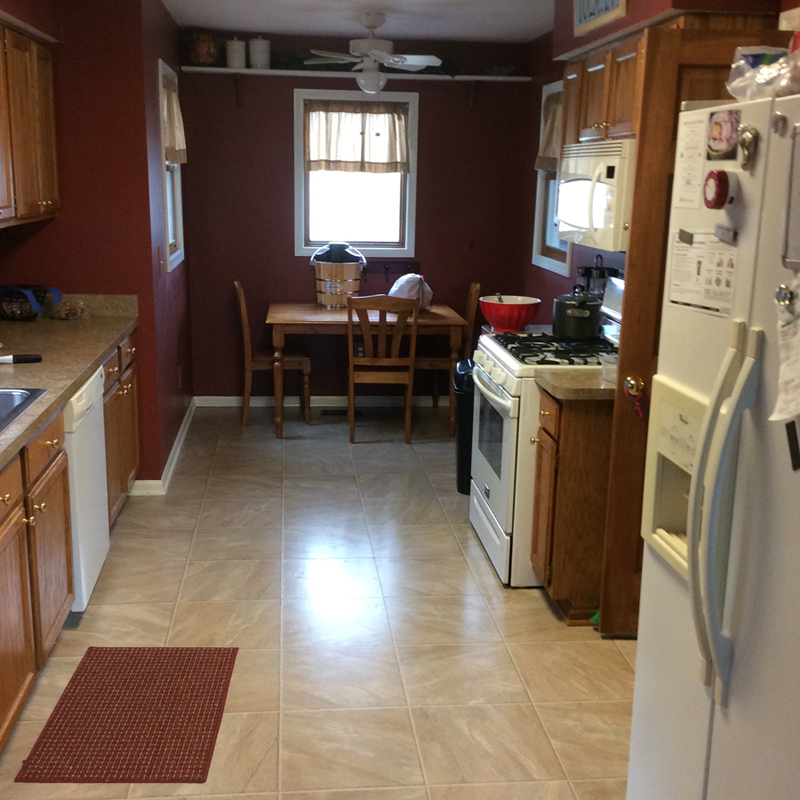
As usual we will be working on a budget and I am confident we will be able to make this kitchen a beautiful, up-to-date space!
Here is our plan of attack:
1. Paint walls–Paint the walls Benjamin Moore Classic Gray
2. Paint cabinets –Paint the cabinets Benjamin Moore Chantilly Lace (a bright white) or Sherwin Williams Alabaster (more of a creamy white). I think we will be using the same method I used for my kids bathroom vanity to paint the kitchen.
I’ve always wanted to try it out on kitchen cabinets because I’ve loved the result in the kids bathroom–it’s so durable and has a lovely smooth finish. You can find the tutorial, Here


Sherwin Williams Alabaster
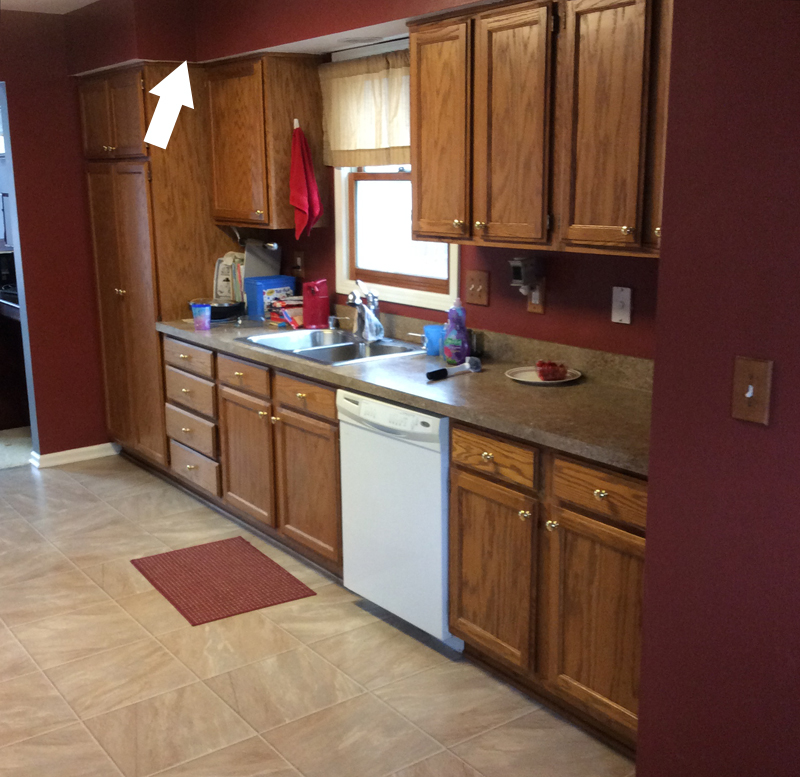
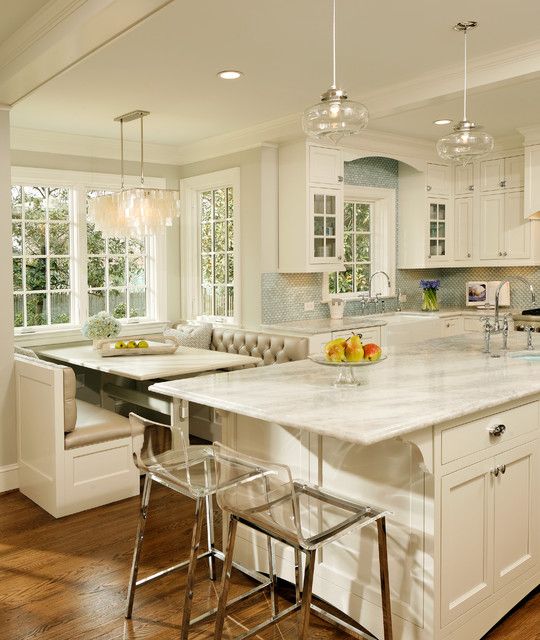
We plan to paint the soffit area above the cabinets the same color as the cabinets and add trim to it to create a sense of height and space similar to what Jenna did HERE.

via Involving Color
3. Glass in cabinets –We will most likely install glass in one or two of her cabinets to give it a more elegant, open feeling to the room. You can find my tutorial for doing this HERE.

via Style at Home
4. New cabinet hardware –We will need to replace their current cabinet hardware. Right now they have a very simple brass knob on their cabinets. Although certain forms of brass are coming back in style I don’t think it’s a good choice for this kitchen.
5. Replace countertop– We will be replacing her current laminate countertop with with Ikea’s new Light Gray Stone Effect laminate countertop. It only costs $!80 and will be a great temporary solution while they save up for granite.
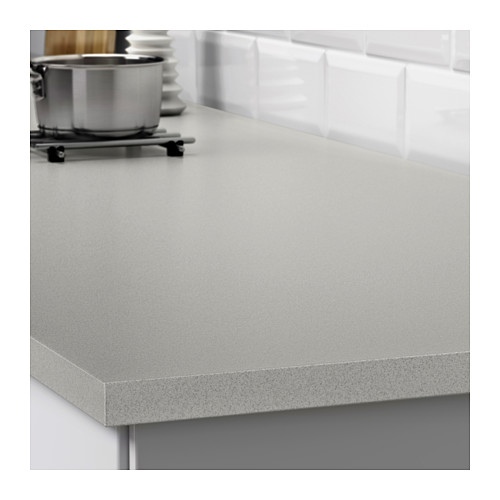
via Ikea
Just so you know Ikea has come out with a couple of other laminate countertops recently and one that I especially love is their marble look-a-like!
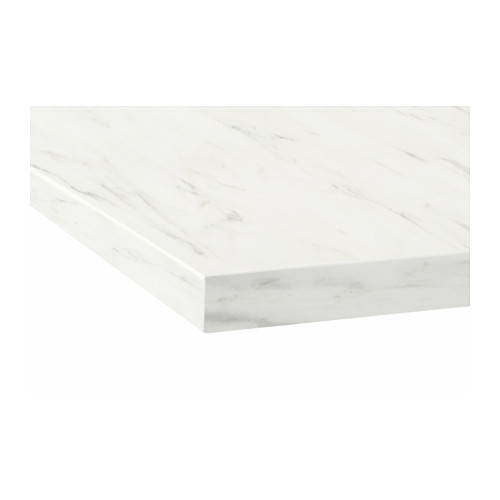
via Ikea
I so would have gotten that one if it would have been around when I bought Ikea countertops almost 5 years ago!! (You can read about my experience with Ikea countertops Here)
6. Install backsplash— We will be installing a backsplash with blue tones.
via Erin Hoopes
7. Breakfast nook– We will perhaps build a bench in the breakfast nook area and paint the table there espresso, white, or Navy.

via BHG
8. Window treatments– We will take down the valances and add some sort of roman or wooden roll up shade on the windows.
9. Accessories– We will need to accessorize the kitchen with a new rug, kitchen towels, and decor.
These are all changes that we would like to make within the next 6 months or so and will do the trick to creating a beautiful, updated space!
Years down the road they would also like to:
1. Change the floors to hardwood
2. Change the countertops to granite
3. Change the appliances to stainless steel
I’m excited about this project! I will give you an update once we have painted the walls and cabinets! If you are looking for more ways to update your kitchen on a budget you can check out my post, HERE.
I hope you all have a great weekend!!


Related Posts From the Blog:
 How to Paint Furniture to look Bleached out and House Update
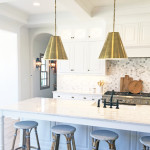 BIA Parade of Homes Preview & What’s Trending Right Now
 The Final Before & After of our Current Home
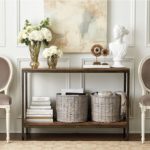 My Friday 5- Design Inspiration from the Week
 Favorite Interior Designers Series- James Radin
 Chair Makeover & Americana Chalk Paint Review
 DIY Floating Bench
 The Exterior Drawing of the House we are Building