Hello! I hope you doing well! Last week I got in the mood to clean out my kids’ closets (all four of them) .
It’s not something I get in the mood to do very often so I took advantage of this rare feeling and spent quite some time going through all of their clothes– putting aside clothes that don’t fit, have stains, or aren’t ever worn and organizing like a mad woman.
It feels so good to have their closets organized again (we’ll see how long it lasts)!
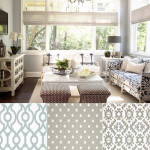
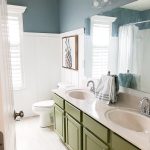
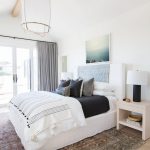
A couple of months ago I shared a bedroom makeover I helped design for my friend’s daughter.
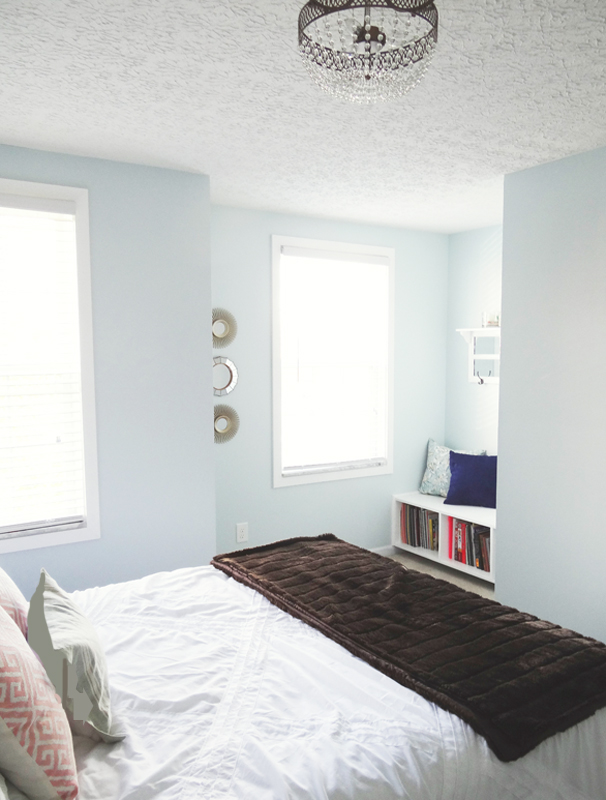
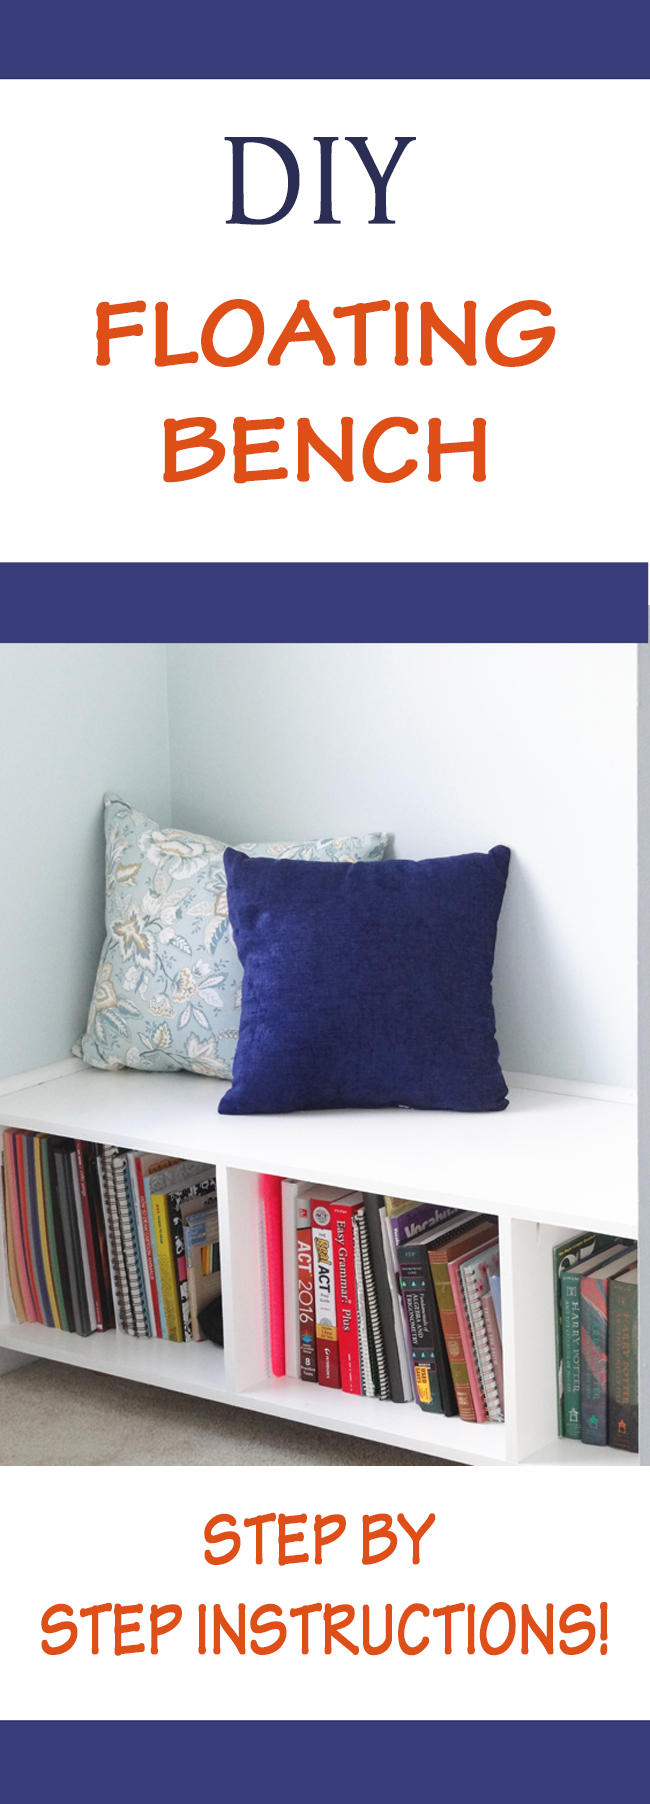
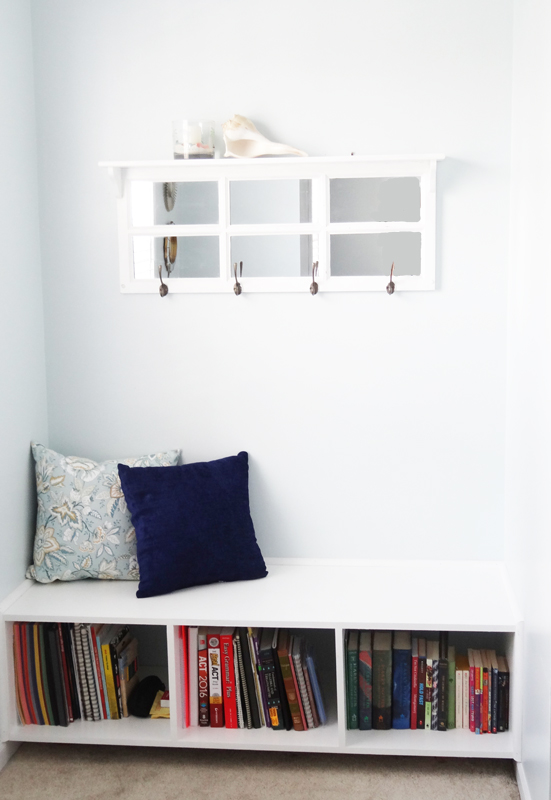
One of the most fun parts of the makeover was creating a reading nook by adding a custom “floating” bench. My friend’s handy husband built the bench for around $100. Here are the steps he took to build the bench!
How to DIY a “Floating” Bench
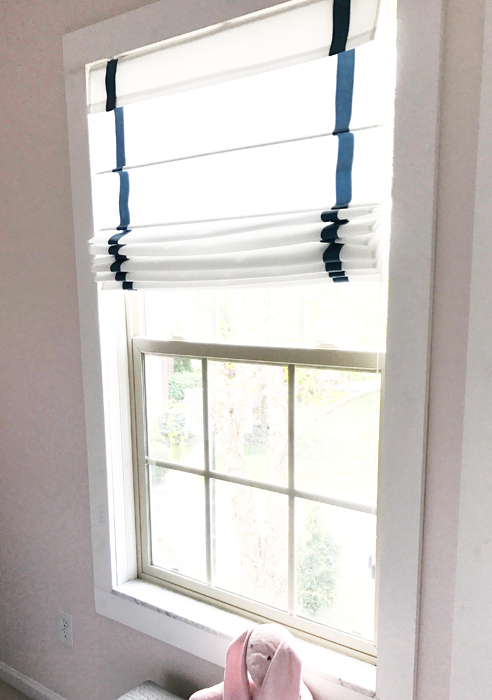
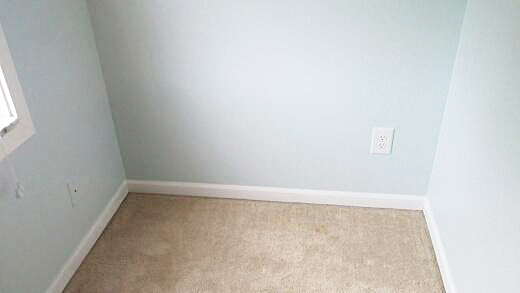
- Determine where you want the bench to go. This was the perfect empty space for a little reading nook. They did not remove the trim because the bench “floats” above it.
2. Figure out how high and long you want the bench to be. They wanted the height of the bench to be chair height (18″-21″) so they cut their wood (they used poplar wood) that height minus the height the bench would float off the ground.
The width was the width of the empty space from wall to wall which was about 59″.
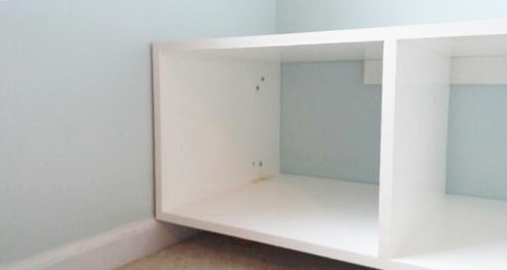
3. Put the frame of the seat together. They first created the frame (the rectangular box) by applying wood glue and then wood screws to each corner of the box.
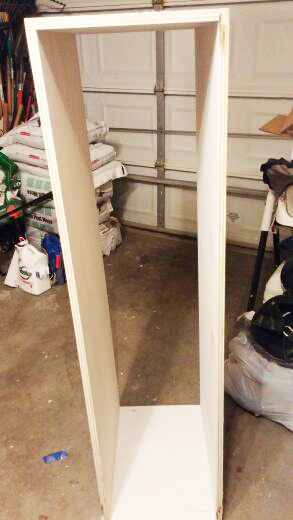
He screwed the screws in with the use of a kreg jig. A kreg jig is a tool that comes with a bit to make pocket holes on the inside of the furniture piece (in the picture below he put the pocket holes on the outside because he knew that the ends would be against the wall and not seen) and then you can connect two pieces of wood by screwing the screw up into the pocket hole. This creates an even stronger hold.
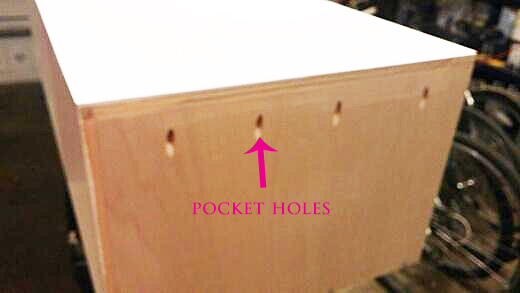
And a huge added benefit is that you won’t see any screw heads sticking out of your bench!
Using a kreg jig (affiliate link) is simple! You can check out my kreg jig tutorial within THIS POST.
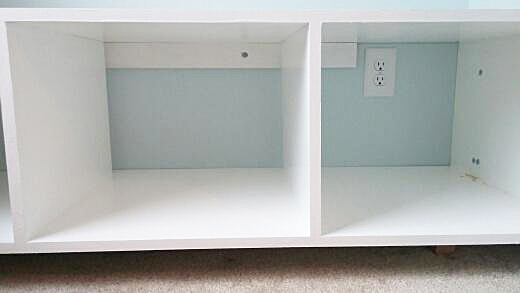
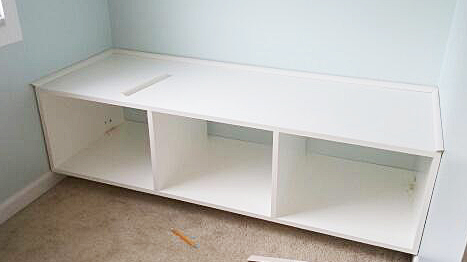
4. Add vertical dividers if you want the bench to have sections They wanted there to be 3 sections so they added two vertical wood dividers equally distanced apart.
They cut the wood for the dividers the same height as the distance between the top and bottom pieces of the bench. They made the width of the dividers the same as the depth of the bench minus 1 inch (this will make more sense in step 6).
Then with the kreg jig they made pocket holes on the divider pieces, two for two screws to go up into the top of the bench and two for two screws to go into the bottom piece.
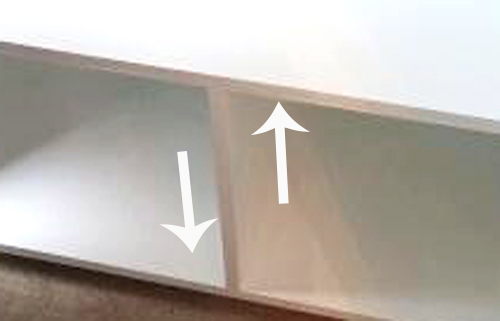
They made sure to place the dividers flush to the front of the bench leaving an inch space at the back of the bench (I promise this will make more sense in step 6).
5. Sand and Paint the Bench. Once the dividers were screwed in place they sanded down the bench and then added 3 coats of high gloss white enamel paint.

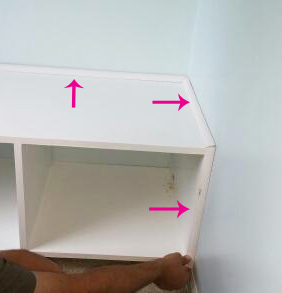
6. Get Supports in Place. Next, they measured and marked where they wanted the top of the bench to hit on the wall and hung the top of a cleat 3/4 of an inch down from that point.
The cleat is basically a 1×3 screwed horizontally onto the wall with wood screws that are screwed into studs behind the wall (you will need a stud finder to locate the studs).
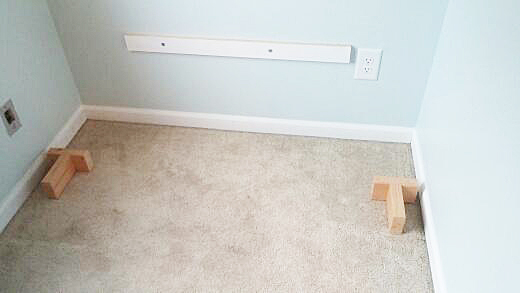
They made wood supports (as seen in the picture above) by screwing two 2×3’s pieces into a T shape to support the weight of the bench while it was being screwed in.
They lifted the bench up and onto the cleat (now you know why they had to make the dividers an inch less deep– so that the bench would have room in the back to rest over the cleat).
7. Screw it. Next they screwed the sides of the bench into the sides of the wall.
8. Trim it out. They added quarter round trim wherever the bench and wall met in order to hide any gaps between the bench and the wall.
Lastly, they used caulk to fill in the nail holes and make the trim look seamless.
And it’s DONE!
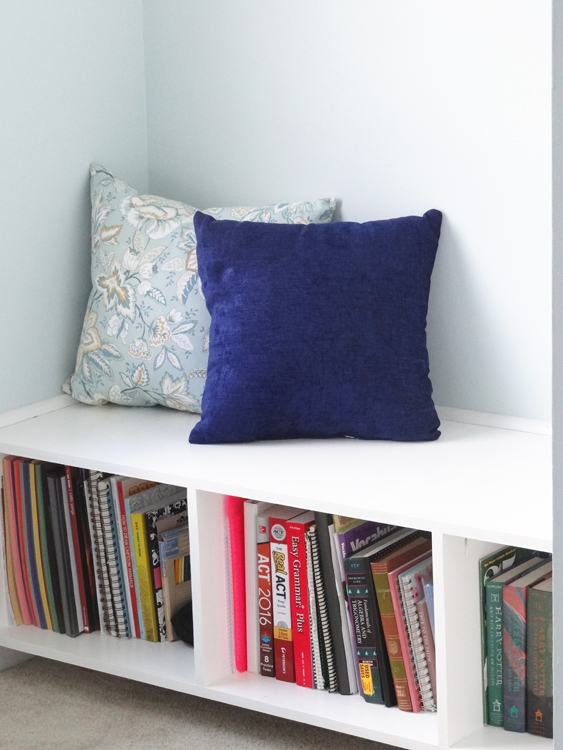
A beautiful custom bench! There are so many ways you could modify this bench to make it work in your own home. Let me know if you have any questions!
A big thank you to my friend, Lolly, for taking and sharing the in-process photos so I could share them with you!
I hope you have a wonderful weekend!!