Using wooden ladders in design has become quite a trend. Not so much the A-framed type that most of us think of but more so the 1-sided lean up against a wall and start climbing kind. However, in these cases there’s no climbing going on! These ladders are being used for decorative purposes as well as functionally for hanging items.
Here are some great examples:
A Magazine Rack
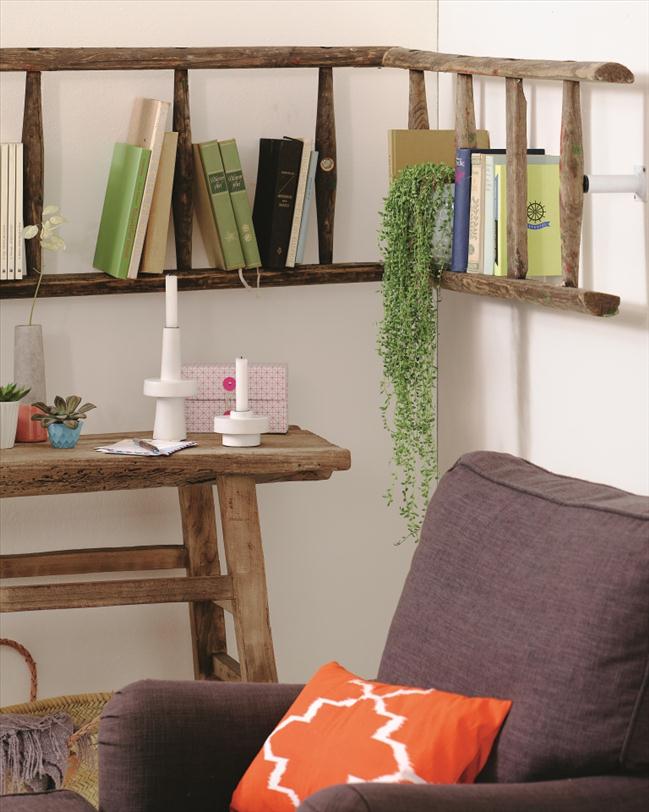
A Book Shelf
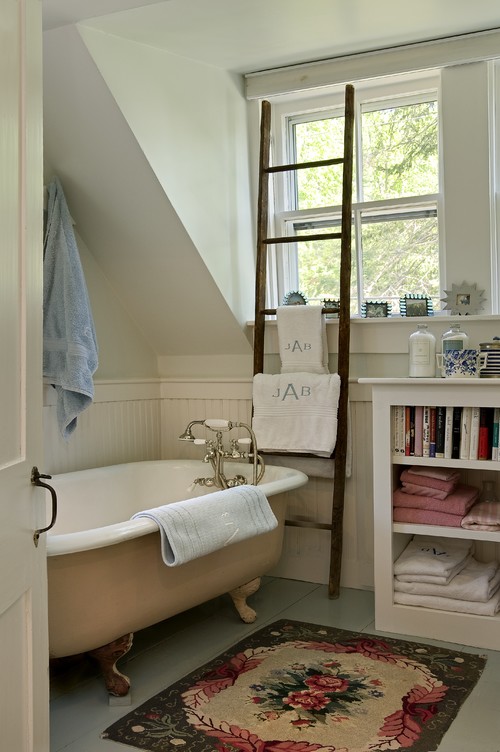
A Towel Holder by the Sink
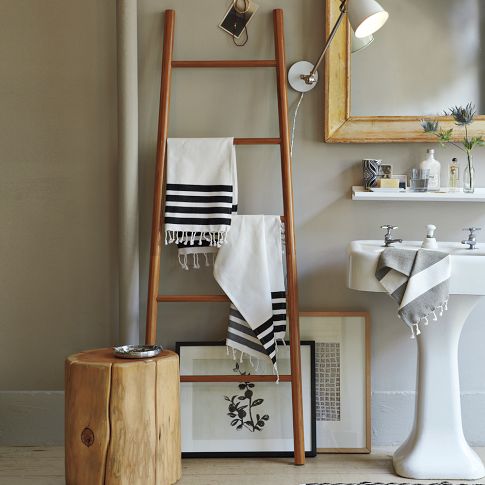
via West Elm
or by the Bathtub
A Blanket Rack in a Bedroom
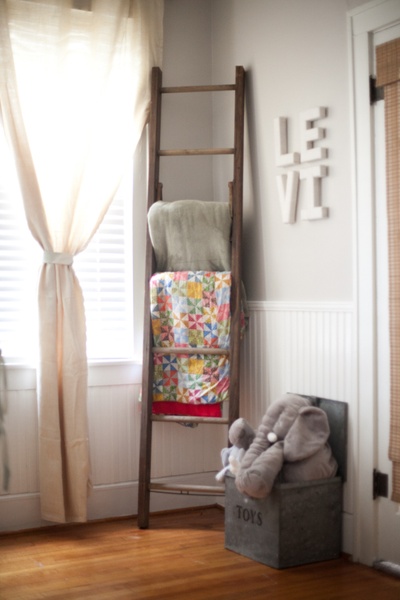
via the little umbrella
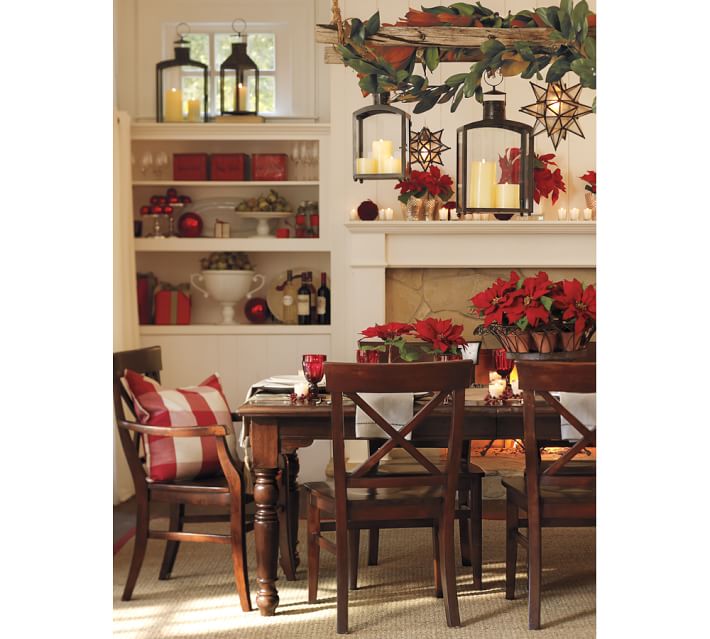
Or in a Family Room
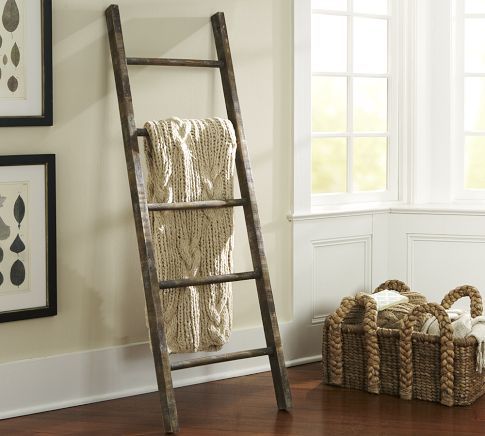
via Pottery Barn
A Photo Displayer

via Crafts by Amanda
To hang lights and lanterns from the ceiling
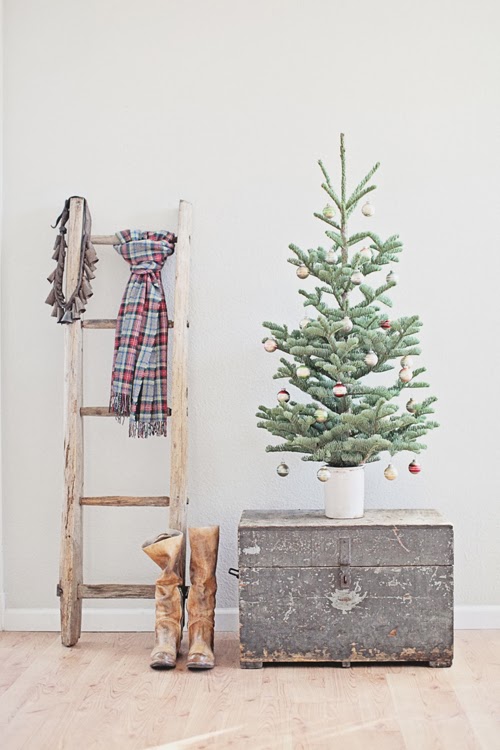
And Christmas Decorations
via Pottery Barn
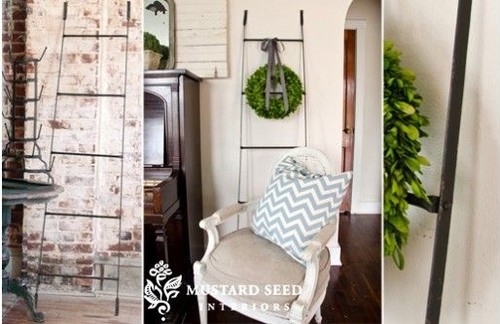
A Wreath Displayer
Mustard Seed Interiors via
Houzz
And one of my favorites– by the door to hang Scarves and other Winter Items
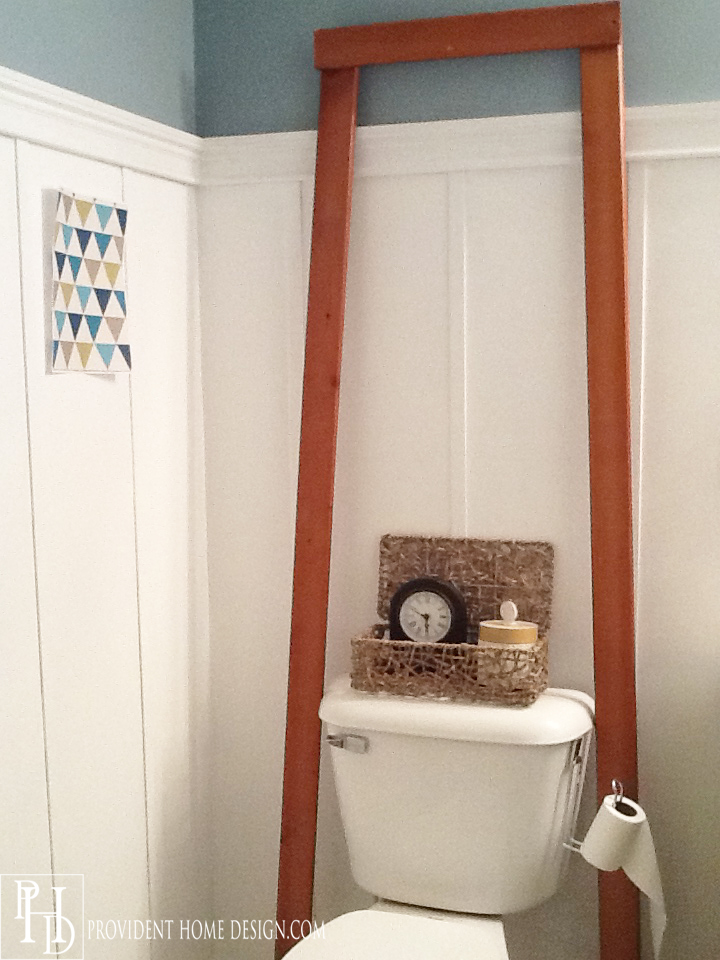
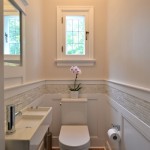
When I was decorating the
kids/guest bathroom there was a point towards the end where I knew something was missing. Aesthetically I knew I needed something on the wall across from the shower curtain to provide interest and balance out the shower curtain. We also needed a place to hang a hand towel.
Thankfully the light bulb went on and I knew just what to do! I threw together a behind the toilet decorative ladder for $0! I went into the garage where I keep my scrap wood and found two long pieces of remnant wood from the boys’ retired bunkbed. Then I found some other random pieces of wood for the ladder slats.
Because the ladder needed to fit around the toilet I decided it would be easiest to build it right there in the bathroom. I set the long wood pieces up against the wall and around the toilet as shown above.
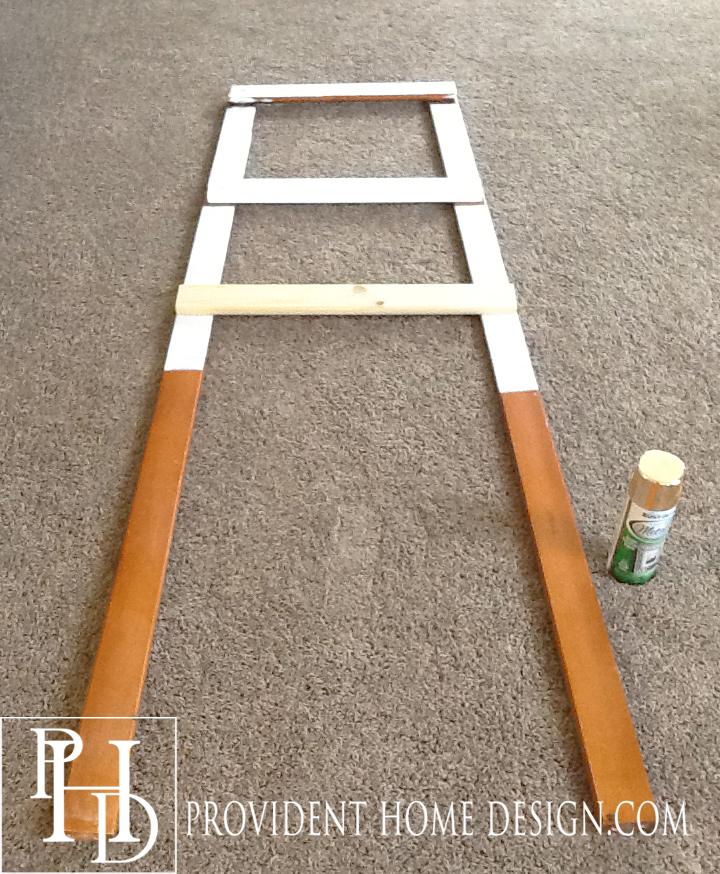
I stood up on the toilet seat and drilled pilot holes with a counter sink drill bit into both ends of the horizontal top slat(this allows the head of the screw to go into the wood instead of sticking out). Then I drilled 1 1/2 inch screws into the holes and repeated this step for the remaining two slats.
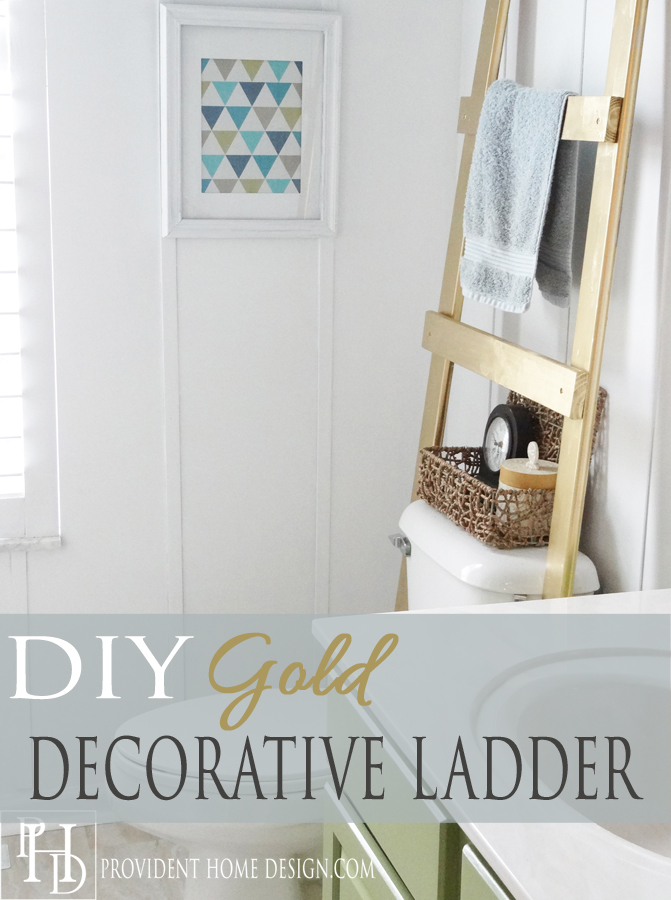
Because the pieces of wood were all different colors I knew it would need to be painted. At first I thought of painting it white but because the board and batten behind it was white I decided it wouldn’t create the interest I was looking for. I remembered I had gold metallic spray paint left over from
this project and thought a fun modern touch was just what the room was calling for!:-)
The gold version would be so festive for the Holidays! I can picture snowflakes and candy canes hanging from the slats and a little Christmas greenery.:-)
Do you see a decorative ladder in your future? They really are easy and inexpensive to make! And you could always stain yours to get the wood look. Let me know if you have any ???s!:-)
Related Posts From the Blog: