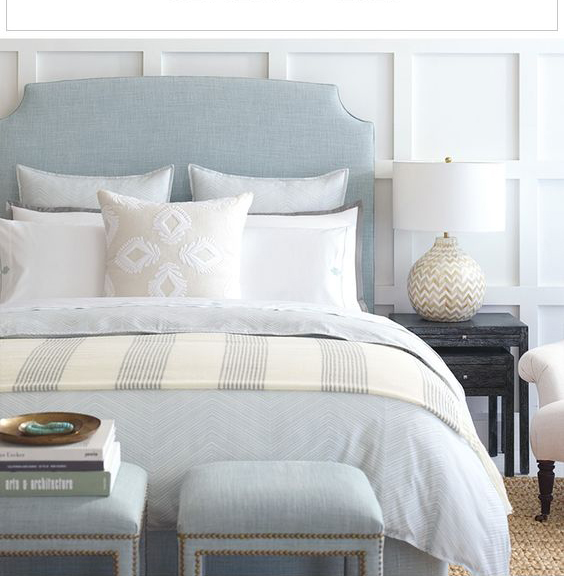
I’m excited to share a new tutorial with you today! I have been eyeing this cute, sleek, and chic console table over at Wisteria.
via Wisteria
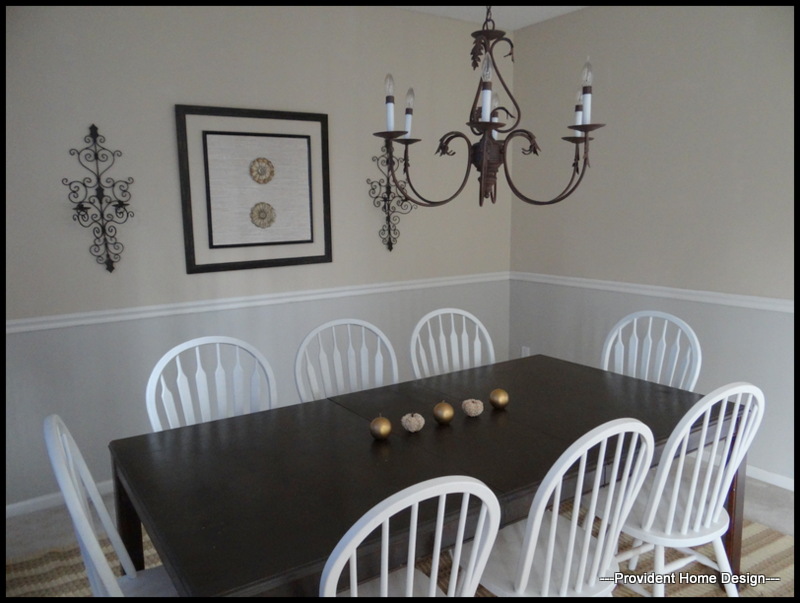
Did I mention it is topped with marble?? Ooh la la! I was thinking that it would sure look good in my dining room under the framed art. There is just enough space behind the table that it seems to need something there but a certain something that would not take up too much space width wise, like Wisteria’s console table!
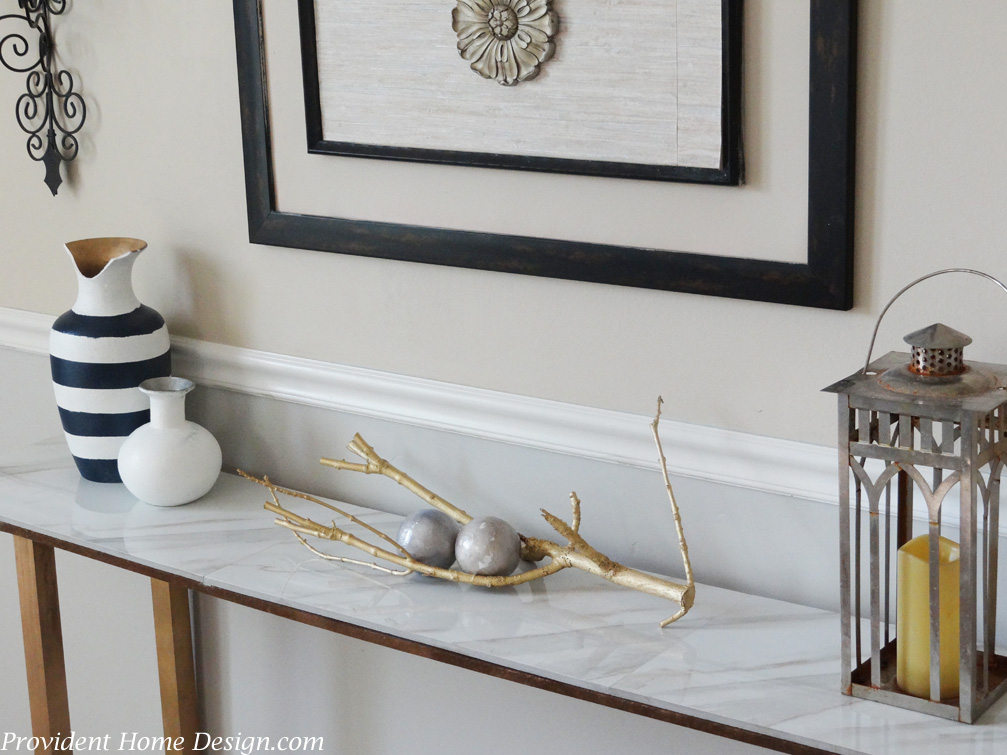
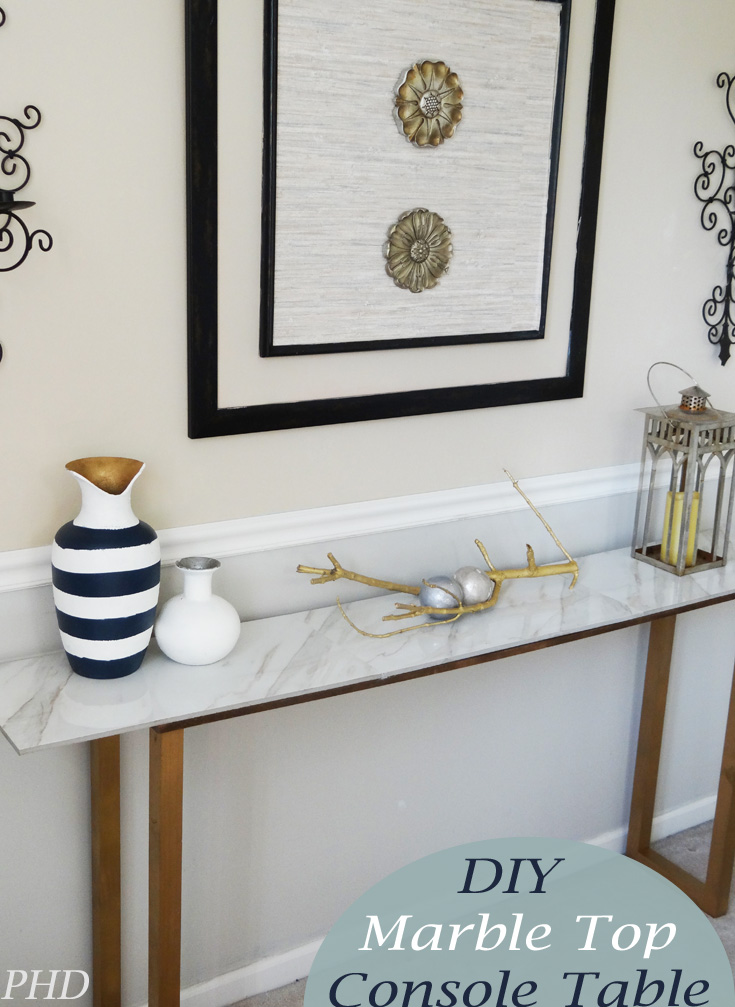
However, Wisteria’s pretty marble console table costs a pretty penny too– $899 plus a $100 process and delivery fee to be exact. $1000 for a console table is WAY out of my budget. I was determined to figure out a way to DIY a console table with a similar look and feel! It took a little bit of time to figure out but I am pleased with the end result below.
This is a simple DIY even a beginner DIY-er can do. Here is the complete Step-by-Step tutorial with photos for all of those visual learners out there (like me).
Supplies:
Note- For some reason (that I haven’t figured out yet) tiles and wood aren’t really the sizes stated on the label. For example the 12 x 24 tiles are really 11 3/4 x 23 1/2 and the 2×2 wood is really 1.5×1.5. If the cuts I list down below seem weird that’s why just follow them anyway.
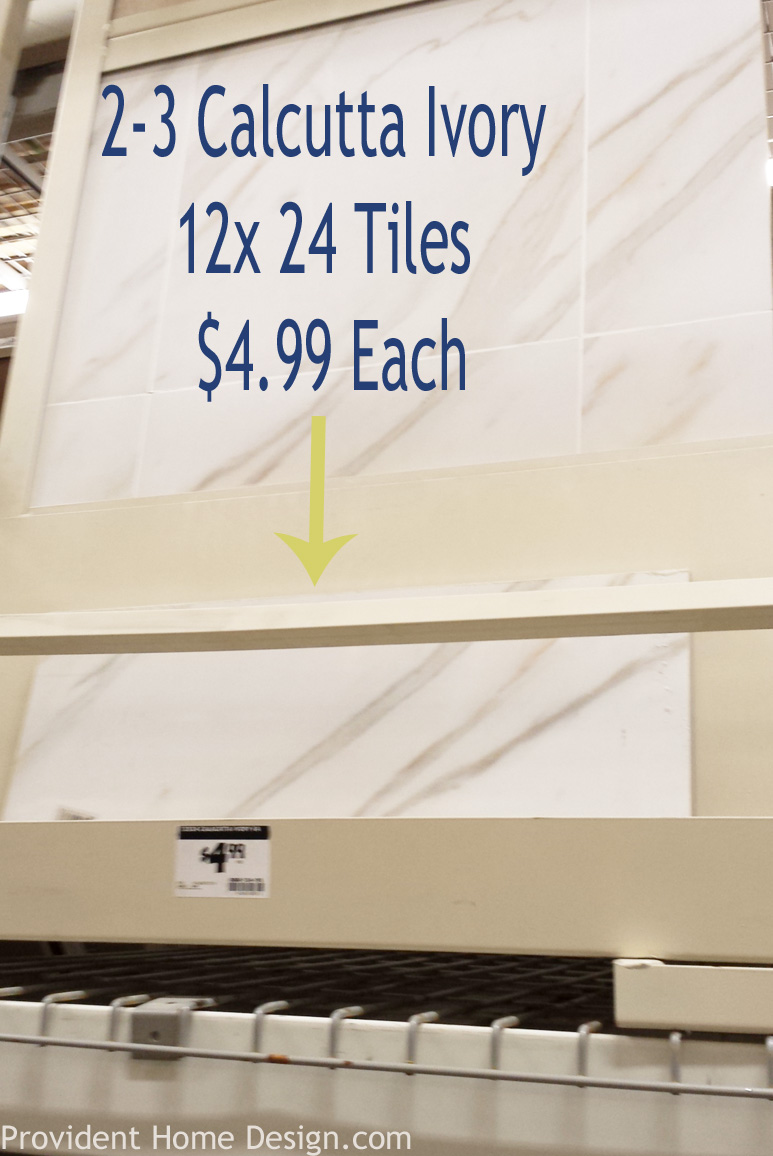
*** 2 tiles if you want your console table to be the standard 48 inch length or 3 tiles if you want your console table to be 72 inches (extra long). I did 3 tiles because I thought it would be the best size for that specific space. Purchased at Home Depot.
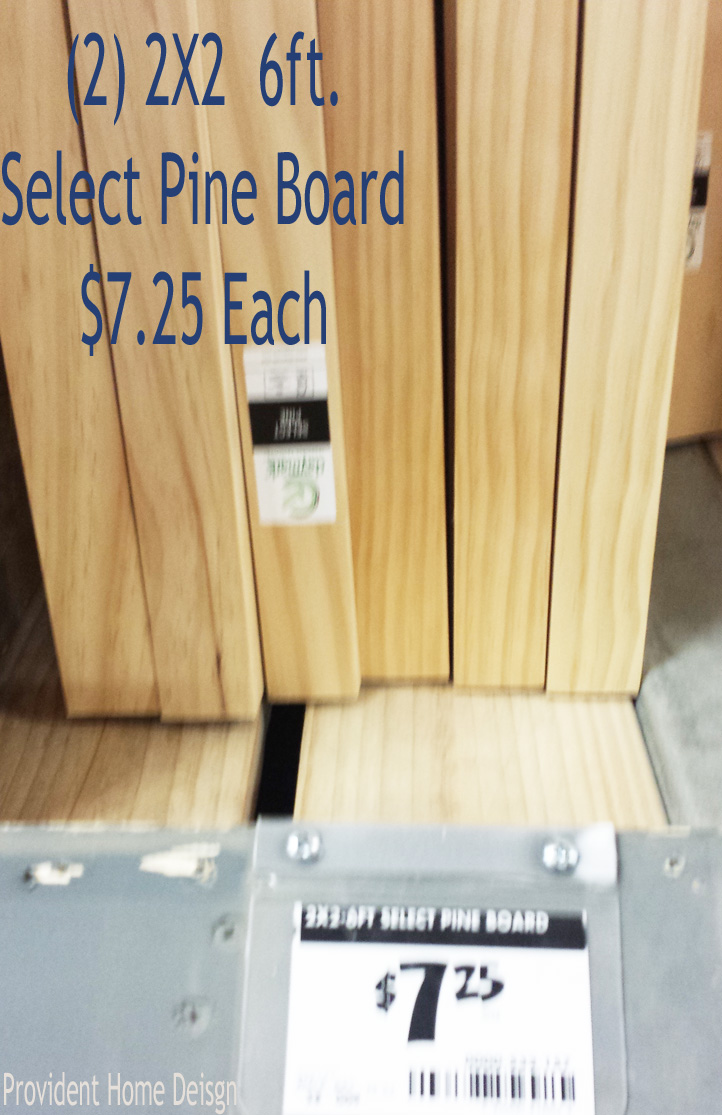
***Bought at Home Depot in the 2nd to last far left back aisle. You can have them cut to the size you want. For the longer version like mine cut (2) at 8 3/4 inches and (2) at 30 inches. For the cuts of the standard size and design console table see diagram at the end of the post.
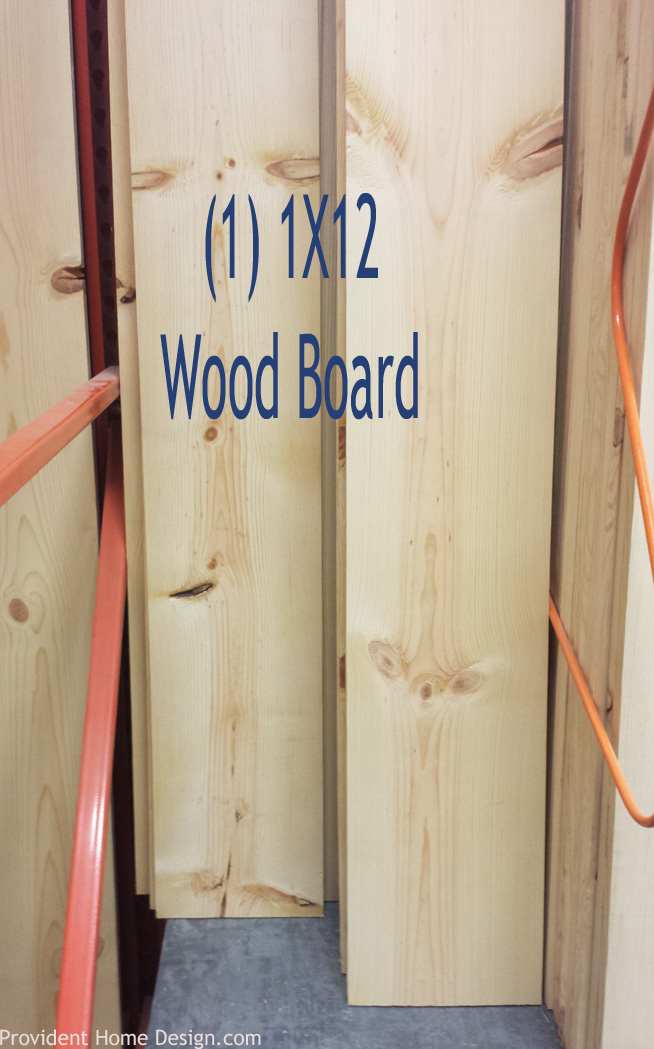
****Okay, so I had some MDF left over from another project that I used. Having used MDF though I would suggest using actual wood. The MDF has more give (it’s not as strong as wood) and so the weight of the marble on top of it makes it sag down ever so slightly in the middle. It is very slight so I decided to go ahead and use the MDF I already had but I think you would be happier making it with wood. The wood for my size of console table probably would have cost around $10. You can have your board cut there too. 55 inches for the length and 11 3/4 for the width.
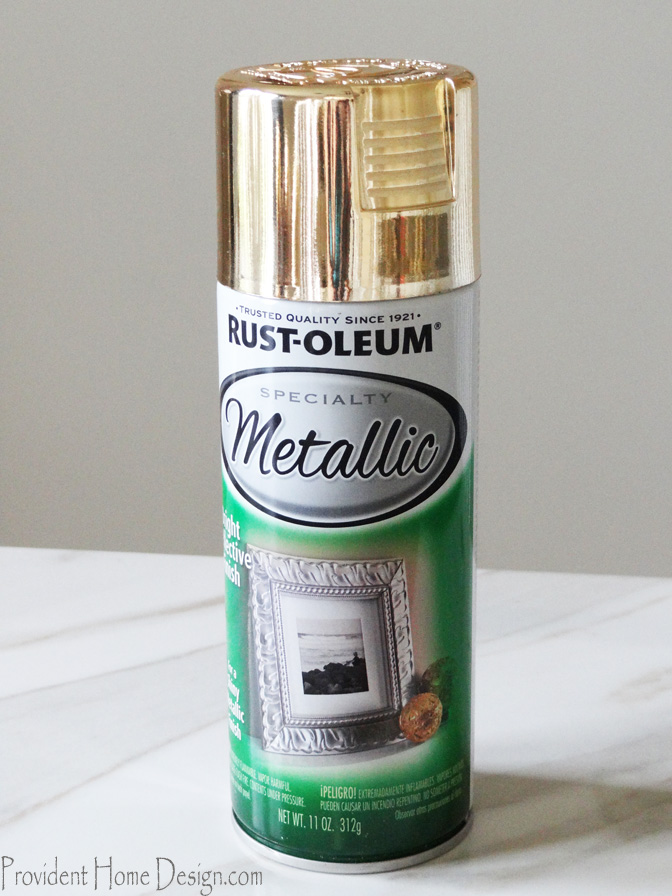
***You will need Gold Metallic Spray Paint which I bought at Home Depot for $3.50. You will also need Liquid Nails, White Caulk, and Wood Glue
Lets Do It:
Step #1
***You can also spray the sides and bottom of the long wood board too at this time.
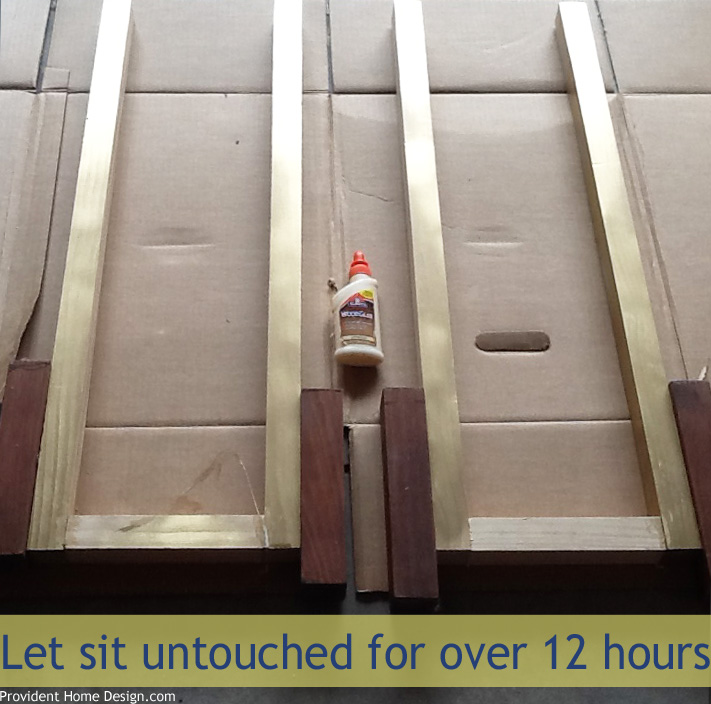
Step #2
***You will want to make sure that the legs are placed precisely to dry. The distance between the tops of the legs should be 8 3/4 inches like it is on bottom. I placed extra wood against the sides where they were glued to apply pressure since I don’t have a clamp.
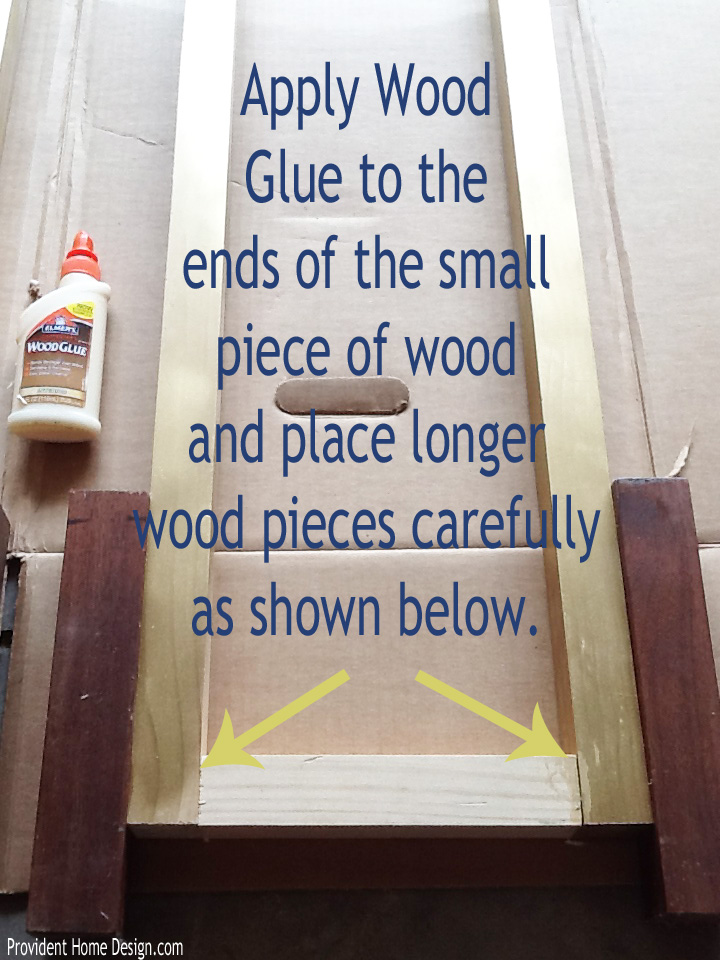
Step #3
Step #4
***It would help to have a second set of hands to keep everything steady on this step but it can be done alone carefully if you don’t have help on hand.
Step #5
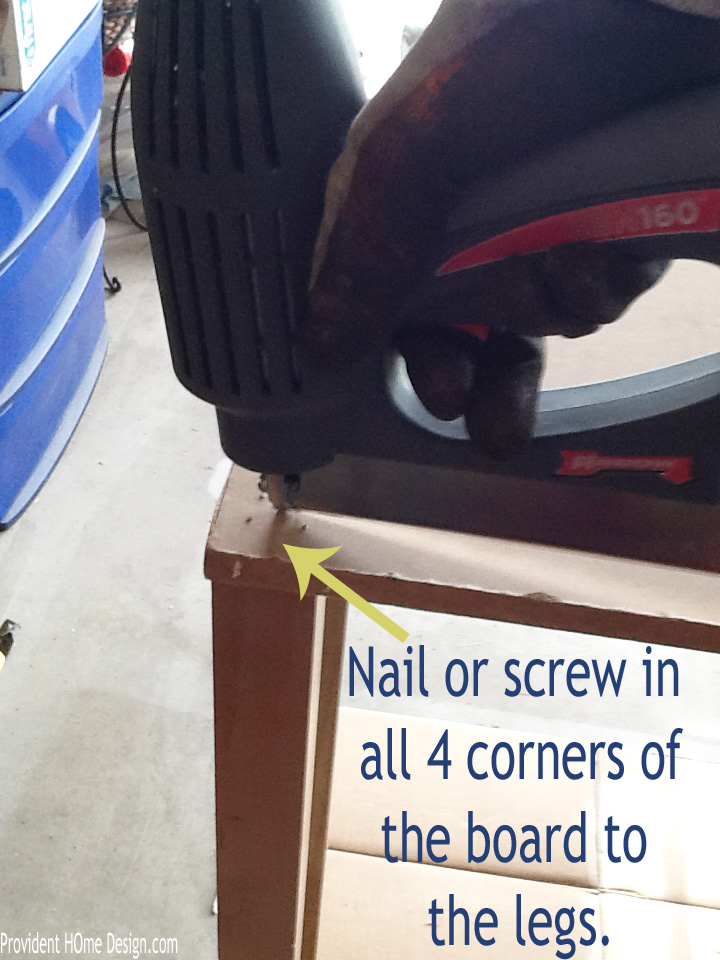
***I nailed it with several (at least 6) nails. I don’t think I would use this method if you don’t have a nail gun. I would drill a couple of pilot holes and then drill a couple of flathead 1 1/2 or 2 inch screws into each corner.
Step #6
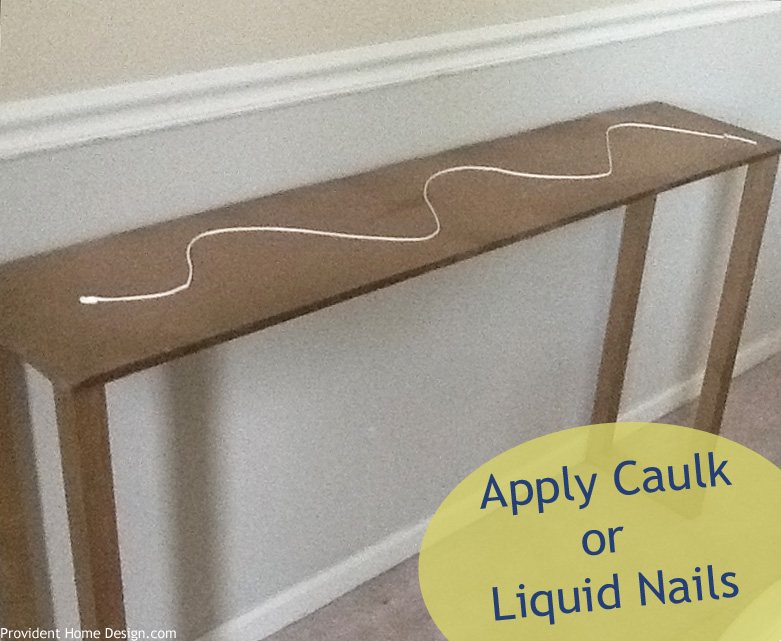
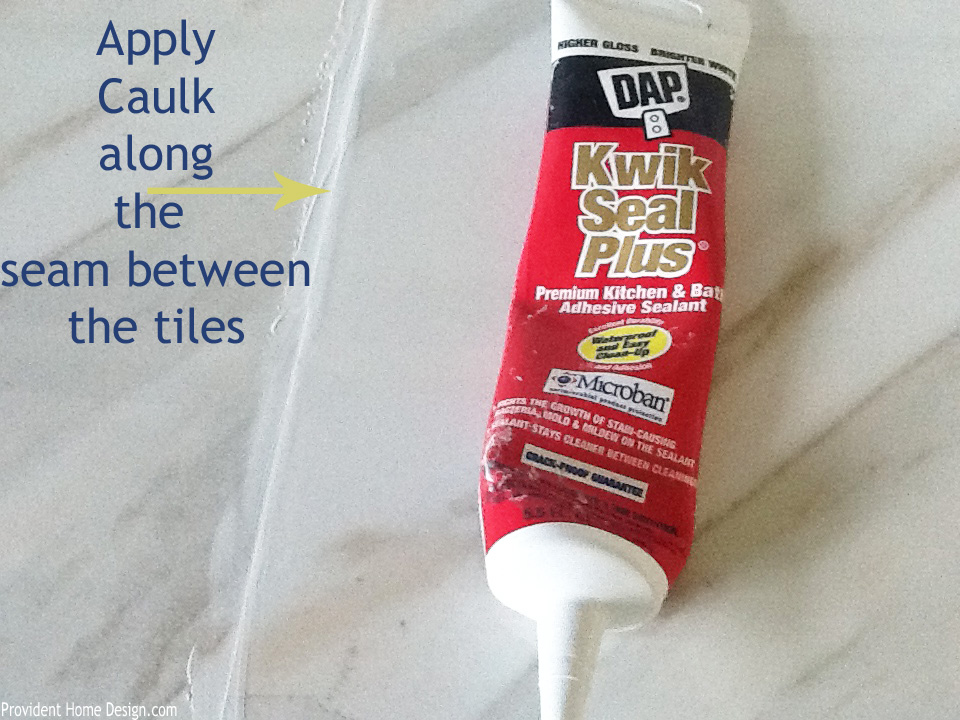
***I used caulk because I didn’t have any liquid nails on hand but I would advise using liquid nails!
Step #7
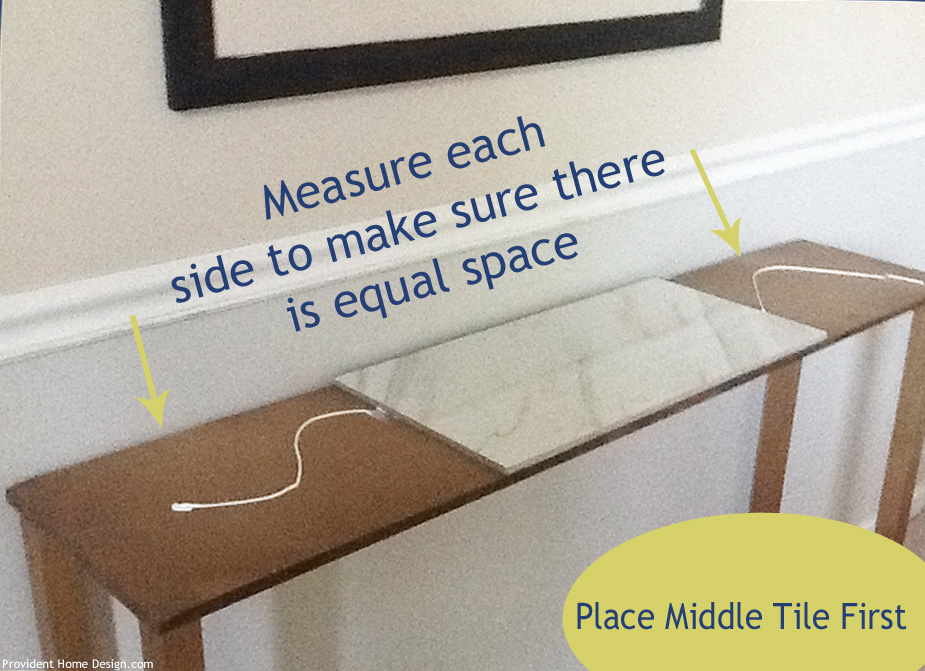
***You will want to layout the tiles ahead of time to see what order they look best in. You will want the tiles to look like it is one uniform piece so pay attention to the movement in the marble and determine which order looks best. Also choose which tiles fit most snug together. You want them to butt up next to each other tightly.
Step #8
***Well, almost finished! After placing the other marble tiles down carefully then…
Step #9
Step #10
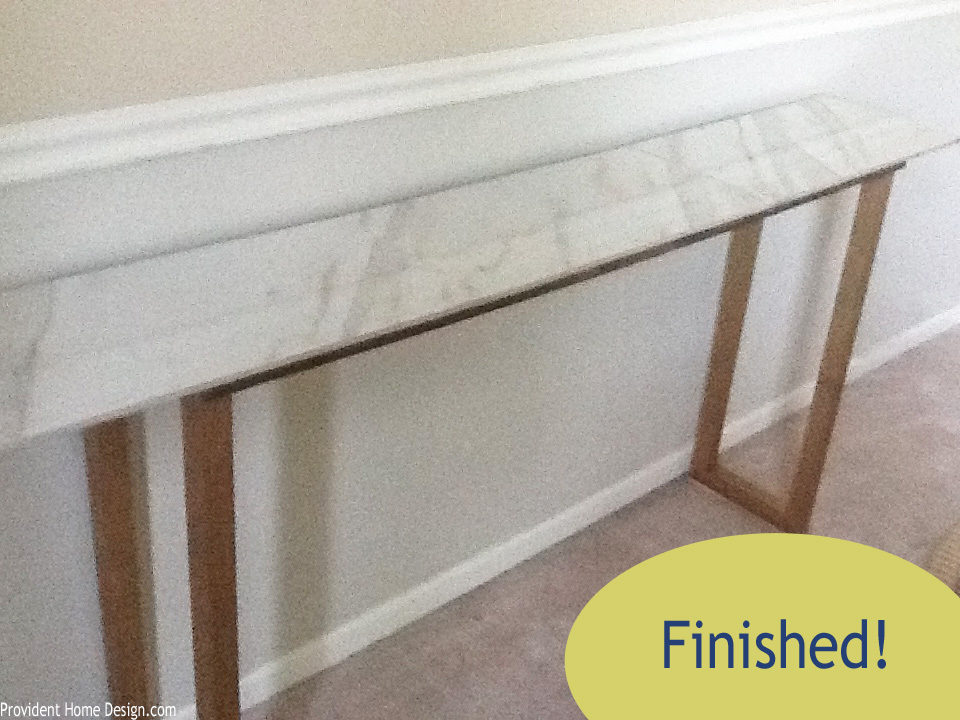
***Now you’re finished!!
I do realize that this design is different than the Wisteria inspiration console table. For a longer console table I preferred this design to the inspiration console. However, if you are interested in making a standard sized console table I think the Wisteria design is a better fit.
I have created the diagram below with measurements so that if you want to make the Wisteria inspiration console which is a standard size you can!!! Just follow the steps above and the measurement cuts below!
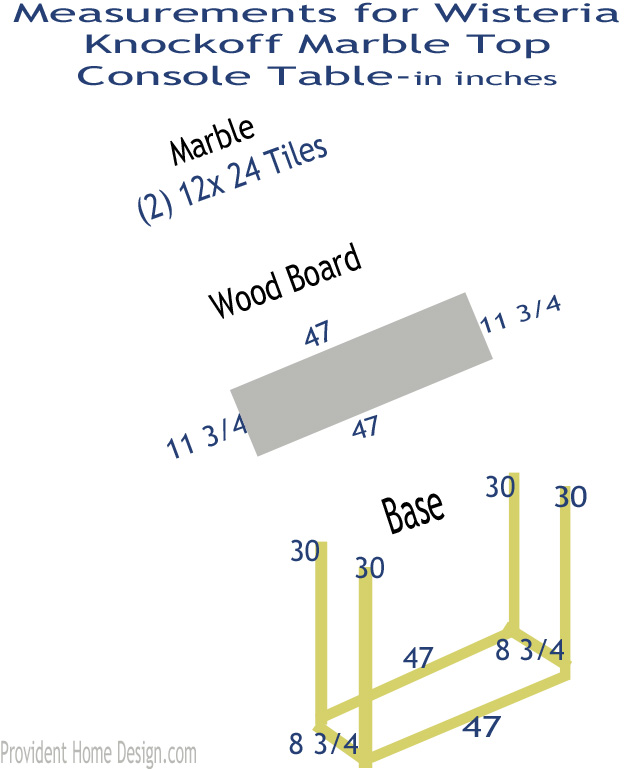
You can add those 2 extra 47inch wood pieces to the base of the table at the end of building the table. Just put wood glue on the ends and place then in between the supporting legs as shown in the diagram above!
I hope you have enjoyed this tutorial. You can check out my DIY/Tutorials page to view all my tutorials to date! Have a great day!
This is stunning! Definitely has the wheels in my brain spinning for how I can replicate. LOVE!!
Thanks, Sarah!! 🙂
I was eagerly awaiting your tutorial on this! I wish I had room in my house for another console. I love the luxe look of the marble with the gold. Way to go Tamara!
Thanks so much, Jennifer!!
This is spiffy: thank you. hadn’t thought of using tiles for a table top: really does look utterly seamless. Hmm: think the entryway needs a new narrow table.
Happy console table making, Aloe! 🙂
looks great cheap too
Thanks, Sally!
that is amazing! great diy!
So sweet of you! Thanks for stopping by!
Awesome project! I actually Like the way yours turned out better with the wood then the inspiration table. Beautiful work, pinning it to remember 🙂
Such a nice compliment! Thanks, Kristy!
What a beautiful job you did – love !!!
xoxo
Thanks, Suzan! Just sitting down to write a post and saw your comment. Made my night! 🙂
Tamara, wow, this table is beautiful and I’m just amazed at what a fabulous job you did! Love it! Visiting from i heart nap time and pinning! Have a happy weekend!
Thanks, Cindy!! I appreciate you coming by! 🙂
What a great project! I am loving gold accents now. Looks like you did an awesome job!
Thanks, Amanda!! I’m loving gold accents right now too. And gold metallic spray paint has certainly made it a lot easier to get the look for less!
This is really pretty Tamara! Love the marble top,, and your blue & white vase!
Thanks, Amy!!
What an amazing idea! I’m totally adding this to my to-do list with some of the extra marble tile we have from our bathroom. I’d love it if you’d link up to my Look for Less Design Challenge! By linking up, you’re entered to win a $60 Target Giftcard too! http://homecomingmn.blogspot.com/2014/07/diy-x-leg-ottoman.html
Thanks for the invitation Kayla! I’d be happy to link up to your challenge. Sounds fun!
I think this would be great as a foyer table, too. Usually they intrude too far into the space for those of with a small foyer. And not to be dumb, but here goes: did you make the artwork above the table, too? Love it, but can’t figure out what the objects are. Large buttons? brooches? Some sort of medallions? Anyway it looks perfect with new table.
Hi Judy! I agree this would make for great a foyer table! :-). Your question is not dumb at all! Yep, I put this artwork together. The stager my realtor worked with when we sold our condo had me buy a large painting from her for $20. I obliged even though I didn’t like the painting. So when we moved to our house I covered the painting up with faux grass cloth wallpaper and then added two wall plaque medallions I had bought at a garage sale for $1 a piece. That is the story behind the artwork. I’m glad you asked! Never hesitate to ask me a question! 🙂
I love this!! Pinning!
Thanks, Summer! 🙂
This is gorgeous and looks very high end!
Thanks so much, Robin!! 🙂 I was really hoping to achieve a high-end look but without the high expense!
I swoon over that Wisteria piece every time I look through their catalogs too and think you did an amazing job with your copy cat DIY! I love the design of the base on your version – so well done Tamara! Thanks for sharing on Best of the Nest!
Thanks so much, Kris!! I love your blog and the Best of the Nest Link up party! Thanks for having me there!:-)
Tamara this table is killer! Great DIY project. Hope you’re having a great summer.
Thanks, Tracy! I can’t believe the Summer is almost over! Kids go back to school next week!! Bitter sweet.
Hi, Just curious what time of nail gun do you have? The table looks awesome!
Hi There! I have an Arrow electric nail gun. The thing I like about it is that it doesn’t require a compressor like most nail guns. The thing I don’t like about it is it only takes up to 1 inch nails. Thanks for coming by today!:-)
Totally genius!
Thanks, Kelly! I’m glad you like it!:-)
Cute idea! As per your note about material sizing, when boards are rough sawn from logs, they are a true 2 x 4 (nominal size) – it’s the drying process and planing of the board that reduces it to the finished (actual) 1.5 x 3.5 size. Tiles are “sized down” to allow for the thickness of the grout in between – thus, the 11 3/4 x 23 1/2 tiles, finished with grout become 12 x 24 (accounting for approx. 1/4″ of grout). This way you don’t run out of space when you’re tiling your floor!
Awesome explanation, Nicole! Thanks so much!:-)
Hi there Tamara, thank you so very much for sharing your tutorial! I love the look of your table, (I know this is an old post, so please accept my apologies for reviving an old thread). I would love to make this table to sit behind my gorgeous MCM Style Blue Velvet sofa, I’m curious how it managed to hold up ? Do you place any thing on on top the outer two tiles? I’m considering making my wood base 70 inches long so the tiles would have something underneath to support lamps/decor on either side. Please let me know your thoughts/advise 🙂 Cheers
Jenn in TX
Hi Jenn! Thanks for reaching out. It held up for a couple of years. The main problem it had over time is that it started to sag in the middle since there is no support in the middle. I’m worried that with a 70 inch width it would do the same (and probably worse to yours). If you do this project I would strongly suggest adding two more supports like the ones on the sides to the middle. 4 total supports evenly spread out should support the width of the table much more. And it should be able to hold the weight of two normal sized lamps. Let me know if you end up doing it and how it goes!:-)
Nicole is spot on about the lumber. However, I’ve worked in the natural stone industry and disagree with the tile explanation. Tile should be exact dimensions or a hair off (literally). Since grout joints can range from 1/16″ to 1/2″ depending on the look you are going for sizing down isn’t practical or helpful. There are multiple reasons the tile size can be off. One is if the tile is cut in mass quantities and the machine isn’t recalibrated eventually sizing can be off. Another can be the quality of the shop the supplier is getting the material from. Just a little FYI to file away. But your table looks great!
Hi I would love to make this, can you please tell me the exact measurements for the wood? I know you wrote the numbers but I am totally confused.
Did you need to put a protective coat of polyurethane on? What would you recommend for the edges so clumsy people don’t get hurt or chip it? And did you put anything on the underside of the marble that isn’t glued down?
No I didn’t use any protective coat because it already has a very durable glossy finish. It’s more like cultured marble than real marble so is very hardy and unlikely to be chipped. I didn’t put anything on the the underside of the marble. Hope this helps!!