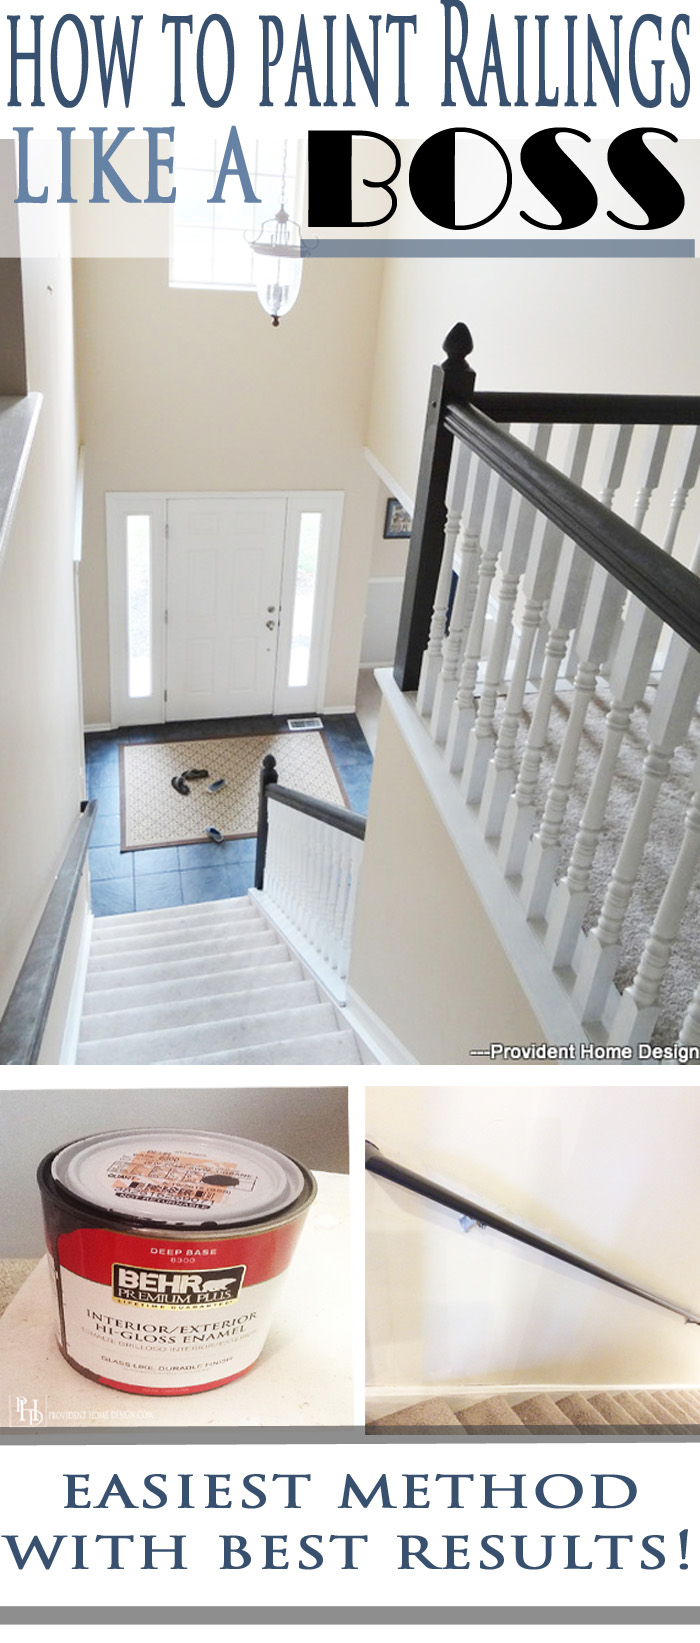
Hello! Hope you’ve had a great week! I’ve been busy this week trying to get the house ready for company which means tying up some undone projects and starting some new ones. Today I will be teaching you how to paint stair railings and you will be happy to know no sanding is necessary!
I know it’s not a smart idea to start a new project, much less a makeover less than a week before house guests arrive but I seem to do it every time!:-) This time it is the finished part of the basement which I pretty much have done nothing about in the three years we’ve lived here.
There is a reason why you have never seen pictures of the basement! More often than not it looks like a cave that has been attacked by toys.
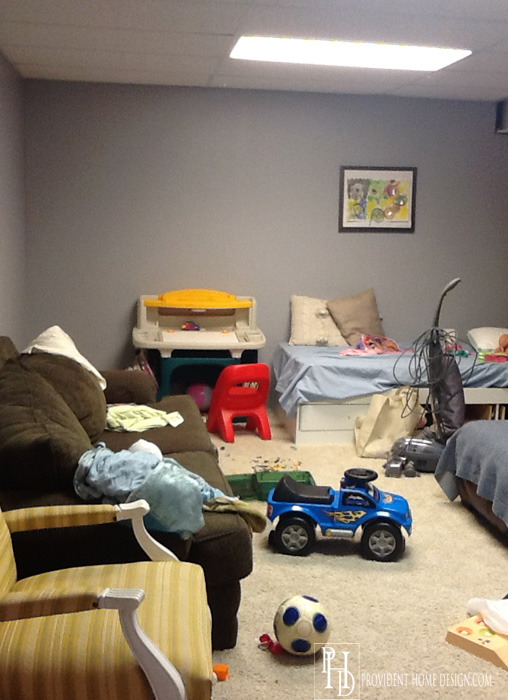
And you thought I was just exaggerating? Unfortunately not!:-)
Now that we have the sleeper sofa in the basement I’ve been meaning to do some sprucing up and beautifying. I’m not going to have time to do a whole makeover before they come but I will get started with a new pretty paint palette and some organizing which can go a long way!
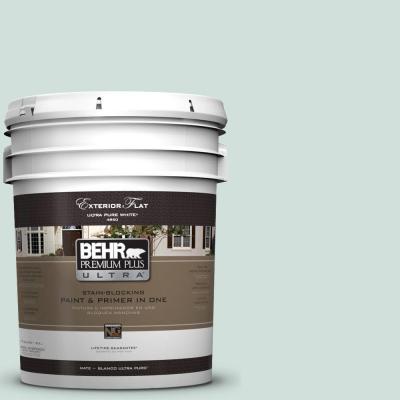
I am painting the stark gray finished basement walls in Valspar’s Del Cornado Tequilla (a warm off-white and the same color as my master bedroom) with an accent wall in Behr’s Melting Moment. I’ve never used the latter color and am super excited to try it out!
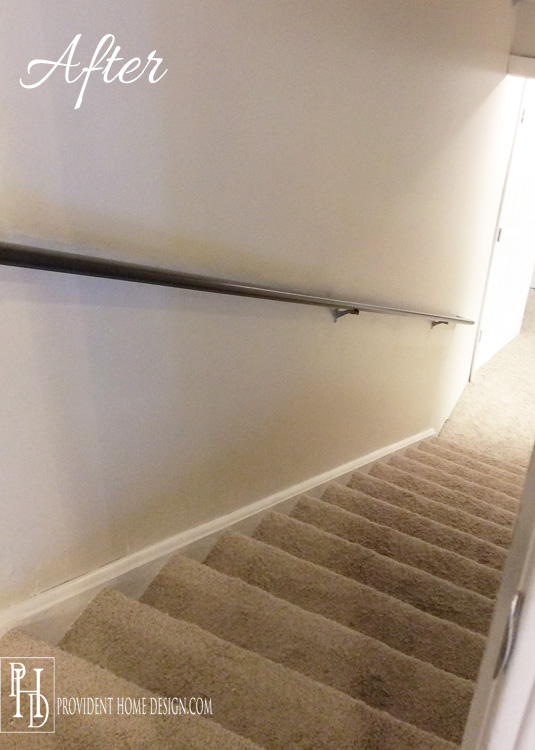
Anyways, a few days ago after painting the stairway to the basement in the off white color it immediately looked boring and bleh. As I thought about what to do I decided adding some contrast would be a good solution.
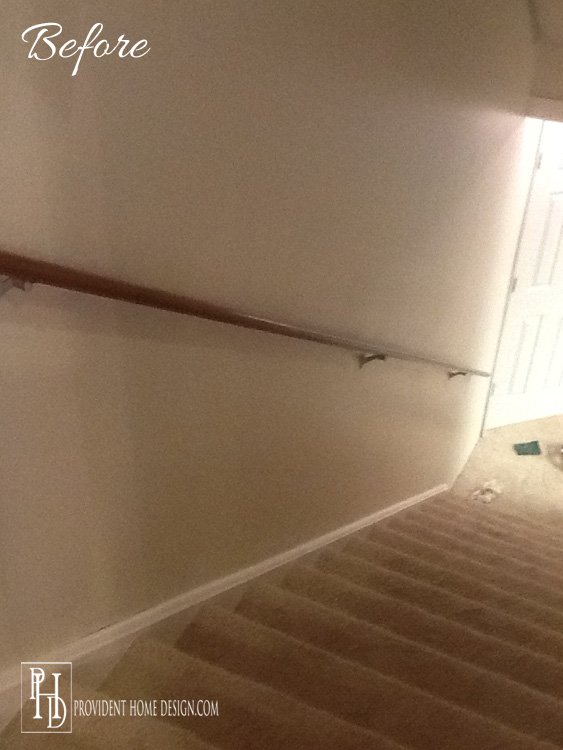
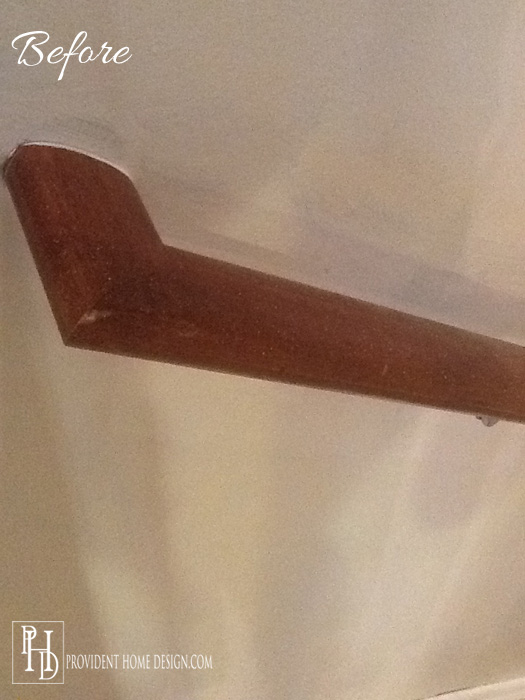
The original color of the railing was a light cherry or maybe a dark oak and l felt a darker color like espresso would provide more contrast against the off-white walls.
So I got out my trusty liquid deglosser and a rag and deglossed the railing. If you don’t want to use a deglosser you could lightly sand.
Then I got out some leftover hi-gloss enamel paint in Sherwin Williams Urbane Bronze (I used it before on the accent wall in the Man Cave).
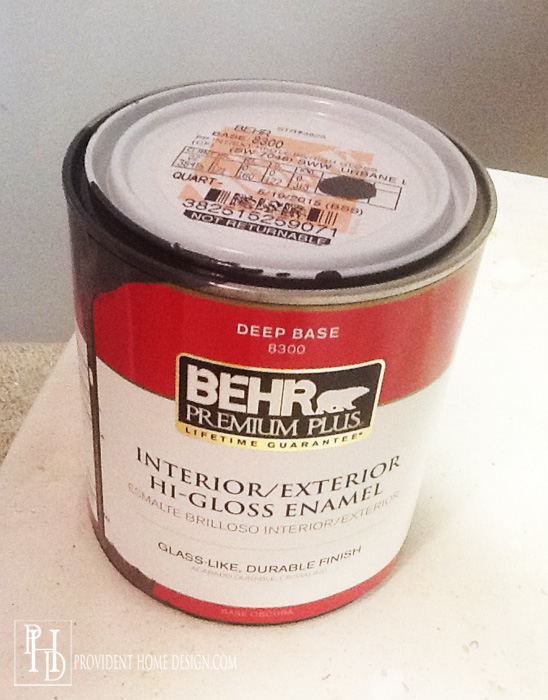
Just using a normal paint brush I painted on 1 coat of the enamel paint.
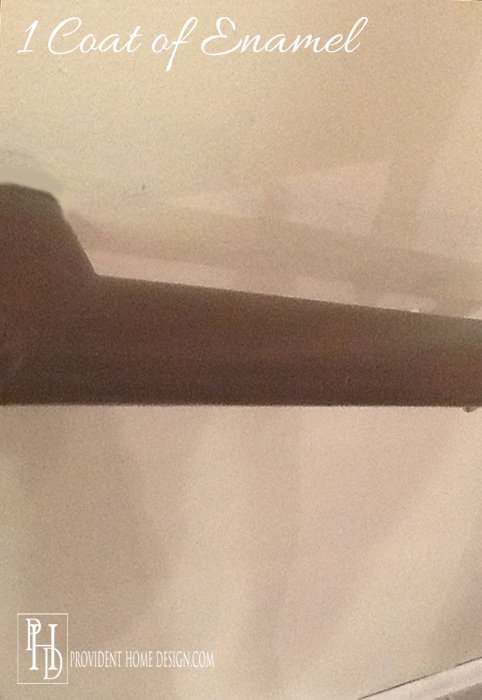
(Sorry for the bad iPad pictures) You can kind of see in the photo above that after 1 coat the railing is pretty much covered accept for some cherry streaks showing through.
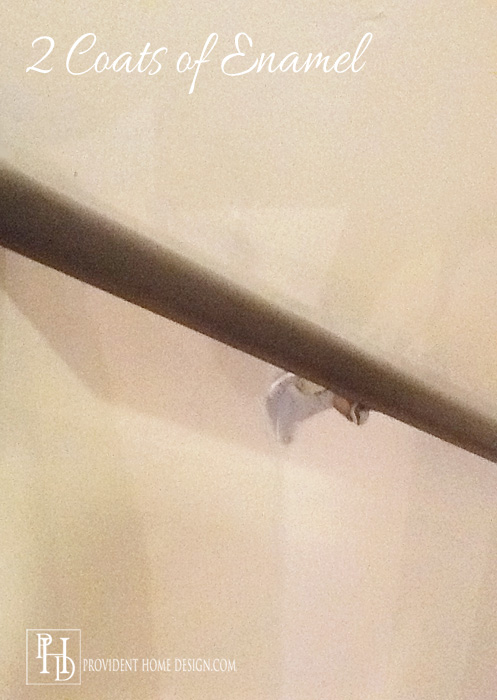
After waiting an hour I painted another coat and that’s all it needed! No final protective coat is needed because after this stuff dries it is as hard as a rock!
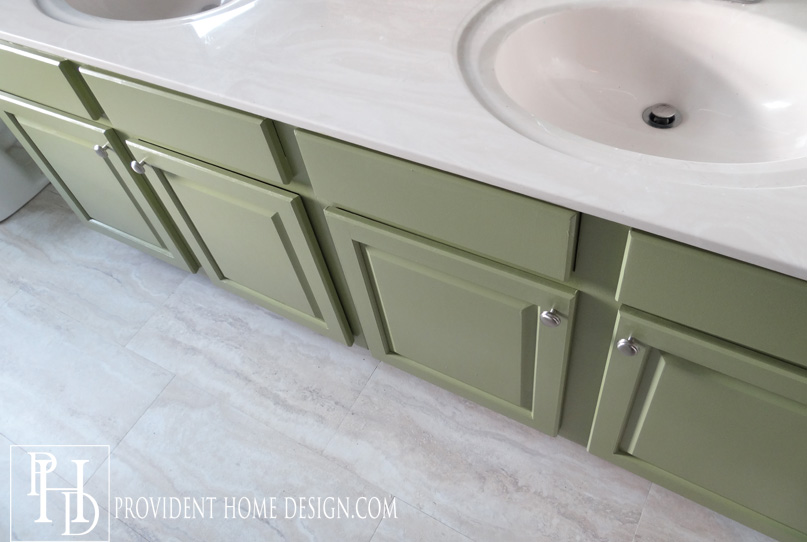
I used a similar product on my kids’ bathroom vanity and it is still in perfect condition!
This wasn’t the first time I’ve painted stair railings. Last time was right after we moved into home three years ago. It had these oak railings.

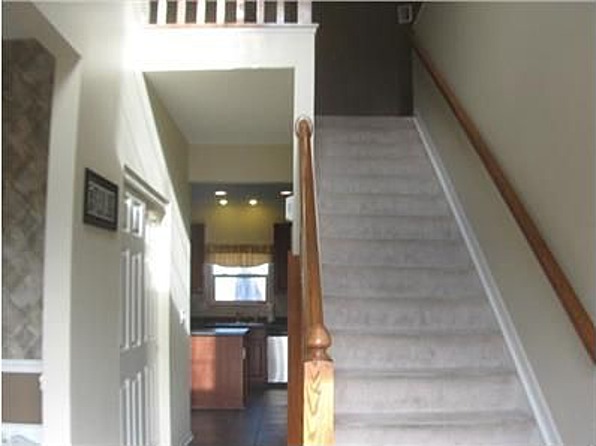
I painted the railings an espresso/black and the spindles white to give more contrast and sophistication.

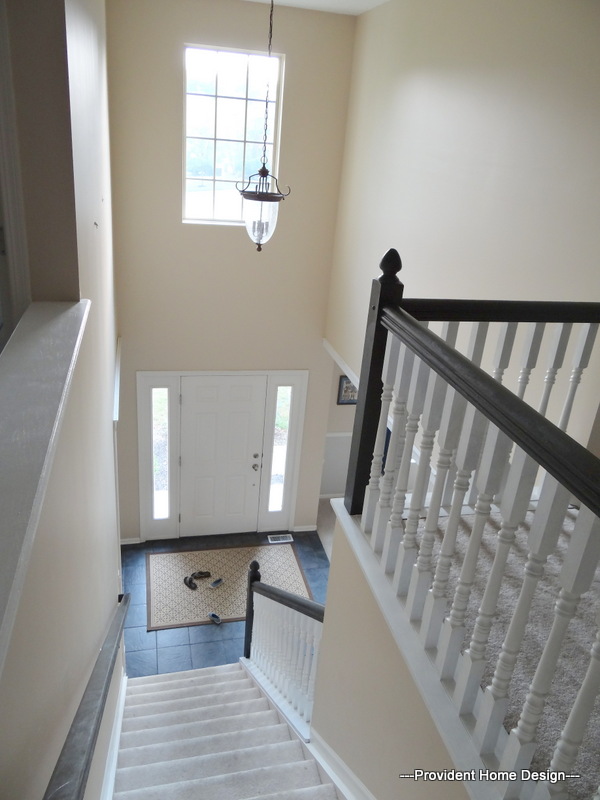
I love how they look! However, I did not enjoy the process at all! I did it the old school way of using a primer first and then going over the primer in an oil-based paint. Lastly, I went over it all in a poly to protect all my hard work.
The process took forever (in case you are wondering forever is every night for two weeks) and the feel of the railings aren’t as smooth as with the enamel method.
Moral of the story is save yourself some work and money and go with the lightly sand and apply 2 coats of enamel route!

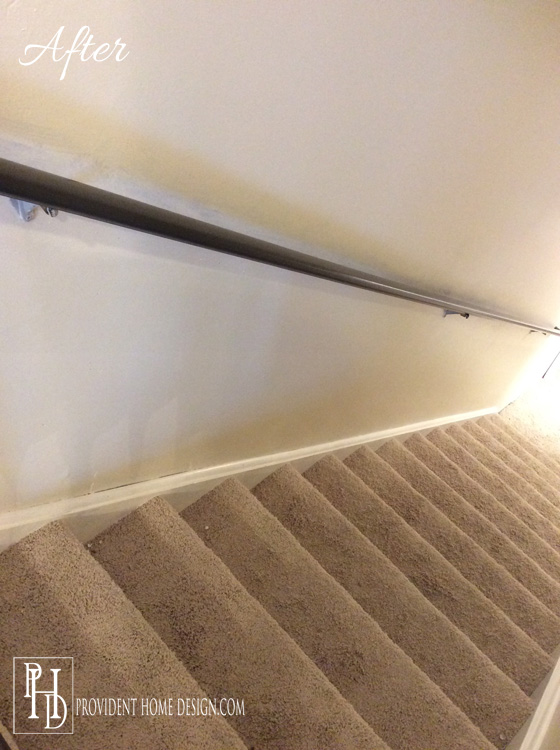
Adding a little bit more contrast is just want this stairway needed and it was a breeze to do. Now if all of the other things I need to get done before guests arrive could be this easy.:-) Hope this post is helpful to you and you feel confident in your ability to paint stair railings like a boss! Have a wonderful weekend!!
[jetpack_subscription_form]
Did you tile the foyer? i would like to do something in ours
Hi, Pam! The picture of the foyer was actually taken a couple of years ago. The tile was there when we bought the home and carried into the kitchen and powder bathroom. Since then we installed engineered hardwood in most of the main level including the foyer. I do love the look and functionality of a tiled foyer or mudroom though! I haven’t done tile flooring yet just backsplashes. Between blogs and youtube video tutorials I’m confident you could do it!!
In my experience tiling a floor is even easier that tiling a wall. You have to plan in advance how you are going out of the room though 🙂
Good to know, Val, thanks for sharing!:-)
The contrast makes such a difference Tamara! Having house guests always lights a fire underneath me too!!
🙂
This may be a silly question, but did you take the rails off before you painted them? I have been wanting to re-do ours for awhile, and a contractor explained a method to do it, but your method here seems SO much easier. Would love to try it!
Not a silly question at all, Kala! I did not take the rails off before I painted them but you could. The benefit of doing that is to make sure you don’t get paint on the wall or drip on the stairs. It worked out fine for me though! Best of luck!!:-)
Thank you! It would be so much easier to leave the railings on, so I’m glad to hear that’s what you did. I think this will be my project this week ?
Awesome, Kala!:-) I’d love to hear how it goes!
Great info, thank you for sharing! I would love to avoid sanding if possible but I keep hearing that sanding is still the most effective and produces longer lasting results. How long has your oldest project with a deglosser lasted and which deglosser have you found to produce the best results? Thank you so much!!
Hi Janine! The only deglosser I’ve used is one that came in my Rustoleum Kitchen Cabinets Transformations Kit. It was a big bottle and I’ve used the deglosser on my kitchen cabinets (almost 3 years ago), kid’s bathroom vanity (1 1/2 years ago) and on my basement railing (about 6 months ago). The kitchen cabinets are doing great…there has been some wear around some of the knobs but I think it more the paint that I used than the deglosser. On the vanity and railing I used the same paint and the paint is awesome (hard as a rock) and I haven’t seen any wear at all. Let me know if you have any other questions!:-)
Nice job! Your house is so pretty! So can I buy that enamel paint in white too, or is it just stain-type colors?
Thank you, Johanna! Yep, the enamel paint comes in white too! I’ve gotten it in white to paint the trim in my house:-)
What color did you use on the railings in the foyer? espresso/black?
Hi there! Great question! I actually mixed espresso and black paint to create a custom in between color (I didn’t want to go totally black or just espresso so why not mix them):-). Sorry that probably doesn’t help very much. I do think the Sherwin Williams Urbane Bronze I used on the downstairs railing is pretty similar. Best wishes!
Hi, I just came to this ‘tutorial’ from another of your posts.
Is the enamel product you recommend Sherwin Williams or BEHR? You describe it as a SW enamel, but the photo features BEHR.
Thanks!
Hi Dee, so sorry for the delay and confusion! The paint color is a Sherwin Williams color called Urbane Bronze BUT you can get it made at any paint store. So I went to Home Depot (where they sell the Behr Brand) and asked them to get me the Sherwin Williams Urbane Bronze color in the Behr Enamel. I can see why you were confused since I said SW enamel. Hope this clarified it. Have a great weekend!:-)
Did you like the deglosser? Did it work well?
Hi, Regina, yes I love using deglosser. I’ve used it in many of my projects and really like it! I wrote more about it in this post, http://providenthomedesign.com/2017/02/11/6200/.
This is a stunning makeover of yours. this is amazing, you stair railing is awesome. It looks simple but nice. Thank you for sharing this one.
Thank you, Roger!
Hi did you have issues with paint brush streaks using an oil paint? Did you use a the additive penetrol to eliminate ? Im about to get started on this project and an so happy I came across your pin about using enamel paint and not stain. Genius!!
Hi Patsy! Nope you don’t need to use an additive to eliminate brush strokes. Just apply thin coats using a good regular paint brush or a foam brush and you’ll be fine!:-)