Provident Home Design

Decor, DIY, and Interior Design

  • HOME
  • ABOUT
    • About PHD
    • Contact Me
  • DIY PROJECTS
  • DESIGN 101
  • PAINT
  • HOME TOUR
  • DESIGN INSPO
  • DECOR TIPS

GET NOTIFIED VIA EMAIL WHEN THERE'S A NEW POST!

DIY Butterfly Wall Art

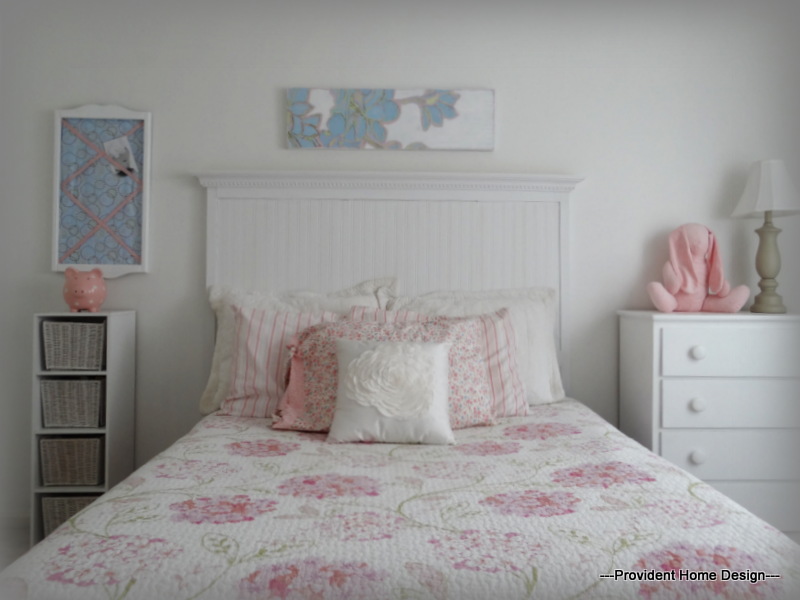
My daughter’s room is decorated with all things whimsical and girly. I love to lay in her bed with her for a few minutes as she settles in to go to sleep. I feel like I’m lying in a lovely, little flower garden.


Her bedspread is quilted with hydrangeas

DSC00663

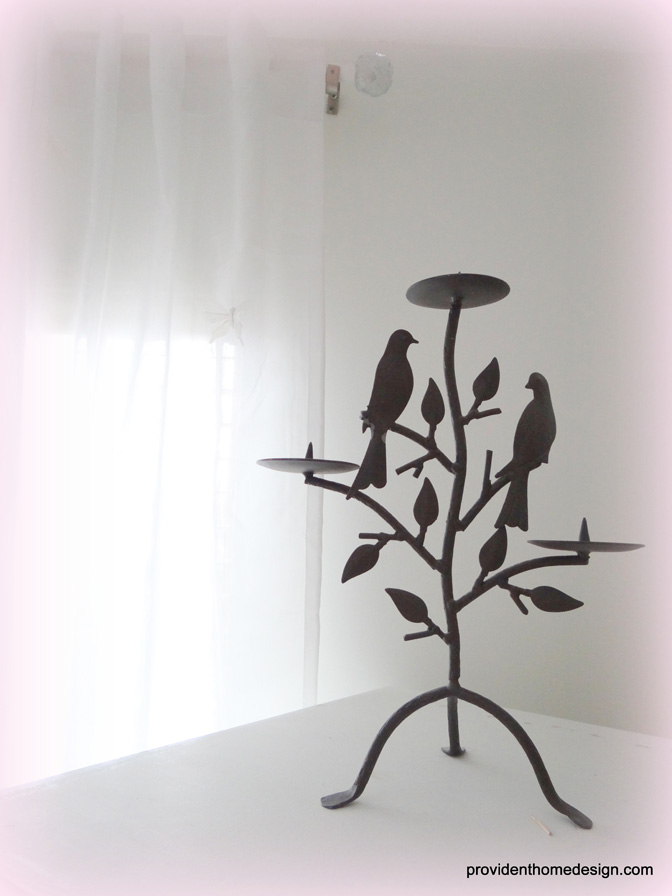
Birds can be seen perched on branches of an ornate rubbed oil bronze candle holder.

birds

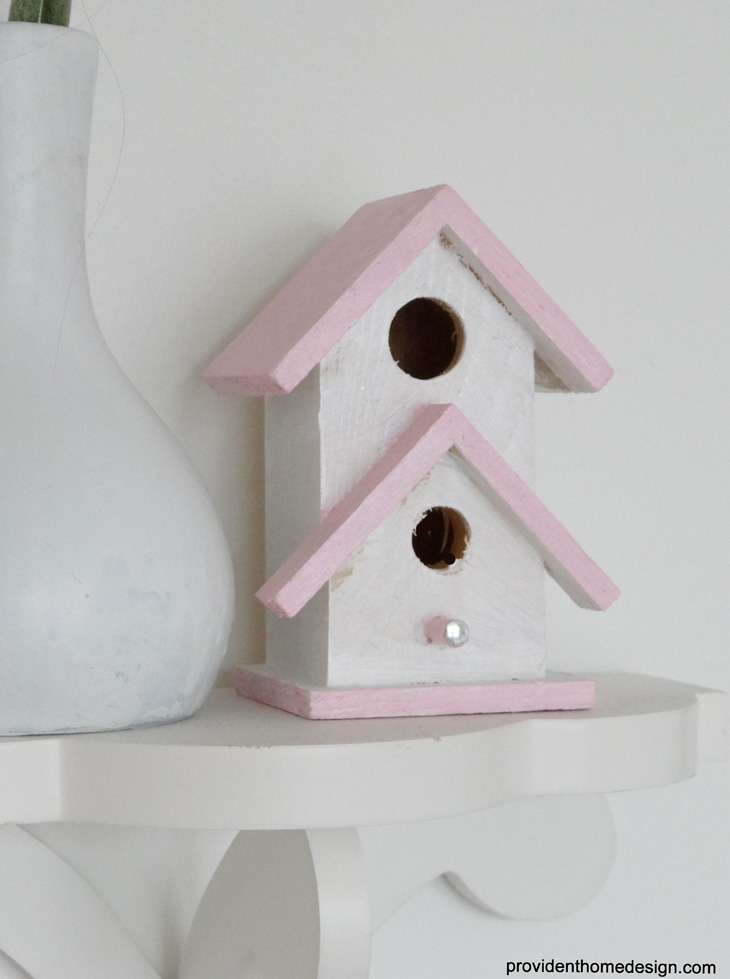
A cute little painted birdhouse sits as a welcoming home.

birdhouse


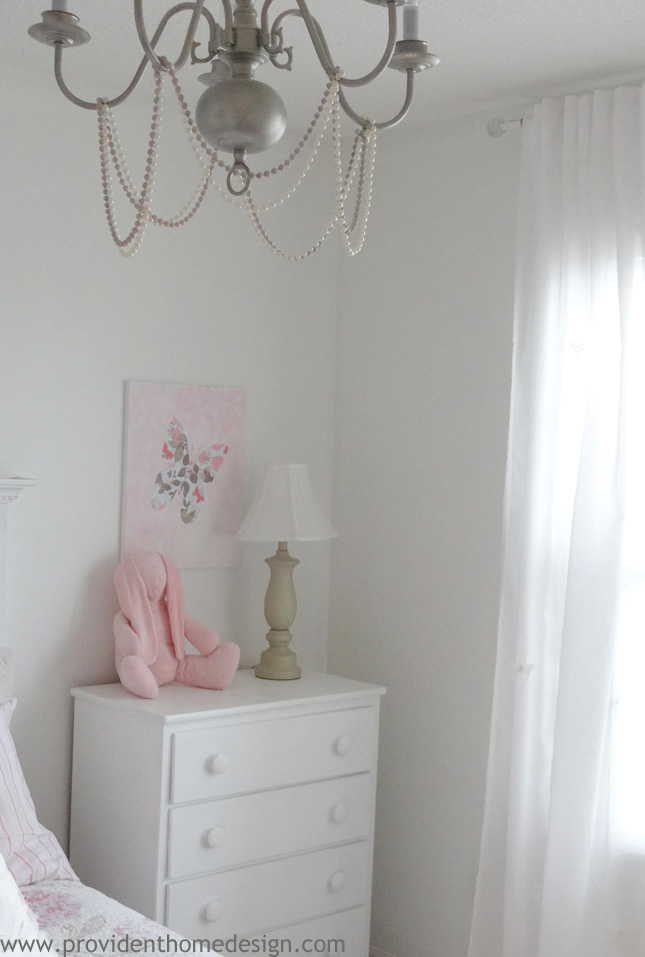
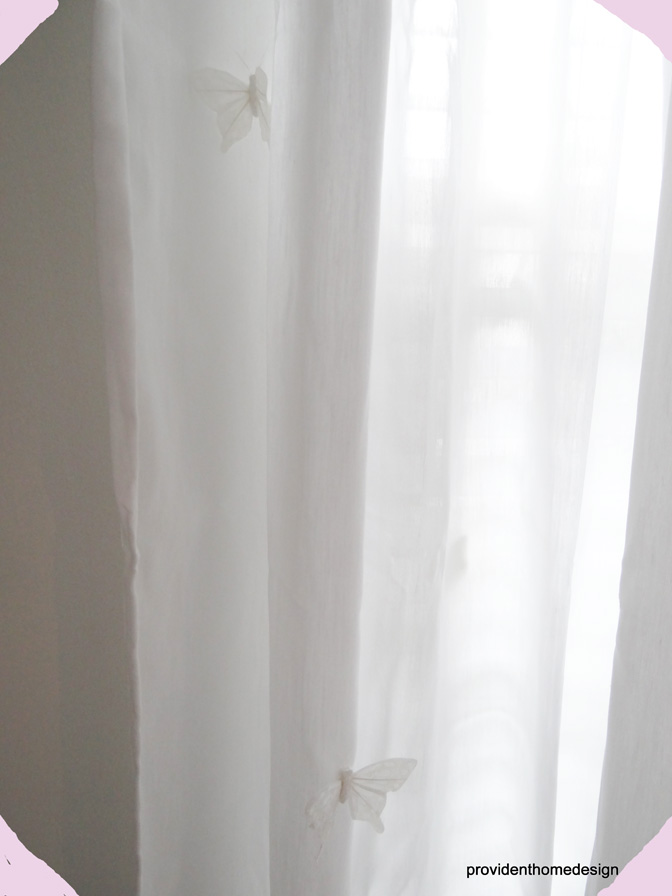
Butterflies flutter at the window as they dance playfully in the drapes.

butterfly drapes


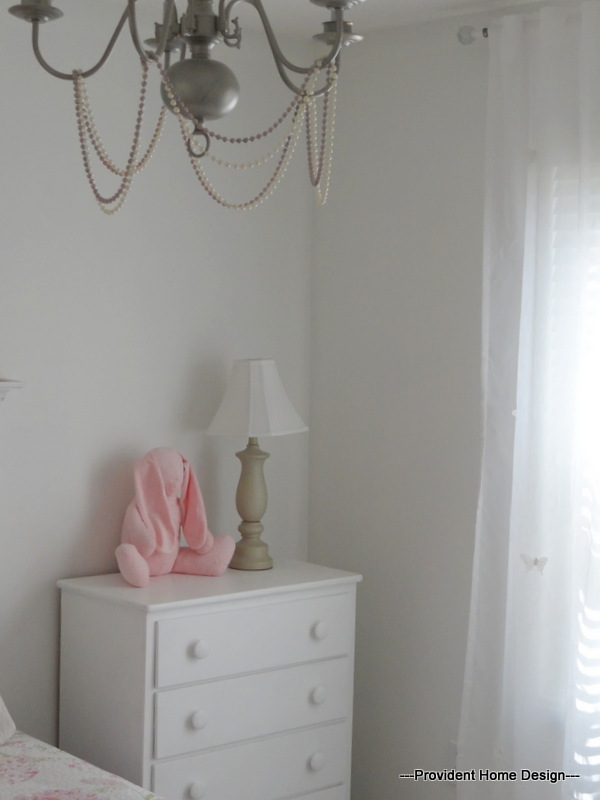
Even a pink velvet bunny can be spotted taking in the view.

DSC00659


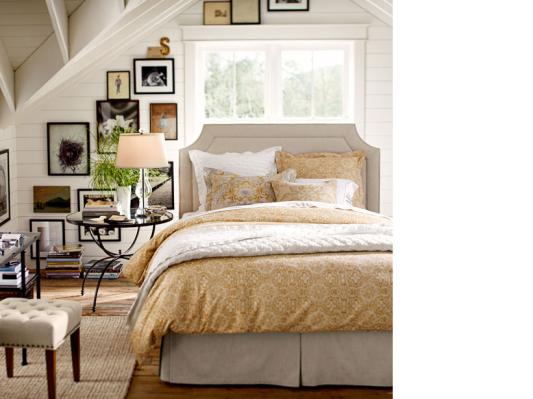
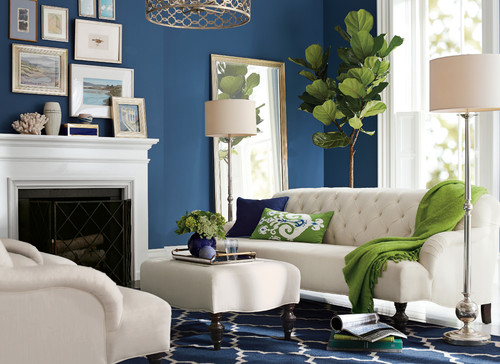
So when I saw this Pottery Barn Kids wall art I could easily imagine it feeling right at home in my daughter’s room.

Sources


As I studied the pictures closely I felt confident that this was a DIY project just waiting to happen.


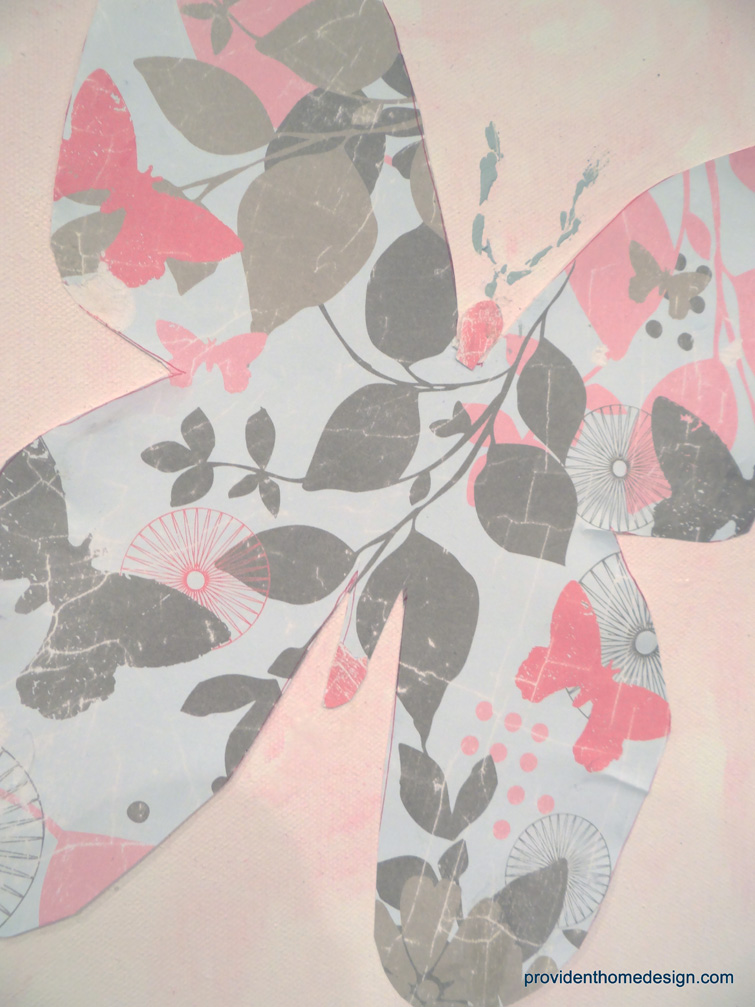
Here is how it turned out!


butterfly knockoff

Banner


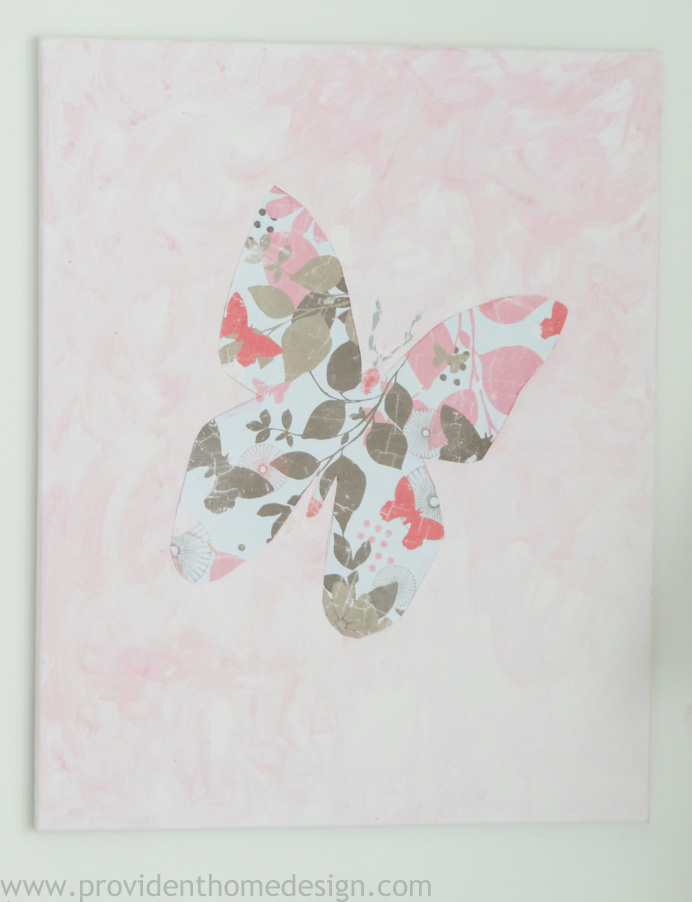
ADD some fresh flowers and a plate of robin eggs and now you have a Spring themed art masterpiece.

 springy


This color combo especially exudes Spring!

Source


This was an easy, $5  and less than 2 hour project!

Here’s how I did:


The Supply List

(I already had everything on the supply list leftover from previous projects so I only had to buy the canvas)


-A 16x 20 canvas (I got mine as a 2pk at Hobby Lobby for $7.99)

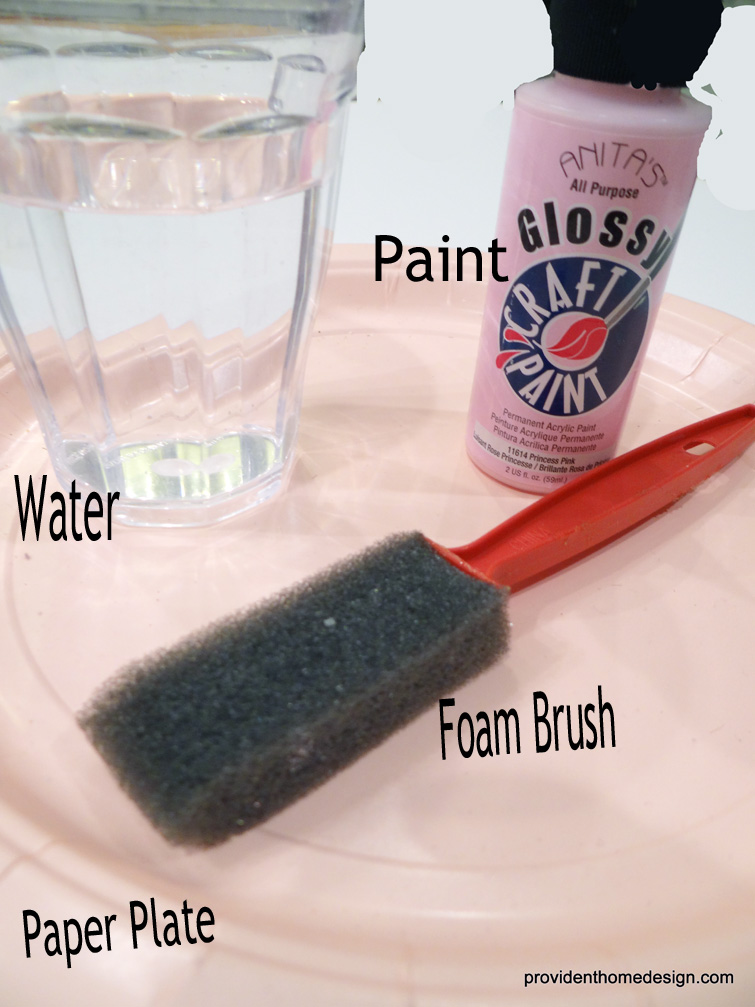
-Acrylic paint in the color you want the background to be, mine was called ‘Princess Pink’- $1

-A small cup of water

-A piece of scrapbook paper in a color and design you want your butterfly to be

-2 foam brushes ( I usually buy a pack at the Dollar Tree)- $1

Modge Podge, a glue stick, or any other kind of adhesive that will glue down paper without leaving any bumps underneath

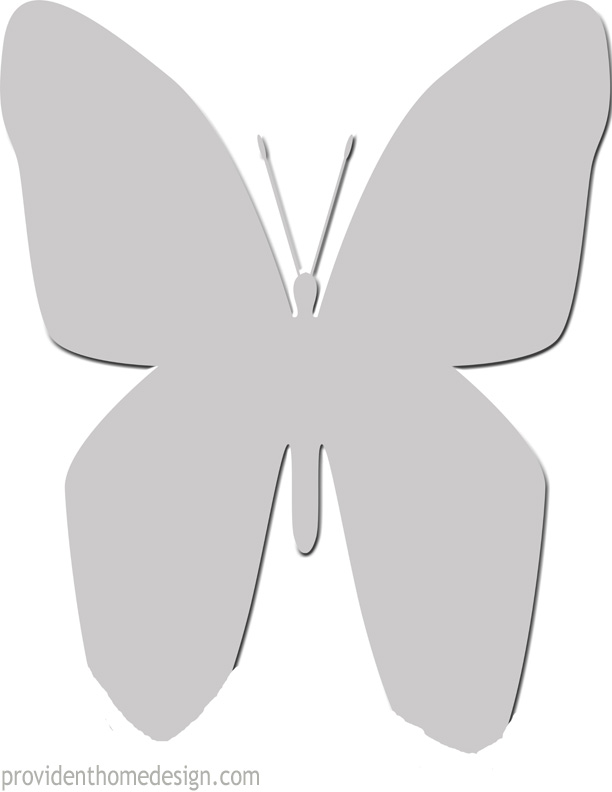
-Download of Butterfly #1 template- Click Here

Butterfly #1 Template

-And/ or Butterfly #2 template- Click Here

Butterfly #2 Template

( If you do the set of 4 butterfly photos notice there are 2 that have the same butterfly image & 2 that have a different one. That is why I have 2 butterfly image options you can download).


Steps:


1. Download and print out the butterfly you want to use (I used Butterfly #1)

Butterfly #1 Template

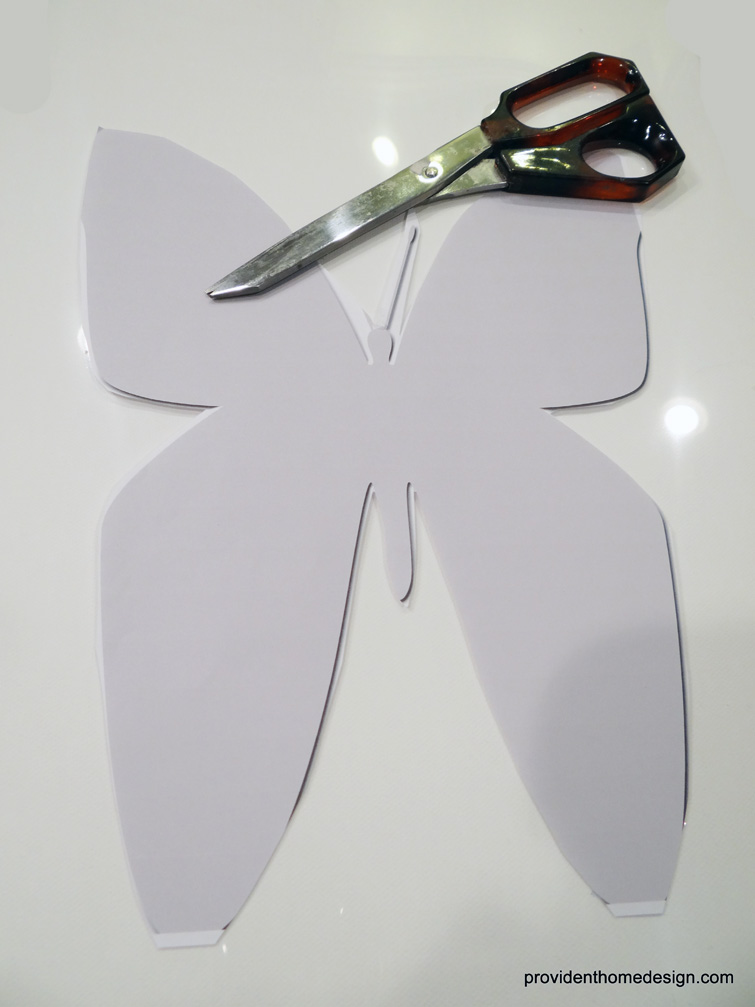
2. Cut along the butterflies border to create the butterfly template

cut out

3. Trace the butterfly onto the piece of scrapbook paper.

trace

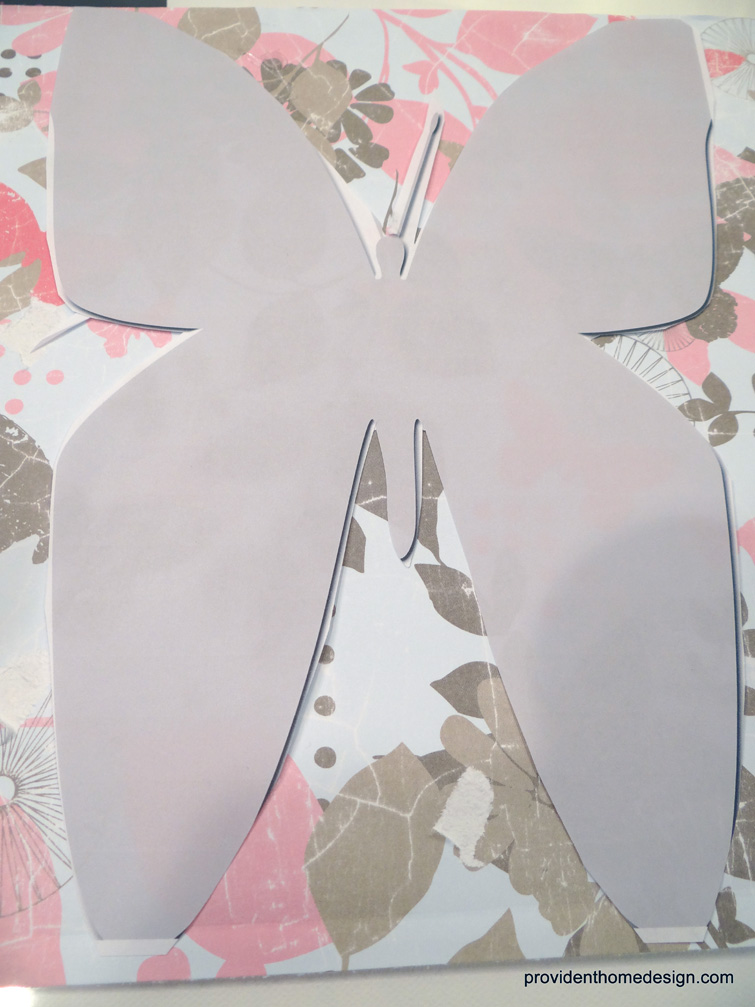
4. Cut out the shape of your butterfly on your scrapbook paper by cutting along the lines (more 1st grade cutting skills) (I did not cut antennas out).

5. Put aside.

6. Dab your foam brush into your background paint color and then a quick, tiny dab into your cup of water.

paint

7. Brush the paint onto the canvas in quick, short, counter-clockwise motions until you have filled the entire canvas. (I made reference to the Pottery Barn Kids inspiration picture often through this step).

8. If the canvas is a little wet let it dry.

9. Apply smooth adhesive to the back of your butterfly ( I used a foam brush to apply modge podge to the back).

10. Be sure to position the butterfly on a little bit of an angle and smooth the butterfly out with your hands so that it is completely adhered to the canvas, edges and all.

11. If it is not add more glue to the edges.

12.  I used the end of my foam brush to make the antennas.  If you have a craft marker that would also work well.

antennas


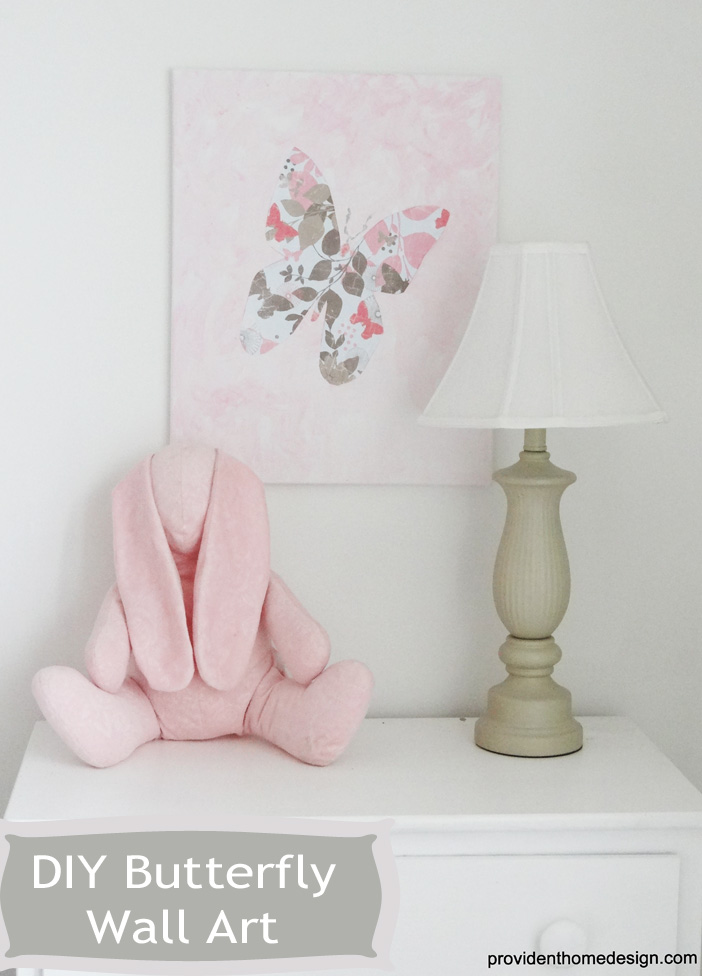
You’re done!!! I only needed 1 but I think it would be so fun to do the whole set or even 2 would look good to plank a bed or add color to a blank wall.  Hope you have as much fun as I did with this project!!!   Let me know if you have any questions!  And feel free to post your final product in the comment section if you end up doing it!


Bunny looks a lot less lonely now.  Wouldn’t you agree?:-)

DSC00659

DIY Butterfly Wall Art

Related Posts From the Blog:

  • A Tiny Toilet Room Makeover & Painting Cabinetry AdviceA Tiny Toilet Room Makeover & Painting Cabinetry Advice
  • Let’s Talk Best DIY ToolsLet’s Talk Best DIY Tools
  • Blue & White Striped Vase and a Sneak PeekBlue & White Striped Vase and a Sneak Peek
  • My House Hunters EpisodeMy House Hunters Episode
  • Free Abstract Art Printables (and Week 5 ORC Update)Free Abstract Art Printables (and Week 5 ORC Update)
  • New Build Update- Framing is Done!!New Build Update- Framing is Done!!
  • DIY Stretched Fabric Wall ArtDIY Stretched Fabric Wall Art
  • 11 Money-Saving Tips for Decorating Your Christmas Tree11 Money-Saving Tips for Decorating Your Christmas Tree

before and afters// budget decor// decorating// DIY// holiday// kids rooms// money saving tips// paint// tutorials// wall art10 Comments

Subscribe

GET NOTIFIED VIA EMAIL WHEN THERE IS A NEW POST!

« You Know You’re a DIY-er IF…
Love Your Kitchen Series- Adding Wood Trim »

Comments

  1. kim j says

    Wednesday, April 16, 2014 at 10:52 pm

    love it! I need to make a gift for a coworkers baby,this is perfect! Thanks for sharing!

    Reply
    • Tamara says

      Wednesday, April 16, 2014 at 11:05 pm

      You’re welcome, Kim! 🙂

      Reply
  2. Elise says

    Friday, April 18, 2014 at 7:18 pm

    I really love the colors of this room! The butterfly art is gorgeous!

    Reply
    • Tamara says

      Friday, April 18, 2014 at 7:43 pm

      Thank you, Elise! I appreciate you stopping by!:-)

      Reply
  3. Julie says

    Tuesday, June 24, 2014 at 4:12 am

    That is so pretty and yet so simple to make – lovely!
    Please tell me you had a massive tidy up before taking these pictures – if I compare this tranquil loveliness with the state of my kids rooms…. (I don’t even want to think about it!)

    Reply
    • Tamara says

      Tuesday, June 24, 2014 at 8:33 am

      Haha, Julie! Yes, there is always some tidying up to do before taking pictures of our home. Definitely comes with the territory of having kids! If only they could come with a self-cleaning button! Thanks for stopping by, Julie!

      Reply
  4. Carla says

    Sunday, July 6, 2014 at 12:21 pm

    So pretty. I seriously love that bunny.

    Reply
    • Tamara says

      Sunday, July 6, 2014 at 4:31 pm

      Thanks, Carla! 🙂 The bunny was made (sewed) by my Mom as a gift to my daughter when she was born. I unfortunately didn’t acquire her seamstress abilities but am grateful she shares them with her loved ones! 🙂

      Reply
  5. Dinorah says

    Monday, July 7, 2014 at 10:27 pm

    What a great idea! So easy and it looks so expensive! Thank you for sharing

    Reply
    • Tamara says

      Monday, July 7, 2014 at 10:50 pm

      Thanks, Dinorah! This was definitely one of my favorites DIYs because it was pretty quick and easy and yet it had a good result. It’s always nice when a little bit of effort goes a long way. 🙂

      Reply

Leave a Reply Cancel reply

Your email address will not be published. Required fields are marked *

Hello and Welcome!! My name is Tamara and this is where I share my tips and tricks to creating a beautiful home! If you are new, feel free to start HERE.

Subscribe

Get notified via email when there's a new post!

Join me on Instagram!

[instagram-feed]

More Blog Inspiration:-)

  • Icon Caroline on Design

    Close preview

    Loading...
  • Icon Centsational Girl

    Close preview

    Loading...
  • Icon Decorating Delirium

    Close preview

    Loading...
  • Icon Lauren Liess

    Close preview

    Loading...
  • Icon Life on Virginia Street

    Close preview

    Loading...
  • Icon Remodelaholic

    Close preview

    Loading...
  • Icon The Creativity Exchange

    Close preview

    Loading...
  • Icon Thrifty Decor Chick

    Close preview

    Loading...

Categories


Disclosure & Privacy Policy

You might also like

The Final Before & After of our Current Home

The Final Before & After of our Current Home

New Build Update-Paint, Lighting, and Floors oh My!

New Build Update-Paint, Lighting, and Floors oh My!

New Home Update

New Home Update

New Build Update- Cabinets are in!

New Build Update- Cabinets are in!

House Update–We Have Walls!

House Update–We Have Walls!

Join Me on Instagram!

[instagram-feed num=9 cols=9 showbutton=false]

Privacy

Copyright © 2021 · Savory theme by Restored 316

Enter your name and email to get my weekly post sent to your inbox... it's FREE!
Want to learn more about DIY, decorating, and making your home beautiful? Sign up below!
Your information will *never* be shared or sold to a 3rd party.