Provident Home Design

Decor, DIY, and Interior Design

  • HOME
  • ABOUT
    • About PHD
    • Contact Me
  • DIY PROJECTS
  • DESIGN 101
  • PAINT
  • HOME TOUR
  • DESIGN INSPO
  • DECOR TIPS

GET NOTIFIED VIA EMAIL WHEN THERE'S A NEW POST!

DIY Decorative Boxes

Decorative Boxes have definitely become a trend in the design world as pieces of décor to adorn table tops, bookcases, and the like.


AM Dolce Vita via Houzz


transFORM  via Houzz

Surprisingly (at least to me) a set of 3 decorative boxes can ring in as high as $135+

Chevron Bone Boxes - Set of 3
via Home Decorators.com – $74 plus $11 shipping

Hadley Boxes - Set of 3
via Hayneedle.com – $135.99

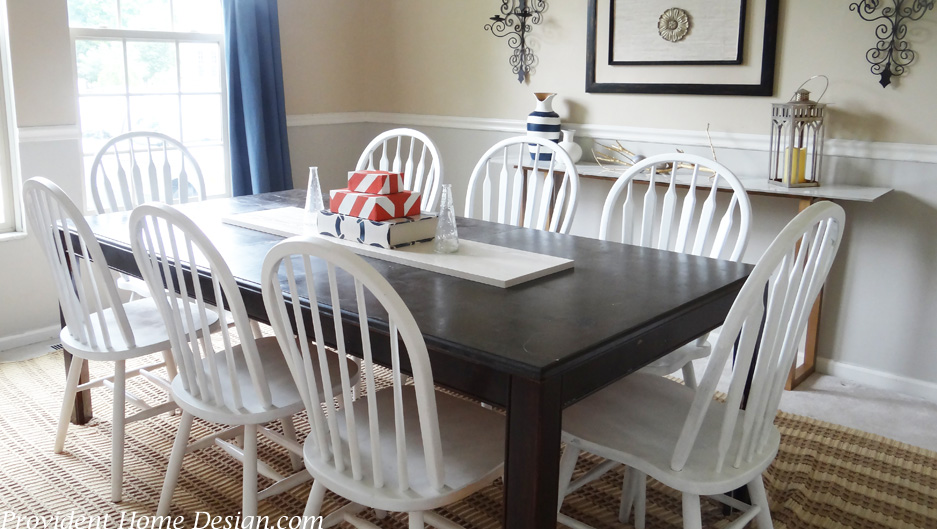
You may remember in my recent Dining Room Update I added a grouping of 3 decorative boxes as a centerpiece for the dining room table.

Dining Room Summer Decor


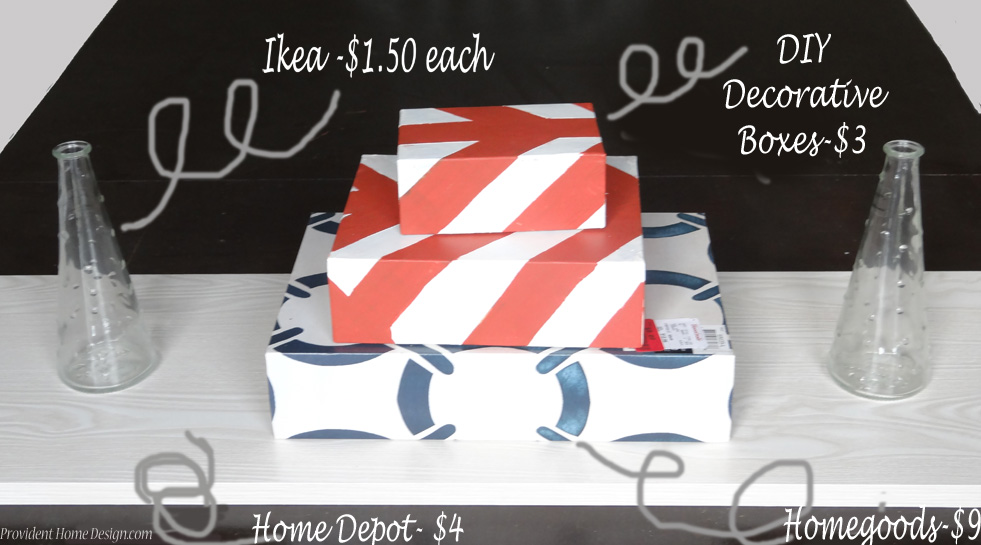
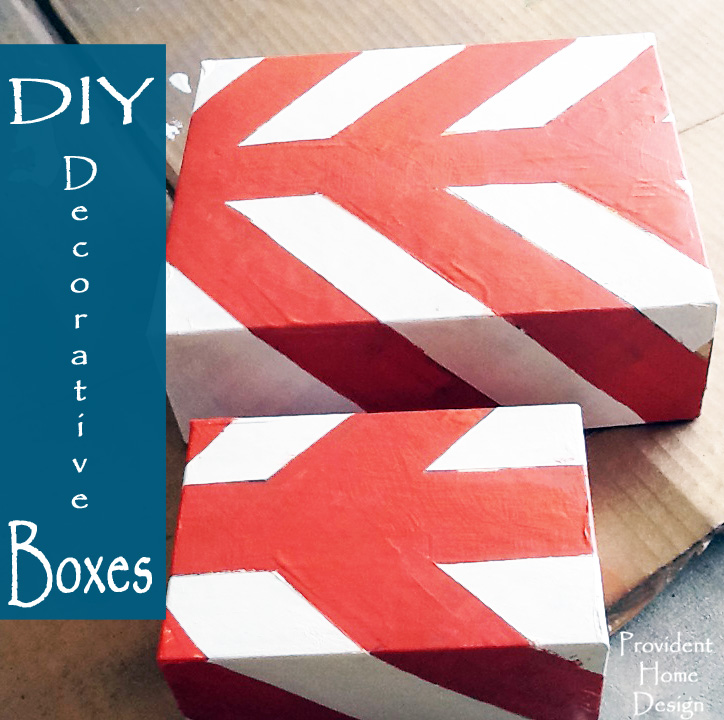
I found the decorative box on the bottom clearanced at Homegoods for $9 (haha still boasting it’s price tag in the picture, oops).  The top two boxes I DIY-ed for $3!  Much less than the decorative box sets above!


Summer Centerpiece


You could easily DIY some decorative boxes for your home as well!  The idea started when my husband received a yummy Father’s Day present in the mail from my mom and dad.  They were Cheryl’s cookies and were tastefully enclosed in these cute plaid gift boxes.


decorative boxes

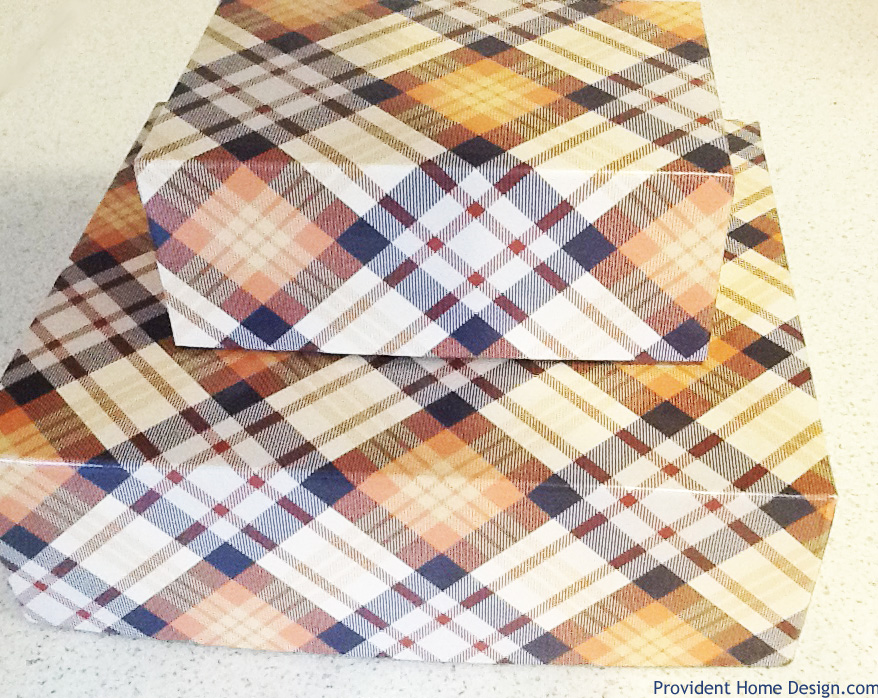
Realizing the cookies weren’t for me my brain went straight to “hmmm, is there a way I can use these handsome boxes as decorative boxes in my home”.  I couldn’t come up with a use for them as they were but I did envision them looking great in the dining room as a splash of coral and white!

Free boxes to use for this project could come to you in the mail (even as ugly brown packages) or as gift boxes when you buy clothing at a store.

I bet you have a few boxes laying around somewhere just waiting to become a home décor piece (think shoe boxes even).  You gotta think outside the BOX for this one (I know cheesy line.  It’s late here, it couldn’t be helped). 🙂

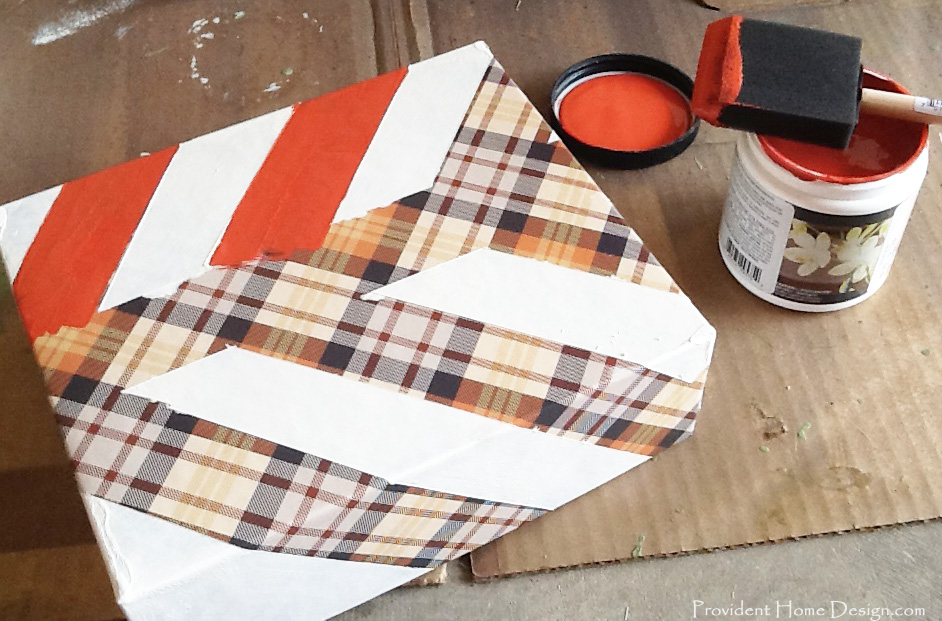
All I did to create my decorative boxes was to use painters tape to establish the new design.

tape box

The areas I wanted to be white I painted first and then took off the tape and painted the unpainted areas coral.  I used wall paint samples for that paint but I’m sure you could also use craft/acrylic paints.

start to tape box

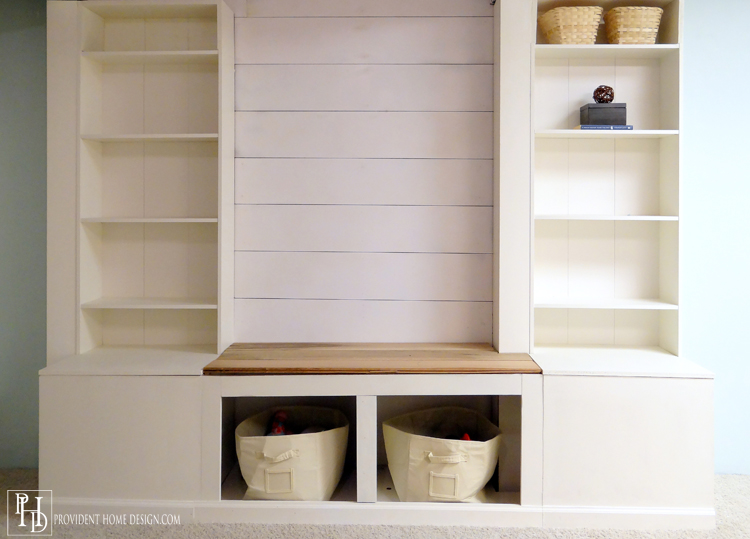
You can make any design you want.  If you google ‘free stencils’ you are likely to find some you could print out and use for this project or you could keep it simple and paint solids.  I love how the set of 3 decorative boxes on the bookshelf  are each a color in the same color family-they almost appear ombre.

transFORM  via Houzz

Or for even more pop you could paint the lid and box different solid colors as shown below.

via The Hunted Interior

No matter how you paint yours I can bet 3 things  1) that it is a better version than what it looked like before  2) it was less expensive than buying a one at the store  3)  that your home just got more stylish with its addition.  🙂

I hope you enjoyed this DIY!  I am in the midst of more DIYs right now.  Can’t wait to share them!  I hope you have a wonderful day!

decorative boxes completed

Related Posts From the Blog:

  • The Look for A Lot Less #2The Look for A Lot Less #2
  • Color Quiz- Fun & InformativeColor Quiz- Fun & Informative
  • Happy Imperfect Mother’s Day!:-)Happy Imperfect Mother’s Day!:-)
  • 11 Money-Saving Tips for Decorating Your Christmas Tree11 Money-Saving Tips for Decorating Your Christmas Tree
  • A Coastal Christmas TablescapeA Coastal Christmas Tablescape
  • Color Feature:  BlackColor Feature: Black
  • Pina Colada Cupcakes & MorePina Colada Cupcakes & More
  • The One Room Challenge Week 4The One Room Challenge Week 4

budget decor// decorating// DIY// money saving tips// paint// tutorials4 Comments

Subscribe

GET NOTIFIED VIA EMAIL WHEN THERE IS A NEW POST!

« An Old Favorite Paint Color & A New Favorite Paint Brand
DIY Faux Tufted Headboard »

Comments

  1. Jennifer Lippi (Decorating Delirium) says

    Tuesday, July 15, 2014 at 6:07 pm

    I love that you re-purposed the candy boxes. When I did DIY lacquer boxes, I bought them at Michael’s. Could have saved a ton of $$! They look great and I love the colors!

    Reply
    • Tamara says

      Tuesday, July 15, 2014 at 8:45 pm

      Thanks, Jennifer! DIY lacquer boxes sound intriguing…I will have to check them out! 🙂

      Reply
  2. melindacaldwell says

    Thursday, July 17, 2014 at 9:22 am

    Stopping by from Thrifty Thursday. I love reusing boxes. I used old cardboard boxes, covered them in wrapping paper and used them as a food stand display for my son’s birthday party. It made the tables look great and presented the food beautifully. Upcycle all the way 🙂 Pinning 🙂

    Reply
    • Tamara says

      Thursday, July 17, 2014 at 11:43 am

      Great upcycle, Melinda! Thanks for sharing!

      Reply

Leave a Reply Cancel reply

Your email address will not be published. Required fields are marked *

Hello and Welcome!! My name is Tamara and this is where I share my tips and tricks to creating a beautiful home! If you are new, feel free to start HERE.

Subscribe

Get notified via email when there's a new post!

Join me on Instagram!

[instagram-feed]

More Blog Inspiration:-)

  • Icon Caroline on Design

    Close preview

    Loading...
  • Icon Centsational Girl

    Close preview

    Loading...
  • Icon Decorating Delirium

    Close preview

    Loading...
  • Icon Lauren Liess

    Close preview

    Loading...
  • Icon Life on Virginia Street

    Close preview

    Loading...
  • Icon Remodelaholic

    Close preview

    Loading...
  • Icon The Creativity Exchange

    Close preview

    Loading...
  • Icon Thrifty Decor Chick

    Close preview

    Loading...

Categories


Disclosure & Privacy Policy

You might also like

The Final Before & After of our Current Home

The Final Before & After of our Current Home

New Build Update-Paint, Lighting, and Floors oh My!

New Build Update-Paint, Lighting, and Floors oh My!

New Home Update

New Home Update

New Build Update- Cabinets are in!

New Build Update- Cabinets are in!

House Update–We Have Walls!

House Update–We Have Walls!

Join Me on Instagram!

[instagram-feed num=9 cols=9 showbutton=false]

Privacy

Copyright © 2021 · Savory theme by Restored 316

Enter your name and email to get my weekly post sent to your inbox... it's FREE!
Want to learn more about DIY, decorating, and making your home beautiful? Sign up below!
Your information will *never* be shared or sold to a 3rd party.