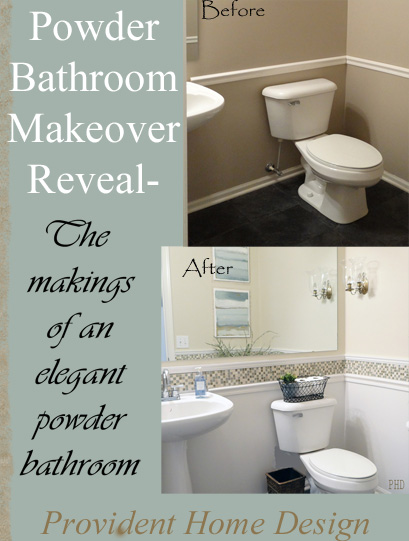
Wahooo, it’s time to do some revealing!!! Of my main floor bathroom that is! I started this makeover about 5 weeks ago. It feels like it has been dragging on forever! I find some makeovers and projects come together quickly and others like to unravel painfully slow. This one was the painfully slow kind (which is not so kind).
The primary reason for such a slow pace was that I struggled catching a vision for the room. I knew I was going for an elegant bathroom.
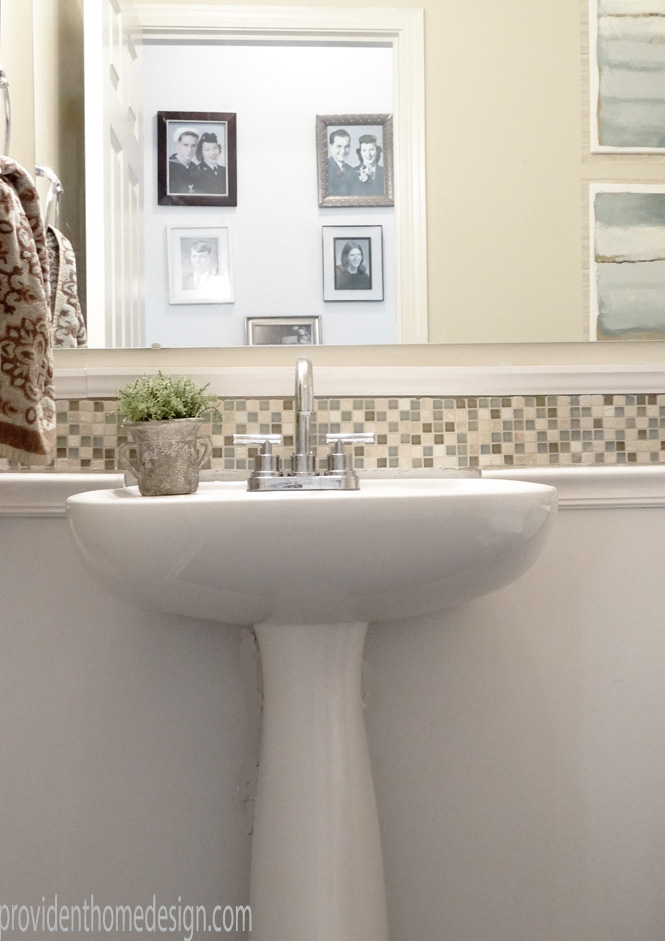
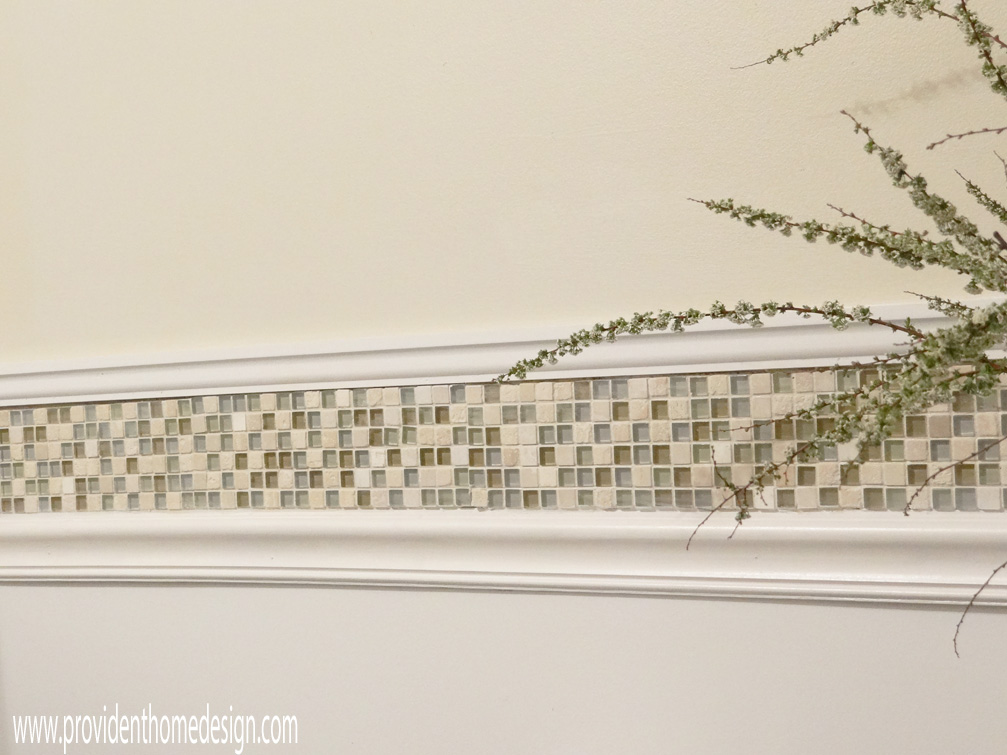
And I knew I wanted to add this kind of tiling.

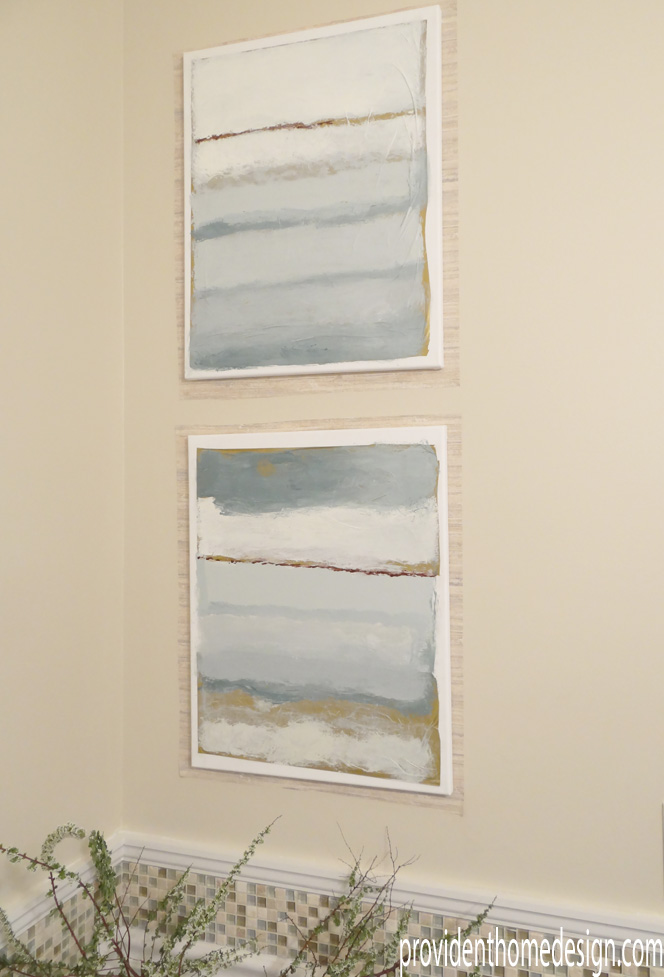
And to incorporate a DIY version of these paintings

via Ballard Designs
And to get the feel of this bathroom
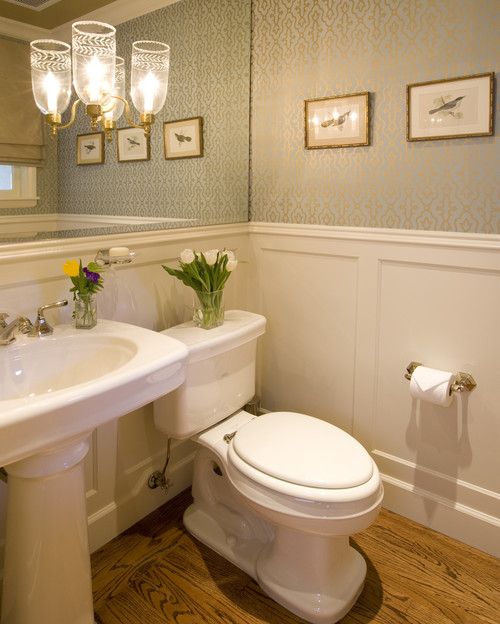
But as far a putting it all together it took awhile to figure out!
So without further adieu here it is–
BEFORE (minus the chair rail)
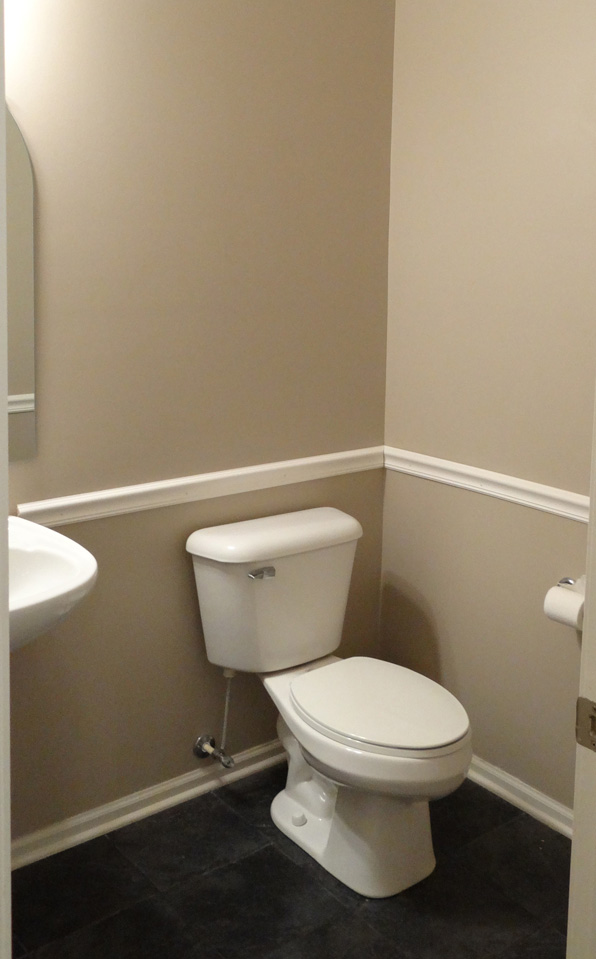
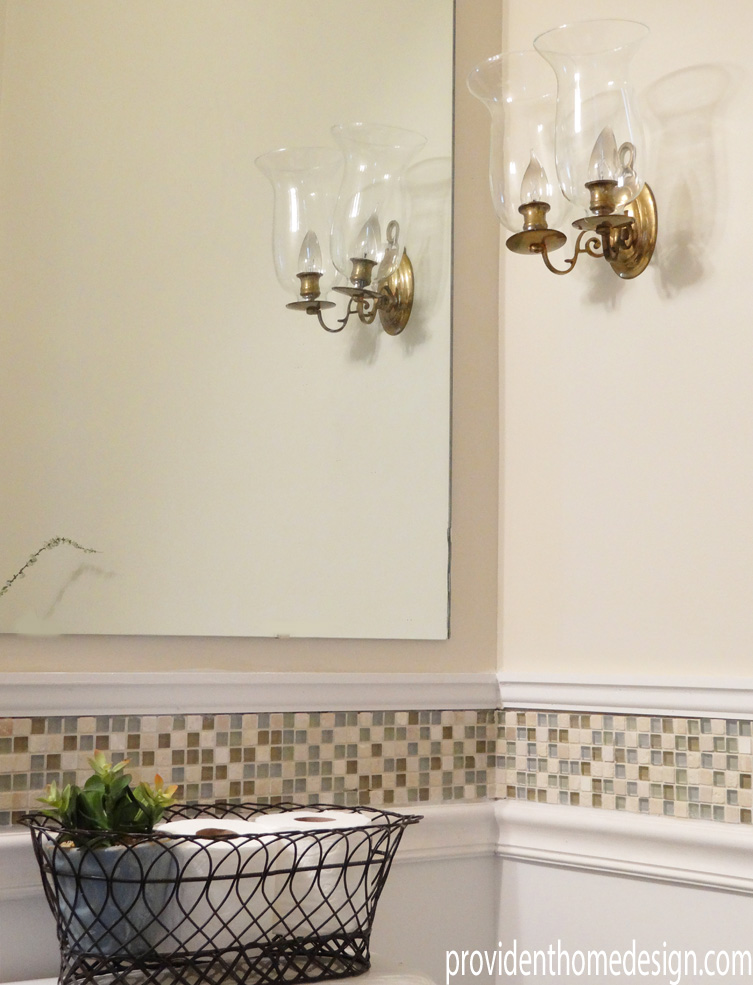
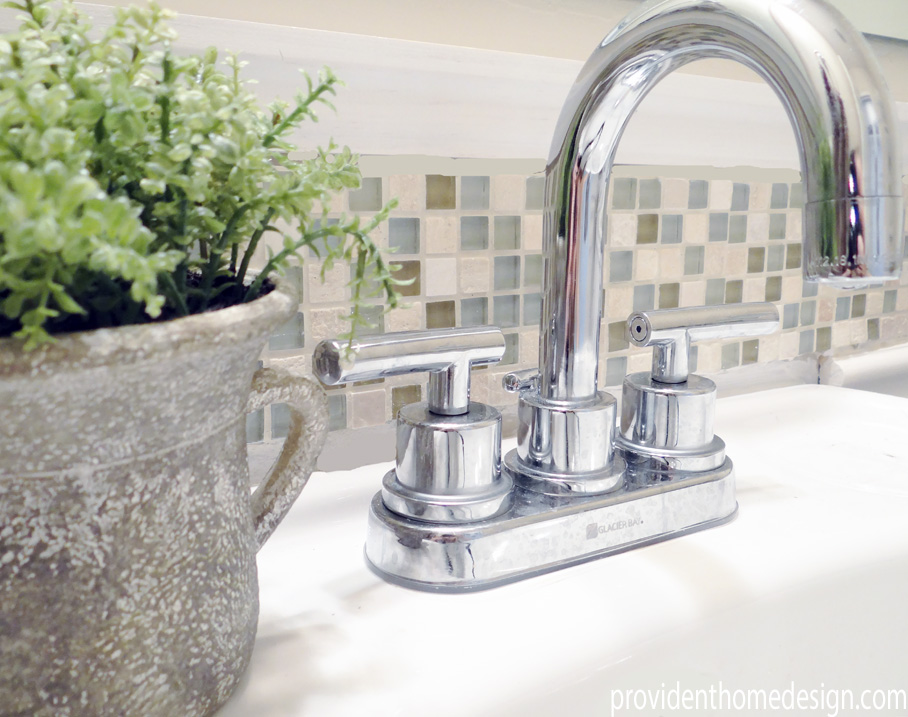
AFTERS

What did I add and how much did it cost???
DIY Ballard Design Knockoff Paintings- $5 each (Tutorial to come!)
Target Clearance Side Table-$20.98
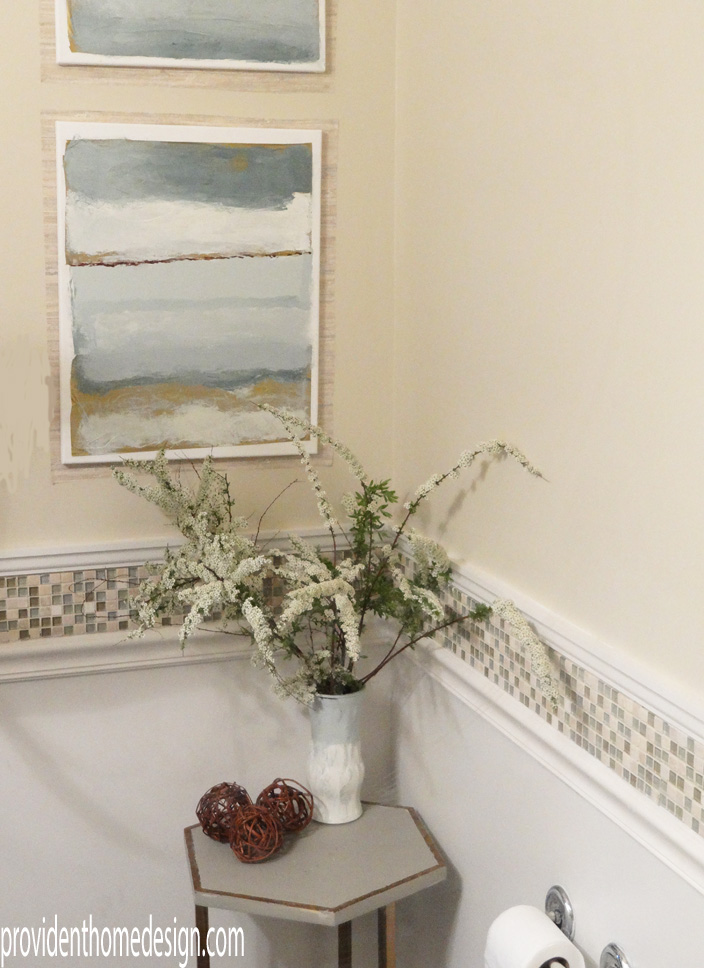
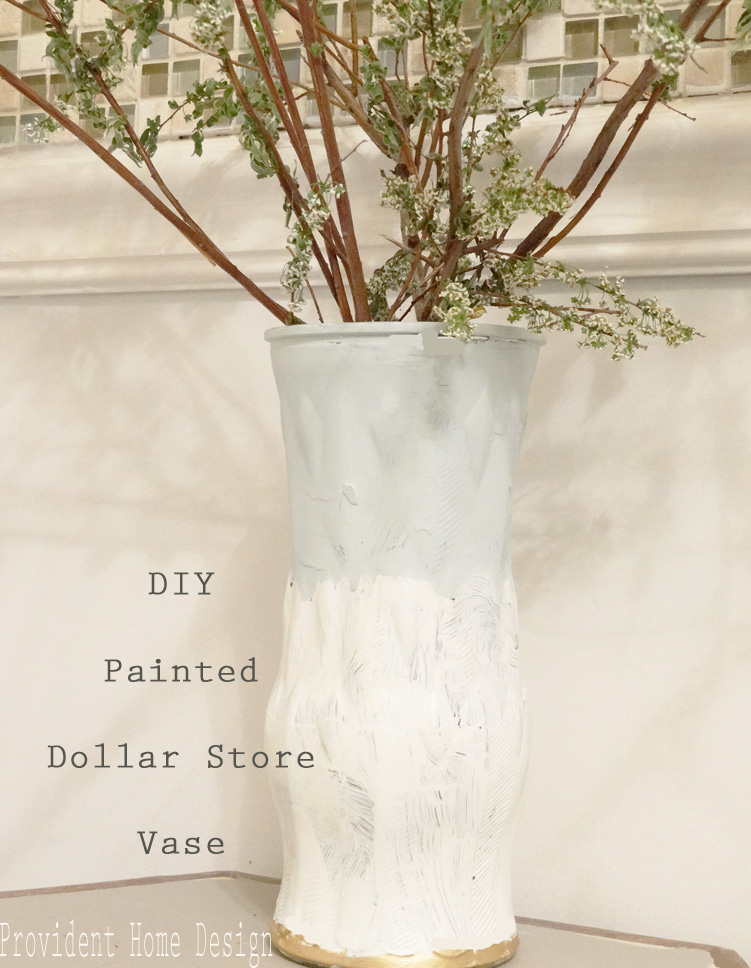
DIY painted vase (click Here for tutorial)- $1, Fresh cut branches-free. Decorative balls-already had

Large Mirror-already had left over from Master Bath Makeover, Faux Sconce Light Fixture- $4.50 at local thrift store
New Towel Ring- $16 (used to have a towel bar there), already had little plant and hand towel
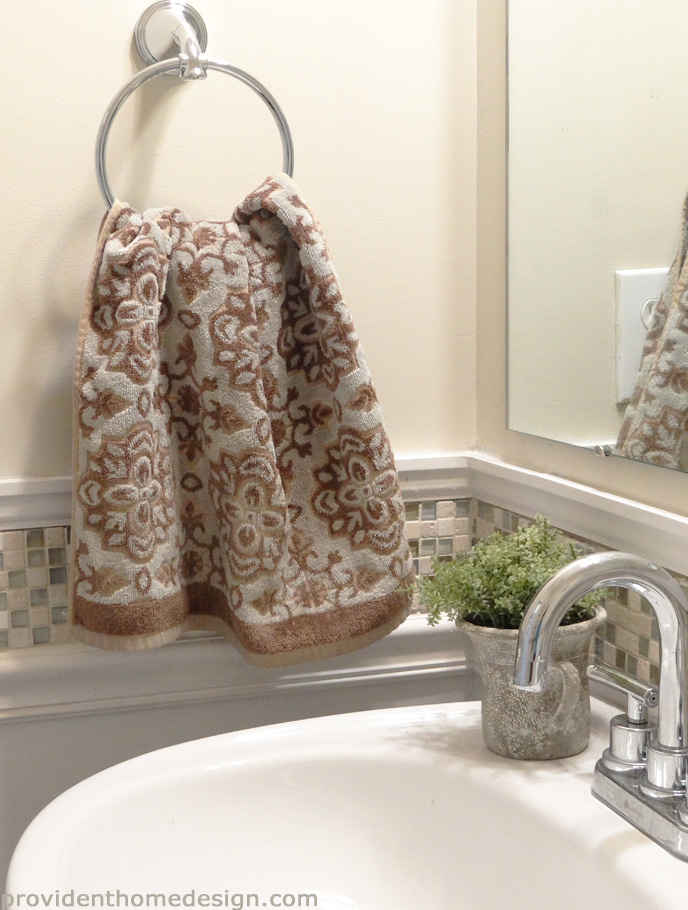
New Faucet- $44 at Home Depot
Chair rail and ledge-$30, Tile (and supplies)$28, Paint- White paint I already had and paint above was $6 (Behr Roman Plaster but used Sherwin Williams sample size)
Grand Total-$160.50
I am still strongly considering adding wainscoting under the chair rail and crown molding but I hit my budget so that will have to wait. I also may end up painting above the chair rail some kind of blue-toned color someday. Who knows?? But for now I am content with my powder bath and no longer feel shy about visitors using the bathroom at our house. Wahooo!
In summary, I learned the elements to include when designing/decorating an elegant powder bathroom are: a frameless or ornate mirror, a sconce or two, flowers or botanicals, some sort of decorative molding, a decorative accent on the walls such as tiling, wallpaper, stencil, grasscloth, etc., and paintings or pictures.
If you would like to create a similar chair rail and accent tiling click here to get the step by step tutorials! Anybody else ever have a room makeover that seemed to take forever to figure out???
Related Posts From the Blog:
 New Build Update-Paint, Lighting, and Floors oh My!
 How to Remove Mildew and Mold from Patio Pavers and Other Concrete Surfaces
 The Trick to Growing Grass & Porch Update
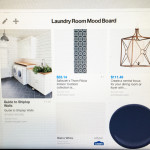 Decorating 101- How to Create a Mood Board
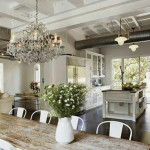 Beat up Table Turned Beautiful Farmhouse Table
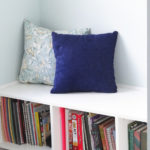 DIY Floating Bench
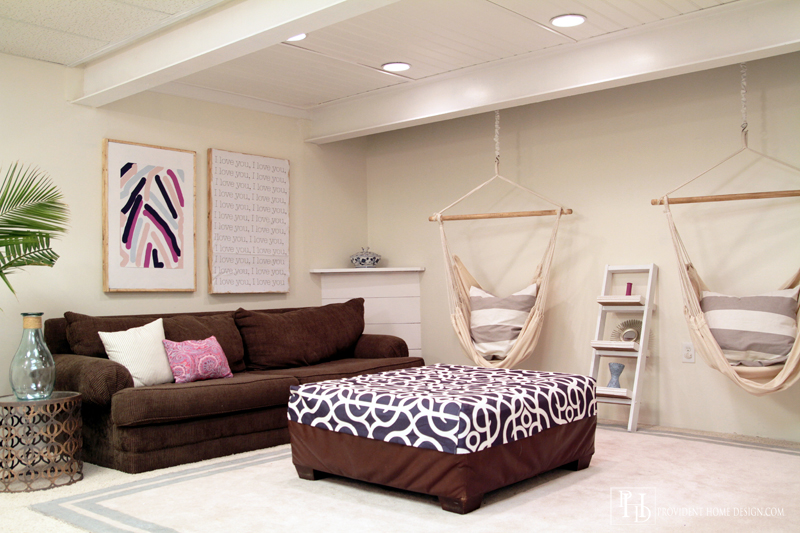
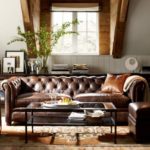 Makings of a Stylish Man Cave
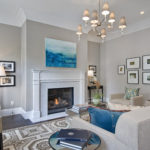 Abstract Art in Traditional Design