I hope you had a wonderful Thanksgiving!! We had Thanksgiving at my parent’s home this year and enjoyed spending time with them as well as one of my sisters and and one of my brothers and his family!:-)
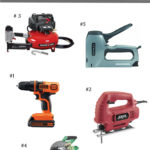
I want to thank everyone who participated in the Homeright Paint Sprayer Giveaway! You are all deserving of a Homeright paint sprayer in my book but there could only be one and the rafflecopter chose, Julia Jones of Arizona! Congrats, Julia (the good news for those who didn’t win is that Christmas is right around the corner)!;-)
If you are anything like our family once Thanksgiving is over we start thinking about putting up the Christmas tree and Christmas decorating. I’ve been thinking about it even earlier this year because I joined a Christmas home tour blog hop and the designated day to share my Christmas home tour is Wednesday, December 2nd!
I don’t think I’ve ever had all my Christmas decorating done before the 2nd so wish me luck!!
This year will be the first year that I will be putting up two Christmas trees, hence, I have needed to come up with some new Christmas decorations to decorate the extra tree.
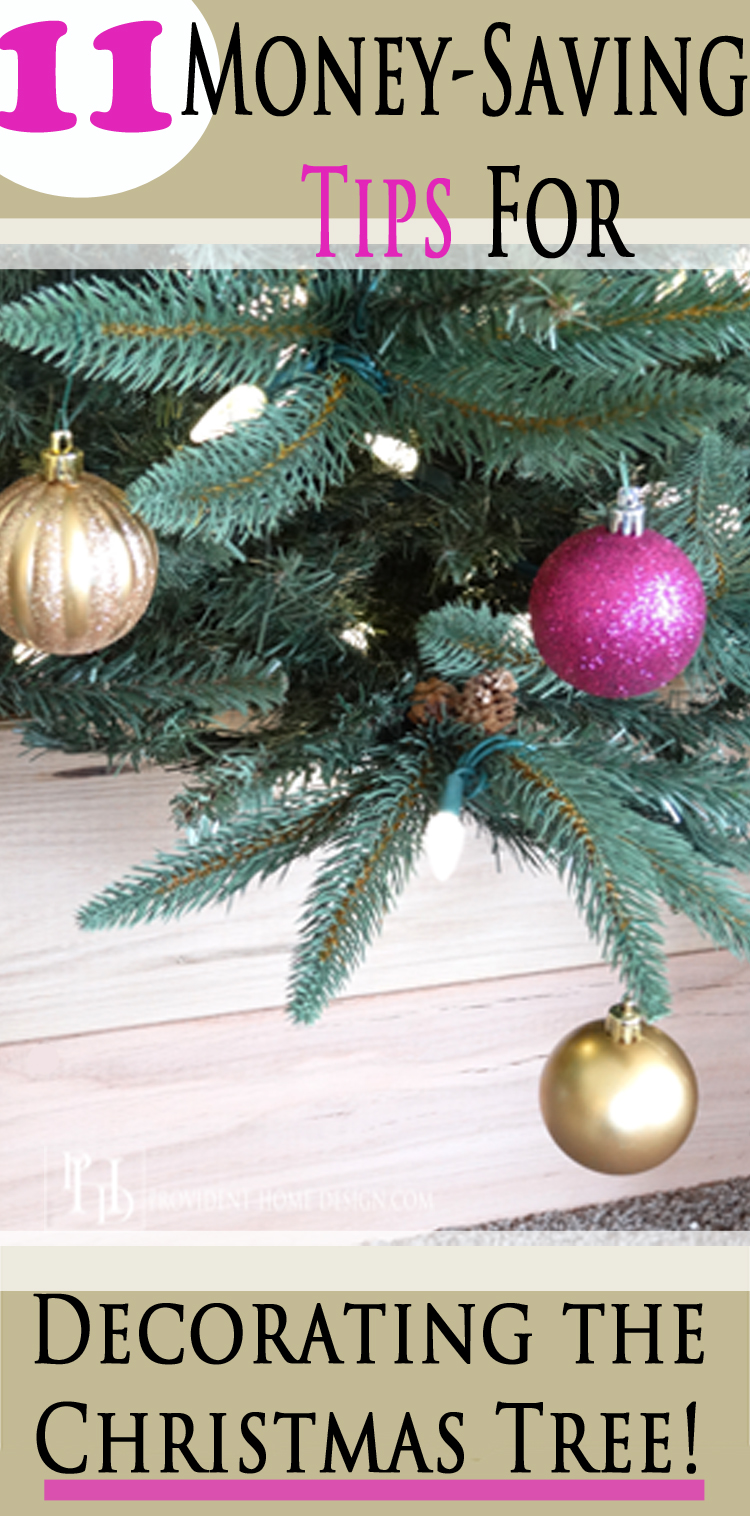
To fully decorate an entire tree from scratch could cost a big chunk of change! Check out my tips below for decorating a Christmas tree from head to toe without breaking the bank!
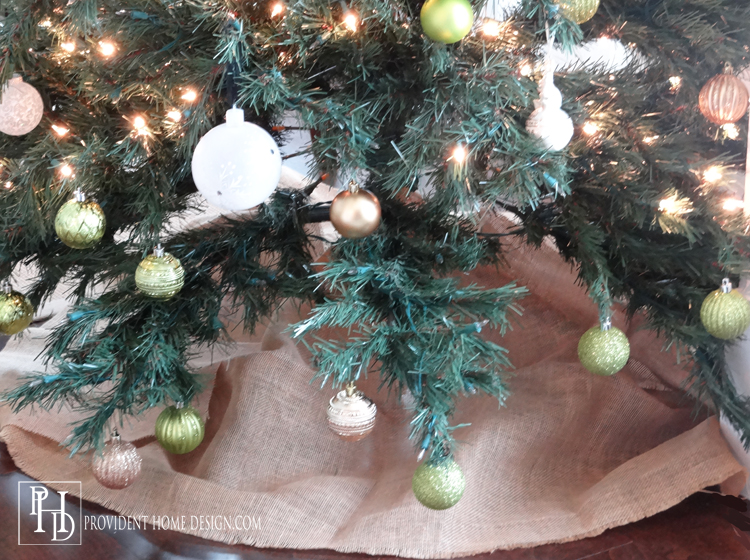
- Burlap Tree Skirt. Let’s start at the base of the tree. An easy, inexpensive tree skirt option is burlap!
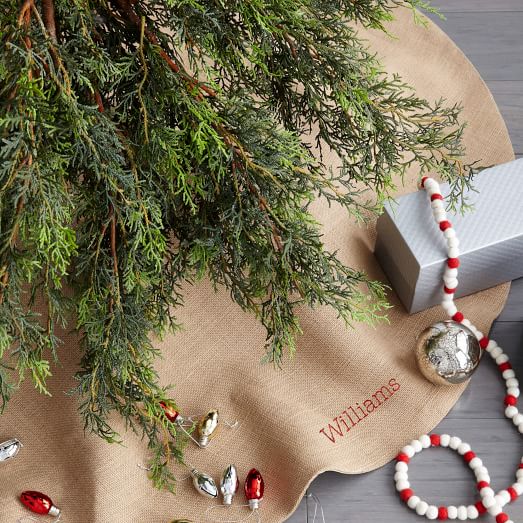
via West Elm
With a 40% off coupon you can often get burlap at Joann Fabric’s or Hobby Lobby for around $7 a yard. I had two long burlap rectangular scraps leftover from another project and just laid them down around the base of the tree (hiding the tree stand). I just tweaked them around until it looked like a tree skirt. An easy no sew DIY tree skirt!
- 2. Wood Tree Planter. Another option is to make a wooden planter for your tree (tree stand) to sit in.

I did this for my other tree. Using the same tutorial as my wooden outdoor planters I created a planter for my tree out of leftover wood. IF you don’t have spare wood sitting around check out the lumber department at Home Depot for fencing. It is usually a very inexpensive option. Click HERE for the planter tutorial!
I’m still debating as to whether I should paint it, stain it, or leave it be. What would you do?
- 3. Walmart Shatterproof Bulbs. Next is dressing the tree! One option that gives a lot of bang for the buck is Walmart’s 41 count ornament pack. It sells for only $8.98 and they are shatterproof.
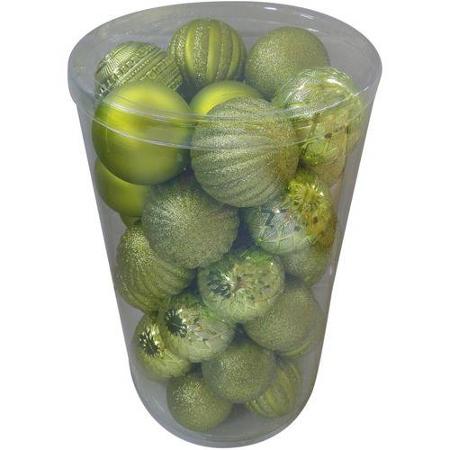
I bought the packs that were all one color but had a variety of designs. One of those packs goes along way! Two packs is definitely enough to decorate a standard tree! I bought 3 packs (fuchsia,lime green, and gold) for 2 trees and added in some other inexpensive ornaments.
I love this tree and space decorated by Maria Kiliam! It would be easy to replicate it with green, white, pink, and orange bulbs from Walmart.

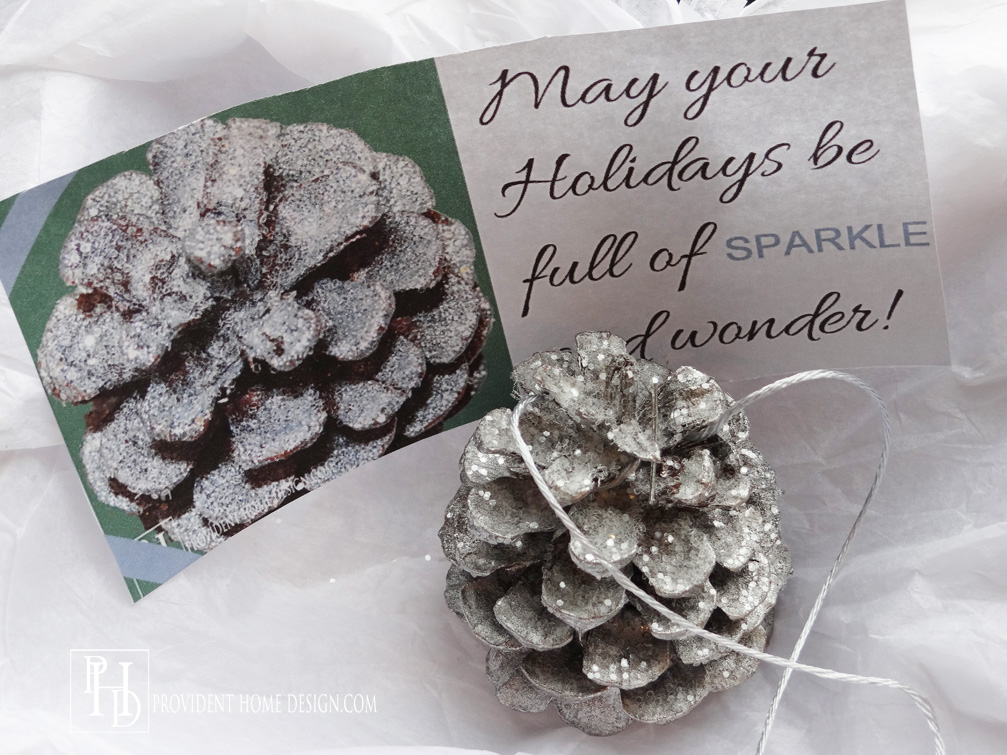
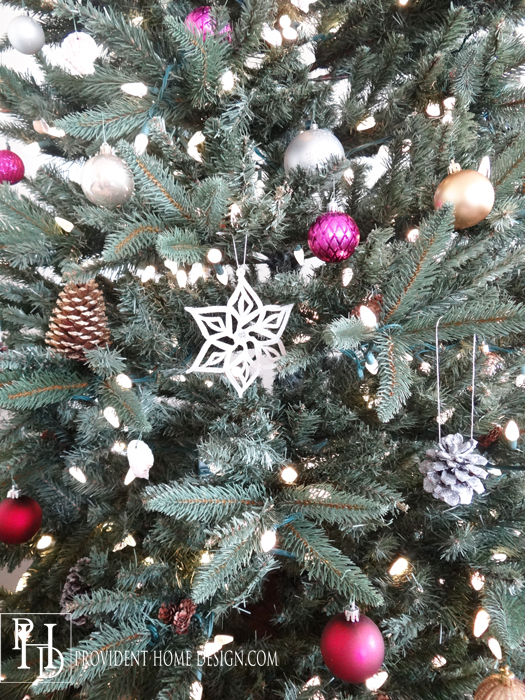
4. Sparkling Pinecone Ornaments. Last year I was inspired by some pinecone ornaments at Ballard Designs and decided to try my own version. They are super easy and inexpensive to make and also makes great gifts. You can find the tutorial, Here (complete with a free gift tag printable)!
- 5. Along with the natural vibe are DIY seashell ornaments. This year I spotted seashells ornaments in Ballard Designs catalog.
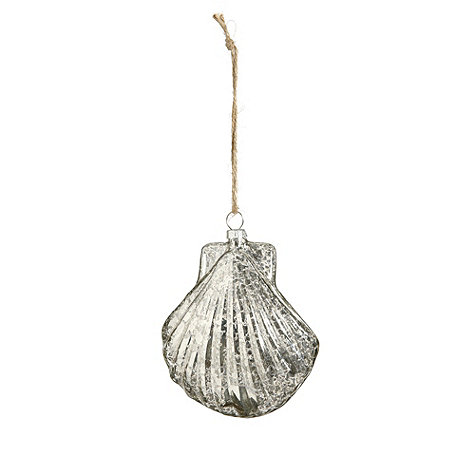
via Ballard Designs
When I spotted a bag of seashells at the Dollar Tree for well only a dollar of course, I decided to give it a try. I didn’t make my seashell ornaments metallic.
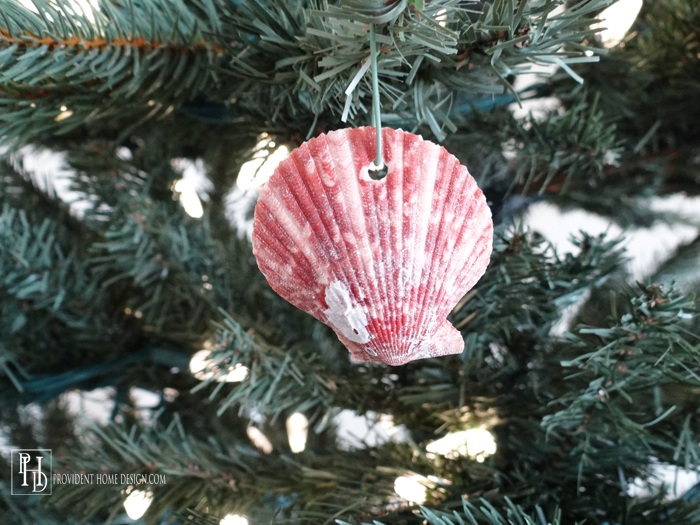
I did spray some of the seashells with silver metallic spray paint and they turned out beautifully!
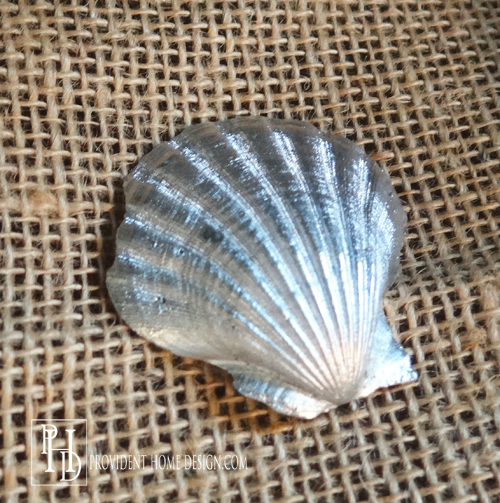
They are really easy to make just create a hole using a drill and hang!
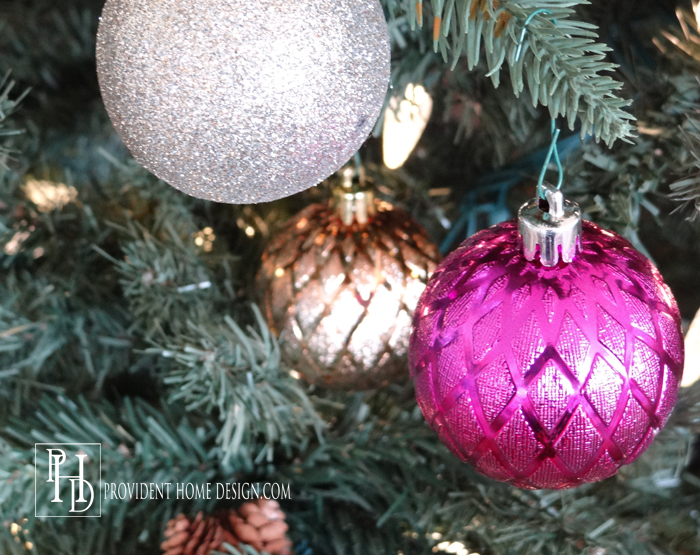
- 6. Dollar tree ornaments. I have found they work well for varying the size of the Walmart bulbs. They have a pack of small sized ornaments that I like to change things up with. They also have some larger ornaments that come in a pack of 2 that I think look nice. I bought 4 packs of the one below for my bigger tree
While you are there don’t forget to pick up ornament hangers. My store had a 300 count pack for a $1. Make sure to get them in green so you don’t even know they are there once they are on the tree. They blend right in (you can tell in the photo below which ornaments are hung by the green hanger and which are not).
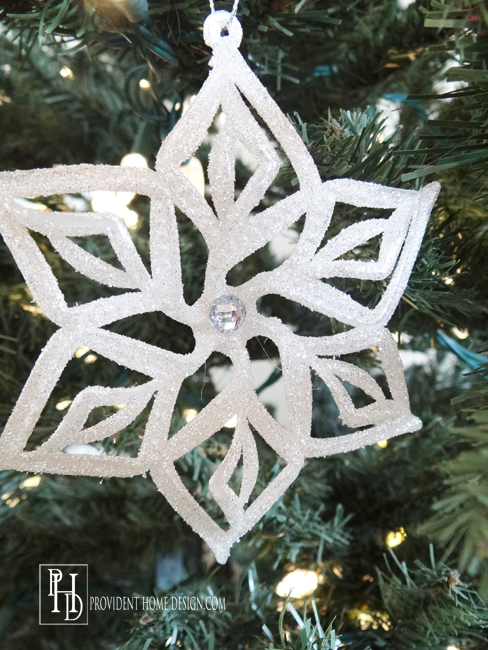
- 7. Paper star ornaments. I absolutely love the Christmas space below! And I love how the paper star ornaments in the tree look. I found a tutorial for the paper stars HERE. Big impact for little money!
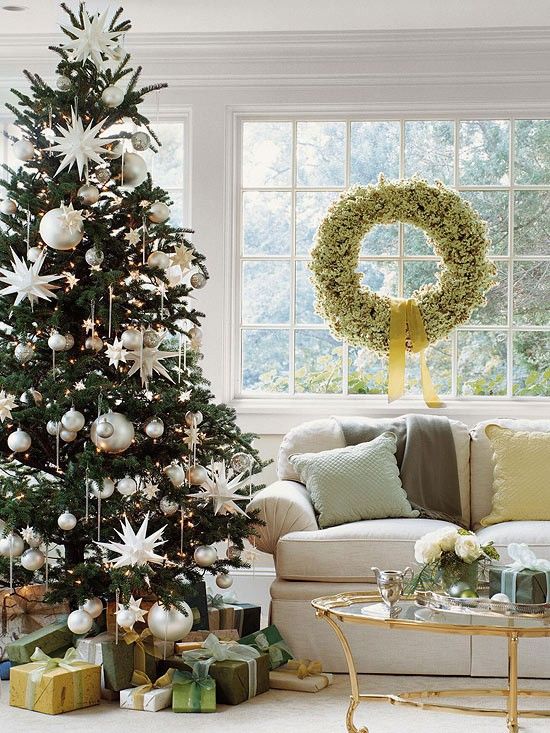
via Pinterest
- 8. Ribbon. This idea can be used to dress the body of the tree as well as to make a Christmas tree topper.
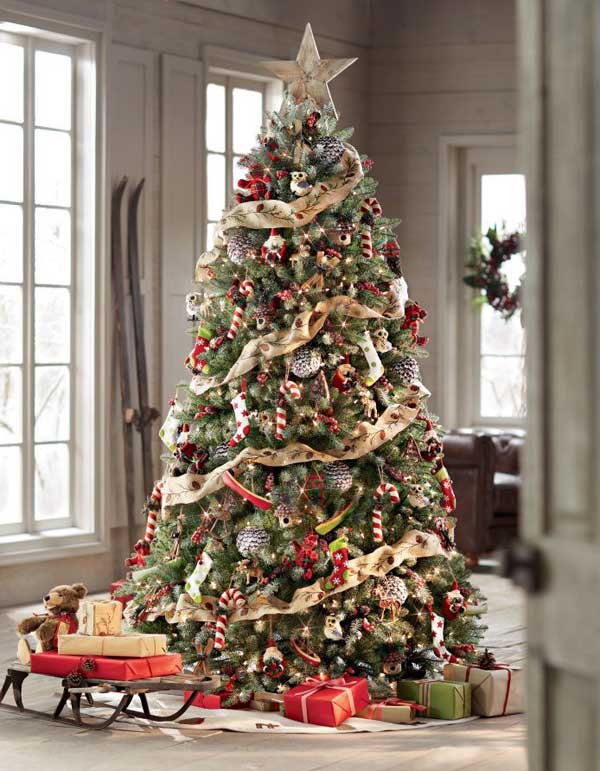
via Home Decorators
HERE is a step by step tutorial for making a fancy bow that would be perfect as a tree topper!
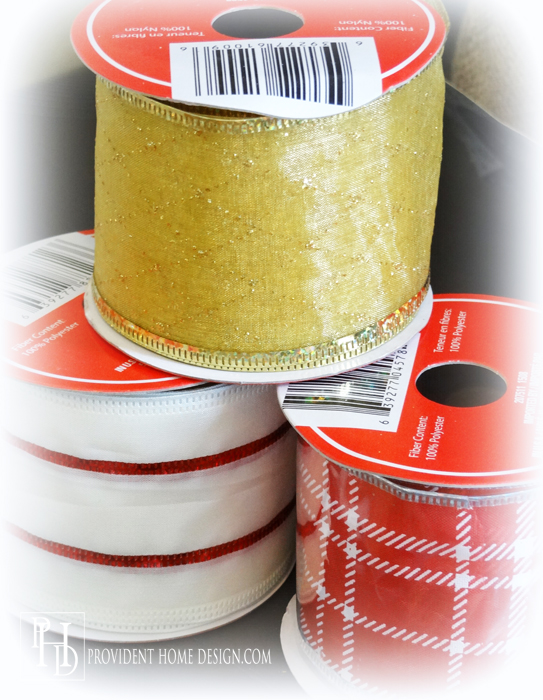
I know cute ribbon can be expensive but it doesn’t have to be. Here is the cute ribbon I got this year at the Dollar Tree!
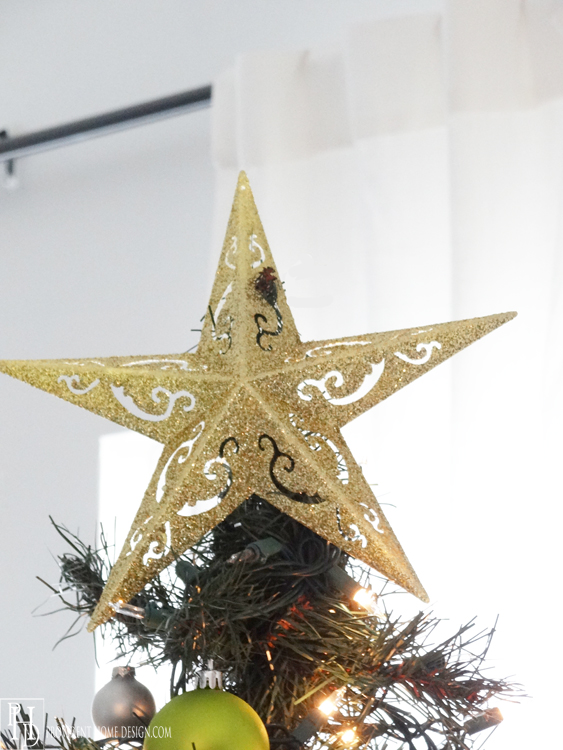
- 9. Dollar store star. Another idea for an inexpensive tree topper is a gold star that can be found at the Dollar Tree.
- 10. Branch out with a branch star. I made this humble star with a glue gun and 5 little branches I cut off an barren tree in our yard. I love a mix of glam and natural materials! I feel it prevents a space from becoming too stuffy.
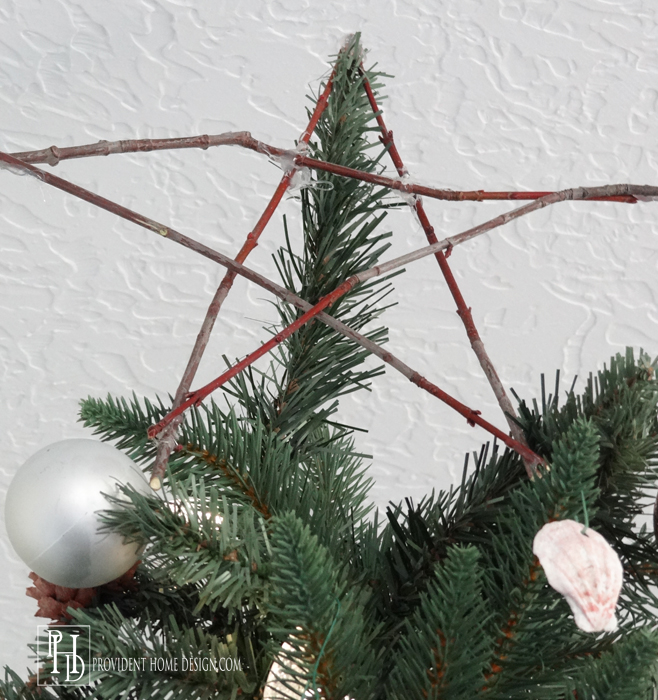
So this star did the trick and for absolutely NO money.
11. Leave the corner bare. My last tip may sound silly but it does save money! If your tree is placed in a corner don’t decorate the corner side because no one can see it anyways! Both of my trees this year are in corners and they may or may not be decorated on the backside (I’ll let you guess).;-)
What are your Christmas tree decor money saving tips? If you have any I’d love to hear them in the comment section below!!!
I hope you have a wonderful weekend and I look forward to being back on Wednesday to share my Christmas Home Tour!

[jetpack_subscription_form]