Provident Home Design

Decor, DIY, and Interior Design

  • HOME
  • ABOUT
    • About PHD
    • Contact Me
  • DIY PROJECTS
  • DESIGN 101
  • PAINT
  • HOME TOUR
  • DESIGN INSPO
  • DECOR TIPS

Outdoor Bench Makeover & Best $15 Sander Around

I had all intentions of writing and sharing this post last week and then life happened (namely the stomach flu, sinus problems, writing a post for another website, 4 kids, a puppy, and a kitten).  At last I am here and I truly appreciate your patience!:-)

the-kitten-is-the-easy-one

(The kitten is the easy one).

Today I’m sharing a trash to treasure makeover.  It all began on a sunny afternoon as I was walking (or was the puppy walking me?) to the bus stop to gather my children off the bus.  As I got closer to the bus stop I noticed a neighbor (the dad of my son’s friend) carrying a leprous bench to the side of the road.

Knowing that trash day was the next day I asked him if he was getting rid off it (always best to make sure in order to avoid an awkward situation).:-)

He said yes and so I asked if I could take it and fix it up.  He answered in the affirmative and was even kind enough to carry it to my house a block away (I have good neighbors).

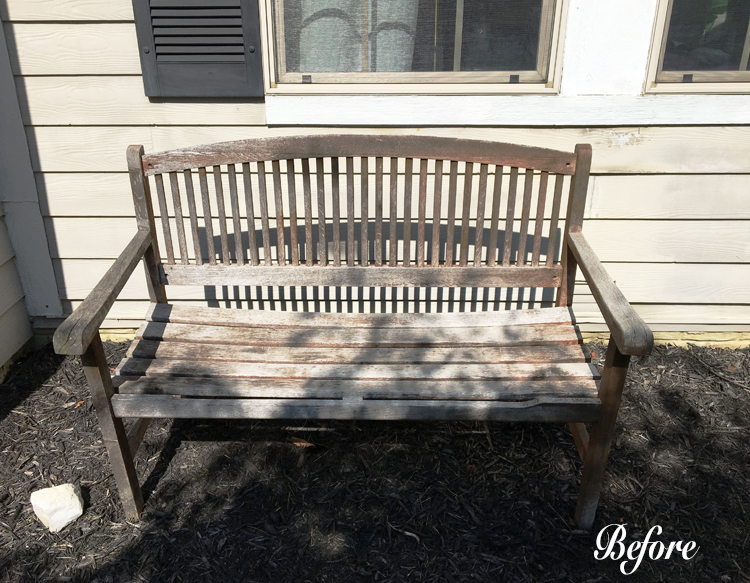
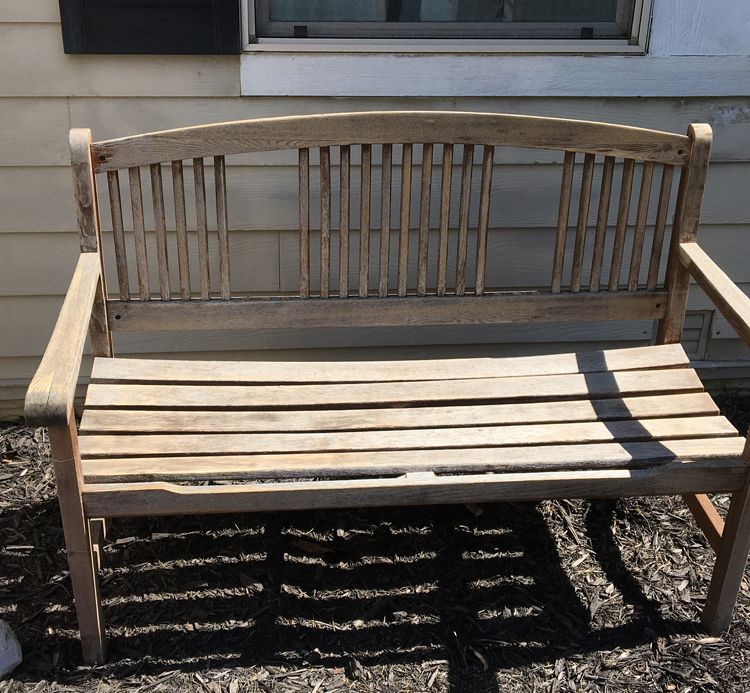
So here is Leprous Larry.  Leprous because it’s “skin” was shedding off and looked to be a dying wooden bench.

furniture-makeovers-before


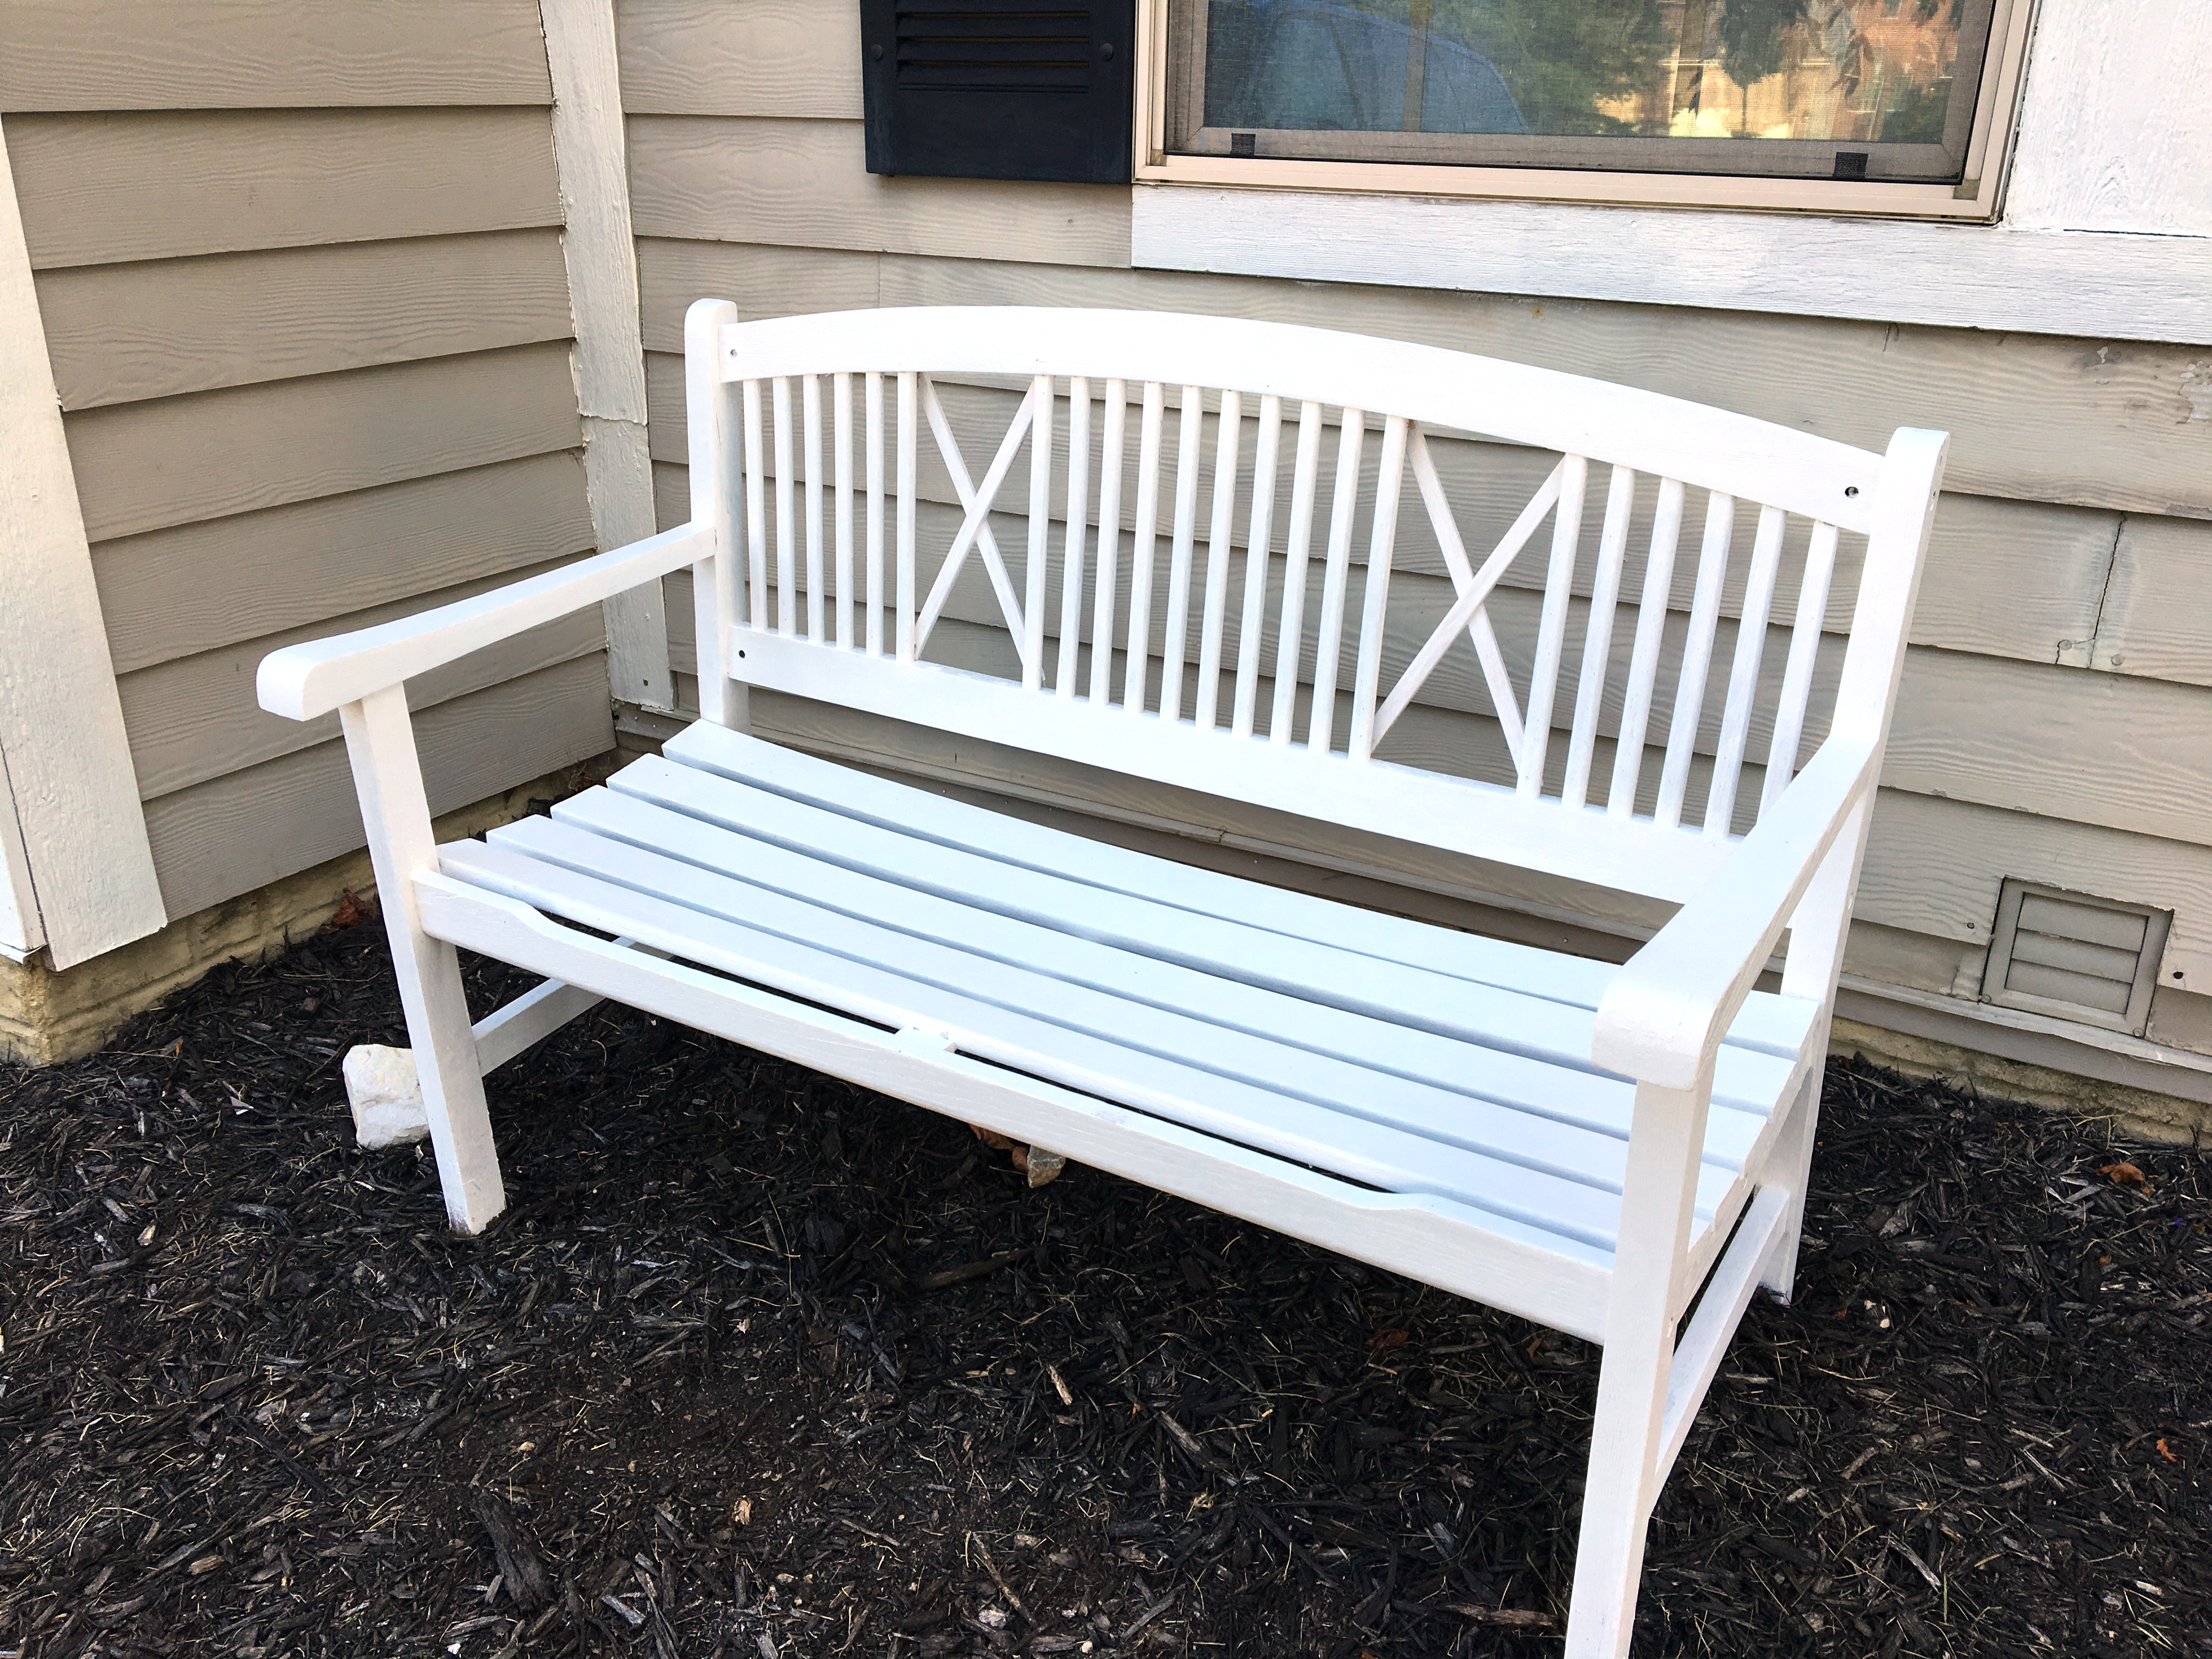
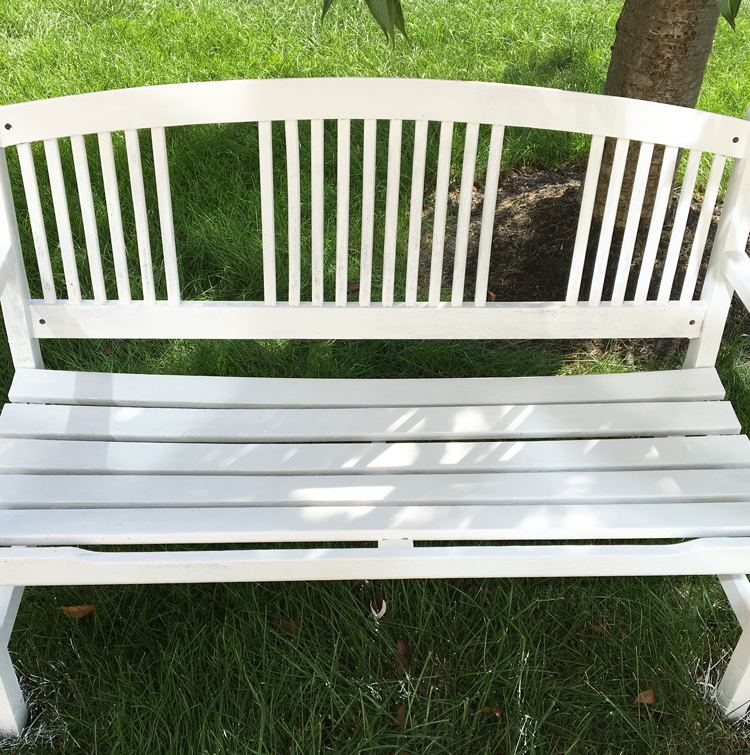
And here is the now, Looking Good Larry!

furniture-makeover-afters


All it took was a little mending for Larry to be revived.  Here’s how I did it!

First I ordered this Genssis Corner Palm Sander on Amazon (affiliate link used for your convenience).

genesis-palm-sander


I found it when I wrote THIS post on making over your stairs and wish I would have bought it years ago.  I wanted to show you how easy it is to use so I made a little youtube video you can watch HERE if you’re interested.

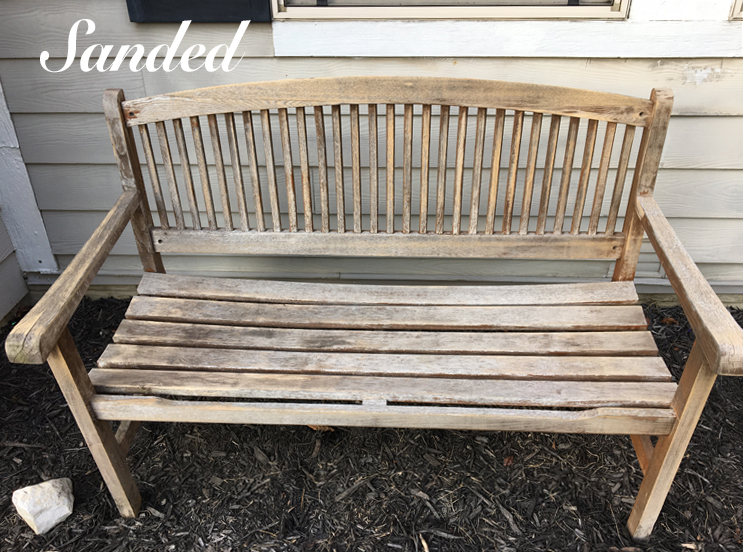
So since Larry was peeling I sanded the entire bench.  In the matter of minutes he went from

THIS

furniture-makeovers-before


TO THIS

furniture-makeovers-sanding


Next using a jig saw I cut off 8 of the Larry’s spindles (4 on each side).

furniture-makeovers-with-jig-saw


I was wanting to give Larry a new look.

furniture-makeover-wooden-bench


So next it was time to give Larry a paint job.  I chose my go -to Behr Alkyd Enamel.  Yep the same one I used to paint my kid’s bathroom vanity!  It’s an Indoor/Outdoor paint and best thing is it only took 2 coats of paint to complete!

furniture-makeovers-outdoor-bench

Don’t mind the paint in the grass it comes off with mowing (eventually).:-)

Although I liked how Larry looked at this point I wanted him to have a little more pep in his step.

So, I went to Home Depot and bought some trim similar in width to the other spindles and attached them in an “X” pattern using a nail gun.

furniture-makeover-making-an-x


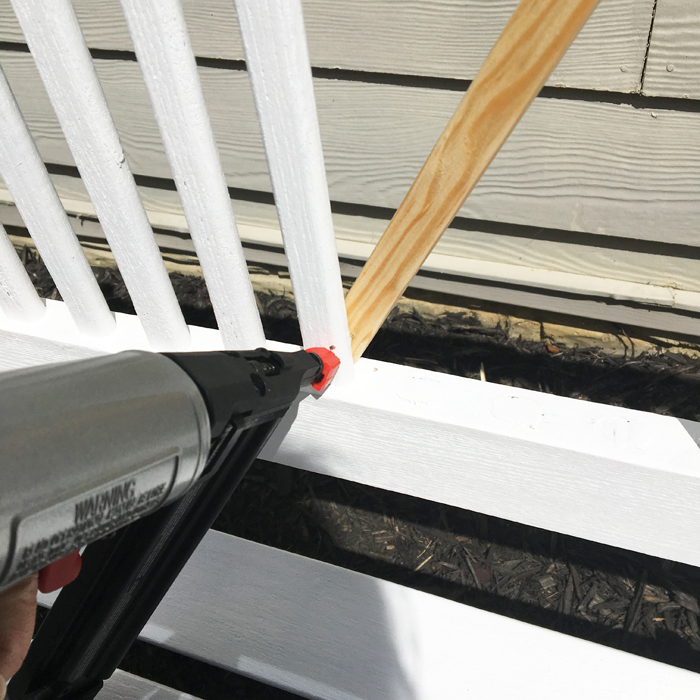
I shot Larry through the front because then on the back I could gently press the back of the nail down with a hammer for a secure attachment.

furniture-make-over-x-bench

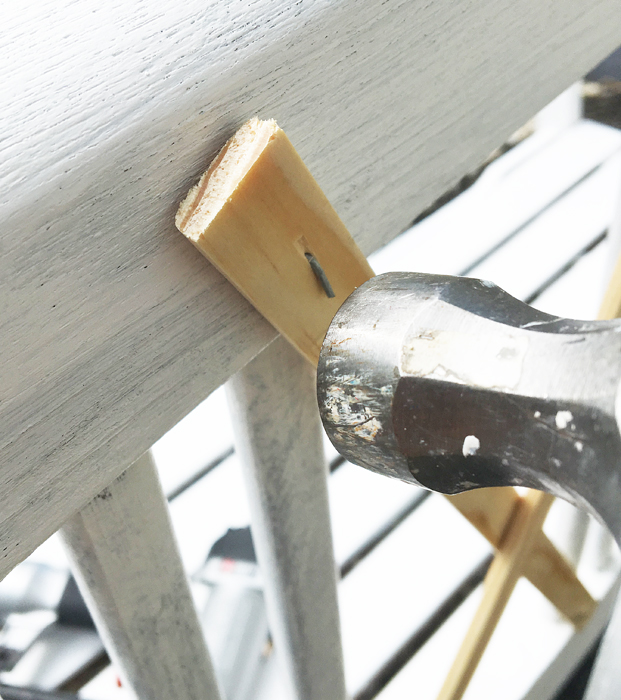
Larry’s backside had only been given one coat at this point so the pic above gives you an idea of what one coat will look like.

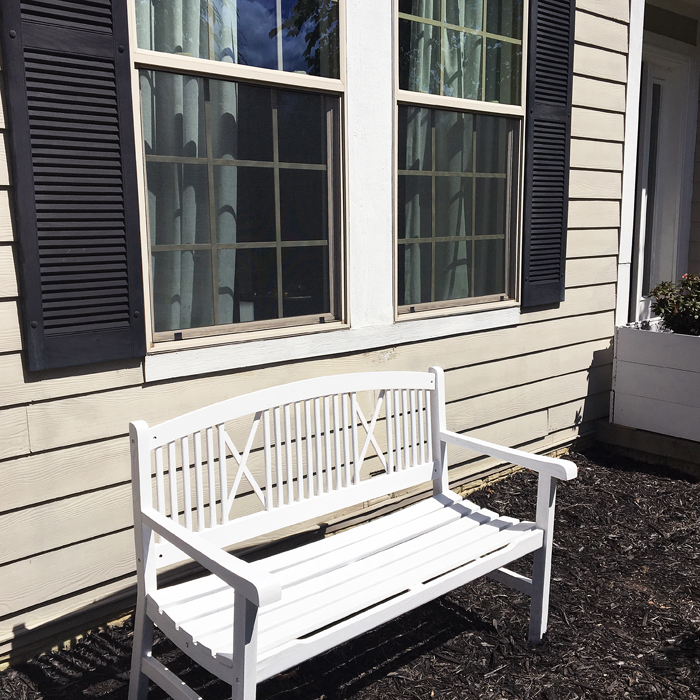
And here is Larry again cured, thriving, and Looking Good

furniture-makeovers-after


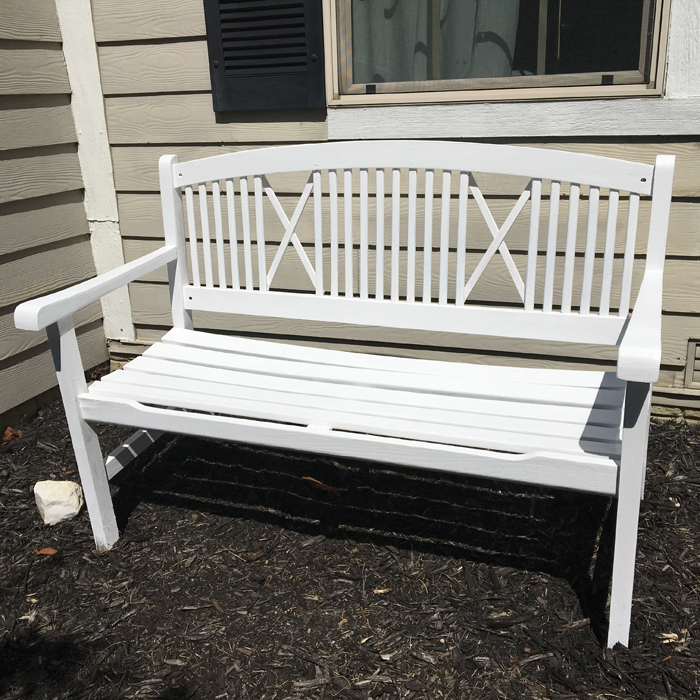
He now resides where there use to be two little boxwood bushes (after some transplanting shenanigans last year they sadly perished.  Hey, you can’t win them all right?)!:-)

furniture-makeovers-completed


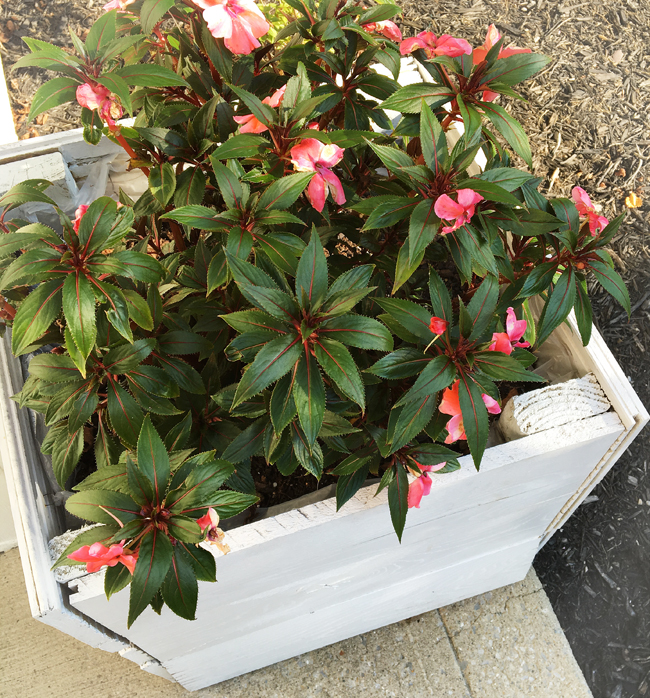
On a positive note we did manage to keep the flowers in our DIY front porch planters alive all Summer.  It gets the intense afternoon sun and the New Guinea Impatiens held up to the heat like troopers.

furniture-makeovers-flower-planter


Well, I hope you enjoyed the tale of Larry the Leprous bench (even if it did come a week late).  Looking forward to being back next week!  Happy Friday!:-)


Signature


how-to-paint-outdoor-furniture

Related Posts From the Blog:

  • How to Remove Mildew and Mold from Patio Pavers and Other Concrete SurfacesHow to Remove Mildew and Mold from Patio Pavers and Other Concrete Surfaces
  • Kelli’s Kitchen Makeover Reveal!Kelli’s Kitchen Makeover Reveal!
  • How to Remove TileHow to Remove Tile
  • Foyer and Hallway Makeover Reveal!Foyer and Hallway Makeover Reveal!
  • 20+ Budget-Friendly Drapes20+ Budget-Friendly Drapes
  • Design 101- The Balance of Casual and EleganceDesign 101- The Balance of Casual and Elegance
  • One Room Challenge- The Master and Girls’ Bedroom Makeover Week 1One Room Challenge- The Master and Girls’ Bedroom Makeover Week 1
  • Boys’ Shared Bedroom RevealBoys’ Shared Bedroom Reveal

before and afters// decorating// DIY// furniture// money saving tips// paint// tutorials// woodwork9 Comments

« Come and Knock on My Door
Beautiful Upholstered Headboard and Nailhead Trim Tutorial »

Comments

  1. Jennifer Lippi says

    Thursday, September 8, 2016 at 11:56 pm

    Wow what a find and what a transformation Tamara. Truly trash to treasure! I hope everyone in your house is feeling better! I can totally relate. xo

    Reply
    • Tamara says

      Friday, September 9, 2016 at 10:02 am

      Thanks so much, Jennifer! We are almost healthy! xoxo

      Reply
  2. Carmen says

    Thursday, September 8, 2016 at 11:58 pm

    This is a great post, and I especially appreciate the link to your video showing you using the sander (since I have never used a sander before). Thanks for being an inspiration – I am going to order the sander and give this a try on some dying outdoor furniture!

    Reply
  3. Tamara says

    Friday, September 9, 2016 at 10:05 am

    Aww thanks, Carmen! It”s amazing what a fresh couple of coats of paint can do to bring new life!

    Reply
  4. Brittany_WMSB says

    Friday, September 9, 2016 at 10:11 am

    This is awesome!!! I have a dresser I’ve wanted to refinish for years but I’ve been hesitant to because of the job of sanding it down by hand. I didn’t realize they made smaller, inexpensive electric ones! And Larry looks FANTASTIC!

    Reply
    • Tamara says

      Friday, September 9, 2016 at 11:07 am

      I know, Brittany, I wish I would have known about it a long time ago. It’s the best little sander. Just so you know Home Depot (probably Lowes too) sells the perfect replacement sanding sheets for it. It’s not in the sand paper aisle. It is in the sander aisle and is the 3-7/8″ x 5-1/2″ size.

      Reply
      • Brittany_WMSB says

        Friday, September 9, 2016 at 11:16 am

        Thank you!! I was wondering if I’d have to remember to buy them on Amazon too (which I would probably forget on the day I was inspired and I would be bummed to not be abler I dos quick HD run). You’ve won me over!

        Reply
  5. Char Fisher says

    Friday, September 9, 2016 at 12:29 pm

    Great job! I passed up a bench at the flea market in town because it looked kind of hopeless. This was about 3 months ago…it is now gone. Looking at what you accomplished with Larry….I wish now I had bought it and it was cheap! Next time that won’t happen now that you have really shown us all what can be done! Thank you….

    Reply
    • Tamara says

      Friday, February 23, 2018 at 6:43 pm

      Hi, Char! I don’t know how I missed your comment! I hope by now you’ve had a second chance at fixing up a Larry of your own!!:-)

      Reply

Leave a Reply Cancel reply

Your email address will not be published. Required fields are marked *

Hello and Welcome!! My name is Tamara and this is where I share my tips and tricks to creating a beautiful home! If you are new, feel free to start HERE.

More Blog Inspiration:-)

  • Icon Caroline on Design

    Close preview

    Loading...
  • Icon Centsational Girl

    Close preview

    Loading...
  • Icon Decorating Delirium

    Close preview

    Loading...
  • Icon Lauren Liess

    Close preview

    Loading...
  • Icon Life on Virginia Street

    Close preview

    Loading...
  • Icon Remodelaholic

    Close preview

    Loading...
  • Icon The Creativity Exchange

    Close preview

    Loading...
  • Icon Thrifty Decor Chick

    Close preview

    Loading...

Categories


Disclosure & Privacy Policy

You might also like

The Final Before & After of our Current Home

The Final Before & After of our Current Home

New Build Update-Paint, Lighting, and Floors oh My!

New Build Update-Paint, Lighting, and Floors oh My!

New Home Update

New Home Update

New Build Update- Cabinets are in!

New Build Update- Cabinets are in!

House Update–We Have Walls!

House Update–We Have Walls!

Join Me on Instagram!

[instagram-feed num=9 cols=9 showbutton=false]

Privacy

Copyright © 2022 · Savory theme by Restored 316