Hoping you’ve had a great week! Today I’ll be sharing a trick to getting the luxe crown molding look without having to learn how to crown mold!
But first It’s been an eventful week here on the home front and I want to fill you in real quick! Tuesday morning as I was pondering the deep matters of an eventual dining room makeover I had an “ah-ha” moment (which almost always means trouble).:-)
It finally (after almost 4 years) dawned on me that my living room location and shape would work much better as a dining room and that my dining room made more sense being a living room.
I knew my husband would not want to come home from a long day at work and help me move furniture around into different rooms…
SO this impatient crazy determined girl took matters into her own hands and spent much of Tuesday single handedly moving decor, tables, chairs, a hutch, and a couch across rooms and foyers!! (Disclaimer: Don’t try this at home) 🙂
Here is a sneak peak of the dining room now (where the living room use to be)!

I just threw the above together on Tuesday but I will be tweaking it over the couple of months (for example it needs overhead lighting put in).
And I’ve already started painting the new living room so more on that later as well!! I am loving the change–it feels, flows, and functions so much better this way!!
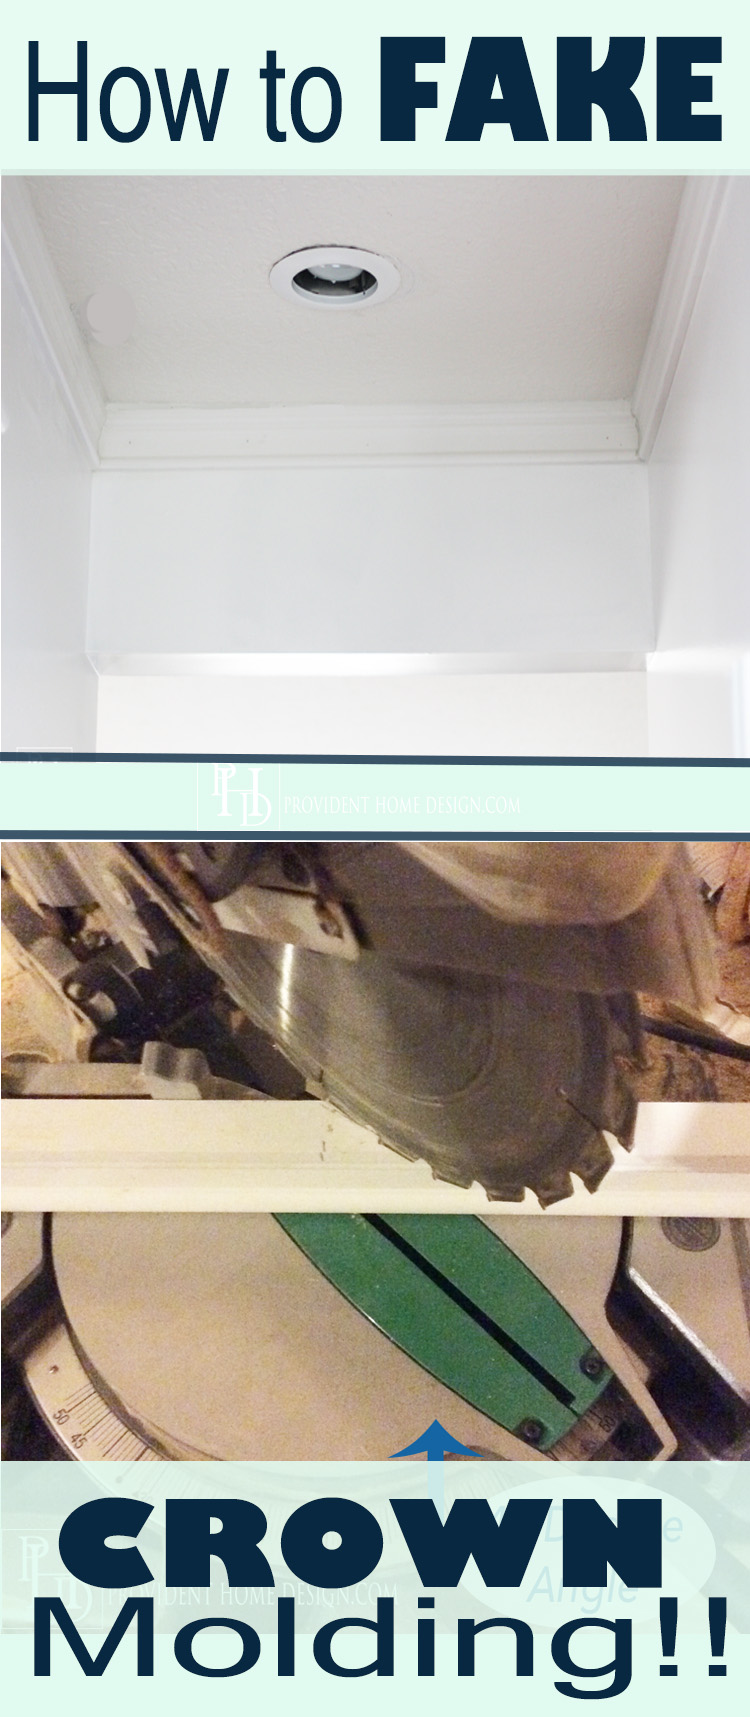
So now that you are all caught up on my home happenings onto the faux crown molding tutorial!
I used the below casing from Lowe’s as an end cap on the board and batten in my kid’s bathroom.
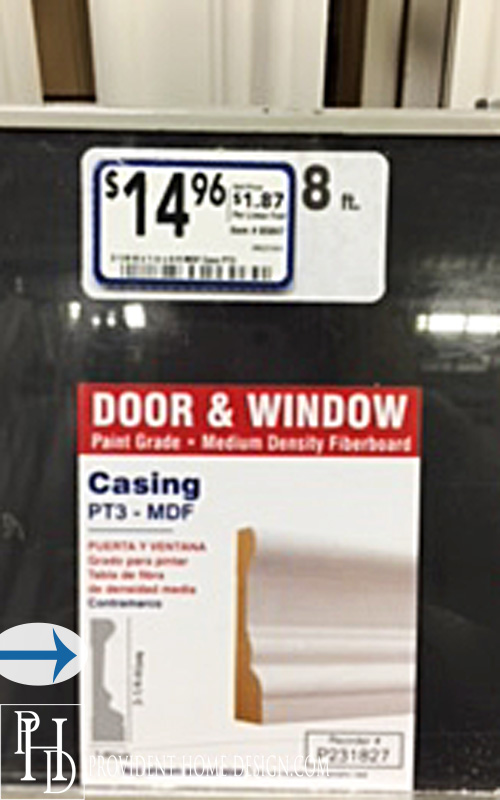
The blue arrow in the picture above points to it’s profile which if turned upside down resembles crown molding.
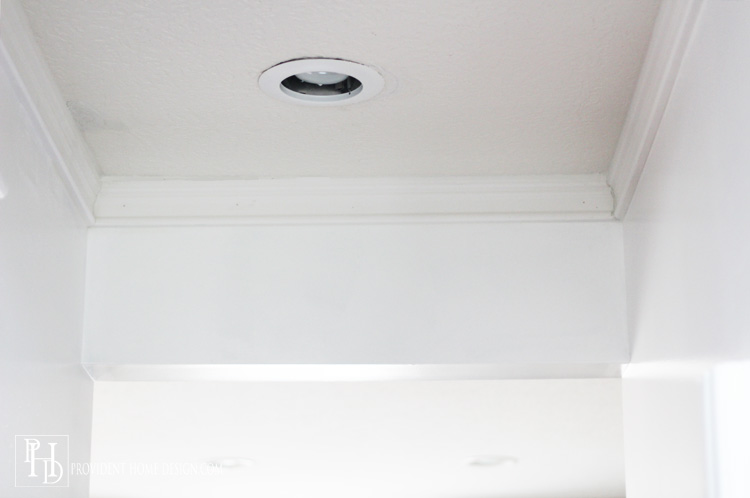
I know how to crown mold (and hope to share a tutorial for it with you in the future) but I needed a different solution for this project. I needed the molding to go from my main hallway into the two story foyer. Crown molding is meant to butt up against a ceiling and with it being in the two story foyer there would be no ceiling for it to butt up against.
This particular casing was the perfect solution and also works well if you don’t want to deal with the complexity of crown molding.
Now let’s begin!
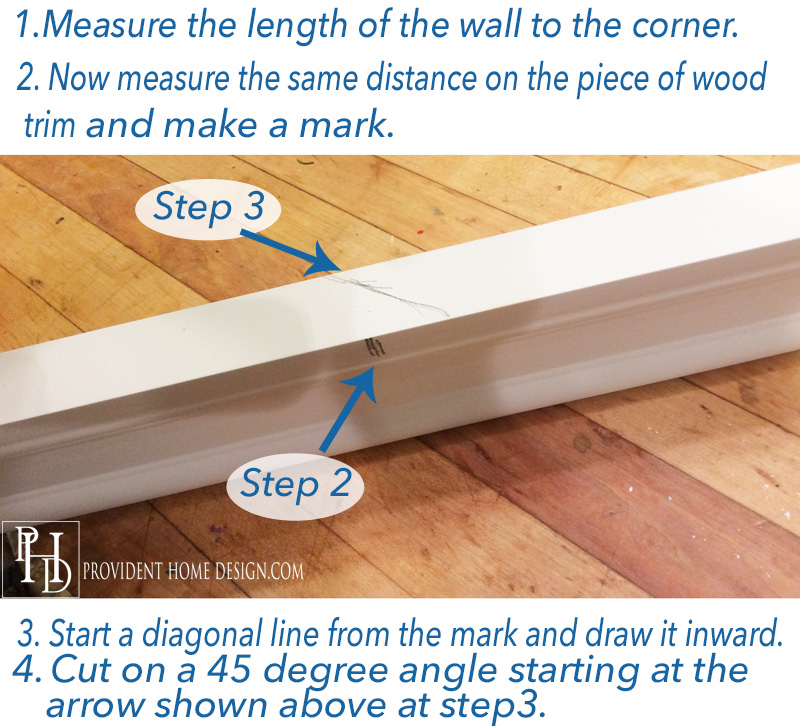

A tip to getting nicely matched up corners is to make sure that the piece of trim you are cutting is uptight against the fence of the miter saw each time you cut it. Also it is important to make sure the blade is coming down right on your mark.
But even still you may end up with corners like the one below. Wood (and mdf) are not perfect and neither are walls and neither are we humans so it is bound to happen (see how the trim wouldn’t push up flush with the wall).
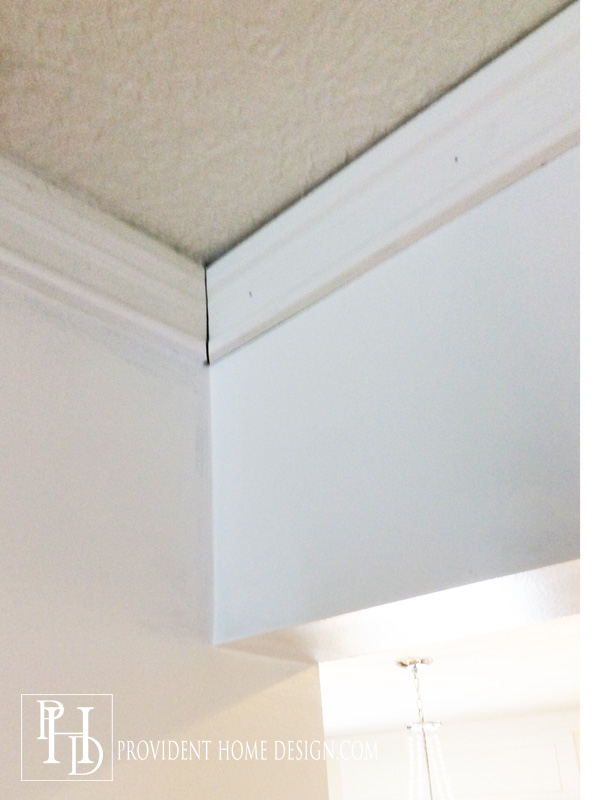
That is where caulk comes in!! It hides all of the imperfections!
A handy man once told me that when he use to install crown molding and other wood trim in new homes they would have caulkers come in after them to make it look all pretty.
Even the professional woodworker needs caulk so don’t be too hard on yourself if it isn’t perfect.
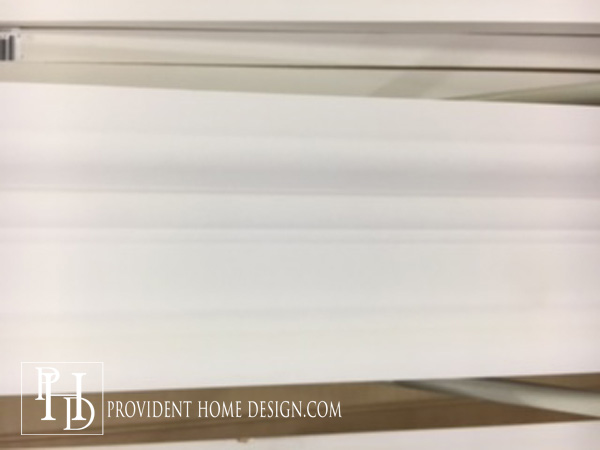
If you are doing a area bigger than 8 feet then at some point you will need to butt up two pieces of trim. There are a few different ways to do this but I like to butt them up next to each like below and then run a line of caulk down the middle to cover the gap.

I used my Porter and Cable nail gun to install the wood trim (it’s on sale right now, Here)! I didn’t use any adhesives but it might come in handy if you are installing with a nail and hammer.
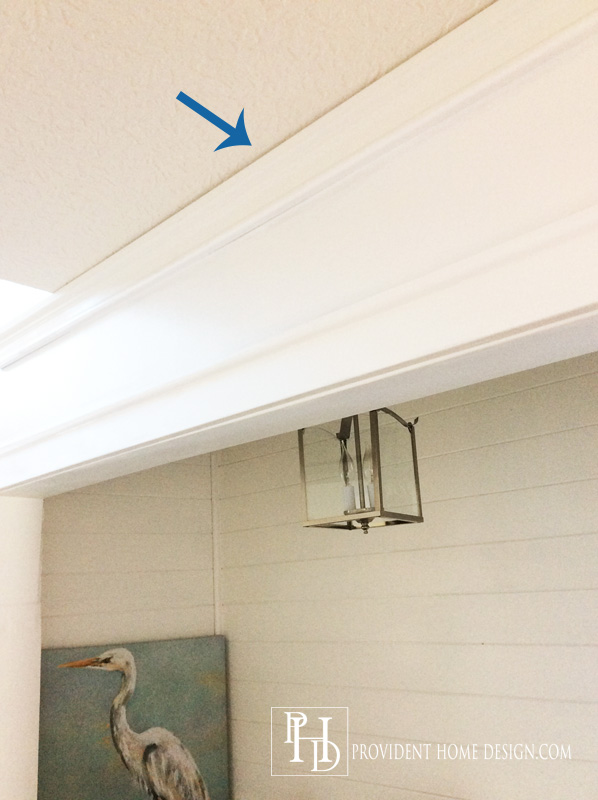
I’m really happy with how it turned out and I’m already on to picking a new paint color for above the “crown molding”.
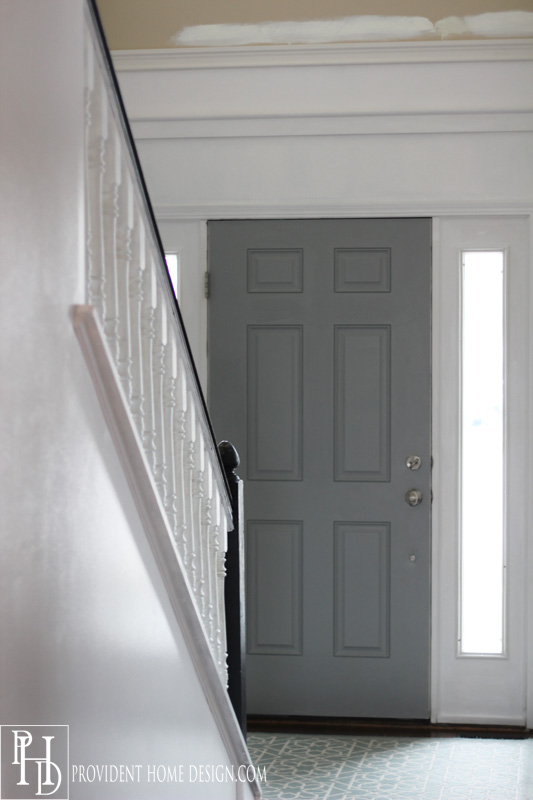
I’ve got my large swatches of paint color options all up to decide!
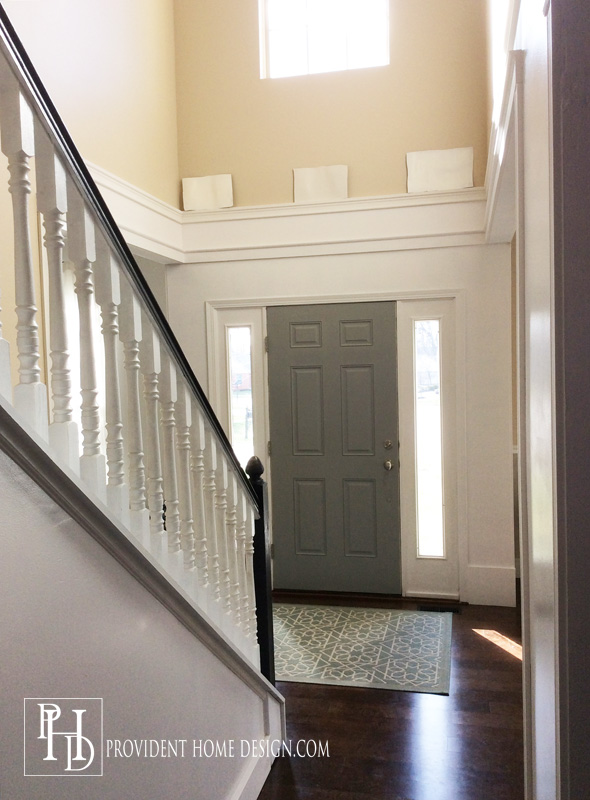
Here is the post I did on how I go about choosing paint colors in case you are interested. And the post about my hopes for this foyer, Here.
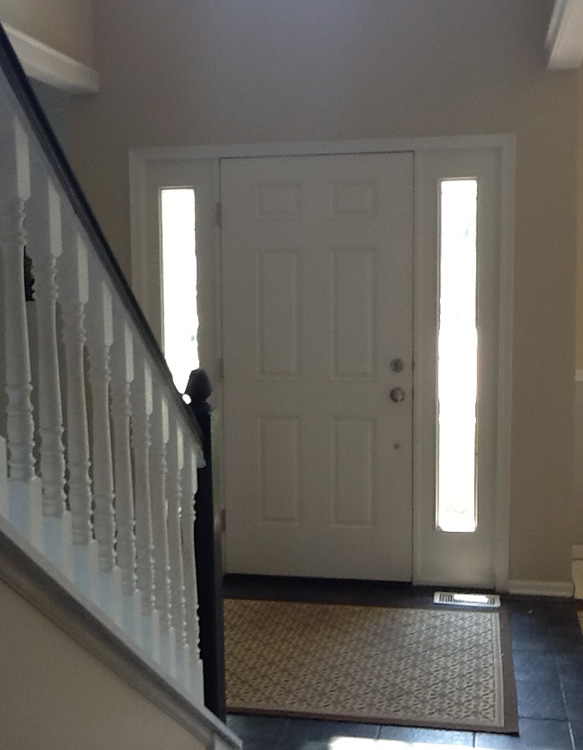
And for fun here is a photo of the foyer a year and a half ago (right before we put in our engineered hardwood flooring)!
It’s coming along, sometimes slowly but always surely!! What have you been up to? Have you had any “ah-ha” moments lately?:-) Let me know if you have any questions!

You can follow me at Pinterest/Instagram/Bloglovin/RSS
Related Posts From the Blog:
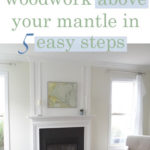 How to Add Woodwork Above the Mantle/Fireplace
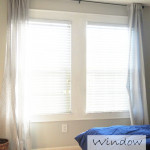 DIY Exaggerated Window Casings
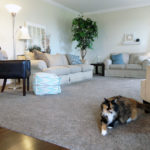 5 Ways to Save Big on Hardwood Floors & New Floor Reveal
 10 Steps to a High-end Kitchen on a Low-end Budget
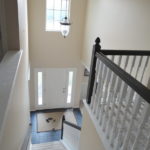 How to Paint Stair Railings like a Boss
 Interview with Tori Toth: Home Staging Secrets for a Quick Sell
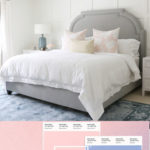 Pantone’s 2016 Color of the Year
 DIY Faux Tufted Headboard