A couple years ago I found myself in a predicament. We had just moved to our current home and we were especially tight on money. In our condo we had a nightstand on one side of our bed and a wooden file cabinet on the other side. They were in the same tones of light oak, so it still looked good. Unfortunately, our wooden file cabinet became unworkable so upon moving we got rid of it. When we arrived to our current home we were in need of a new bedside table to anchor the bed and to provide a surface to put a lamp and other nearby necessities on.
The nightstand we already had was one we bought when we were first married. It was from 10 years ago. I was in graduate school at the time and my husband had just gotten out of graduate school. Neither of us had a job. We bought it at Meijier’s for $40 (back then I didn’t know about Craigslight-gasp!) with our precious wedding gift money and only bought 1 because we didn’t have the money for two.
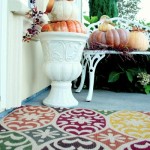
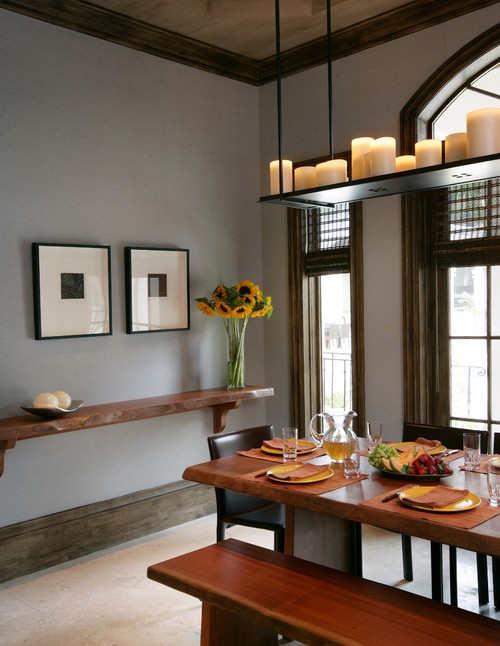
Since there was no matching solution I decided to find something with the same wood tone again. Thankfully, a pin from pinterest came to mind and a budget friendly solution was secured!!! Below was my pinterest inspiration. A shelf used as an attractive, free-standing entryway table! Brilliant!!!

I had noticed some shelves and brackets at Home Depot the week before so I went back to check them out.
Here is what I found:
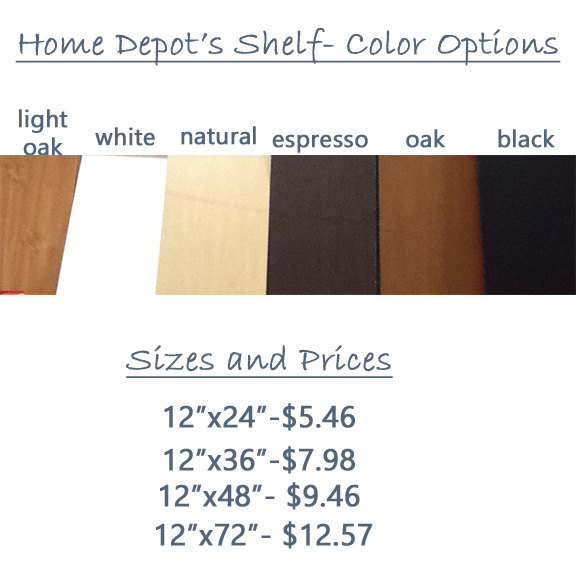
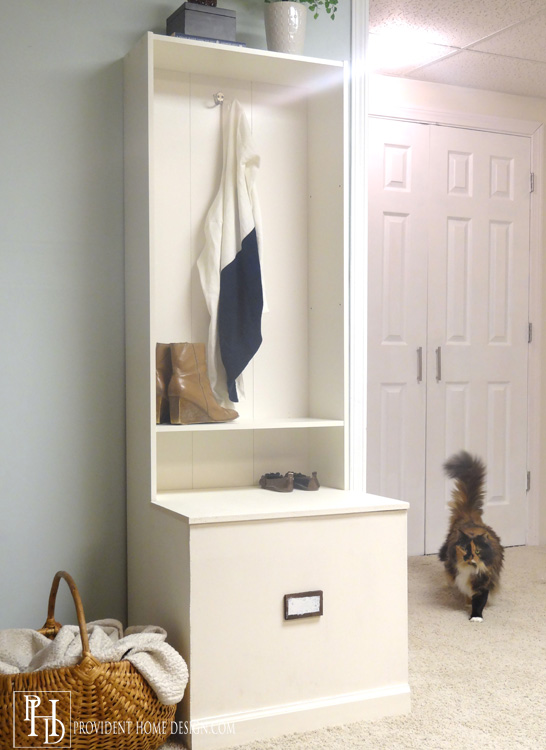
I purchased the light oak one to match the wood tone of my other nightstand. The 12″x24″ size is perfect for a nightstand. The brackets came in several different finishes. In the wood aisle they also have wooden brackets and corbels that would work well. I bought the rubbed bronze oil brackets for $6.86 each. My freestanding nightstand shelf solution came to a total of $17.00. I bought a basket at %50 for $11 at Michael’s to go under it. It stores books and magazines.

The shelf is easy to install. All you do is screw the screws it comes with into the shelf and then into the wall. If I were going to be putting heavy things on it I would have used anchors to reinforce the weight. And of course you could also buy some wood and stain it yourself!
Here are some more examples of putting a shelf to work as pieces of furniture:
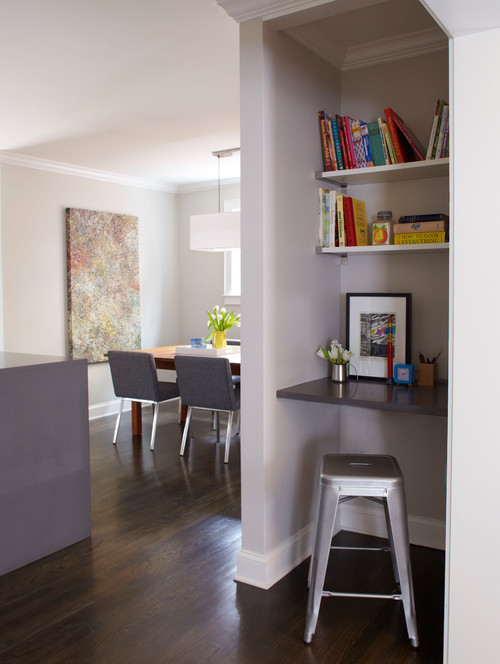
A Console Table


http://www.storypiece.net/2013/05/22/royal-furnishings/

http://www.letsgetcrafty.org/diy-sofa-table/
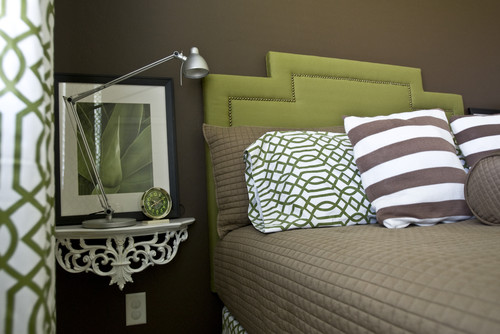
A Nightstand

http://www.justthebeesknees.com/2013/04/carsons-room-reveal.html
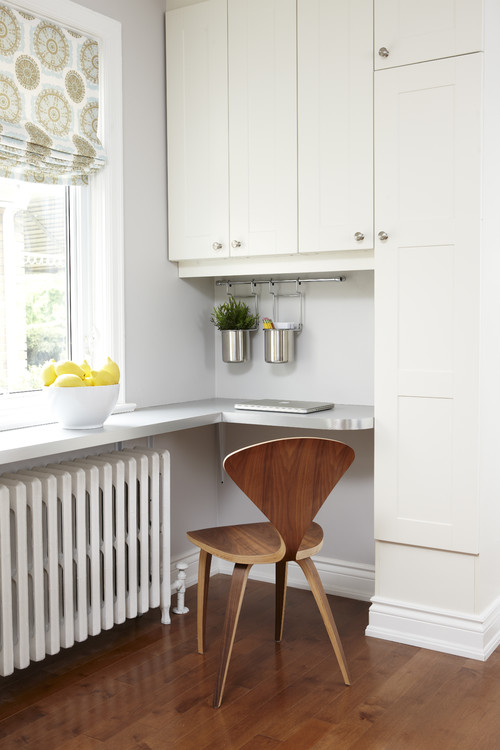
A Desk
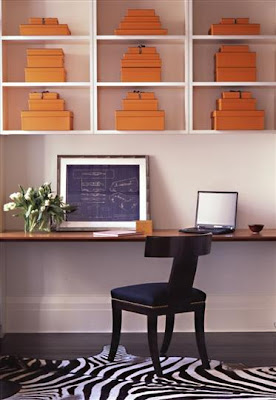
Cococozy.com