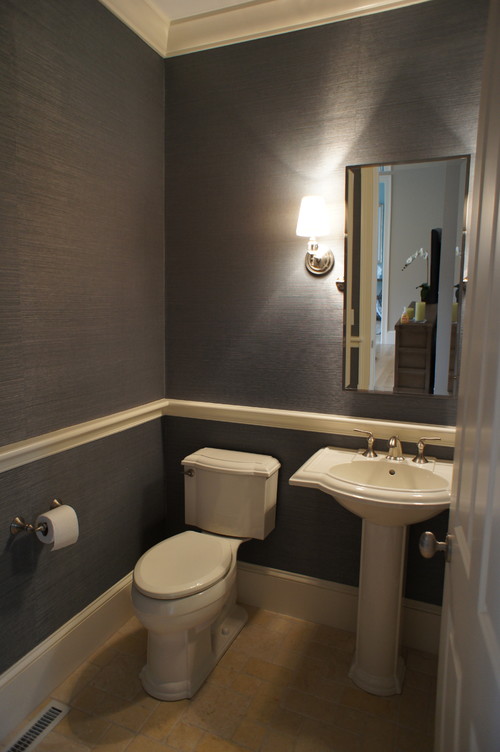
Right now I am in the middle of a bathroom makeover. I am super excited for the end result (granted it turns out how I am envisioning)! The first step to this bathroom makeover is to install a chair rail. A chair rail can add an air of sophistication and refinement to any room (even a bathroom-the least refined room in the house).:-)
This is about one of the easiest woodworking details you can do. Not so sure? Check out my tutorial below!
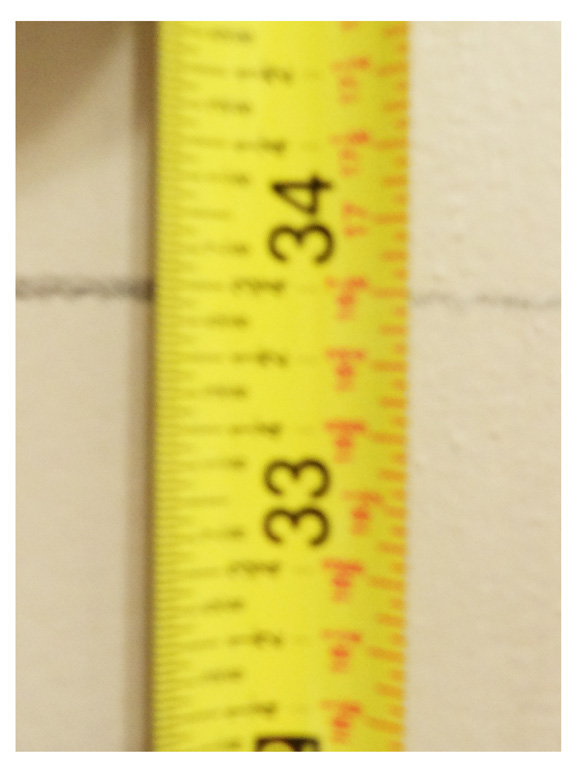
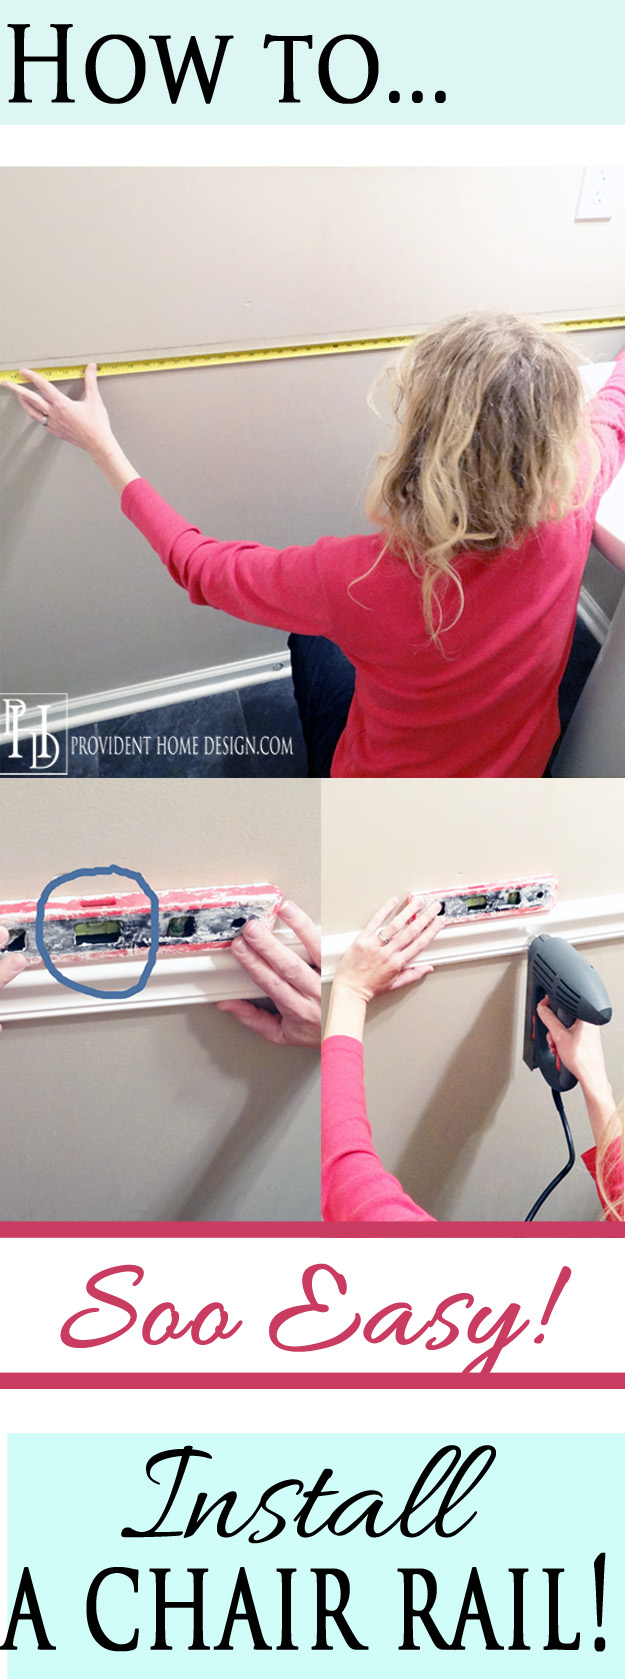
Decide what height you want your chair rail to be (usually ranges between 32″ and 40″). Measure from the floor to your desired height and make a pencil mark where it hits that height. Do this every foot or so around the room (sorry about the blurry picture).
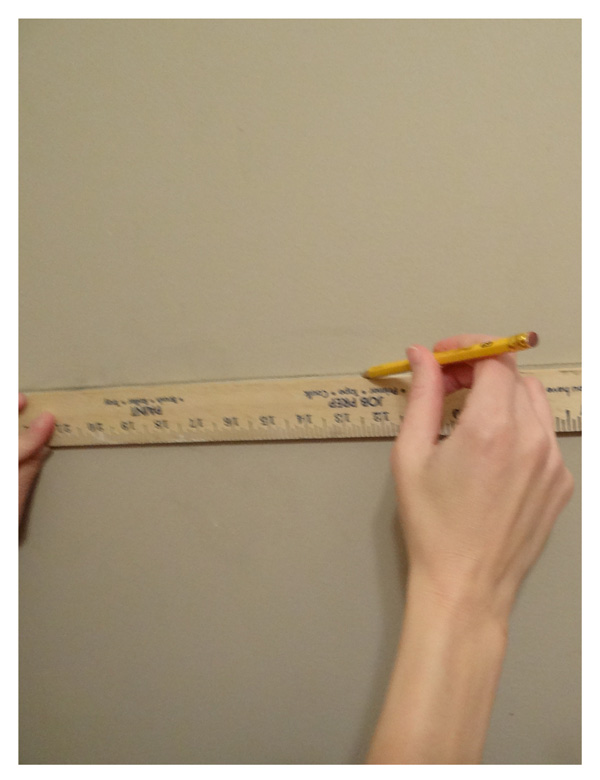
With a long straight ruler connect the marks you made on the wall, so that there will be a straight line that goes all around the room.
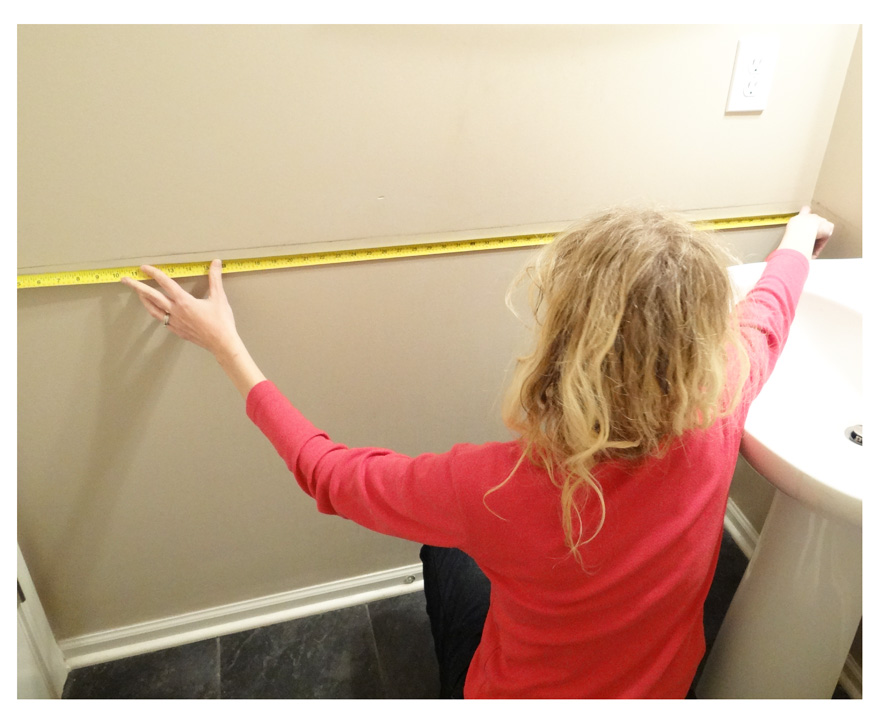
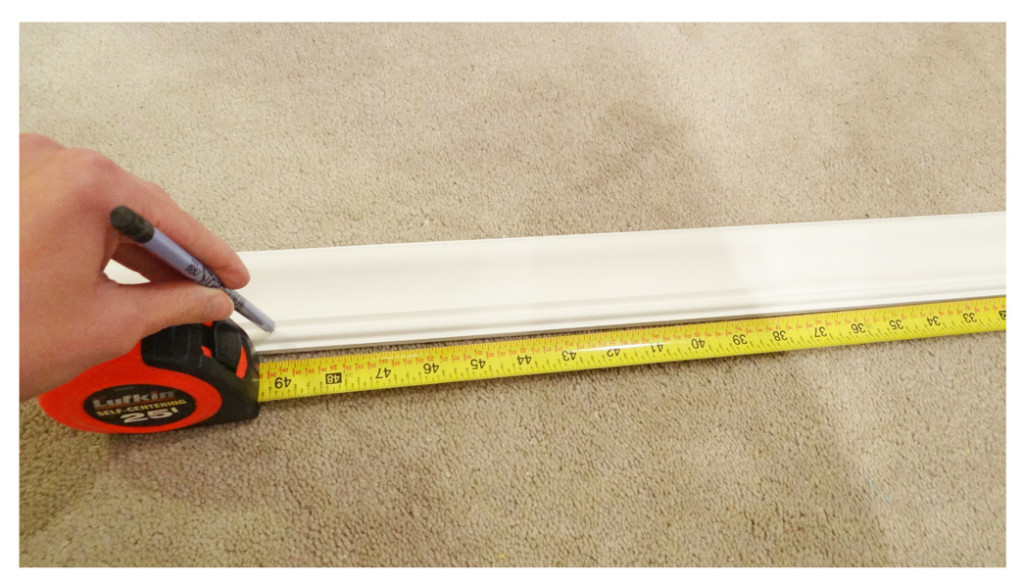
Now with a tape measurer, measure the total length of each wall (please excuse my nappy hair day):-)
Starting with one of the walls, measure your chair rail and mark with a pencil where it hits the wall’s length.
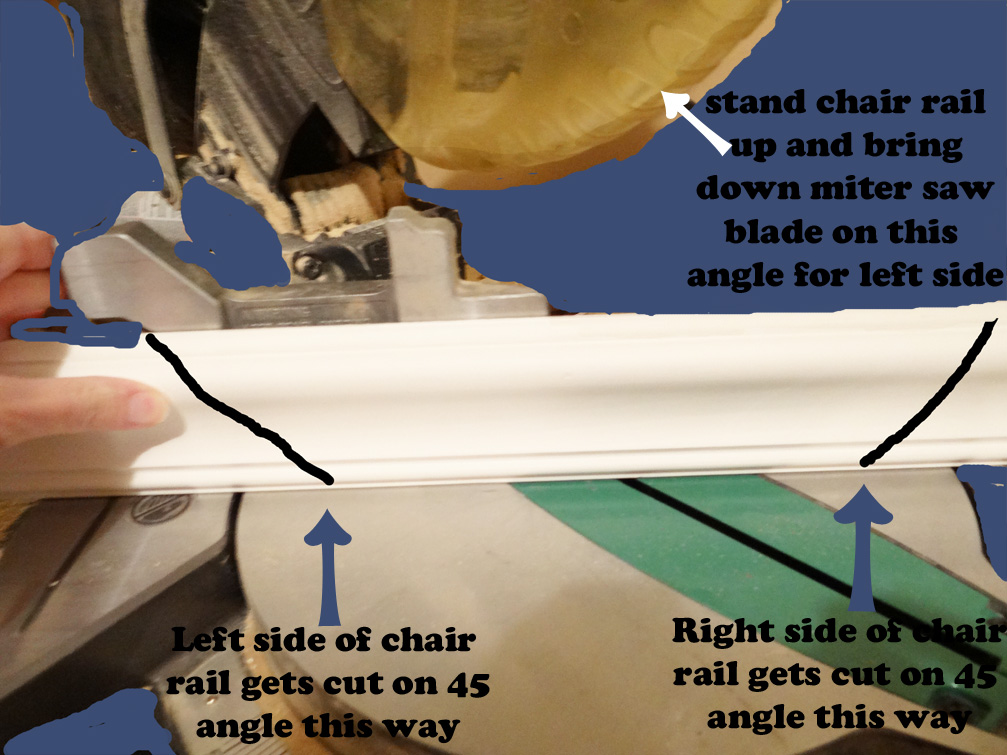
Now you will make your cuts! Corner cuts are done on a 45 degree angle. You can use a miter saw or a miter box and hand saw. The latter is just $8 at any home improvement store.
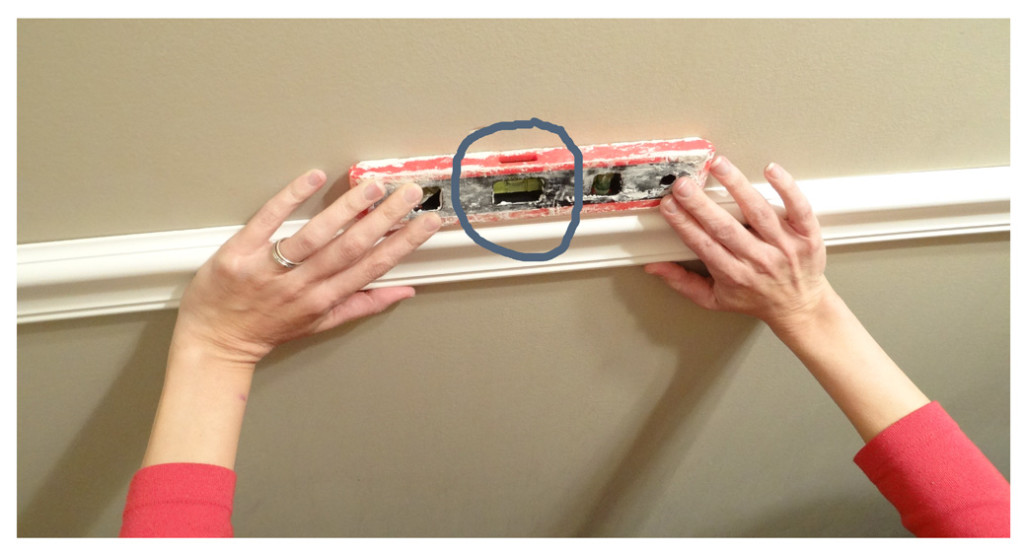
Once your cuts are made, start with one wall and hold the coordinating chair rail piece up against the wall. Be sure to match it up with the line you made. Once the chair rail is matched up with the line use a leveler to confirm the chair rail is ‘perfectly’ straight. Adjust the chair rail (if needed) until chair rail is level. My poor leveler has had better days!:-)
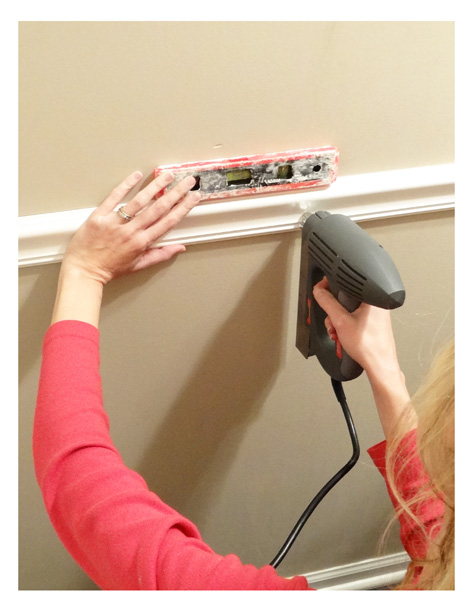
Now secure the chair rail to the wall with nails. I used my electric nail gun but if you don’t have a nail gun then make a small hole with a drill and then hammer in a finishing nail.
Do this to all walls in the room. 
Don’t worry about the corner not meeting up perfectly; it is a common occurrence and is easily masked by applying caulk to the area.
After you are all done caulking and patching your nail holes sit back and admire your work! You can totally do this! And I’m here to answer any questions you may have along the way!:-)
Thanks for being here!
Update: And if you would like to see the makeovers reveals here they are: Reveal #1 and Reveal #2
Which do you like better?




Just found your blog from the young house love forums. I love the idea of adding a chair rail. My first inclination is to always do bead boards or wainscoting. This is something I need to remember is an option too. Thanks for the idea!
Emily, thanks so much for stopping by! I’m so happy you found this post helpful!:-)
If I tile my bathroom wall half way up would it look good to put chair rail trim at top of the tile I am using subway tile. Thank you
Hi Connie! Thanks for the question. What I’ve noticed is that people usually just end off with the subway tile or with a tile bullnose trim piece. I haven’t seen people use wood trim but it doesn’t mean you can do it! I would just make sure the depth of the wood trim (chair rail) you use looks good up against the depth of your tile. If you do this I think it could look good! Hope this helps!!:-)
Love this info. I’m just curious if you make the same 45 degree angle cut for either side of the door as well? Thanks so much! I cant wait to do this in our new house!
Hi, Gena, thanks for the question! No, I just did a straight vertical cut (no angle) for either side of the door because my door casing also has a straight profile on the side so they lined up well that way. Let me know if you have any other questions!
[…] How To Install A Chair Rail. Come See How Easy It Is To Install A Chair Rail providenthomedesign.com […]