Hello! I hope you had a great Easter!! 🙂
I’m back this week with my good friend, Aubrey, sharing a recent DIY she tackled in her new home–open shelves!
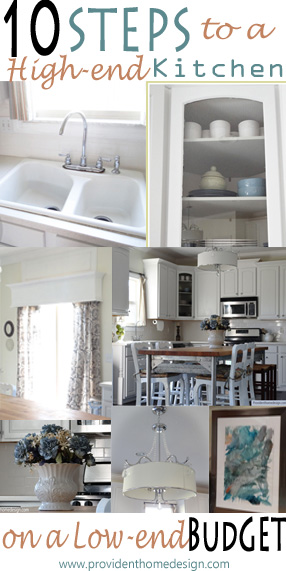
Having open shelving in your kitchen has become all the rage in home design as of late!

Sarah Richardson via HGTV
It’s a great way to add character and interest to your kitchen and thanks to Aubrey can be done without breaking the bank!
So take it away, Aubrey!!
***************************************************************
We recently built a new home and after the first couple hours days I started to make a mental list of all the projects I wanted to do. New paint? Yes please. Shiplap accent wall? Obviously. Open shelves in the kitchen?? Um, yes.
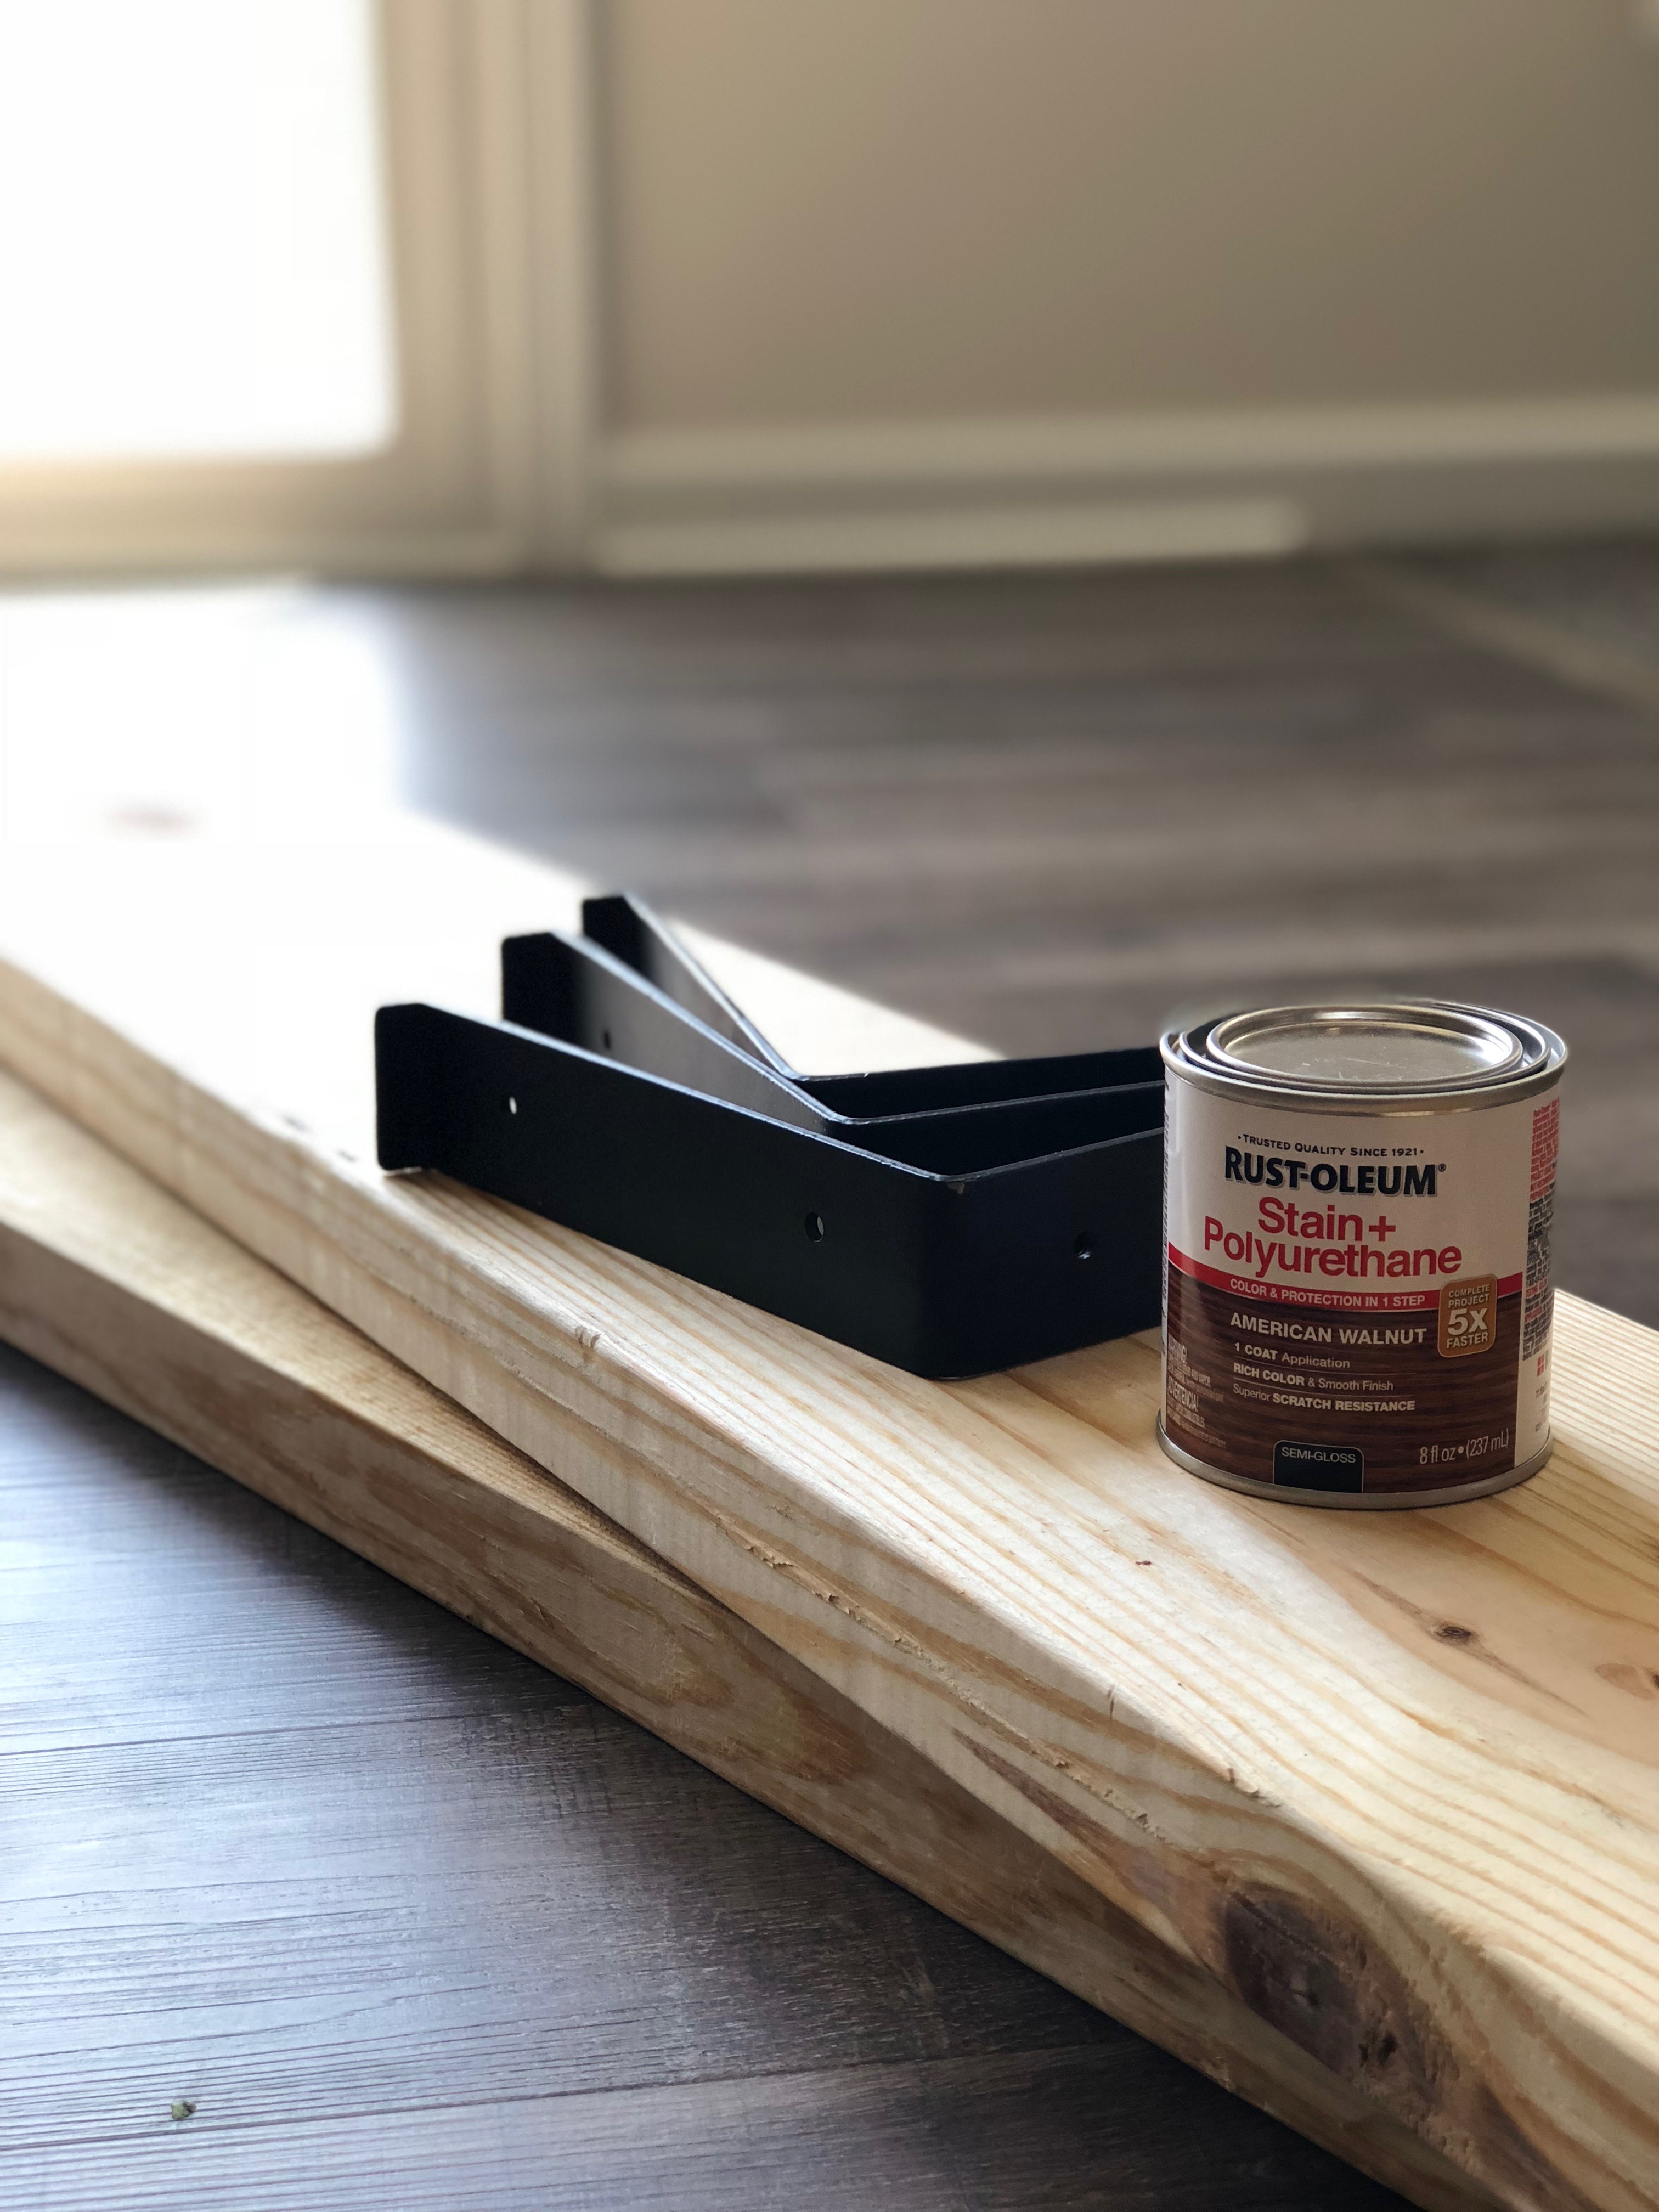
So after taking stock of how much time I have to take on a project and how much money I have left in my drastically reduced spend account, I decided open shelving was the place to start. I had been looking at finished shelves, and they were either not quite the look I was going for, or WAY more then I wanted to spend. I decided to forgo a true floating shelf because I liked the rustic/industrial look of the bracket.
Once I decided I wanted a bracket, the hunt was on. I quickly discovered that the brackets I liked were so pricey it almost made me throw up my hands and go back to the finished shelves. $15-20 a bracket?! No thank you.
Then, when I ran out of places to check and all seemed lost… I found them! Hallelujah!! I’m so glad my 3-year old needed that emergency bathroom break at Hobby Lobby. Because to be honest, for as much as I shop at Hobby Lobby, it didn’t actually cross my mind to look for shelf brackets there.
I know, I know. And, they were 50% off! I may or may not have done a happy dance right there in the aisle. I got THESE brackets for a mere $3.99 a piece. Well within my price range.
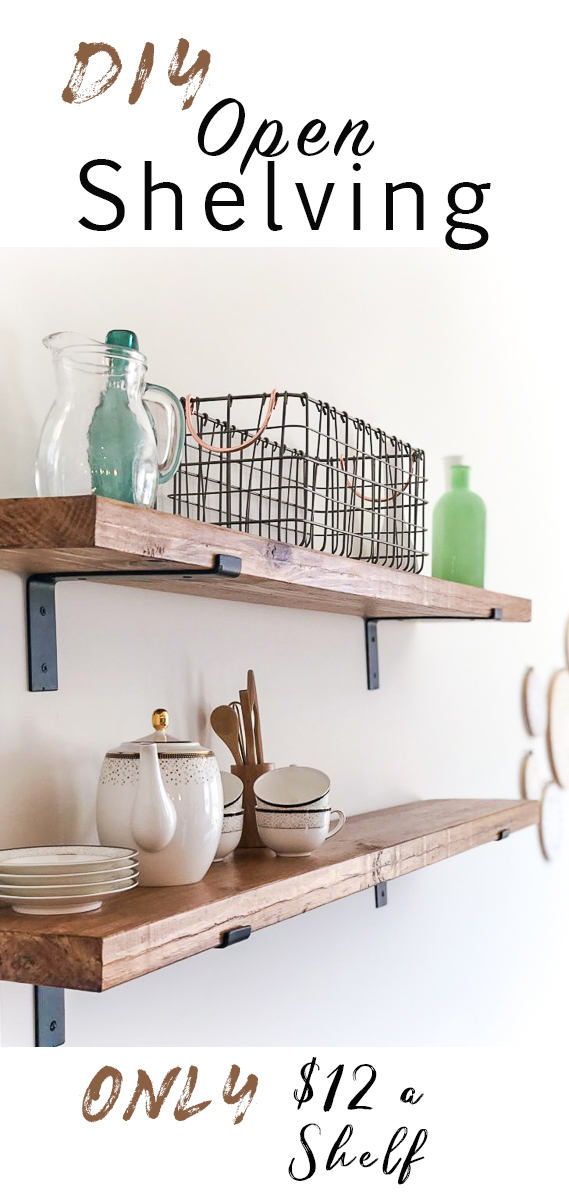
Next step, purchasing the wood. Turns out these brackets are a perfect fit for a 2x8x8 piece of wood. I wanted two shelves, so I just had them cut it in half, which gave me two 48” pieces of wood. The wood was only $7.49. This put me under $12 per shelf!
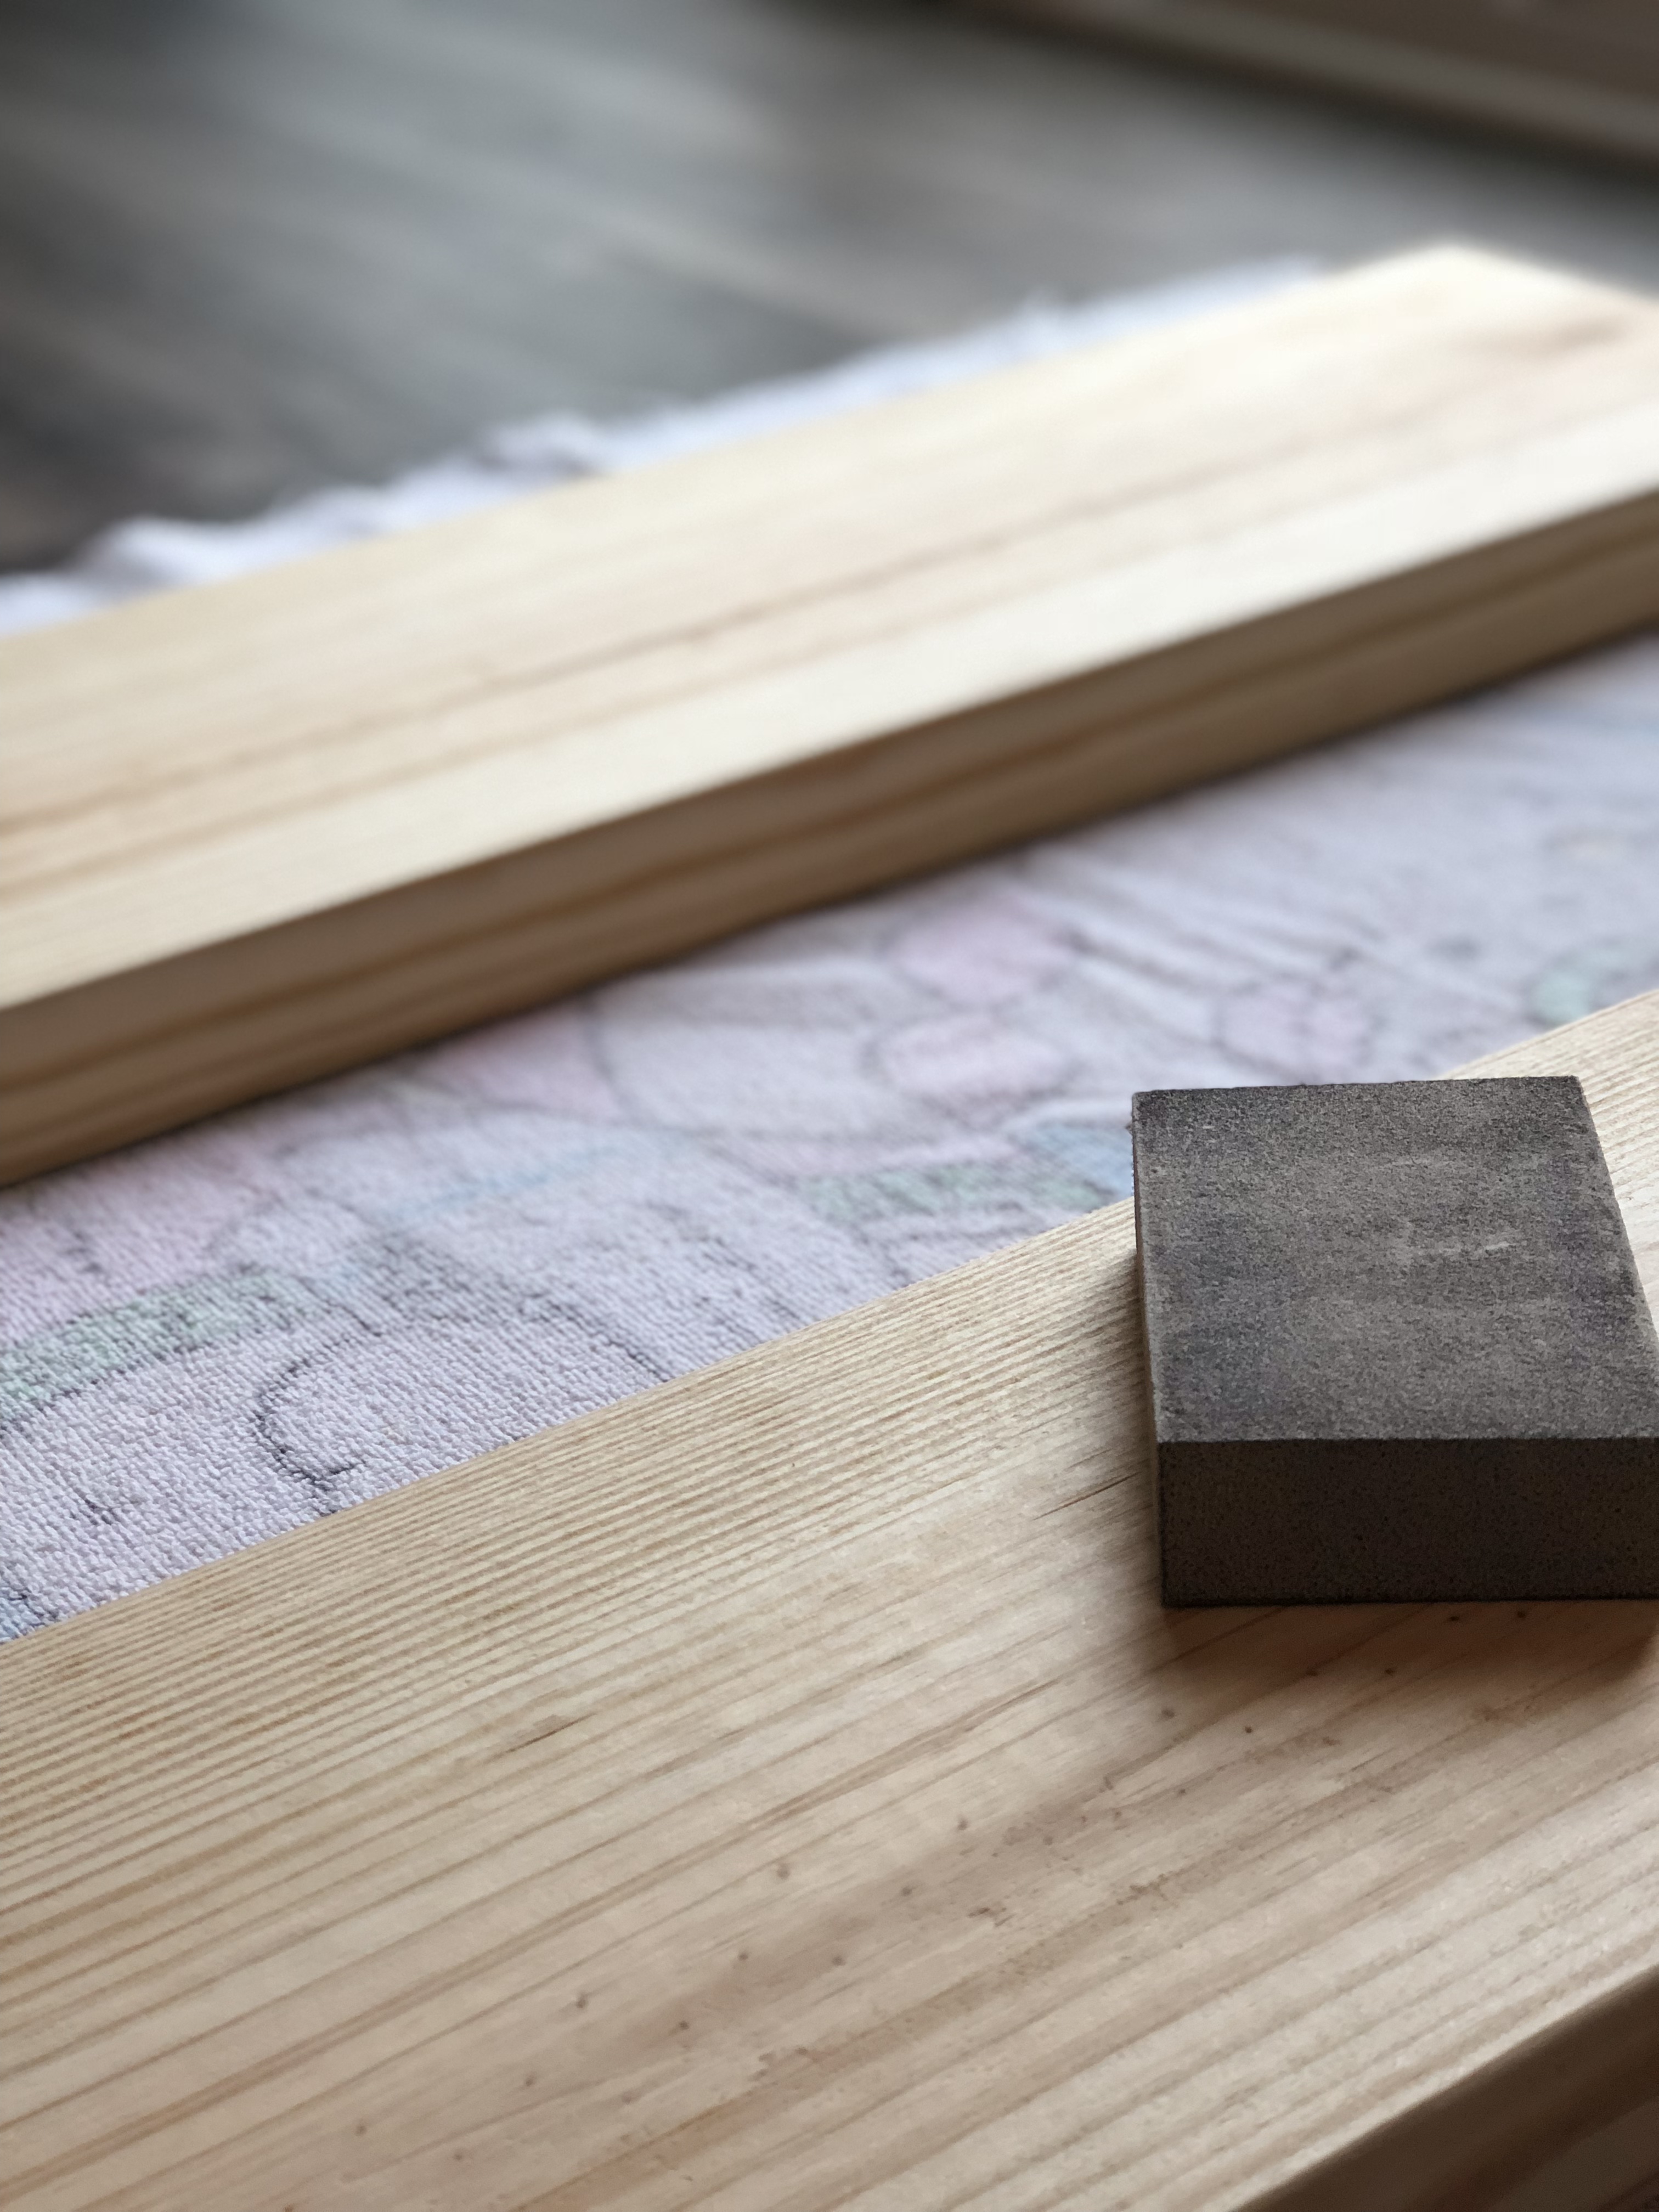
Next step was sanding. I have a power sander. Somewhere. In the mountain of boxes still left to be un-packed.
I spent about 5 minutes half-heartedly kicking around the boxes to see if it would magically appear before me, and when it didn’t, I went at it the old fashioned way. Sand these puppies good!
My wood had a few flaws, nothing major. But go over them and decide which side you want to show. Once the shelves are hung, it’s really only the front of the shelf that will be visible, so that’s where you’re going to want to focus your attention.
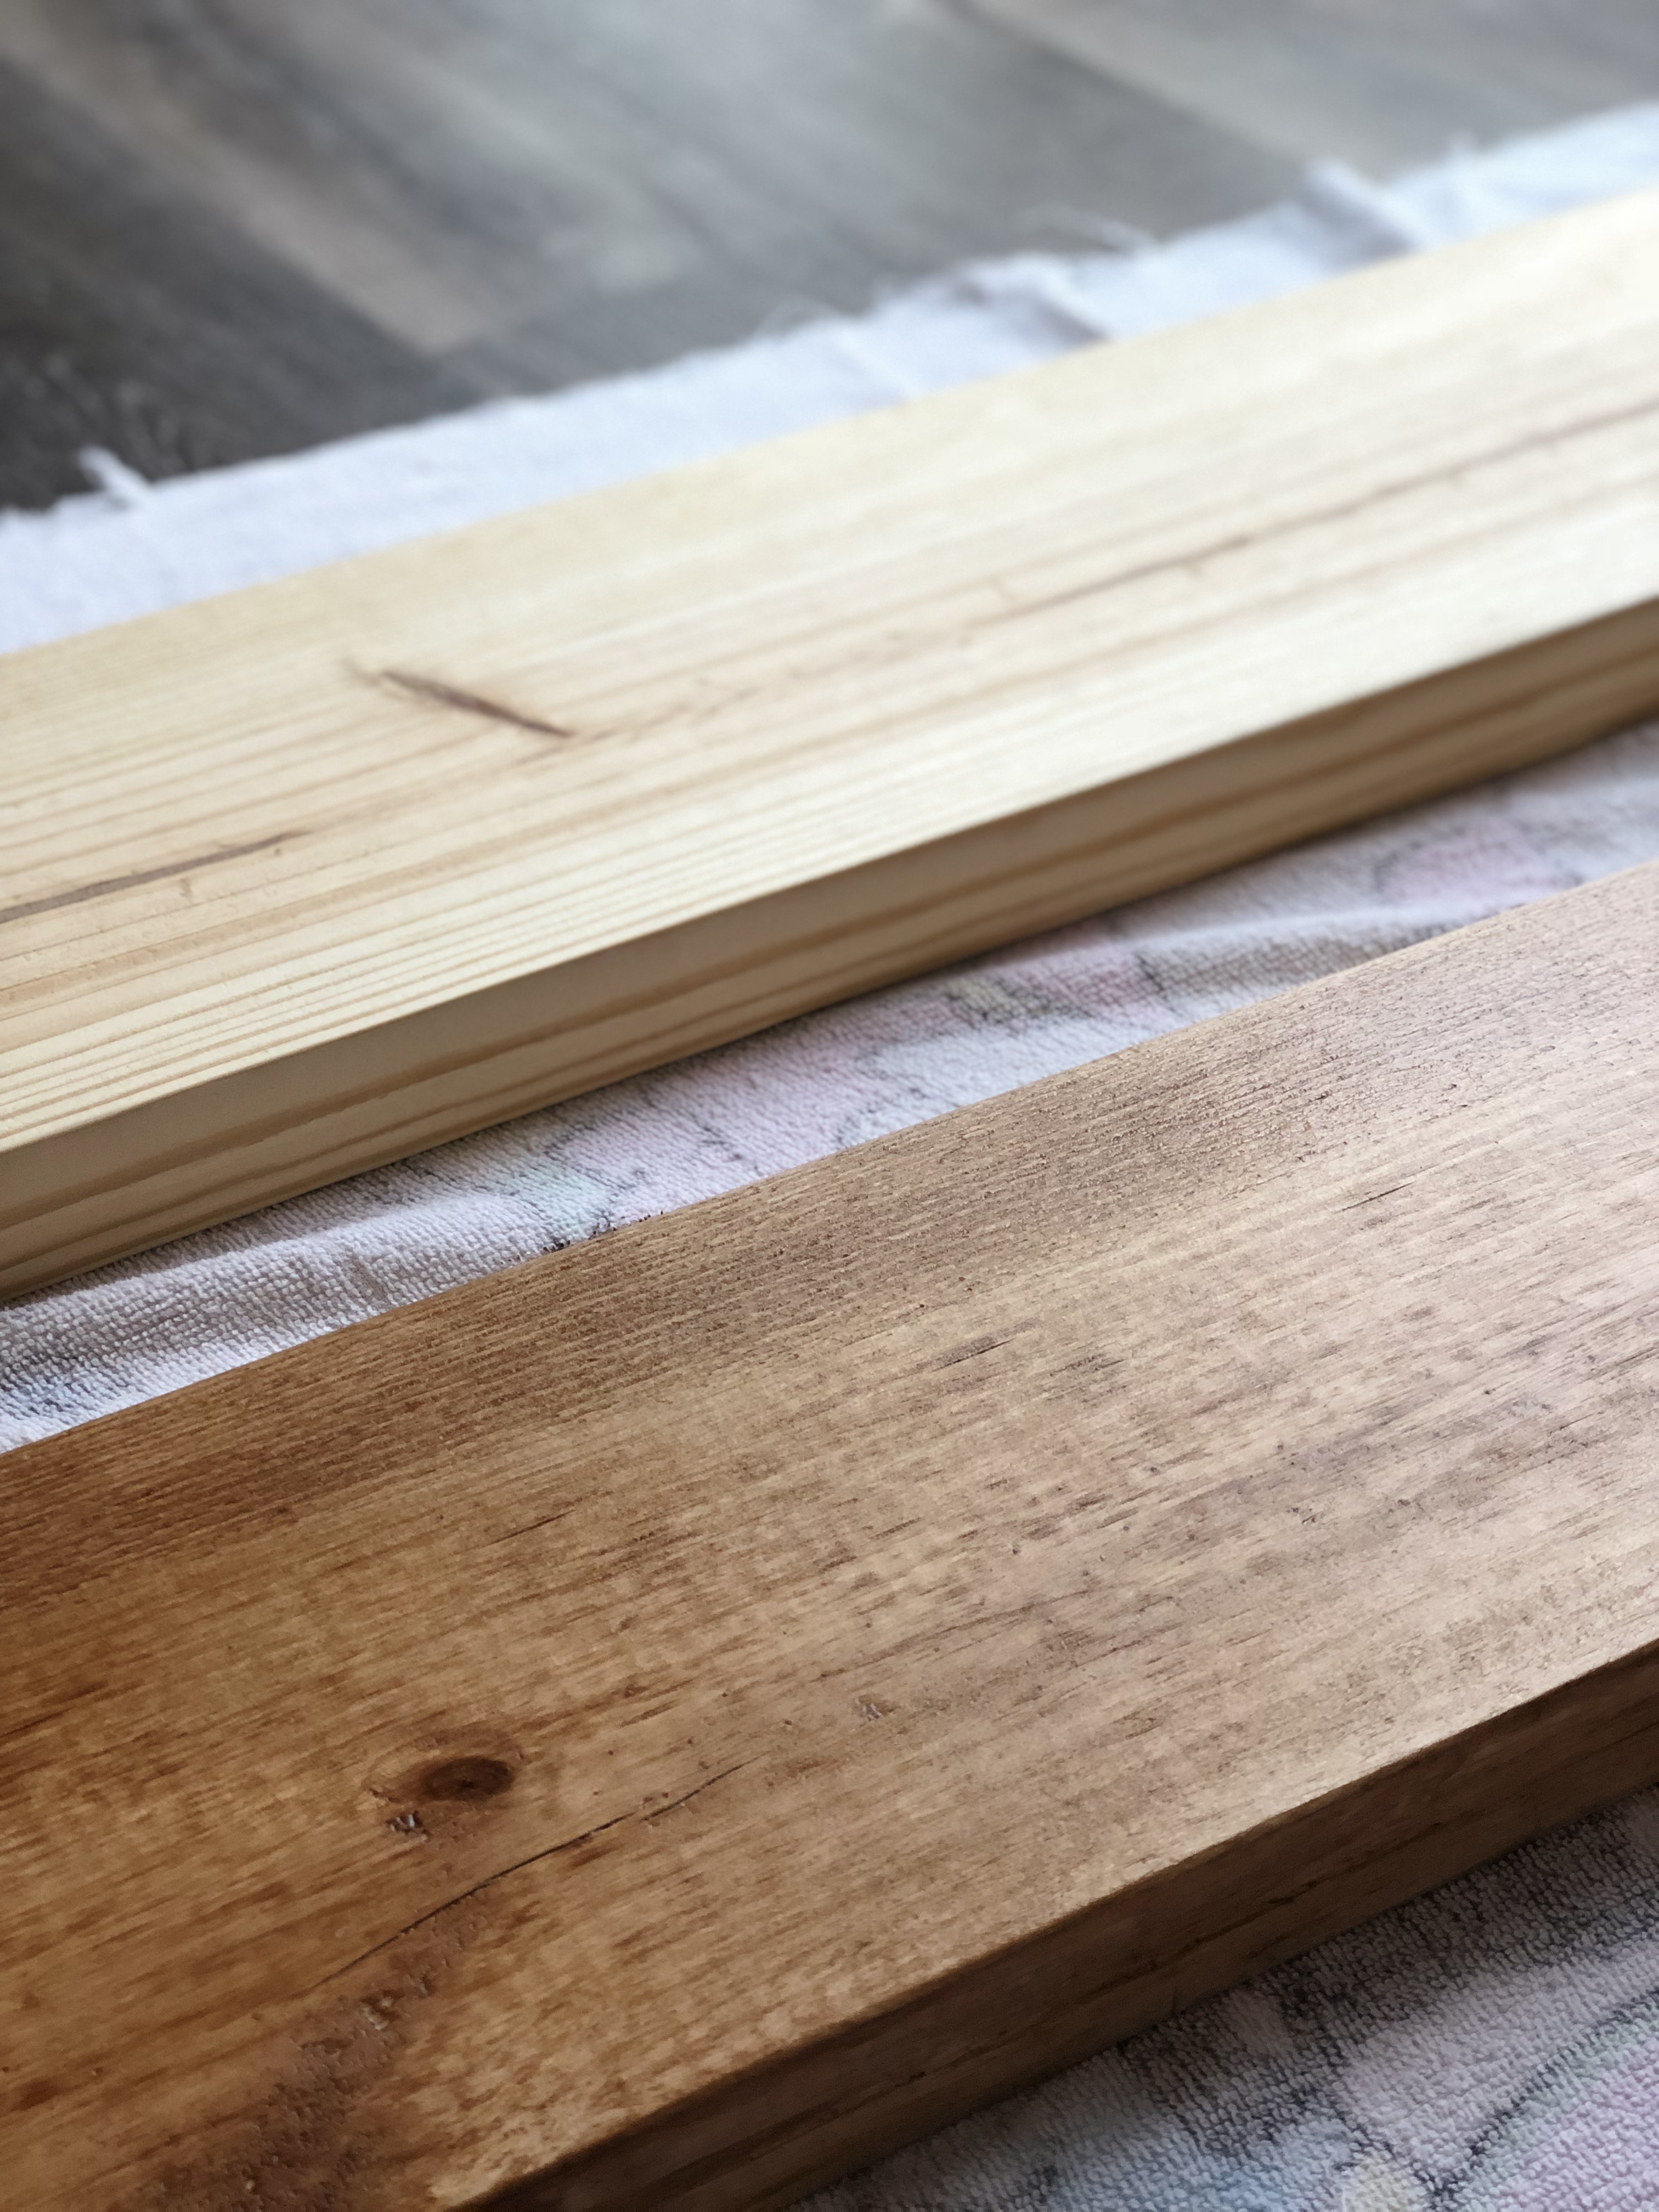
Once your wood is nice and smooth, it’s time for stain! Follow the instructions on your can of stain for how to best apply it. I used THIS stain.
It was perfect for me because thanks to an unpacked garage and a major thunderstorm going on outside, this all happened inside. There was no odor, it was easy to clean, and it dried super fast!
I ended up only needing one coat. The color was a little lighter than I was hoping, but once I held the shelf up to the wall I was happy with it. Make sure to test an inconspicuous area first!
Once your shelves are stained, it’s time to add the brackets. Check for studs in your wall first- this will determine the placement of your brackets. I lucked out and had two studs right where I needed them. Mine ended up 32” apart.
If you don’t have any studs, you can place your brackets wherever you like; however, make sure you use drywall anchors when installing your shelves to make sure they are secure.
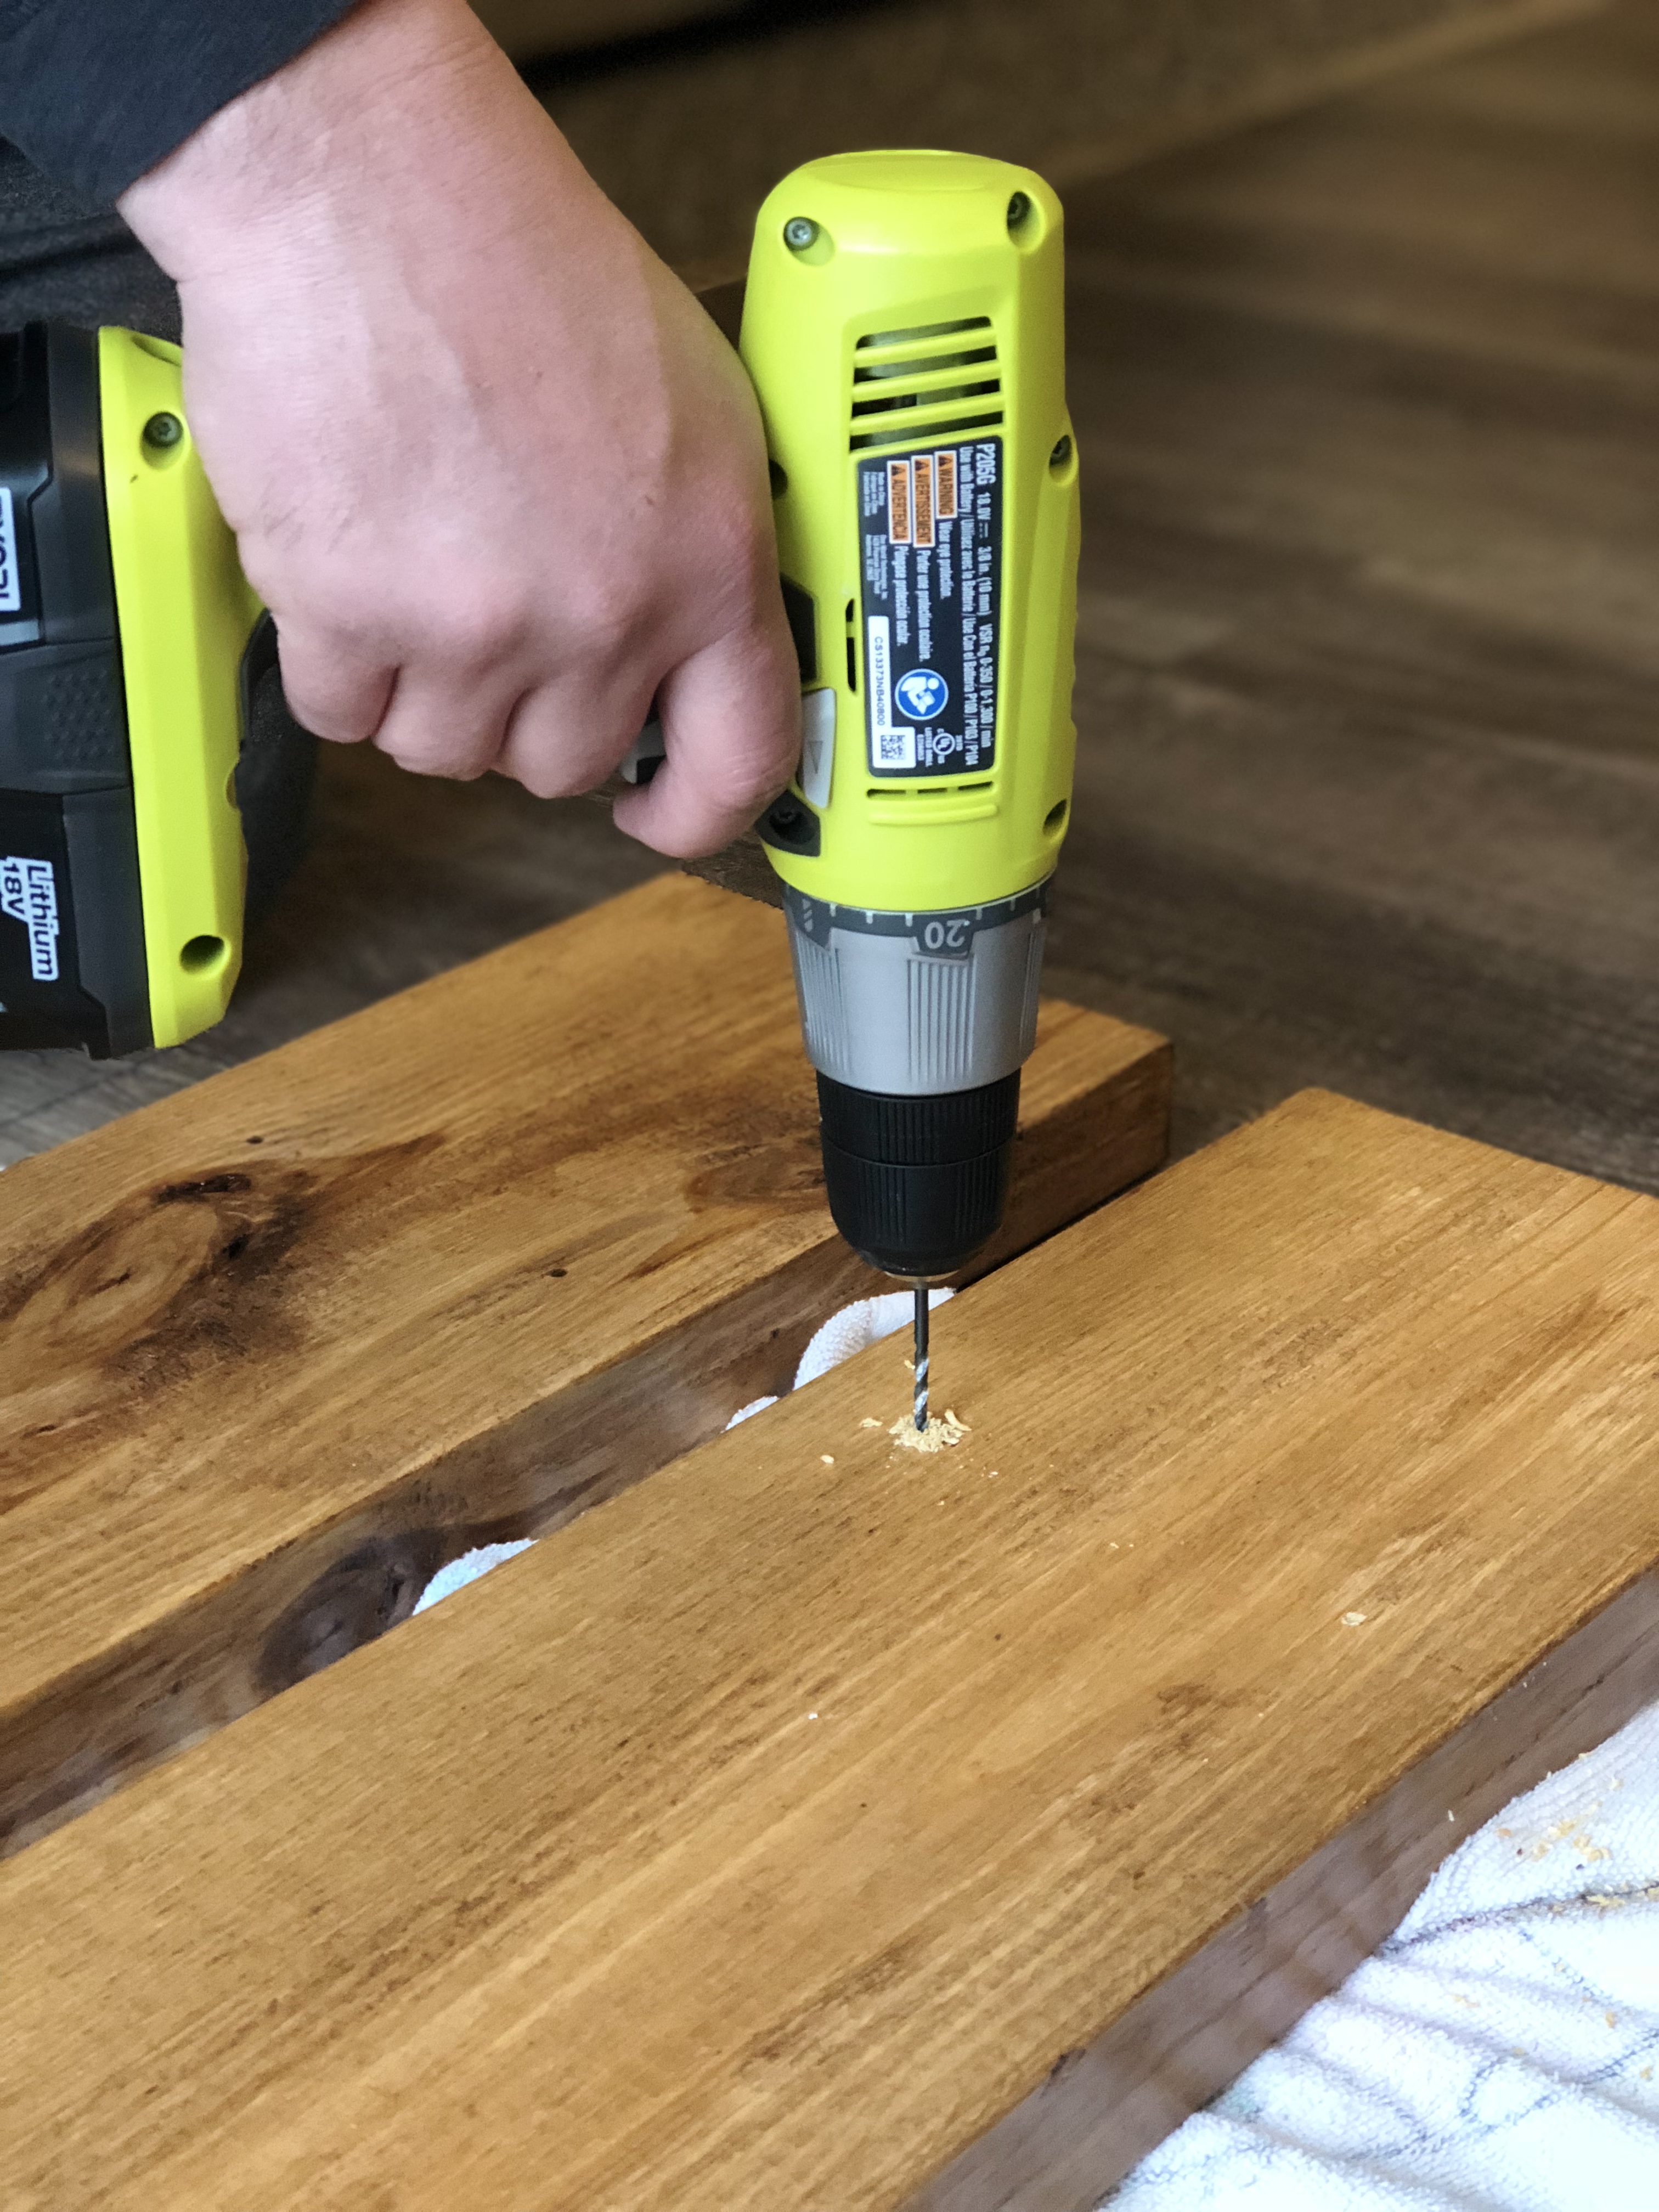
Mark where you want to put your brackets, and drill a hole. This may not be completely necessary, but we used a harder wood (oak) and it makes it go much smoother and ensures that your screws are going in nice and straight.
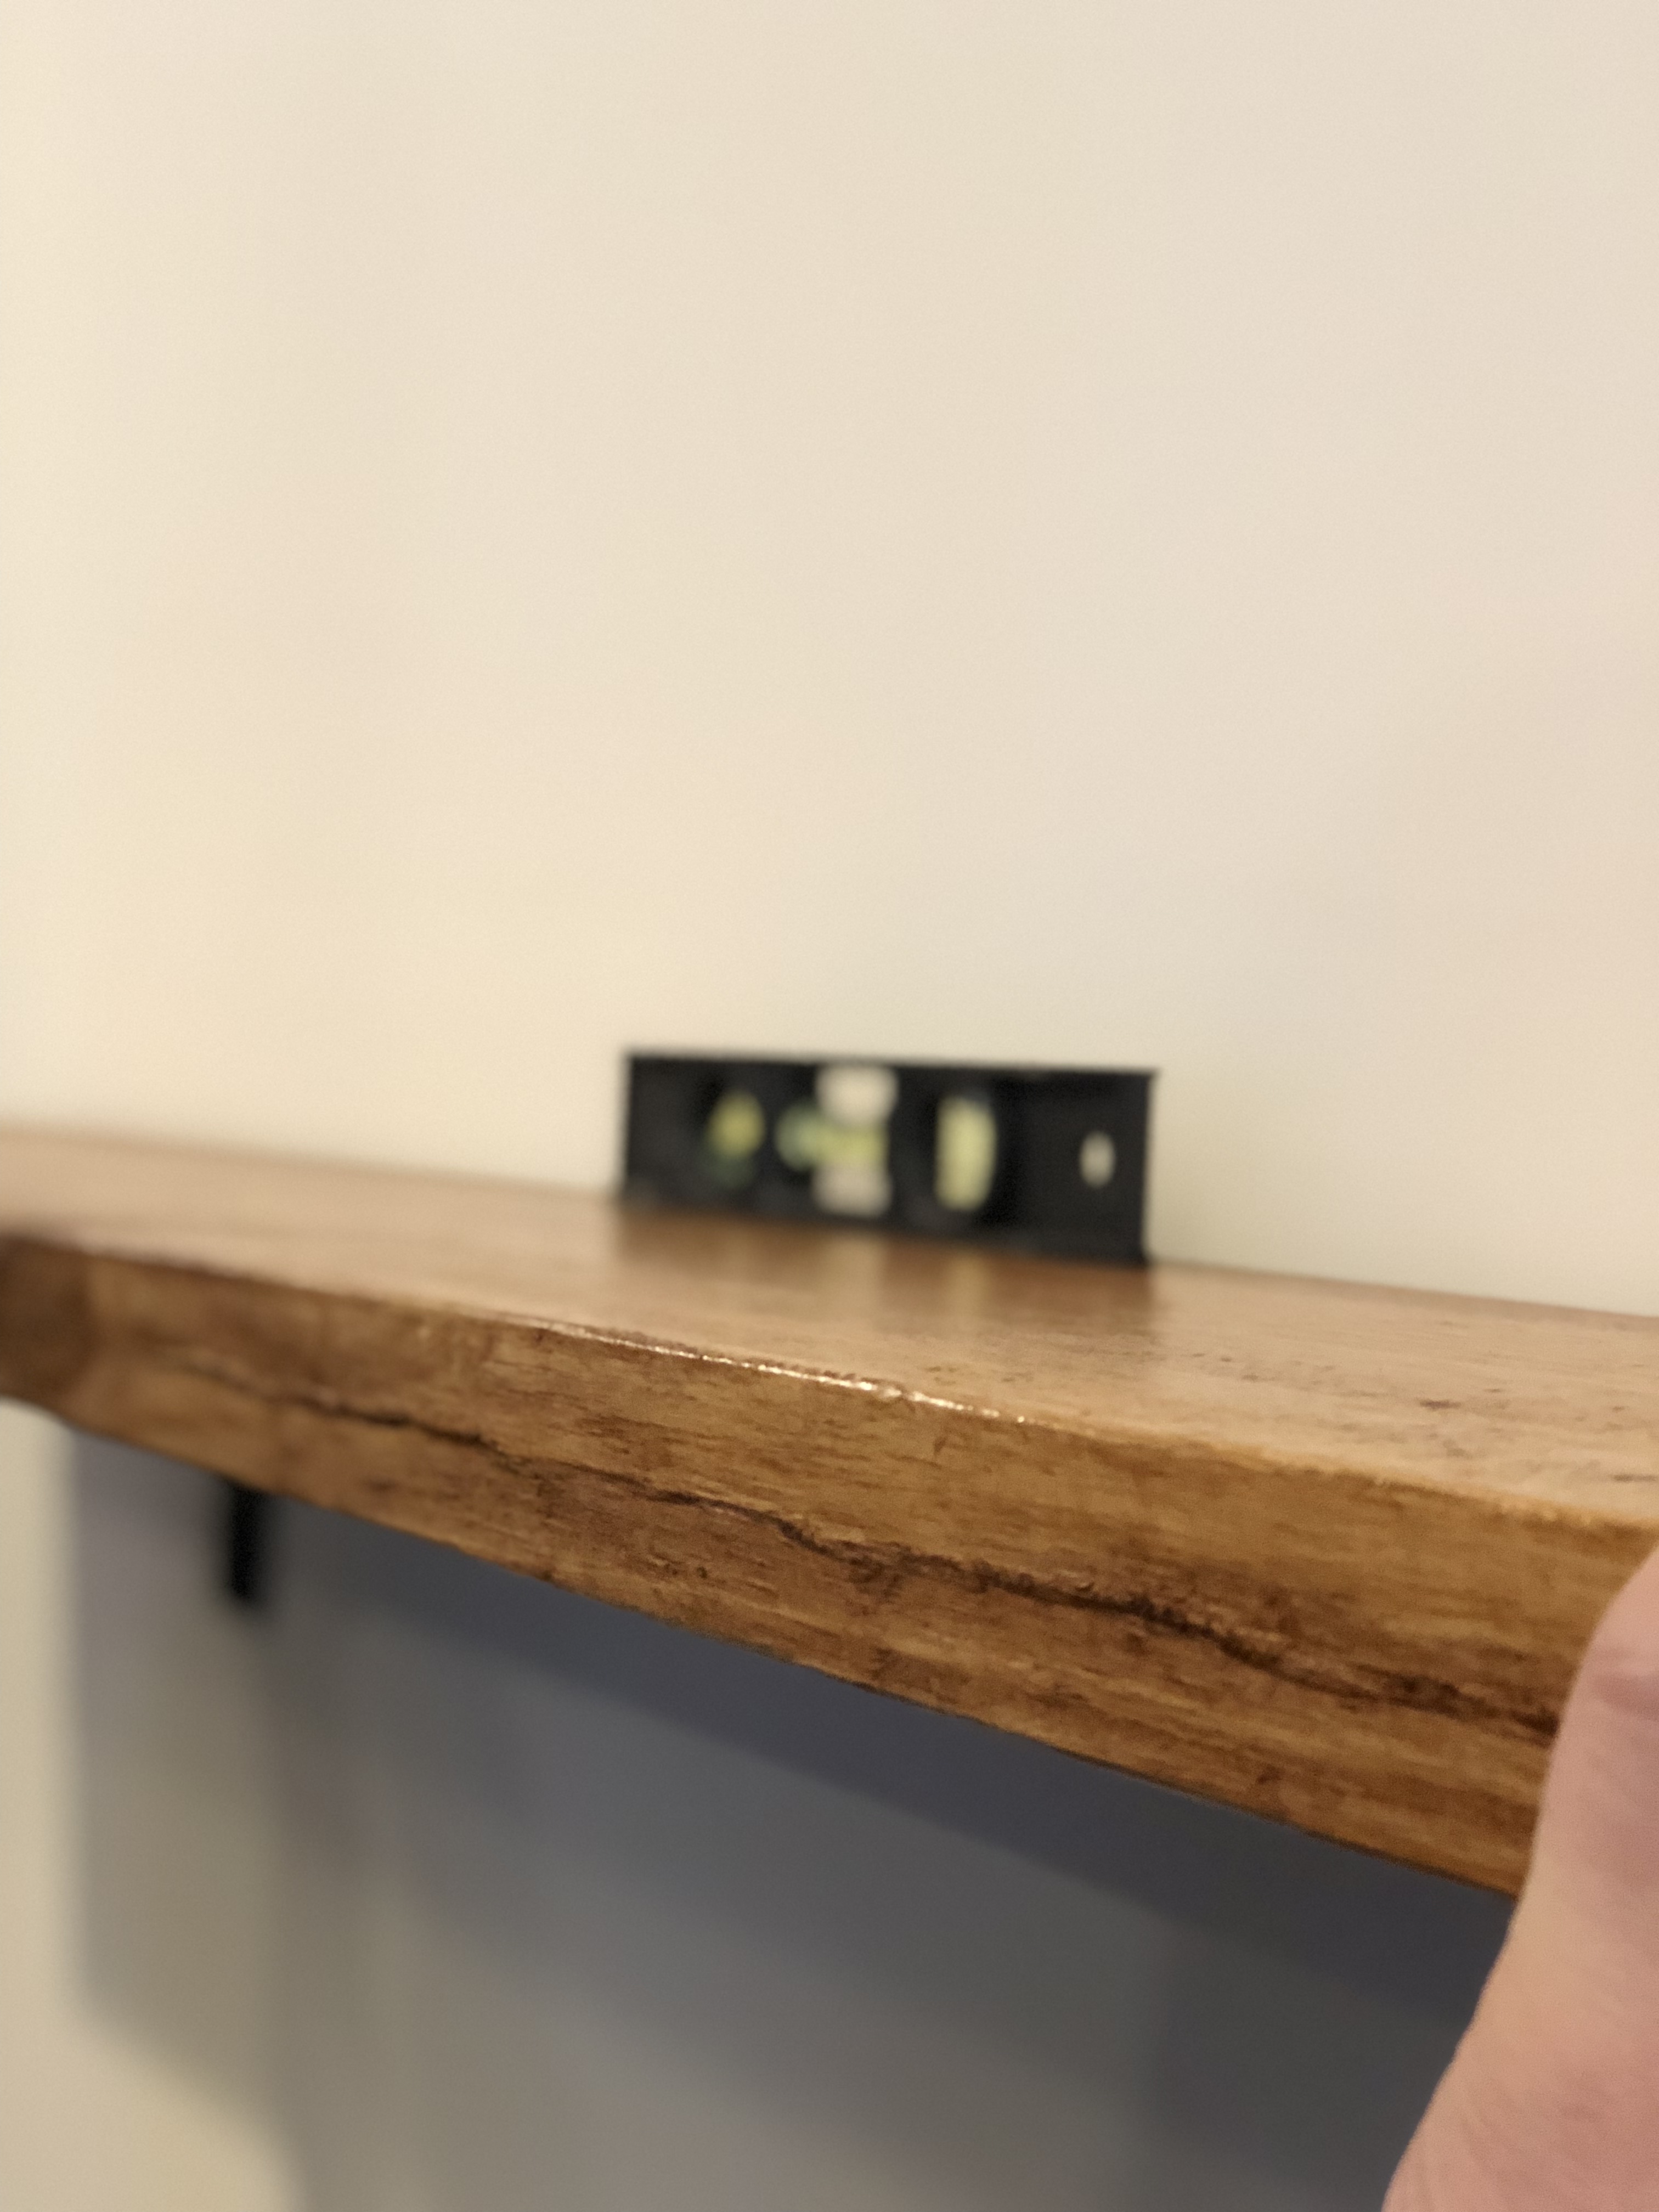
Next you’re going to want to position your shelf on the wall and mark where you need it to hang. It’s a good idea at this point to get out your handy dandy level to make sure you hang it nice and straight!
I used 1-1/4 inch nails to secure the bracket to the wood. Just make sure your nail isn’t longer than the thickness of your board!
Looking good! Now it’s time to drill holes in the wall and get these little beauties hanging. I started to get really excited at this point. I have dreamed about these open shelves!! (I know, I know. My dreams are a lame.) We’re almost there!
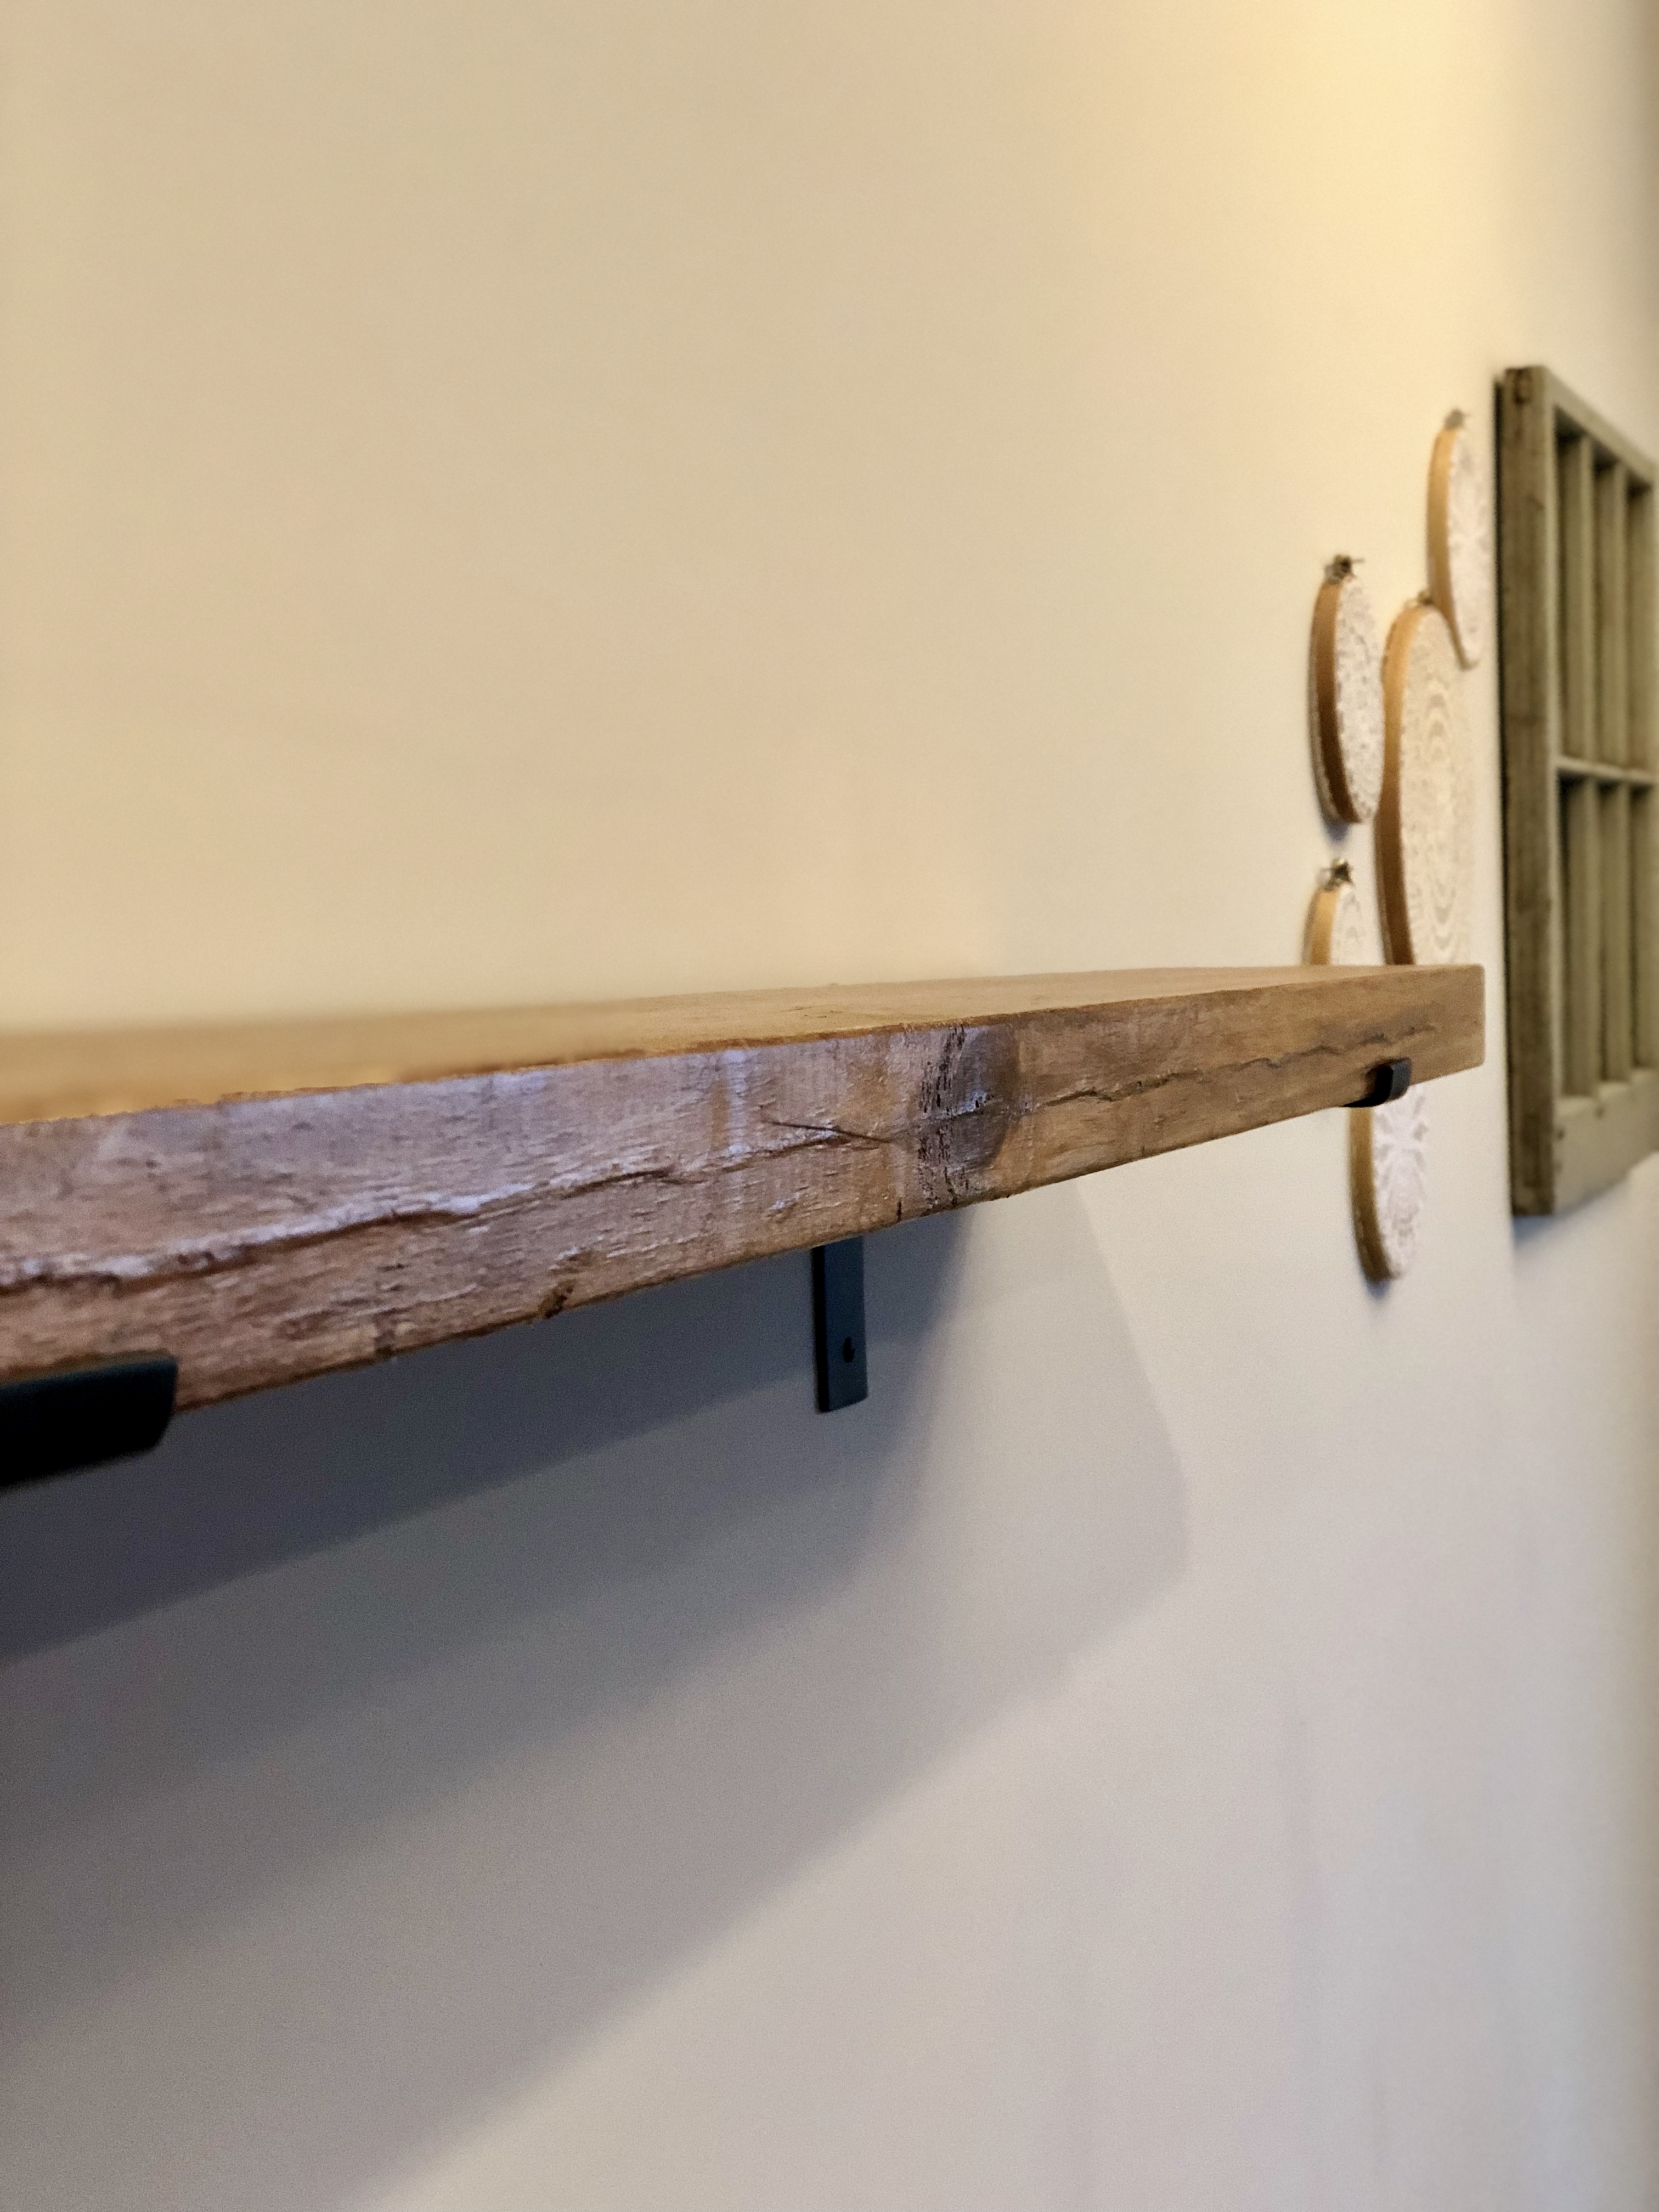
First shelf is up! I used black 2-1/2 inch indoor wood screws that I found at Walmart to secure it in the wall.
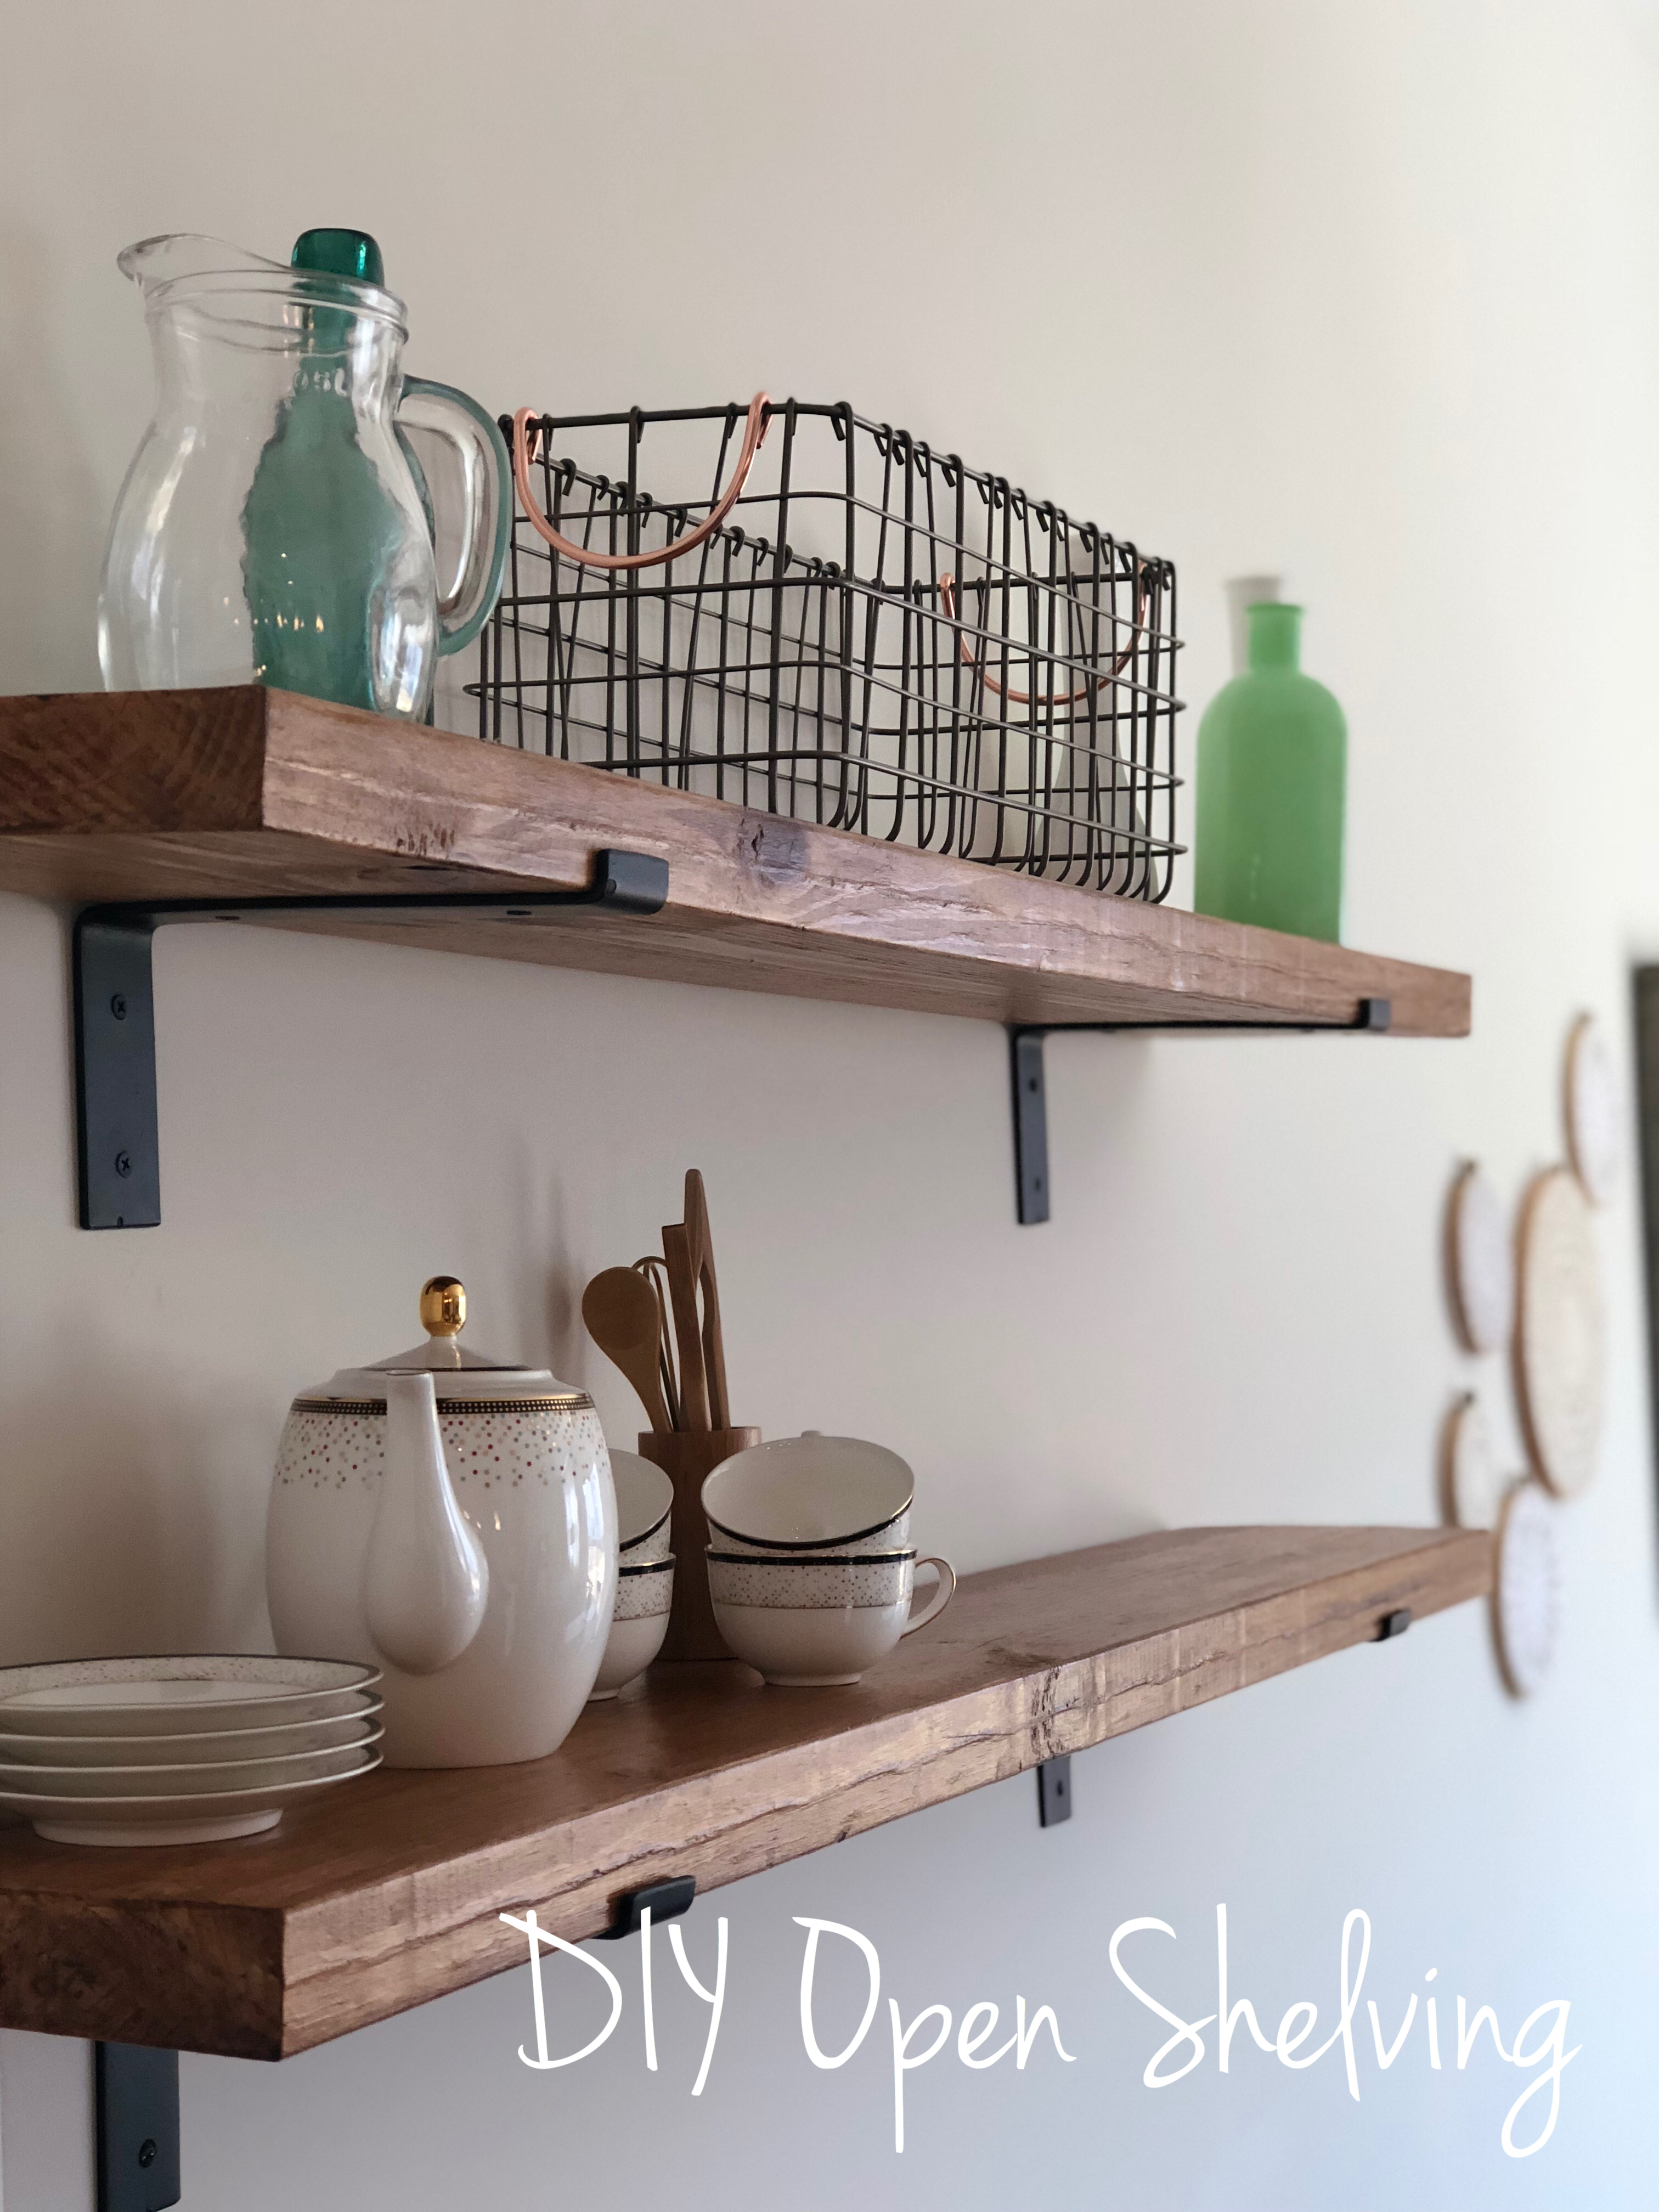
My shelves are spaced about 11 inches apart. I kind of just held it up and figured out where I liked it!
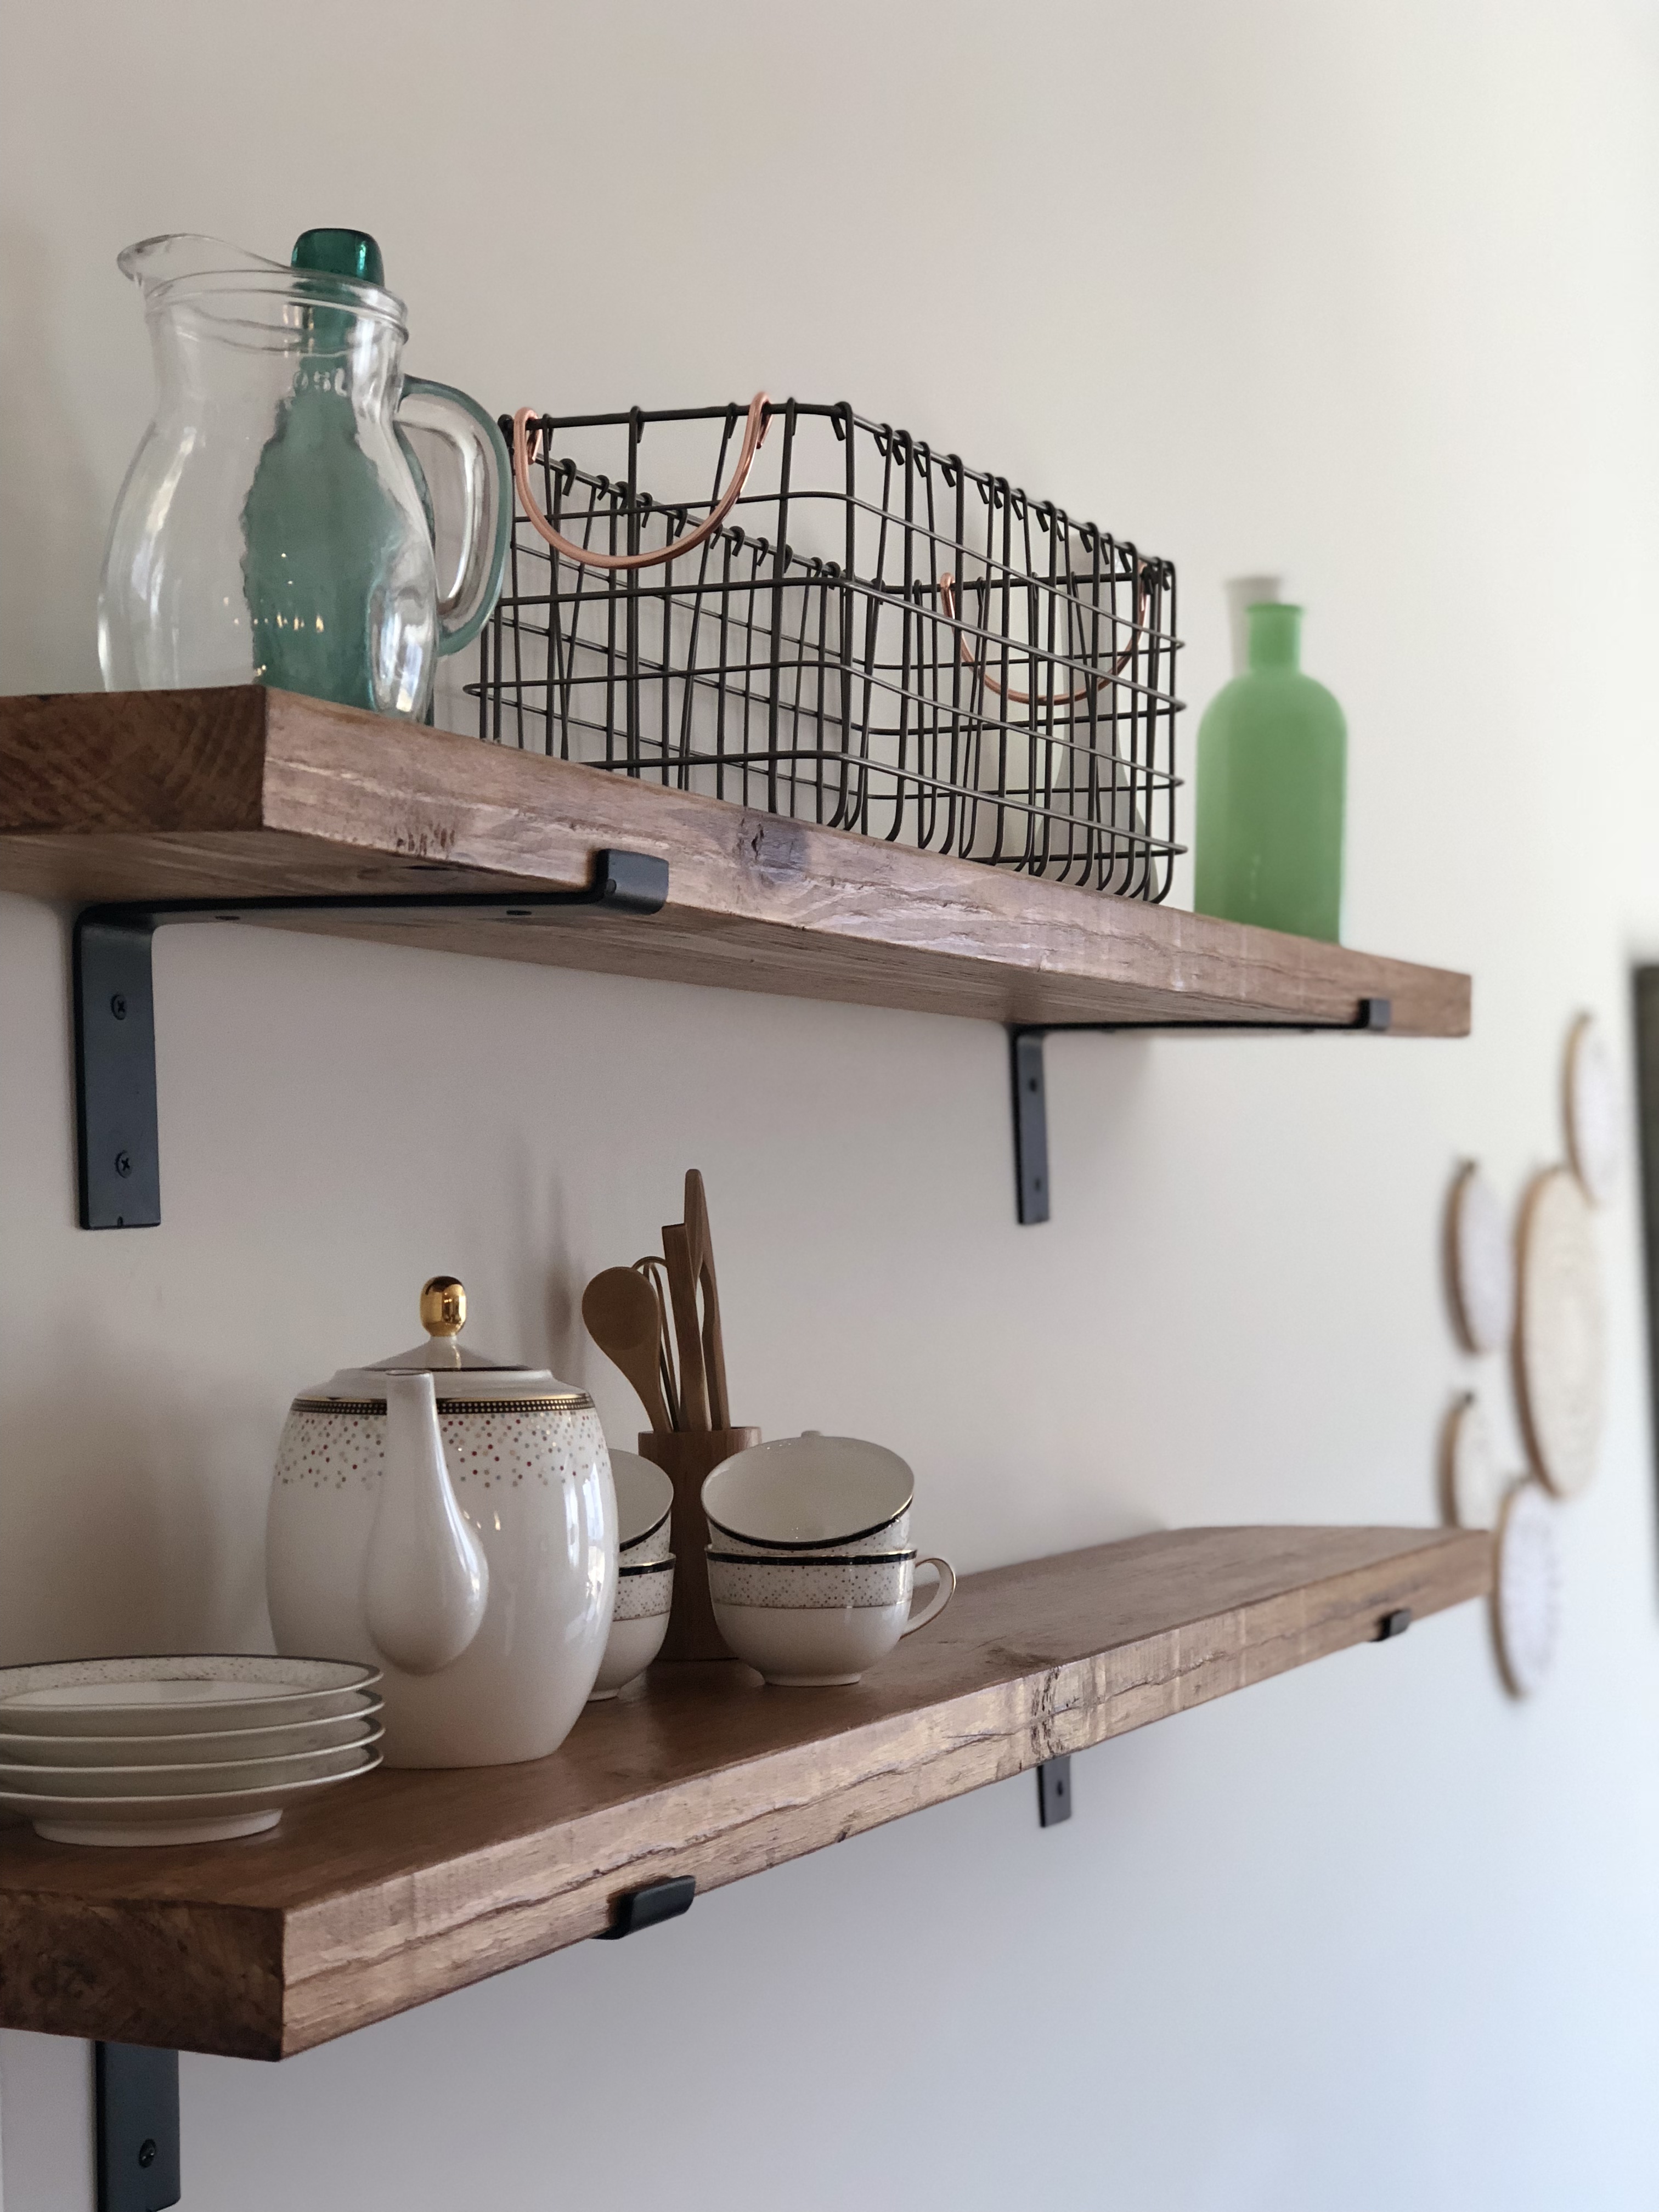
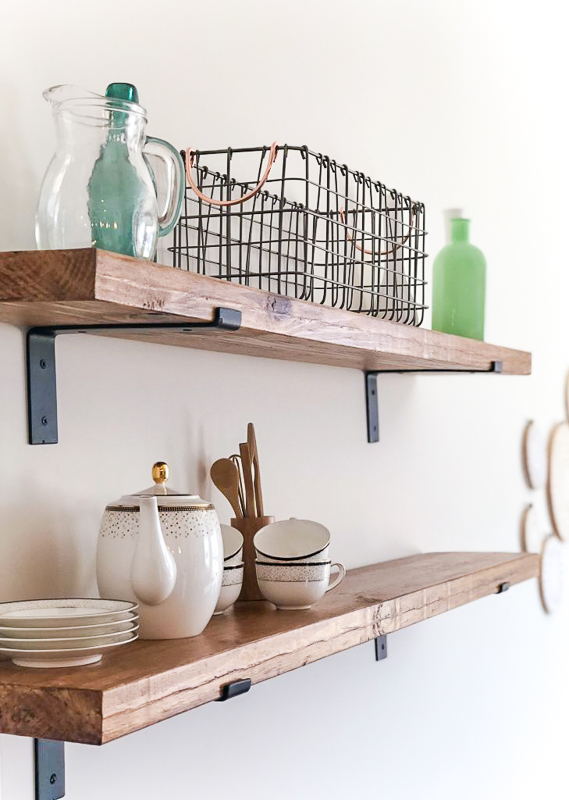
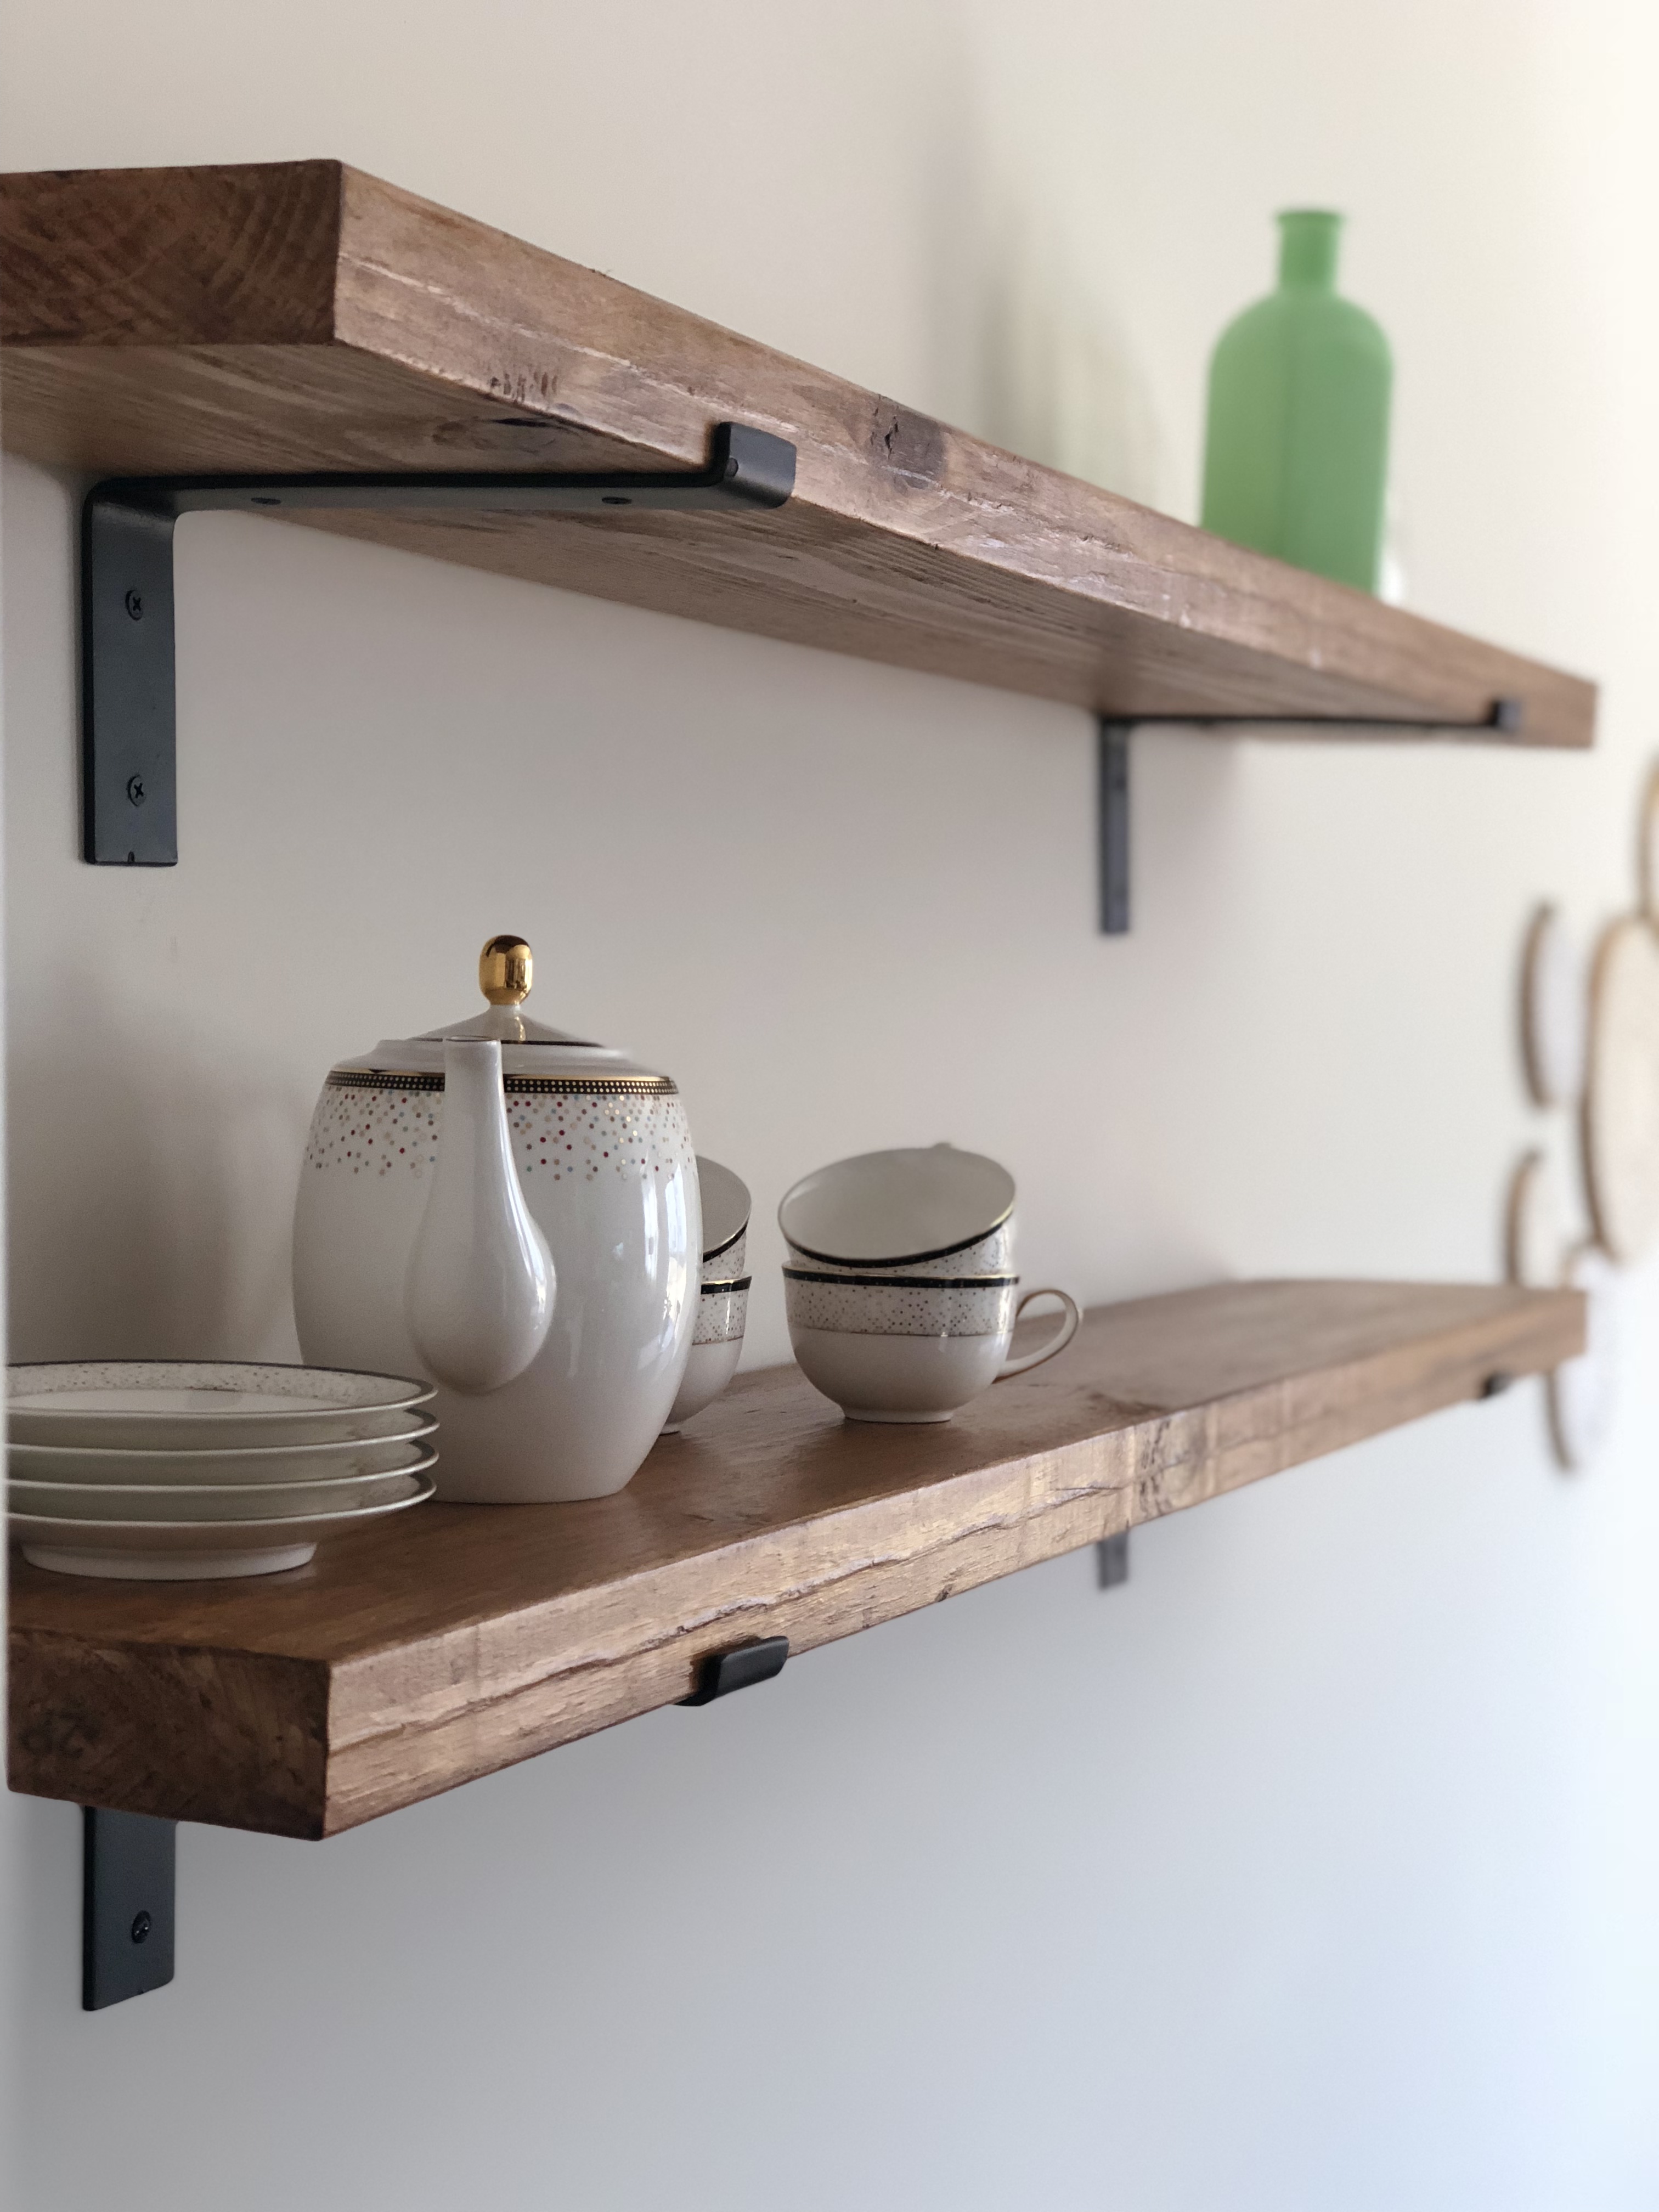
And that’s it! I’m so pleased with how they turned out. They were surprisingly easy, inexpensive, and added much needed character to that wall! Good luck, DIY-ers! I hope you give these a lovely shelves a try!
************************************************************
Thanks, Aubrey! They turned out beautifully! Please let us know if you have any questions about this tutorial!
I hope you have a great weekend!!