Happy long weekend Everyone!
I know my title for this post could be interpreted in two different ways so let me clarify. Today we are not talking about making a physical case to store your window casings (trim) in. I am sharing a step by step tutorial on how to case a window and why I think you should definitely consider doing this project!:-)
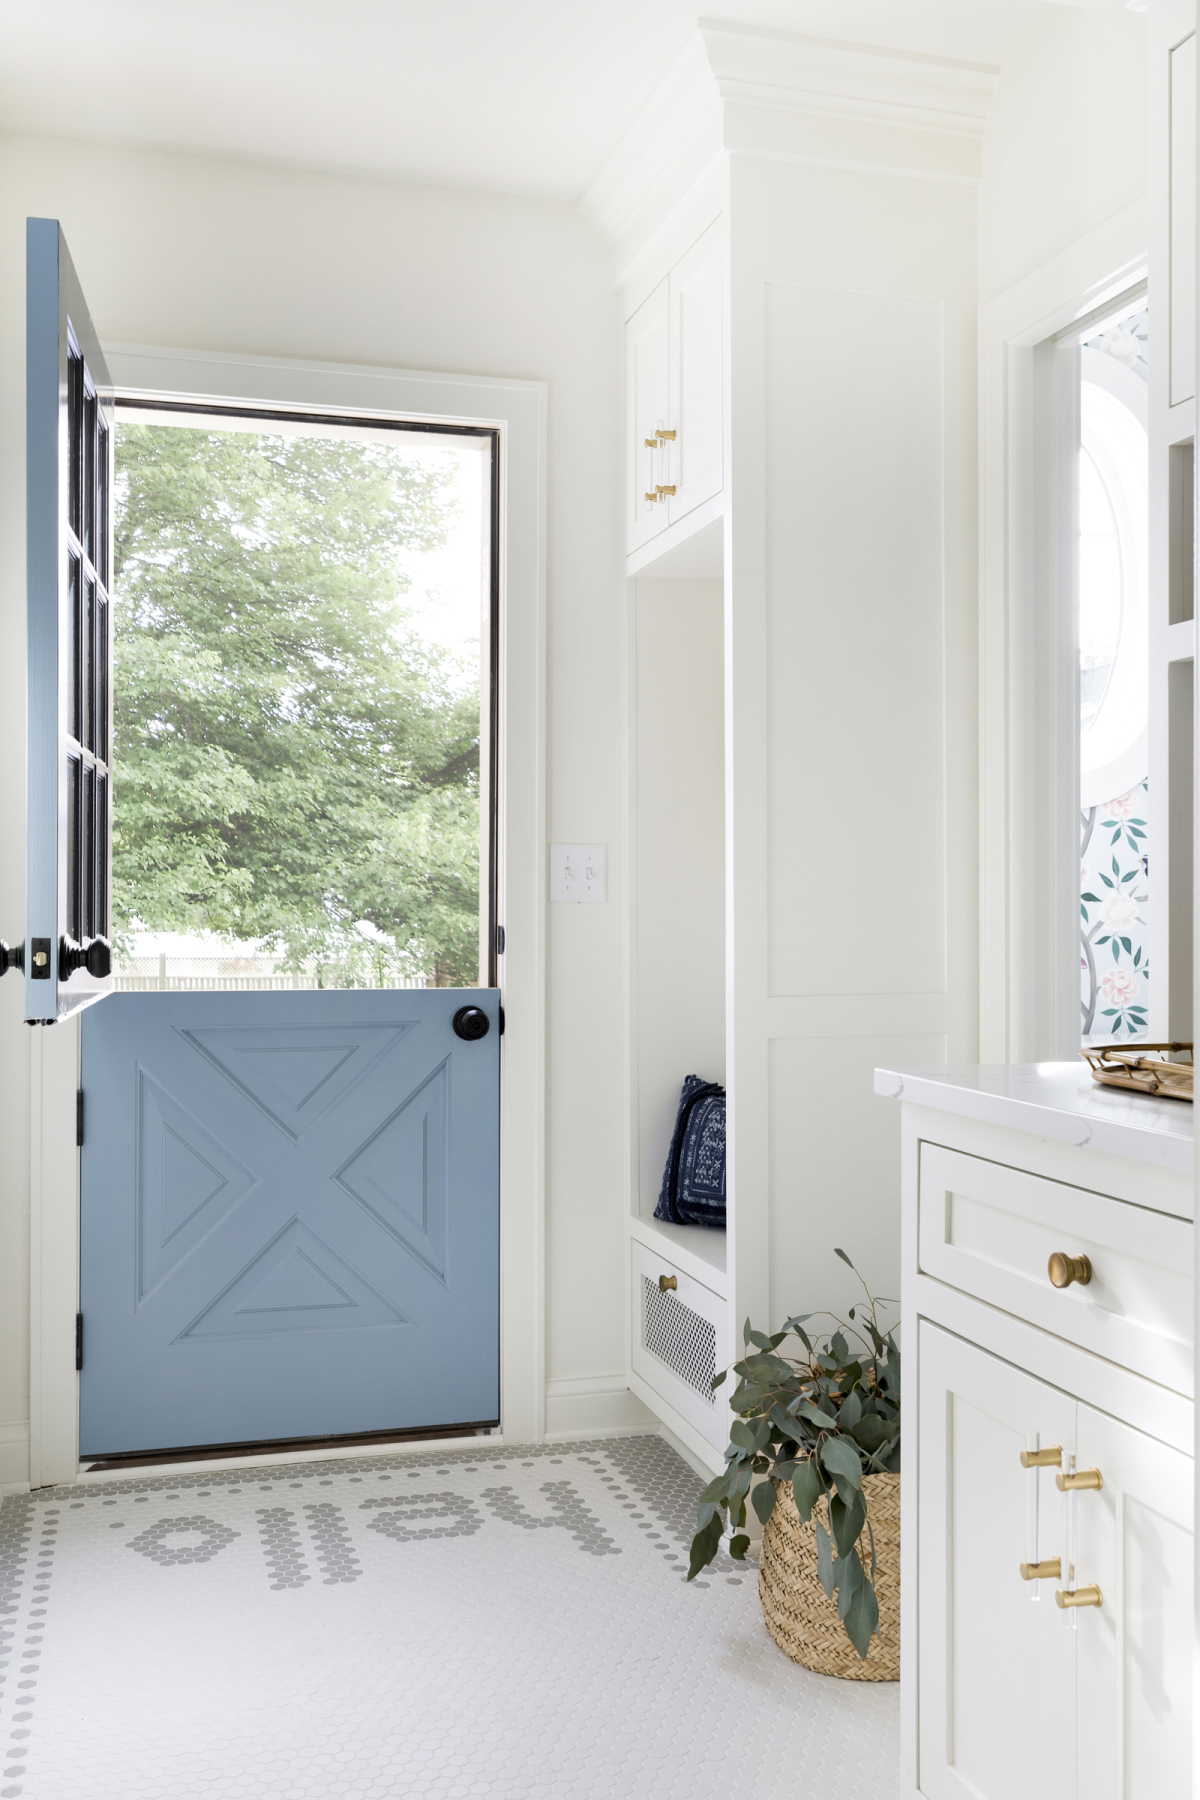
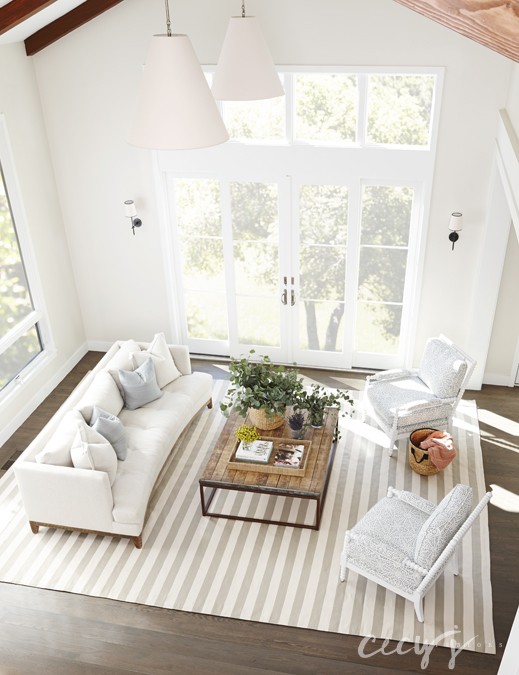
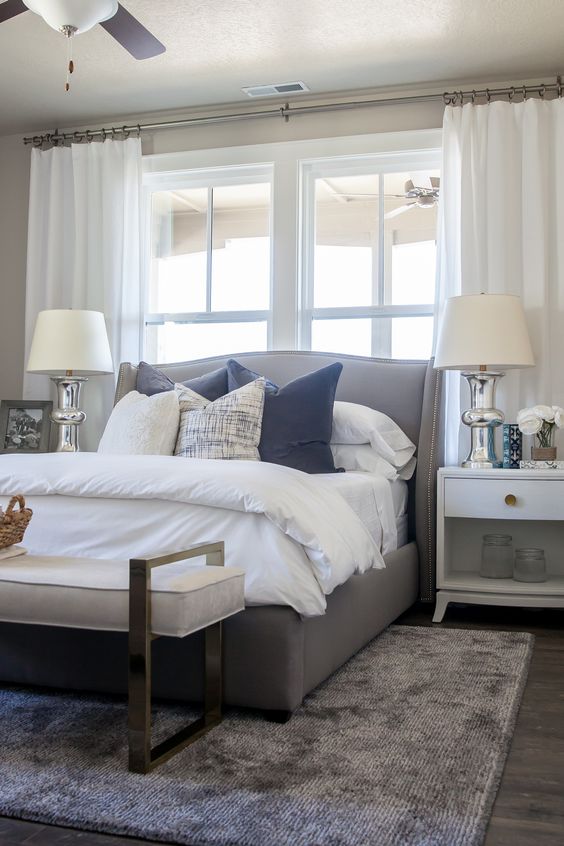
In preparing for this post I looked through all of the interiors I have saved on Pinterest and in my idea books on Houzz and almost every single window (about 95%) had white trim work (casing) around the windows!
via Cecyj Interiors
via Alice Lane Home
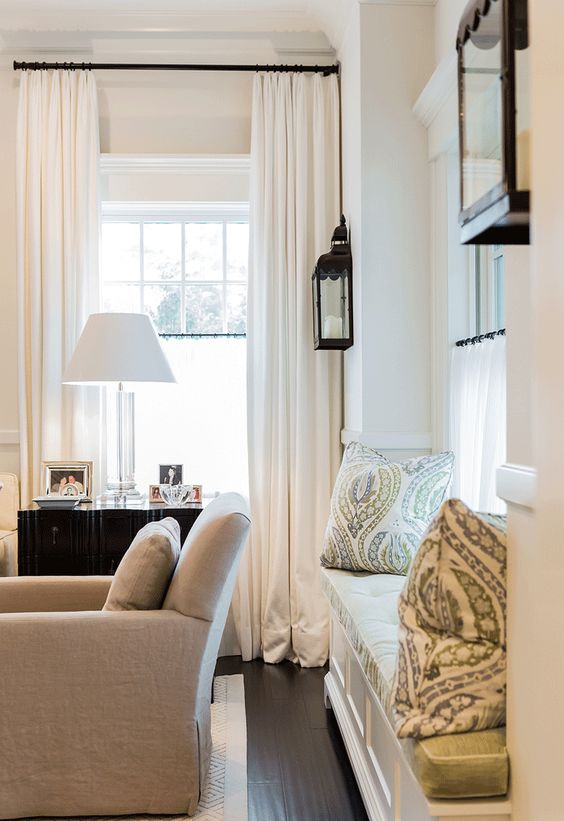
via Brookes and Hill
There is a saying in interior design that states ‘design is in the details’ and this rings true for window casings! Window casings although small in visual weight make a huge impact in the overall feel of room.
They make a room feel more cohesive, more full of character, and more expensive.
This past Spring when I made over my daughter’s room and my master bedroom in 6 weeks I was tempted to forego adding window casings to my master bedroom because I was running out of time (and energy).
I told myself it wouldn’t make that much difference since the walls are so light and I will have drapes covering the sides of the window…the casings won’t even be noticeable I rationalized.
Thankfully a design-loving friend encouraged me to do it anyway and I’m so glad I did because although it may have been a small detail it did make a big difference!
Window Casing in My Master Bedroom

Window Casings In My Daughter’s Room
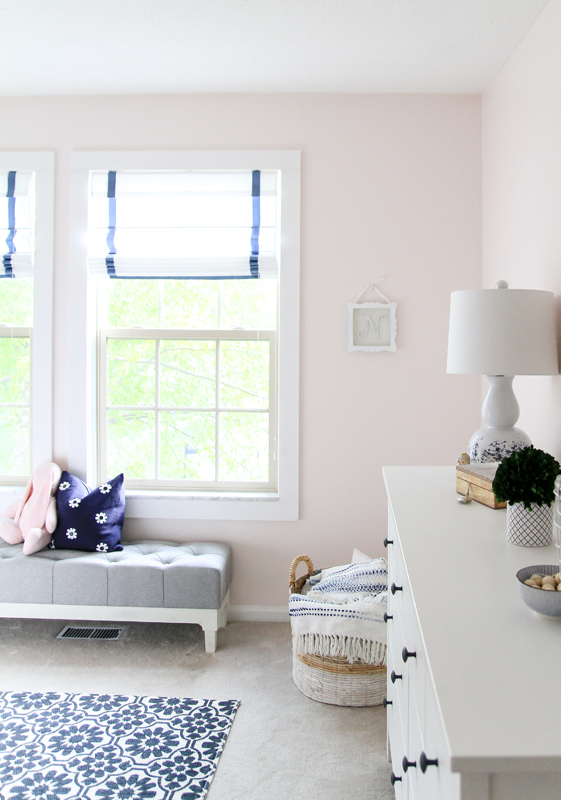
So, have a convinced you yet that window casings (if you don’t have them already) will make a big difference in the beauty and character of your home?:-) I’ve been slowly adding them to my home over the past 5 years (I have 3 rooms left).
The price of this DIY varies but averages around $15 per window and you don’t even have to own a saw.
I’m going to walk you through—How To Add Window Casings to Your Windows (which I did this past week in our TV media room that I’m in the process of refreshing).
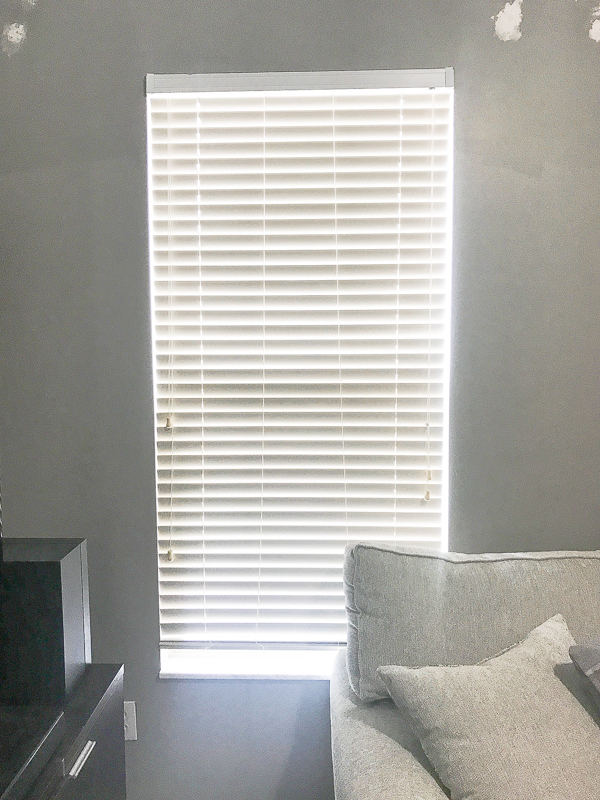
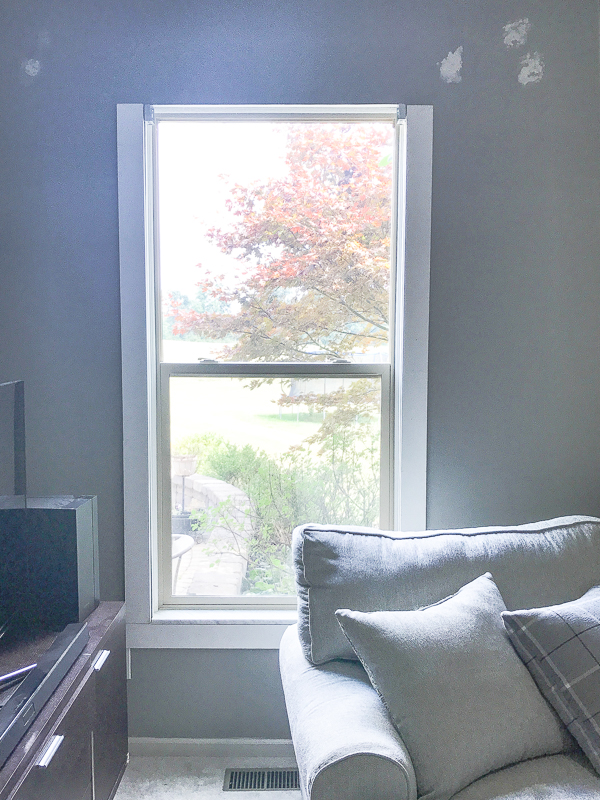
Here is the Before without window casings (the white marks on top are where I patched the holes in the wall after taking down the curtain rod).
STEP 1: Get the Wood Trim. With a measuring tape measure the width and length of your window. My window was 35 inches wide by 68 inches long.
For the side pieces of trim I used 1×4’s and for the top piece I used a 1×6.
For window casings I love using Lowes pre-primed pine wood that they keep at the end cap of their trim aisle. It comes in 16ft. and 8ft. lengths.
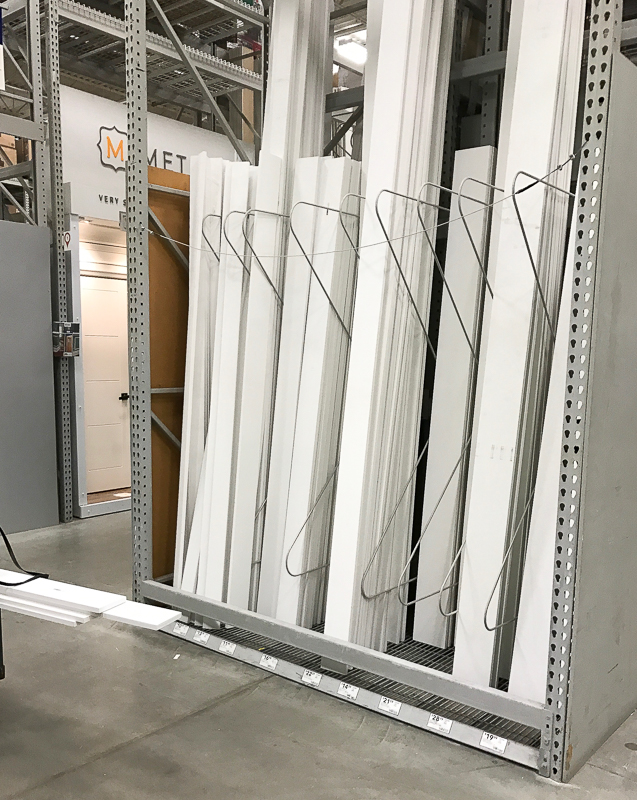
For my window size I only needed one 16ft long of the 1×4 and one 8ft of the 1×6.
Now to determine what measurement to cut the trim. Professionals install window casings 1/4 inch out from the window sill to account for contraction in the wood due to temperature changes.
So to get the bottom and top piece measurement you will do the following formula:
The width of the window sill (35 inches for me) + 1/4 inch allowance on each side (1/2 inch) + the 3.5 inch width of the trim being used on each side of the window (7 inches)= 42.5 inches
Note: Although you would think 1×4’s are 4 inches wide they are actually only 3.5 inches wide and 1×6’s are only 5.5 inches wide.
For the measurements for the side pieces you will do the following formula:
The length of the window sill (68 inches for me) + 1/4 inch allowance on each side (1/2 inch)= 70.5 inches
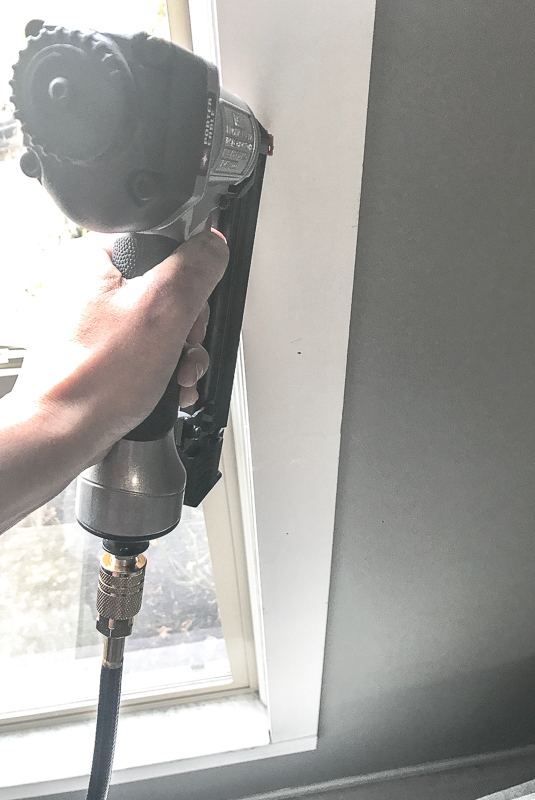
STEP 2: Nail in the Bottom Piece of Wood. Center the bottom piece of wood under the window and nail it in.
If you measured correctly there should be 1/4 of an inch plus the width of the trim hang over on each wide of the window sill.
Hint: Although you can use a hammer and nails it is quicker and easier to use a nail gun. Here is a tutorial (complete with video) showing you how to use a nail gun.
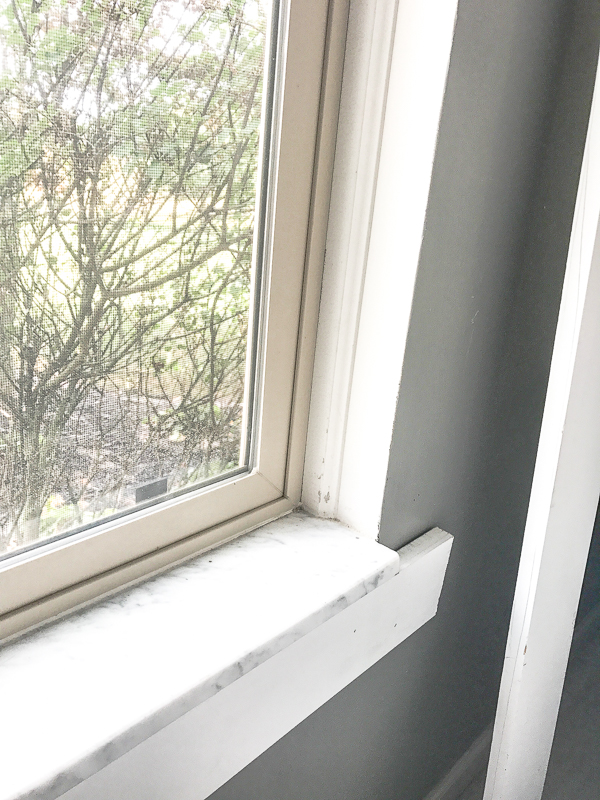
STEP 3: One at a time place the side trim pieces on top of the bottom piece hang over making sure the outer side is flush with the edge of the bottom piece of wood and that there in a 1/4 inch space between the window sill edge and the trim edge.. Then nail into place.
Hint: You can use a level to make sure they are vertically straight.
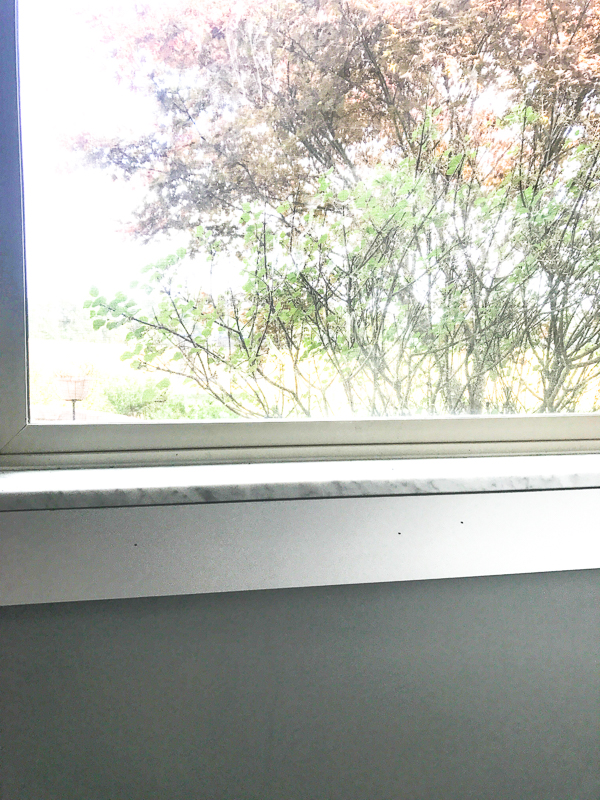
Here’s how it should look so far–good but bald on top!:-)
STEP 4: Nail in the Top Piece of Wood. The top piece of wood should sit flush with the outside edges of the side trim and if possible also have a 1/4 inch space between the window sill the the trim edge.
STEP 5: Apply Caulk and Paint. Apply thin amount of caulk along inner and outer sides of the trim and gently press in with slightly wet finger. Lastly paint. I love using Behr’s Ultra Pure White in Semi-gloss for window casings.
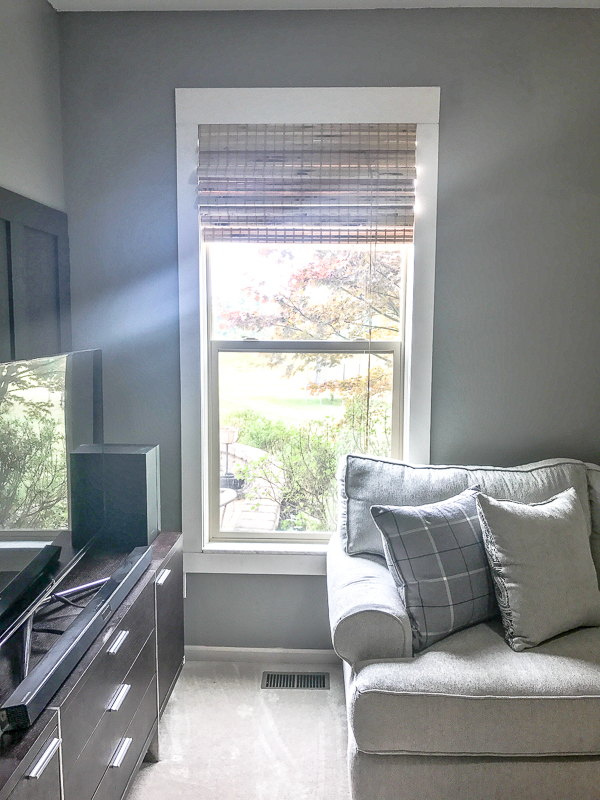
I also switched out our blinds with this wooden roman shade.
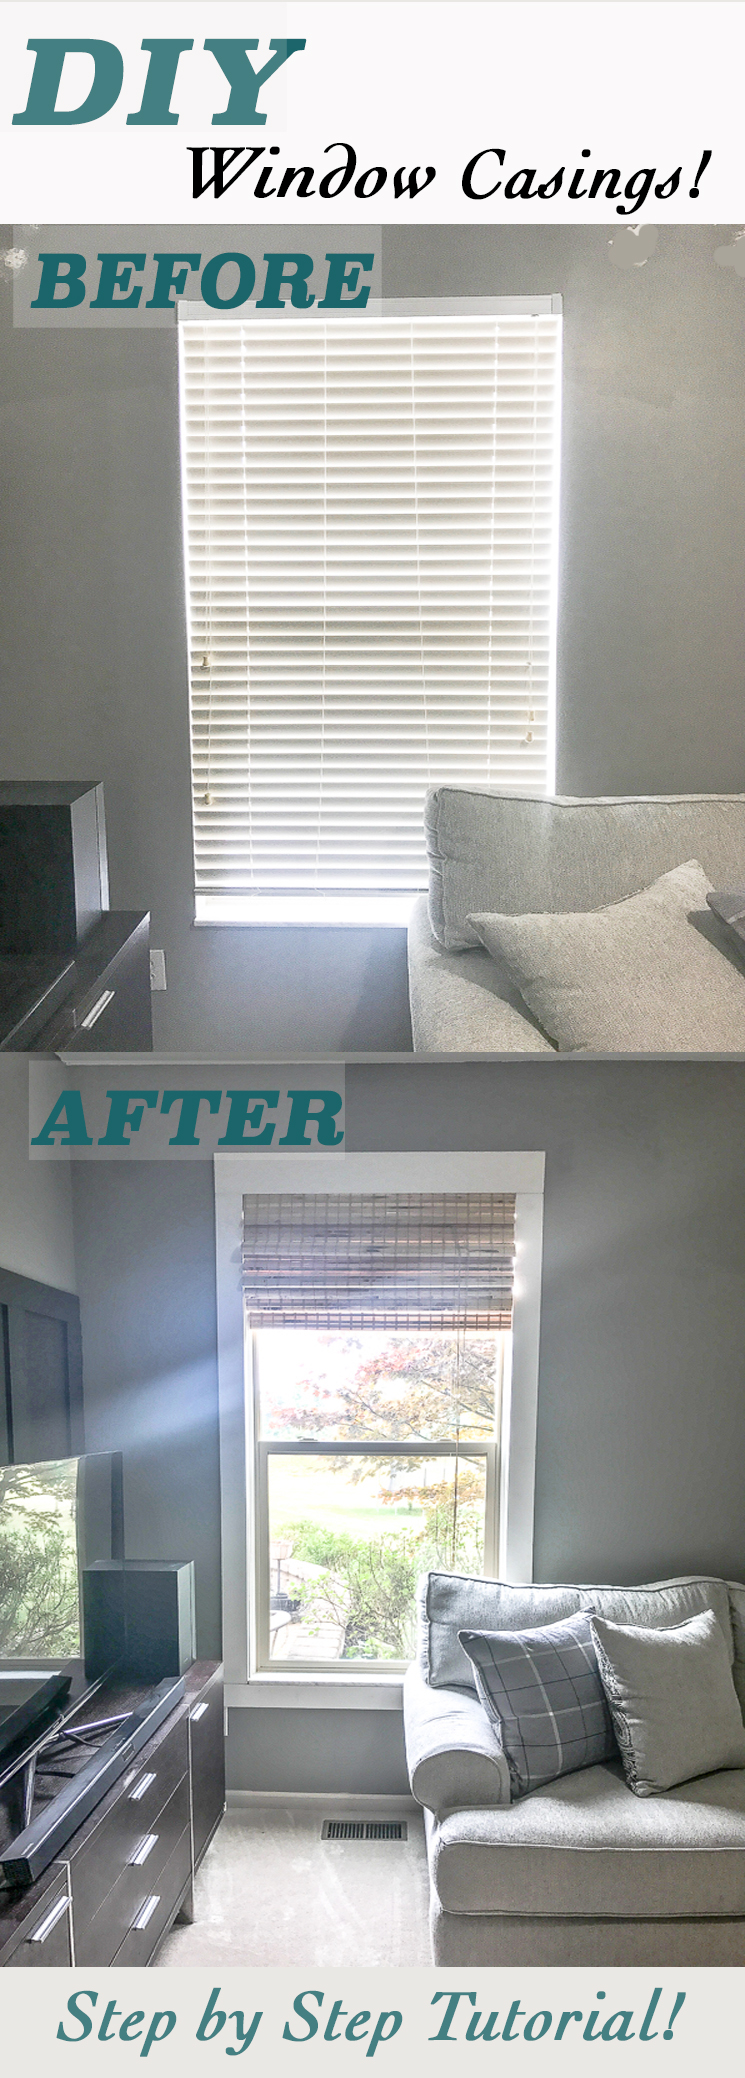
Big difference, right?
I will be sure to show you the media room after when I’m done with the refresh!:-)
Let me know if you have any questions about installing window casings and thank you for following along!!
Have a great rest of your weekend!

Related Posts From the Blog:
 DIY Brinkley Beveled Mirror Knockoff
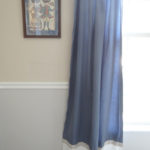 Design 101- Decorating with Heirlooms & Antiques
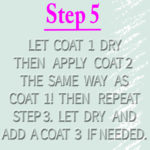 Everything you Need to Know about Painting a Room!
 Boys Bedroom Makeover Reveal
 24 Arm Chairs Under $250
 Design 101- 8 Tips to Becoming a Bookshelf Styling Pro
 Master Bedroom and Girl’s Bedroom Makeover Reveal!
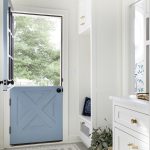 Thursday 5 DIY