Happy Friday!! I hope you’ve had a great week! I first want to thank all of my local followers who entered to win a free ticket to this year’s BIA Parade of Homes. I wish all of you could have won but such is life. Winners were randomly selected and are as follows Debbie Y., Phyllis H., and Jennifer J.
If you won please email me your address at providenthomedesign@gmail.com and I will mail you your ticket!
For over five years now I have been working on making our builder basic (and a bit outdated) house a home that custom fits our family’s lifestyle (click HERE for my home’s before and afters). Some of those changes have been functional but also many have been solely for aesthetic purposes.
Most of us are not lucky enough to have had our home custom built for our family and our specific tastes. It may take a little elbow grease to slowly make your home a place you feel reflects your family and that brings you joy but I can promise you it will be worth it!
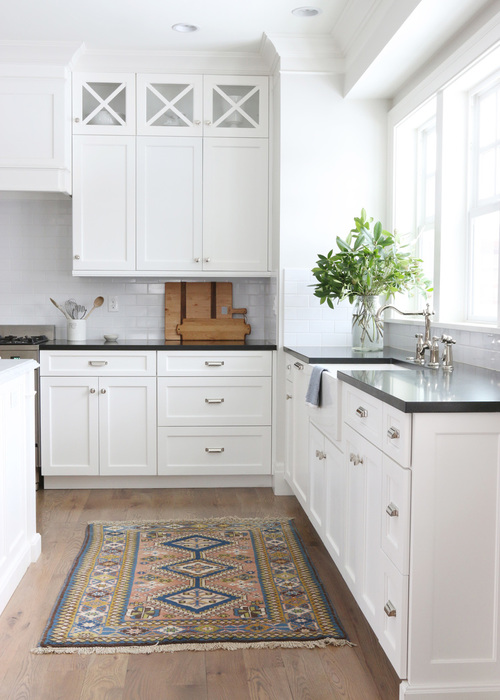
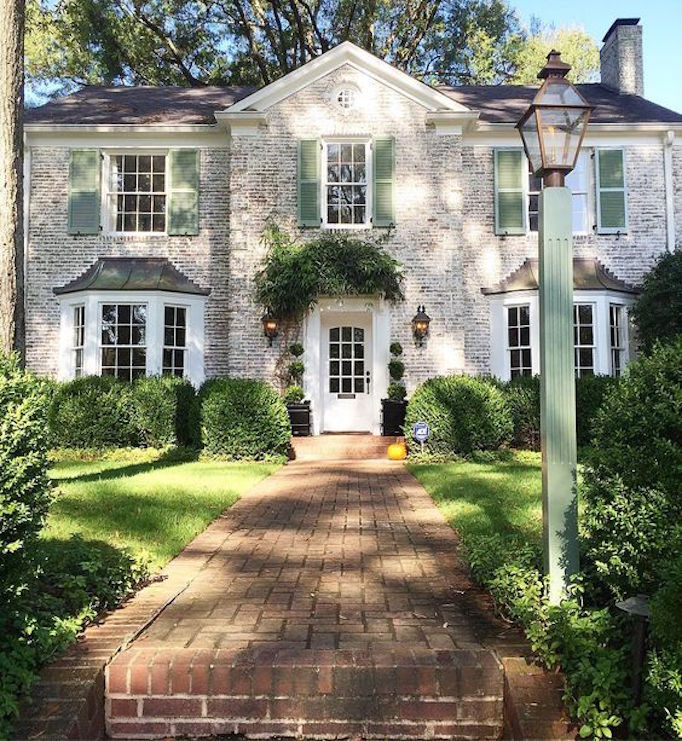
For a long time I’ve coveted admired homes with brick steps that lead up to a brick porch. I feel it gives a home a classy, timeless, welcoming vibe with mucho character!
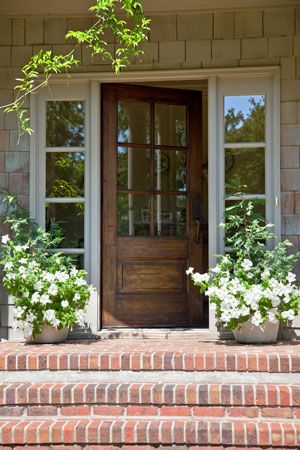
Victoria Magazine via Pinterest
Source: Unknown (pls. let me know if you know so I can give proper credit)

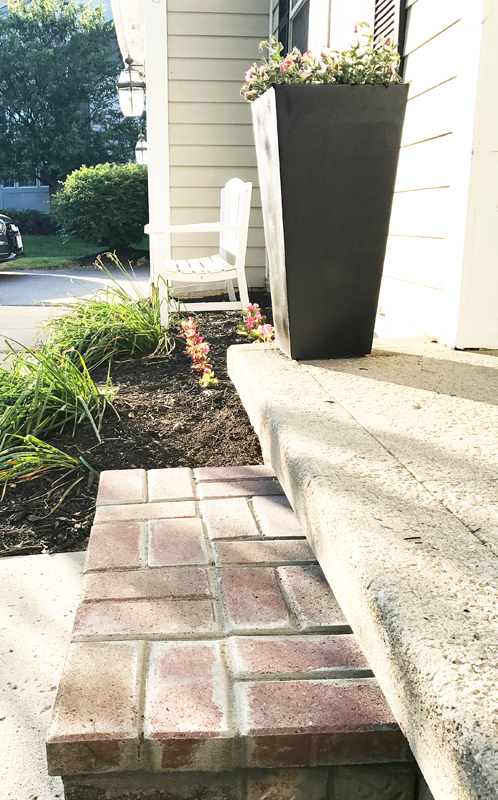
Our home came with a concrete porch and no step. I recently shared how I built a brick step in THIS post!
However, I wasn’t quite sure how I could make my porch brick since it was already concrete. After searching around on the internet for answers I came across a brick veneer option (Old Mill Thin Brick Systems) that I could adhere to my current porch surface.
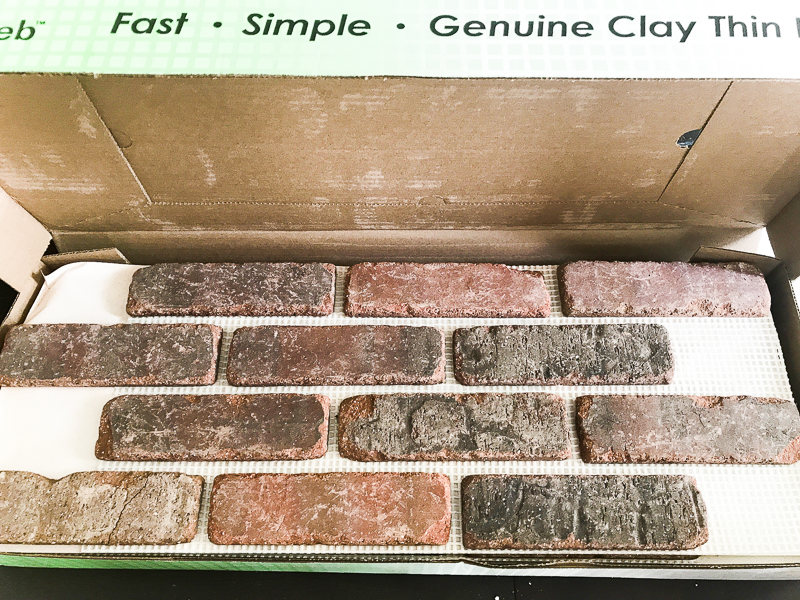
I loved this option because it came already pieced together in 28 in. L x 10.5 in. H sheets which meant less work and more professional results.
I chose the Castle Gate color blend but there are several other color options. You can buy them online from Home Depot or Amazon and they can be used indoors and outdoors and on walls or floors.
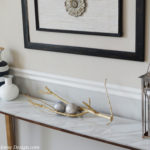
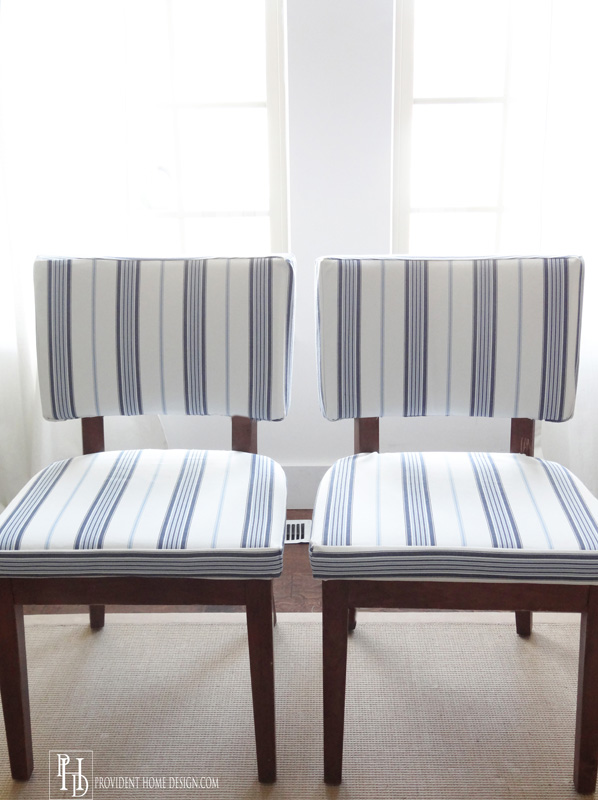
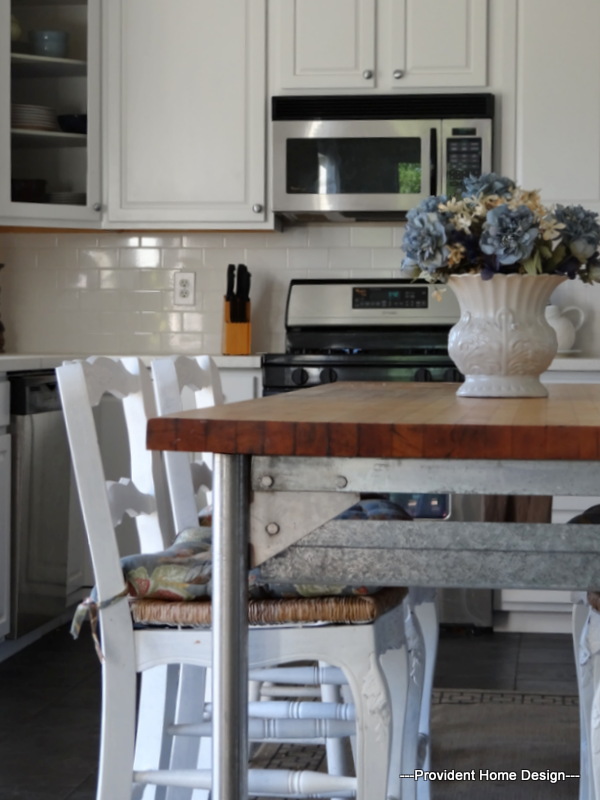
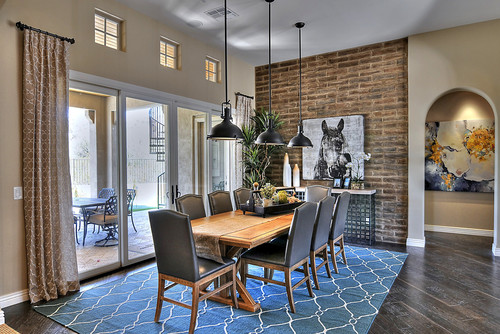
I love the character and interest brick brings to this dining area (and white painted brick accent walls are all the rage right now)!
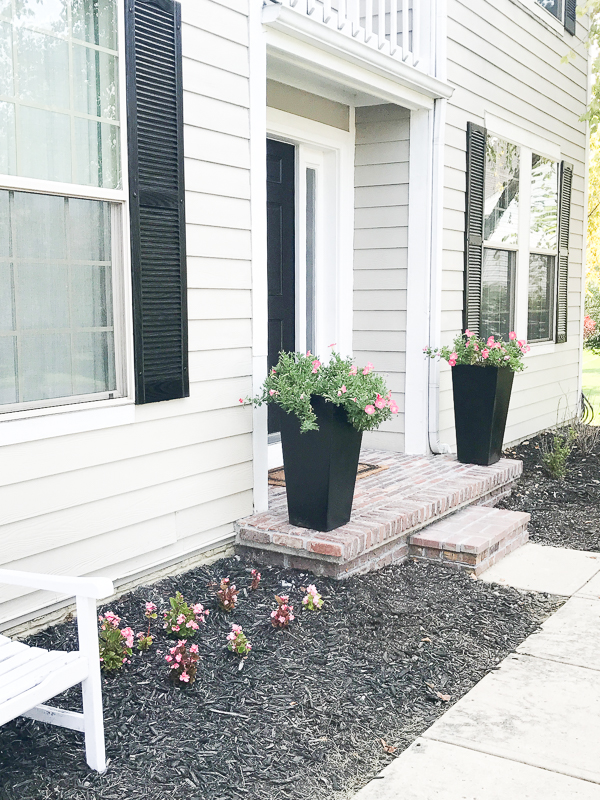
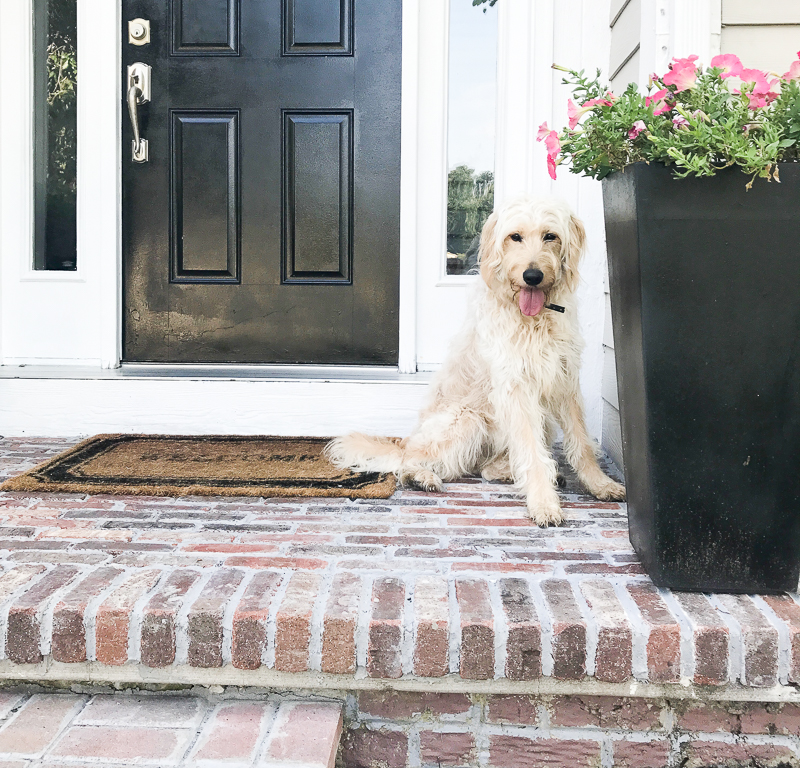
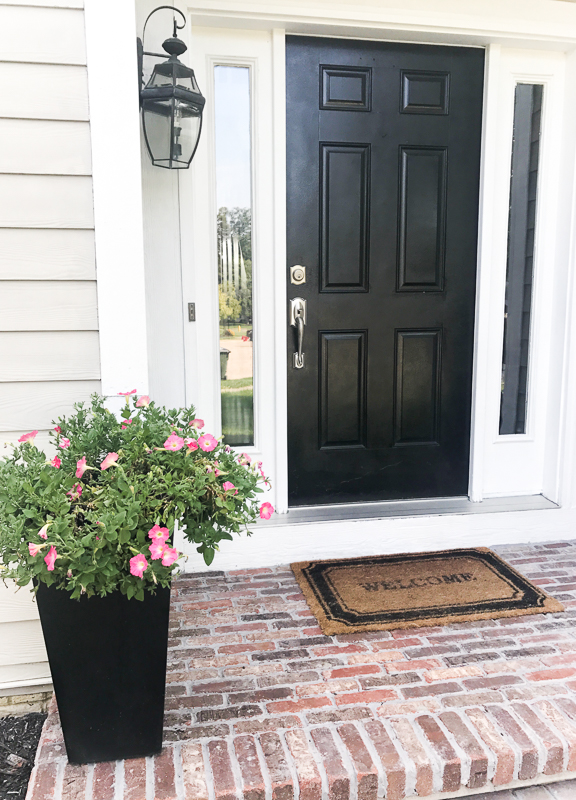
Here are my results (makes me want to paint my house white even more)!!
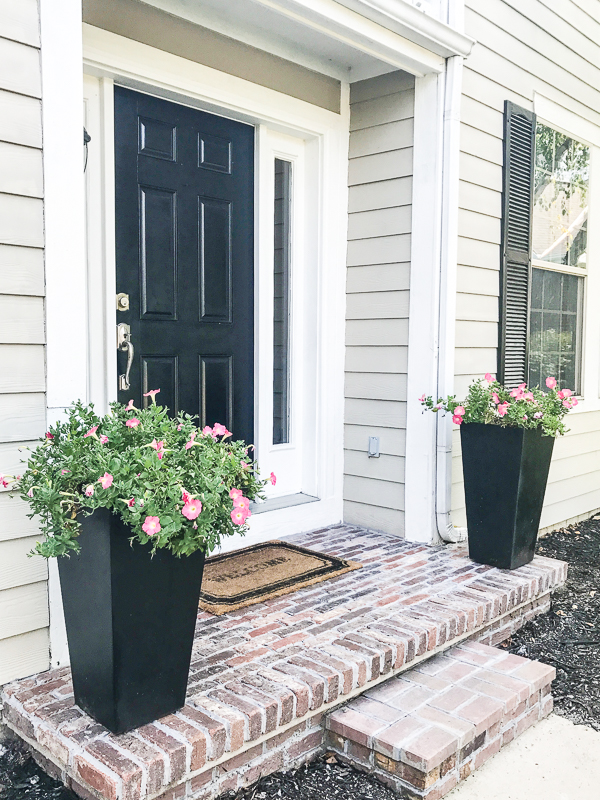

SO, do you want to see how it’s done?
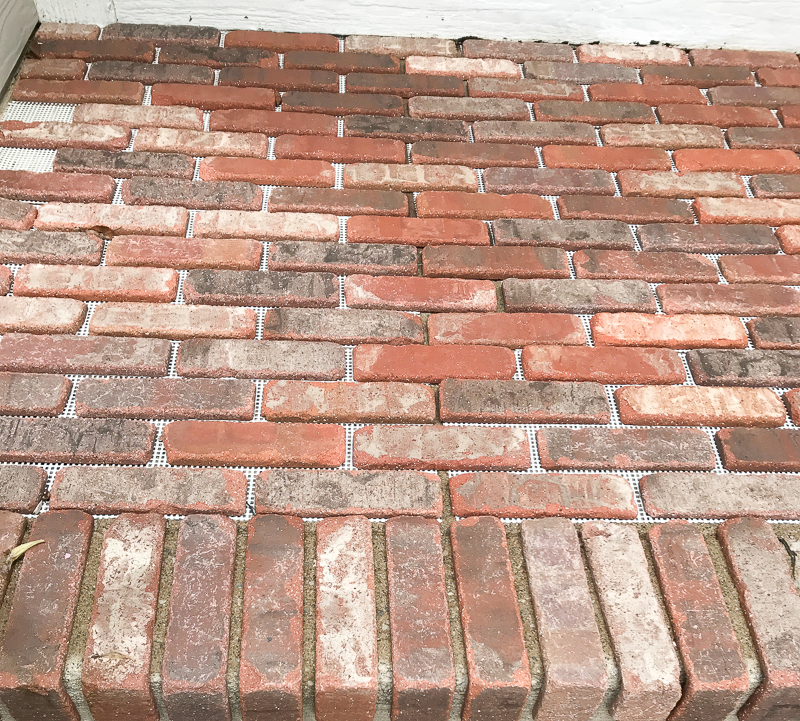
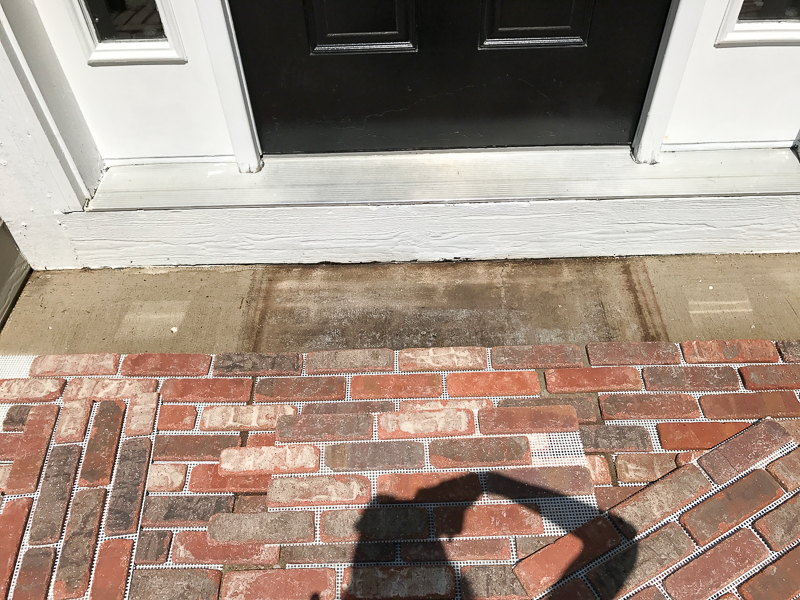
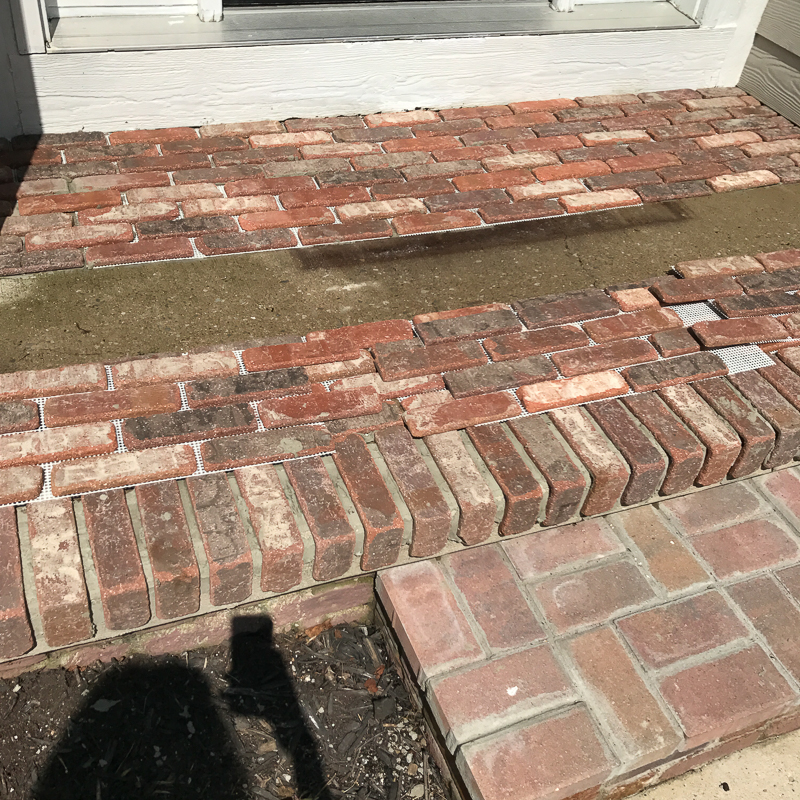
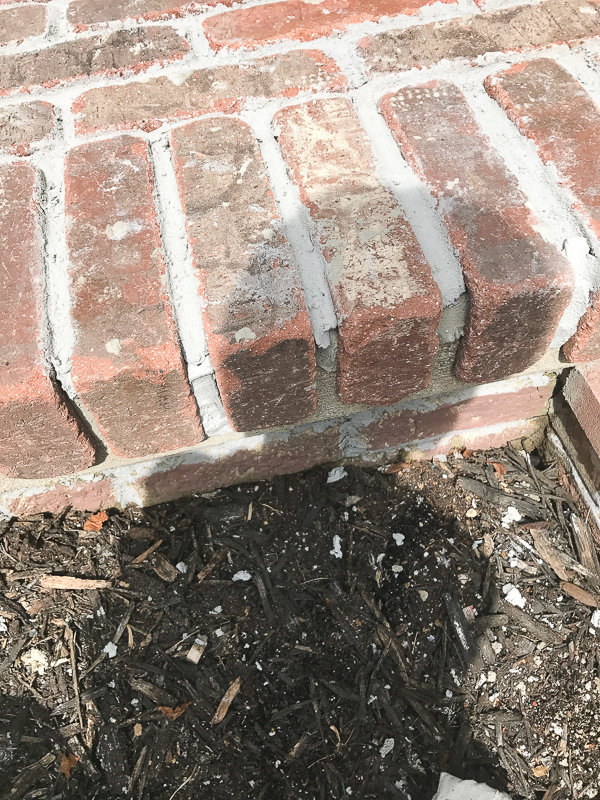
STEP 1– Layout the bricks how you want them. As you can see at the bottom of the pic below I used their corner pieces to vertically hang over the lip of the porch.
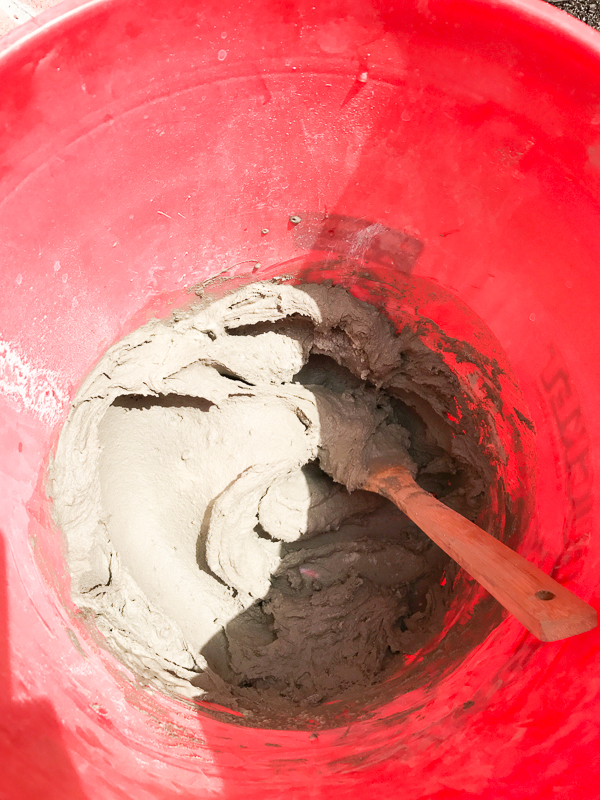
STEP 2- Next make the adhesive mixture which will stick the bricks to the surface.
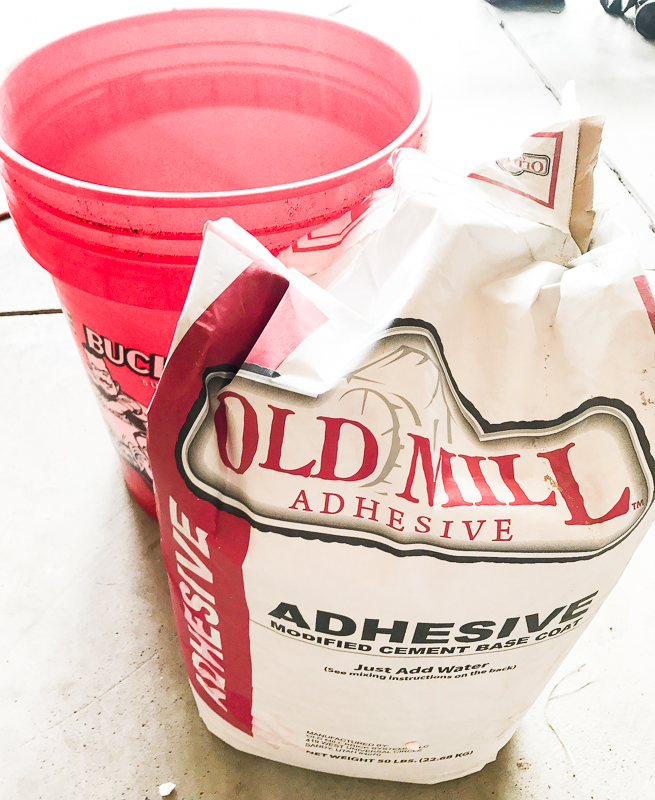
You do this by pouring the Old Mill Adhesive into a bucket. Make sure to wear sturdy rubber gloves when working with adhesive as it can be harmful to get on your body.
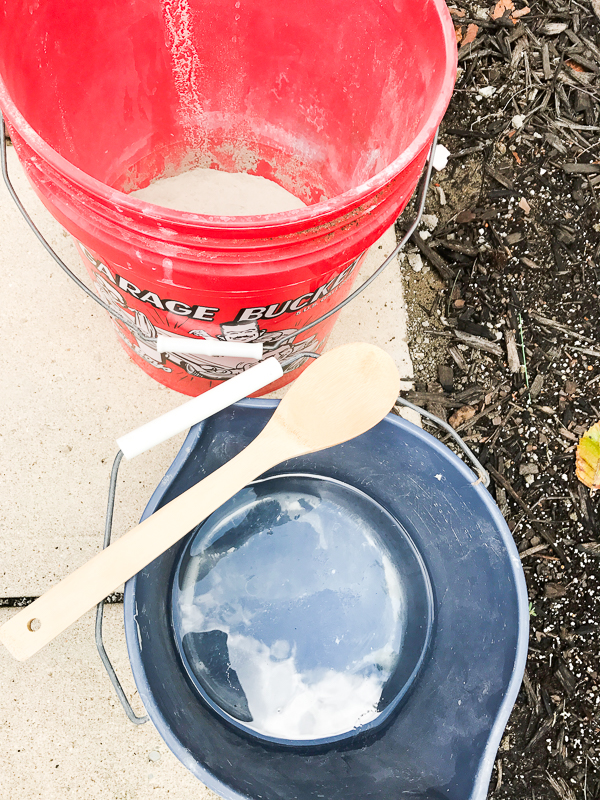
Then slowly stir in water until it becomes the consistency of toothpaste.
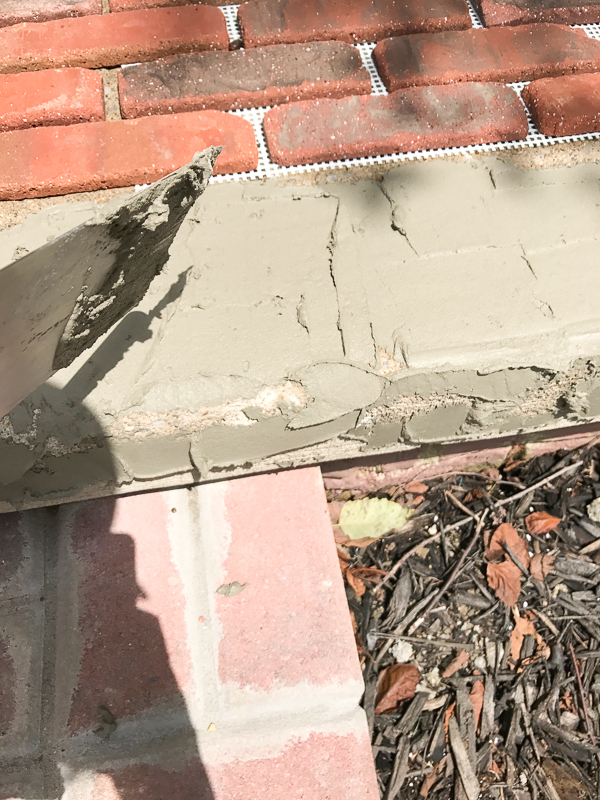
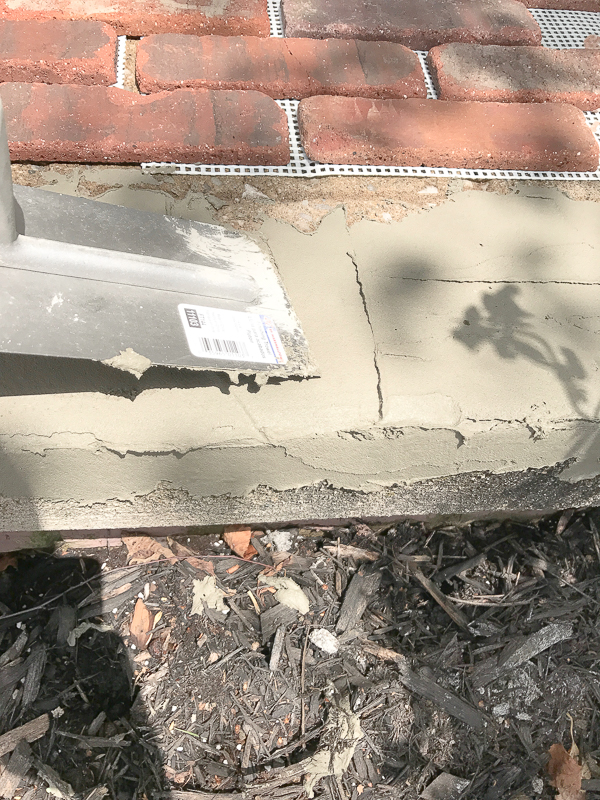
STEP 3- Pick an area to start. I started with the corner pieces. Use a trowel to place the adhesive on your surface and smooth it out.
STEP 4- Firmly place the bricks onto the adhesive.
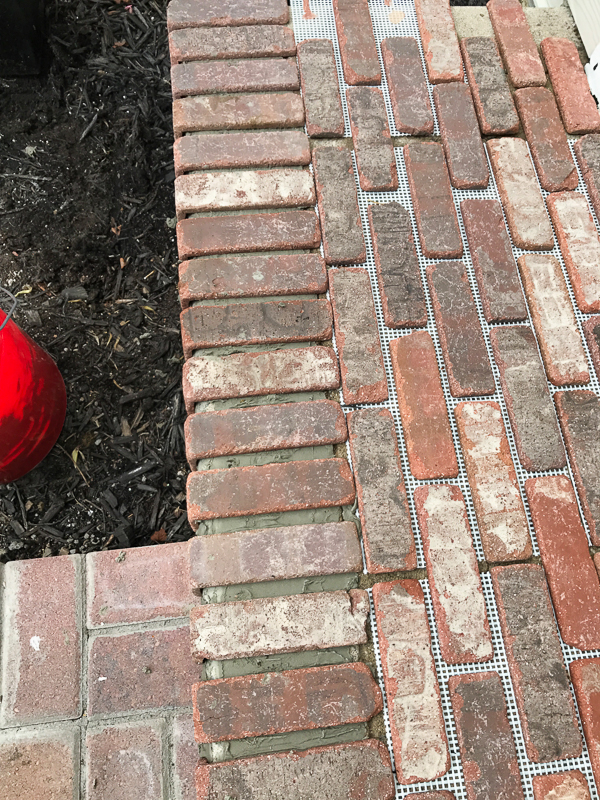
STEP 5- Continue Step 3 and 4 until you have adhered all of the bricks.
When you get to the ends of the floor or wall you are doing it is likely that you will need to make cuts to the bricks so that they fit correctly. You can borrow a wet saw like I did or purchase one HERE (affiliate link). Wet saws are super easy to use (you can check out this video tutorial).
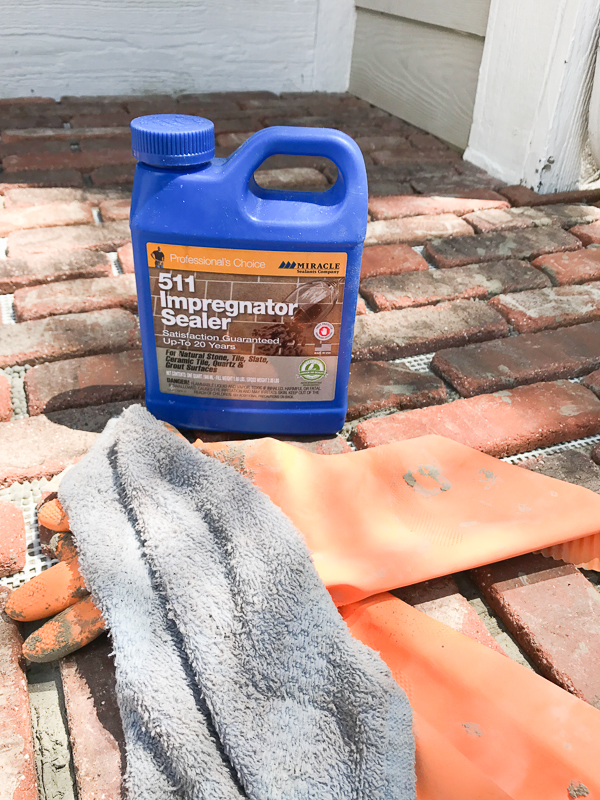
STEP 7 (optional)- Once all of the bricks are adhered (you’ve given them enough time to dry and be stuck) you may want to use a sealer to protect the bricks.

Bricks are fairly porous so sealing them may help prevent staining or other issues in the future.
STEP 8- Now it’s time to grout! Again make sure to wear sturdy rubber gloves when working with grout as it can be harmful to get on your body.
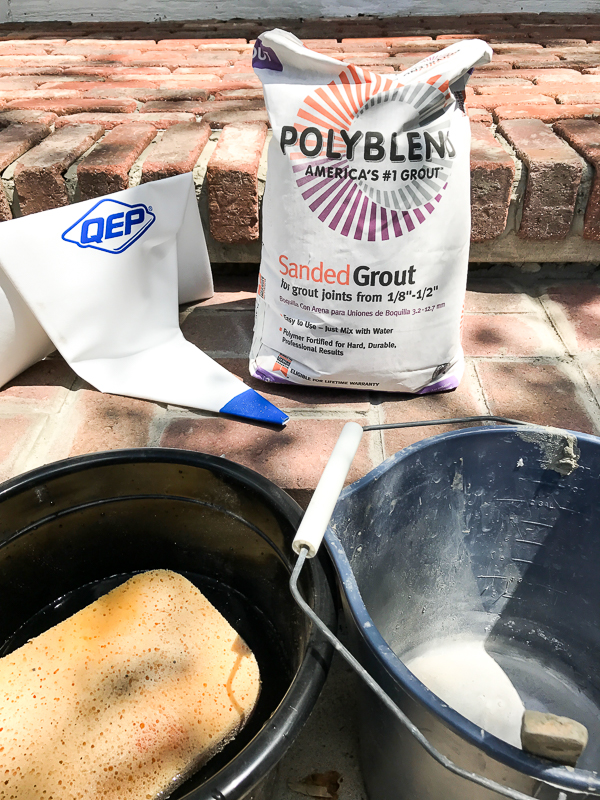
For this part you will need Sanded Grout (you can buy it powder form like below and then mix it with water just like in Step 2 with the adhesive OR you can buy it pre-mixed for a little more money).
You will also need a grout bag (affiliate link) and a bucket of water and sponge nearby.
Fill your grout bag mostly full with your grout and squeeze the bag so that the grout comes out of the tip of the bag (you may need to use scissors to cut the opening at the tip of your bag a little bigger). If you have ever iced a cake this process will feel very familiar!:-)
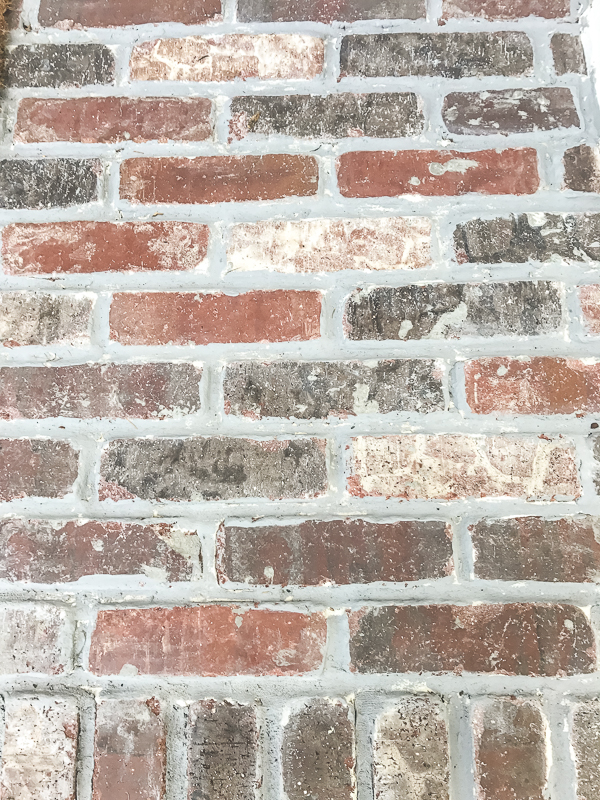
Fill the the gaps between the bricks with grout as seen below.
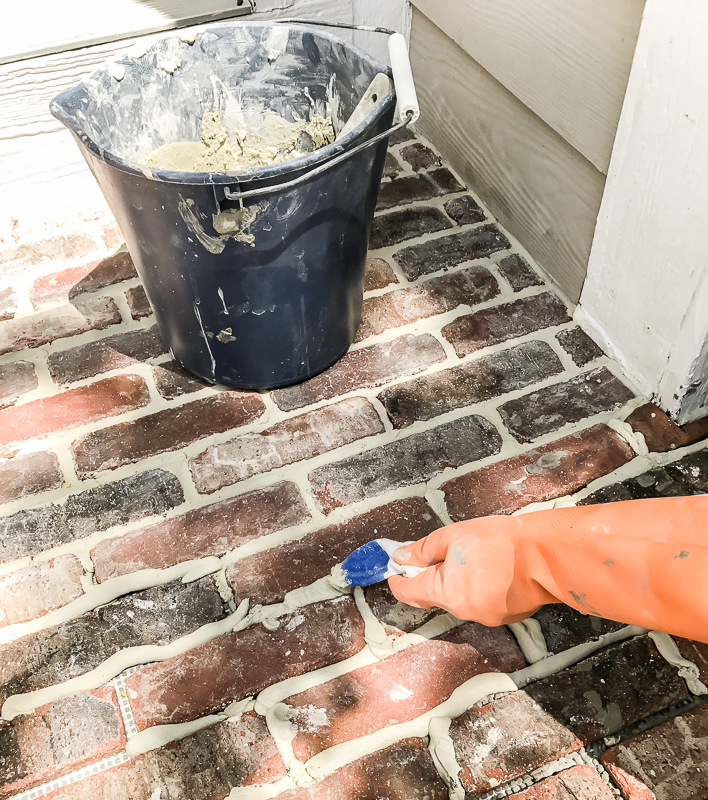
Let the grout dry for about 5-10 minutes before going through the grout with a wet (gloved) finger. Use your finger to smooth the grout out.
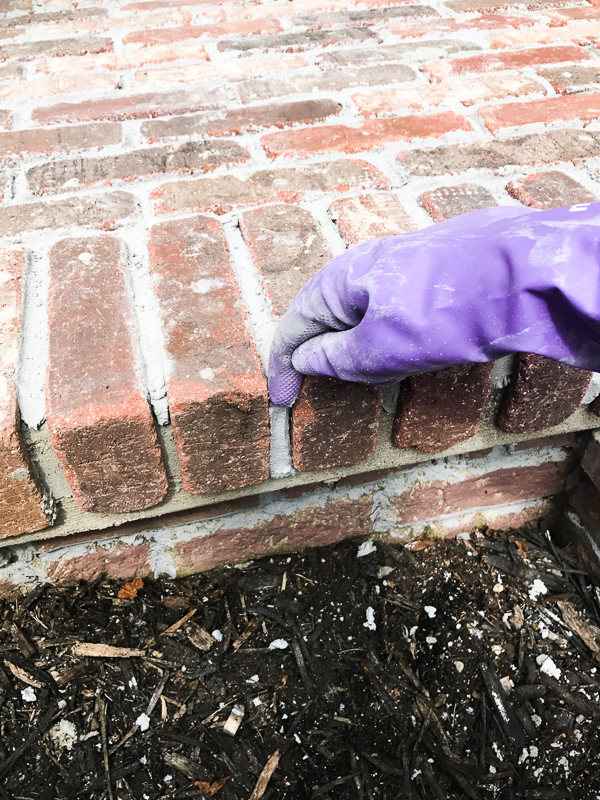
Make sure to work in sections so that the grout never dries so much that it can’t be smoothed out (the picture below is after I had finished two sections). Wipe away grout that gets on the brick right away with water and a small sponge (the normal larger sponge smears the grout too easily).
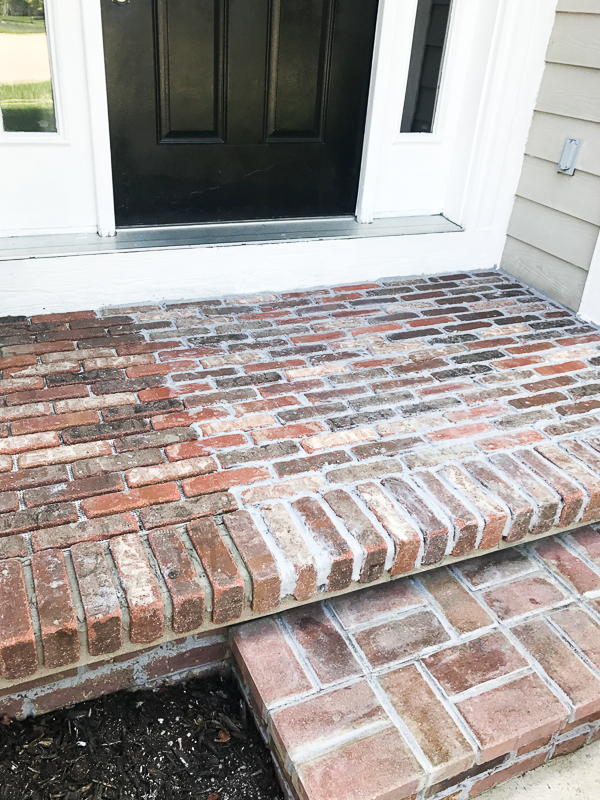
Keep going until you are done!
I’m really happy with the results. I got a little messy with the grout but I think it just gives it more character!:-).
For my porch size (which is about a 4ft. x 8ft. space) I used 3 boxes of the brickweb thin bricks and two boxes of corners just to be safe. Also, the grout color I used was Polyblend’s Delorean Gray (affiliate links).
I’m very grateful to Old Mill Bricks for providing me with some of the supplies for this project so that I could share this tutorial with you! As always don’t hesitate to let me know if you have any questions!!
I hope you have a wonderful weekend!