Hello! I hope you’ve had a great week so far! I dropping in today to share some of the progress I’ve made on the two rooms I’m making over for the One Room Challenge!
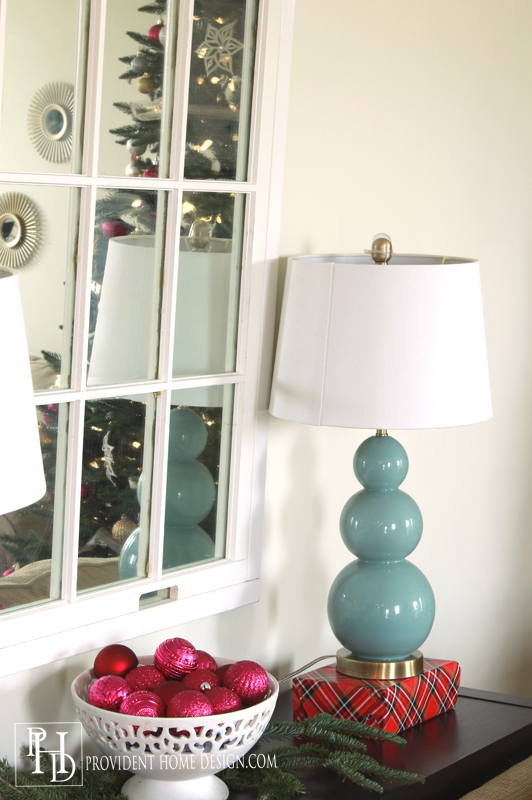
First I wanted to share a lamp makeover I did. I have had these matching lamps for years that I bought from Homegoods for my family room sofa table.
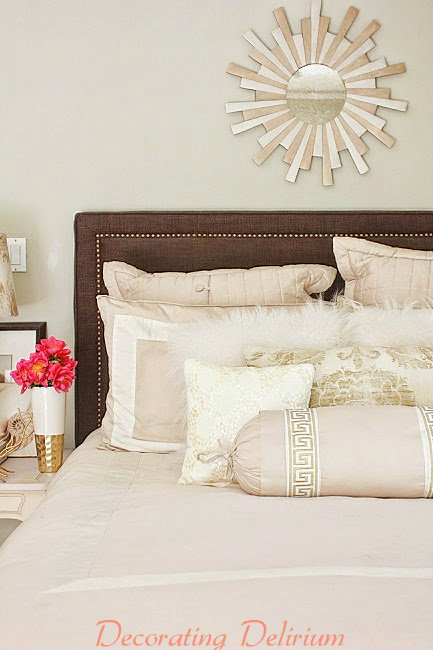
Although I’ve loved the shape of them they have always been a bit short for space. After finding some better scaled ones (at Homegoods again) I decided to use these in my master bedroom makeover.
However, they were not the right color for my bedroom. So this week I painted them.
Before
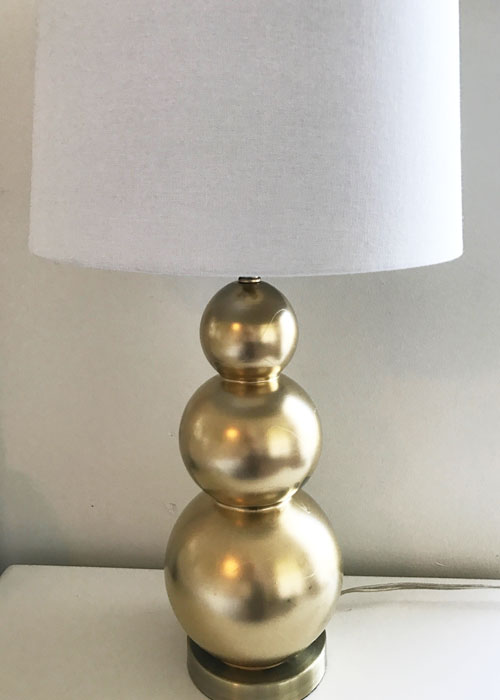
At first I thought I wanted the lamps to be gold so I took off the shades and taped the electrical parts and spray painted them gold with THIS spray paint (affiliate link).
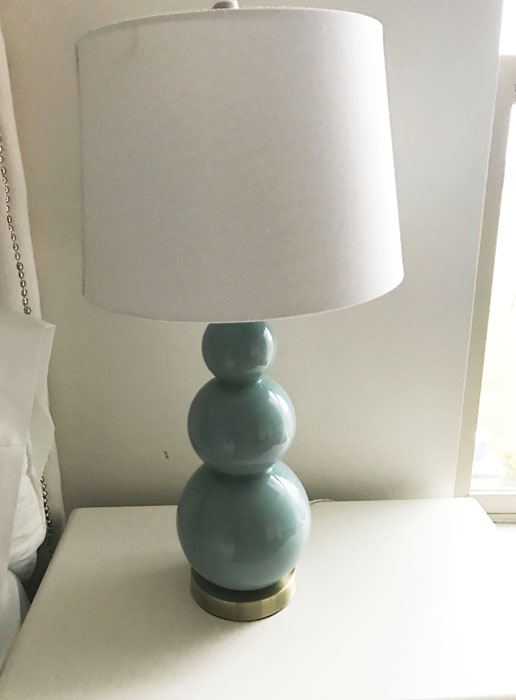
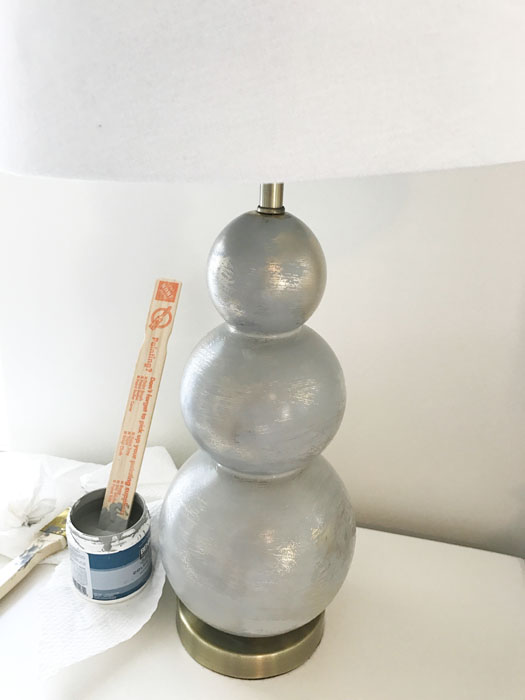
I didn’t end up liking the gold color with the room so I decided to paint over them in gray. I used some gray sample wall paint I had on hand.
This is what it look like right after I painted on the first coat of gray paint.
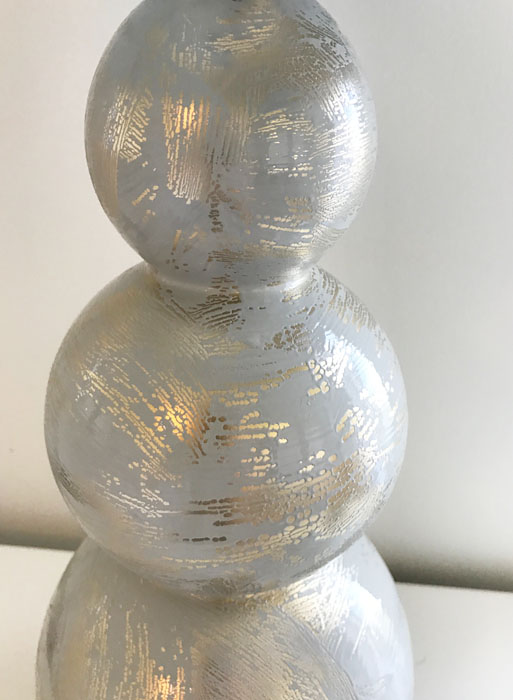
When I came back a few minutes later some of the gray paint had crackled which I hadn’t expected to happen BUT…
I liked it ALOT! It think it gives a cool artistic look to the lamps!
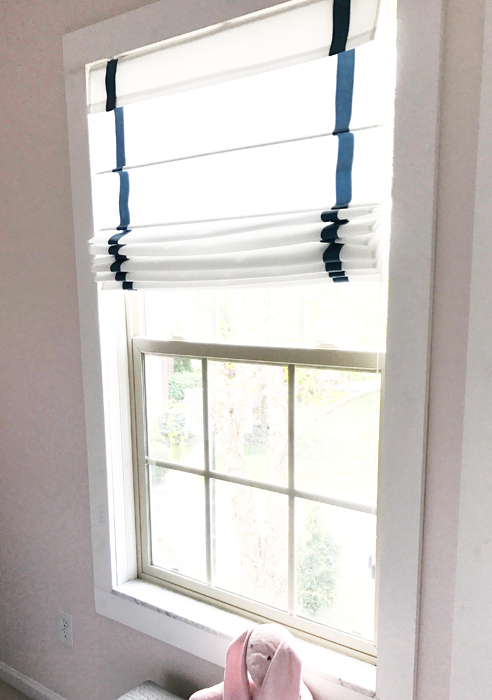
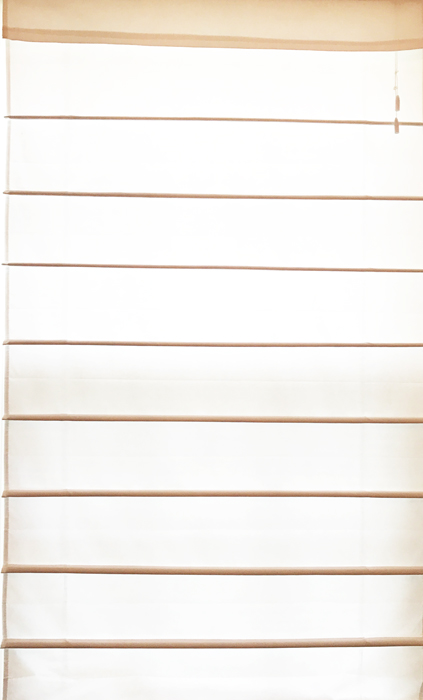
Another project I worked on this week was window treatments for my daughter’s bedroom makeover! I bought these white roman shades on sale at jcp.com for $23 a piece (in real life they look white not the color below).
I bought the white shades with the intentions of embellishing them in a similar fashion as the Pottery Barn Kids ones below (that sell for $200 a shade).
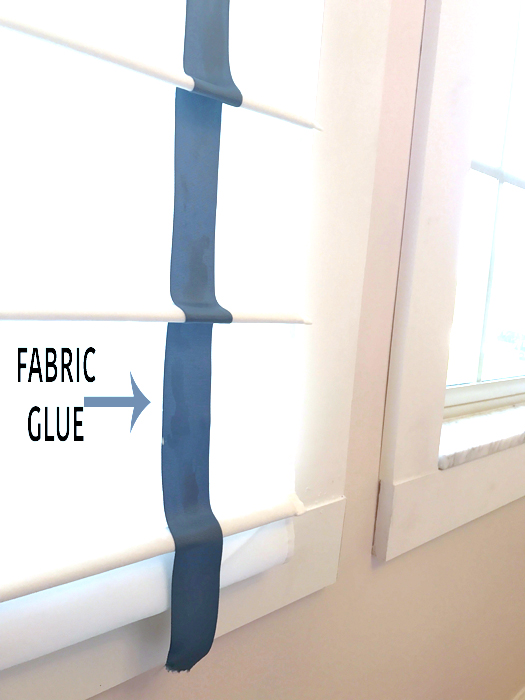
To accomplish this I purchased THIS 1.5 inch grosgrain ribbon from The Ribbon Retreat and adhered in the shade with fabric glue.
I decided to just do a single ribbon that comes down on each side and I love how it turned out!! As you can see in the picture I also added wood trim around the windows which is a little detail that always makes a big impact and just costs about $15 a window to do (tutorial to come)!
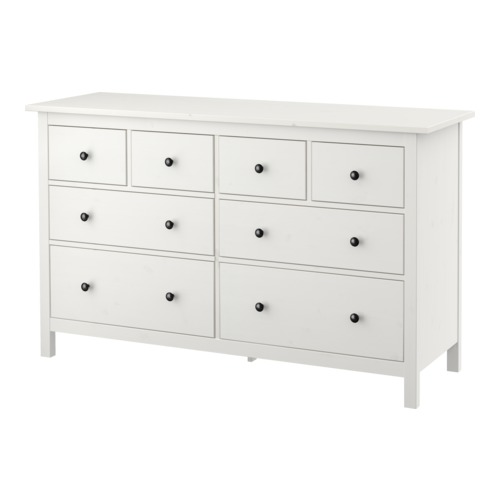
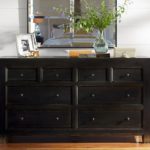
On Monday a delivery truck brought the 2 Ikea Hemnes 8 drawer dressers I had ordered online. I bought one for my daughter’s bedroom makeover and one for my son’s shared bedroom.
I was nervous about ordering two without really seeing them in person but I am happy to say they have even exceeded my exceptions! I love this dresser!! It is sturdy, super large and roomy, and beautiful! If you are looking for a large dresser you won’t find a better one for the price ($250).
via IKEA
That being said they definitely take some time to put together (it took me 5+ hours to do the first one)! I used THIS youtube video to guide me in putting them together which helped a lot!
I’m really excited about how things are coming along but I can’t believe I only have 2 weeks left! I best be getting back at it! Thanks for following along and as always let me know if you have any questions!!!:-)
You can check out the progress of the other ORC participants HERE!

