Hello! I hope you have had a great week and that you are getting good weather where you live! Spring has sprung here and I am so in love with the beautiful blossomed tress and low 70’s weather (wish it would stay forever)!
It’s been a very busy and productive week on the bedroom makeovers for the One Room Challenge. I’ve ordered lots of things for the rooms online and have worked on two main projects this week (they thankfully turned out just how I hoped which of course doesn’t always happen).
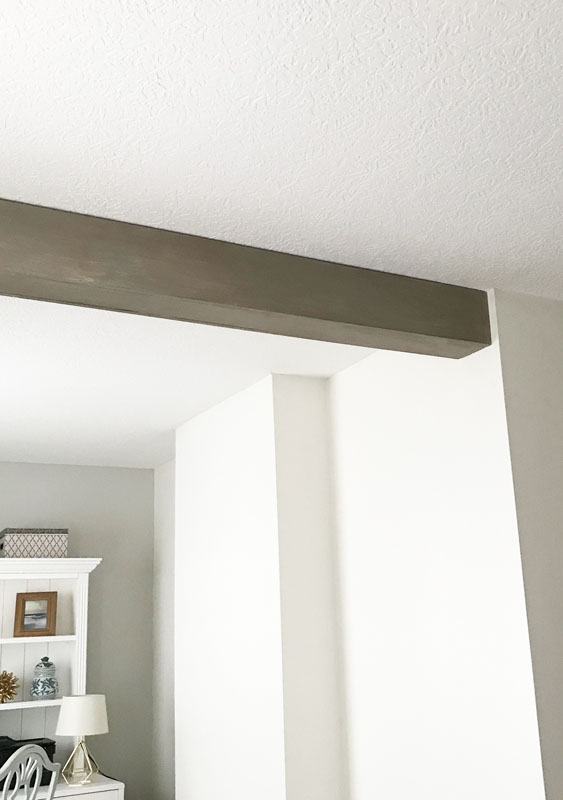
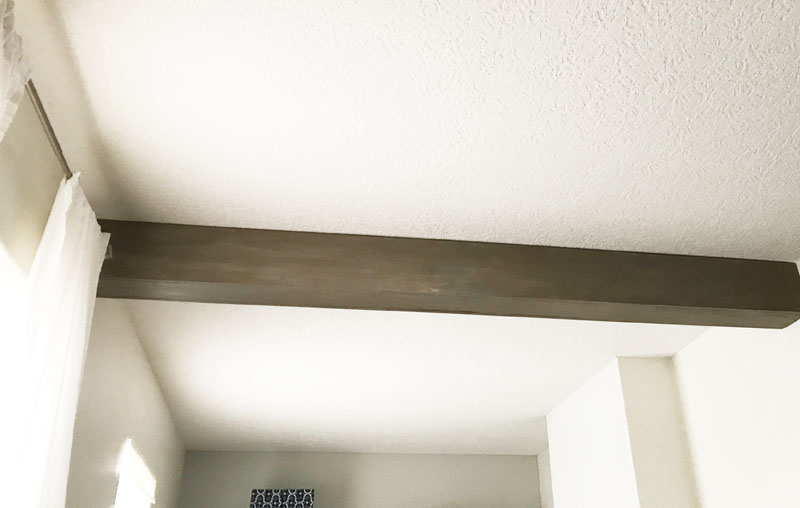
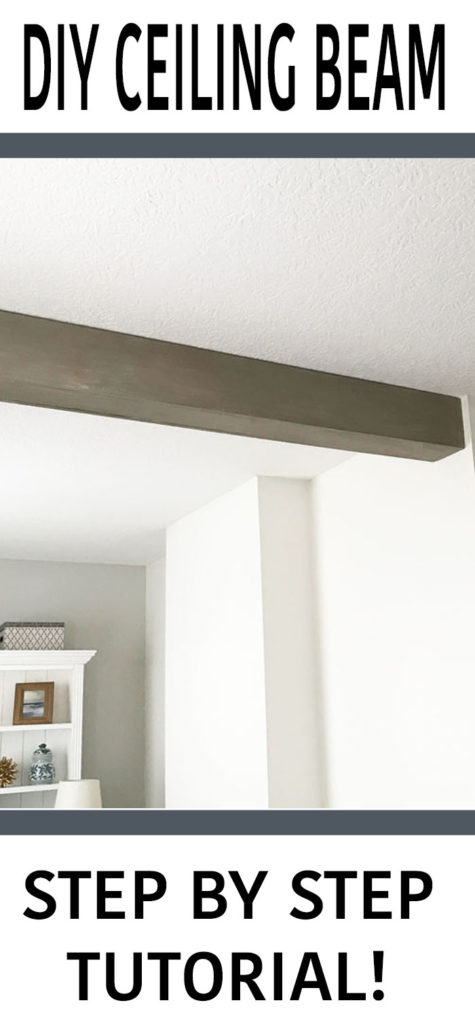
First in the master bedroom I built and installed a ceiling beam.
It’s a bit massive but with the size of the room I think it works.
Building a ceiling beam is quite easy to do!
Supplies
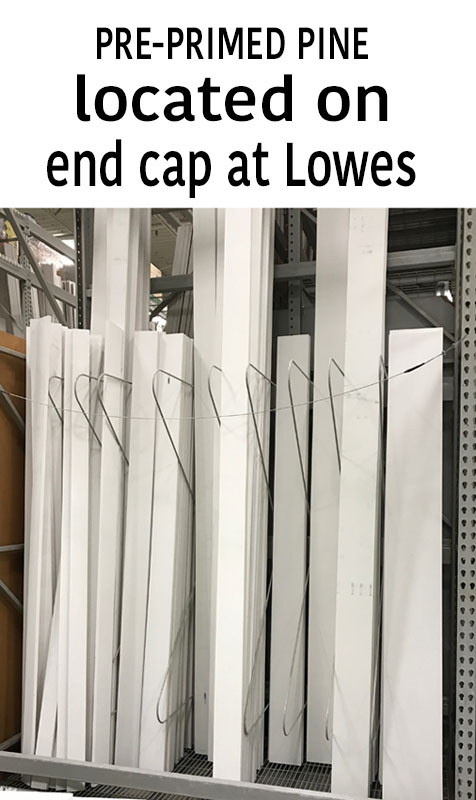
I like using the boards above because I’ve found them to be less warped then other boards.
2- 1 x 6 pine boards
2- 1 x 8 pine boards
Nail Gun/Air Compressor – If you’ve never used a nail gun don’t let that scare you I have a tutorial HERE.
Several 2 1/2 inch Wood Screws
How to Build A Ceiling Beam
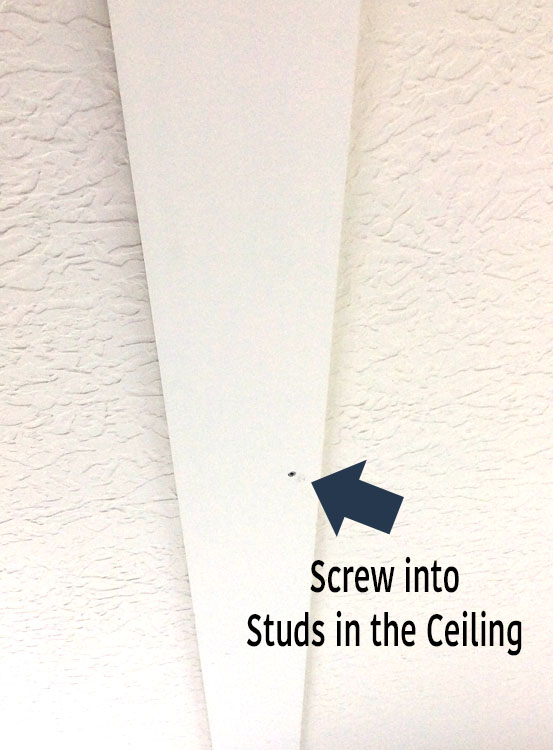
1. The first step is to find and mark where the studs are in the ceiling. I easily found the stud by placing a magnet stud finder (I bought and love THIS ONE-affiliate link) on the ceiling and then the magnet will be drawn to the stud.
Screw one of the 1 x 6 boards into the stud in the ceiling.
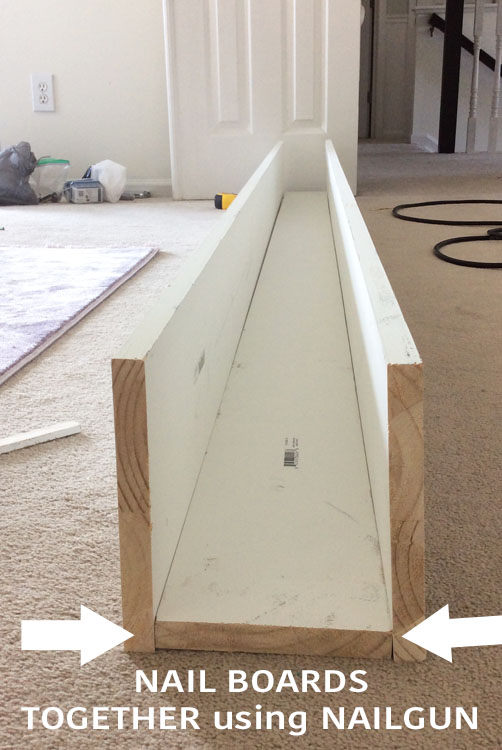
2. Place the boards like in the picture below and nail the boards together with a nail gun all along the bottom.
Tip: Keep a board the same width of the board you screwed into the ceiling between the beam so that when you install it it’s sure to fit around it.
Also, check out the little peek of the new purple rug below.
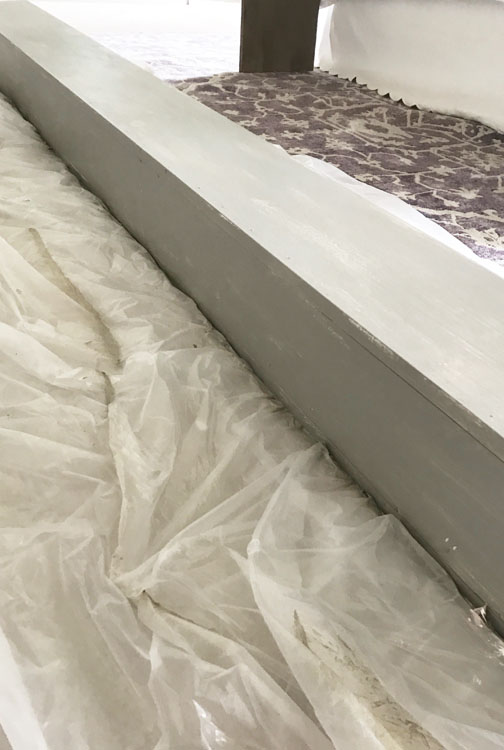
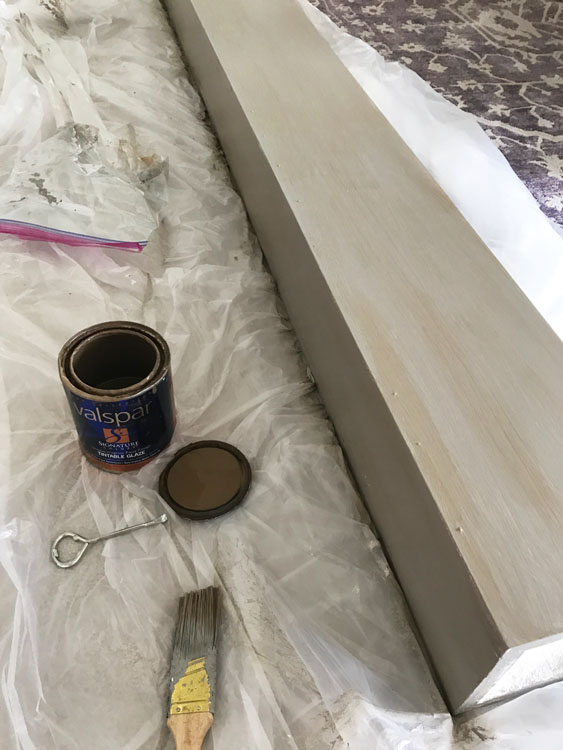
3. Go ahead and stain or paint the beam. I gave the beam a gray weathered look with paint ( you can find the tutorial HERE).
4. Now it’s time to install the beam! Because of the hands on nature of this step I wasn’t able to take any pictures so I will do my best to explain it!
My husband and I placed a chair by each side of where the beam would go, we lifted the beam and then stood on the chairs to lift it all the way up.
We pushed the beam up and around the screwed in board (from step 1) and while holding the beam with one hand I used the nail gun with the other hand to nail the beam into both sides of the screwed in board.
In all it cost around $55 and adds so much character to the room!
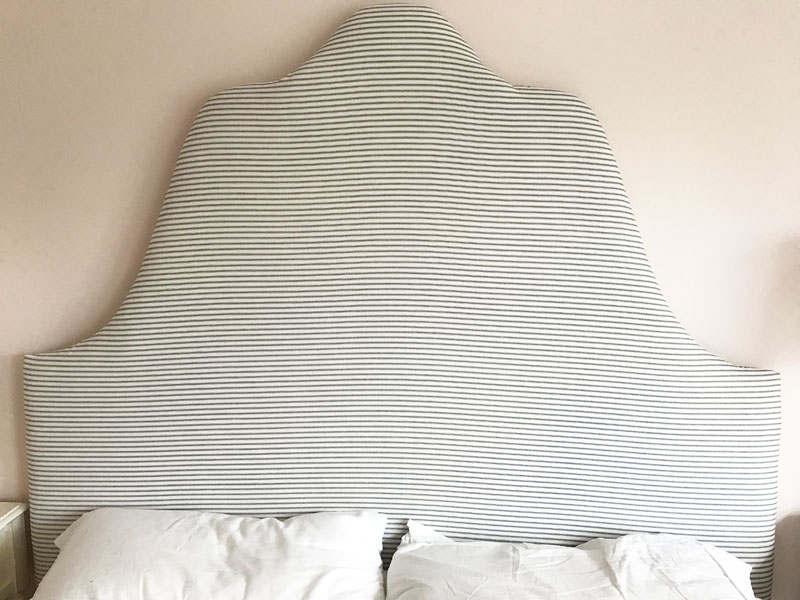
For my daughter’s room I was able to make her new headboard. I found THIS adorable, classic, navy and white ticking stripe fabric on Amazon (affiliate link) for only $9 a yard and only needed 2 yards of it.
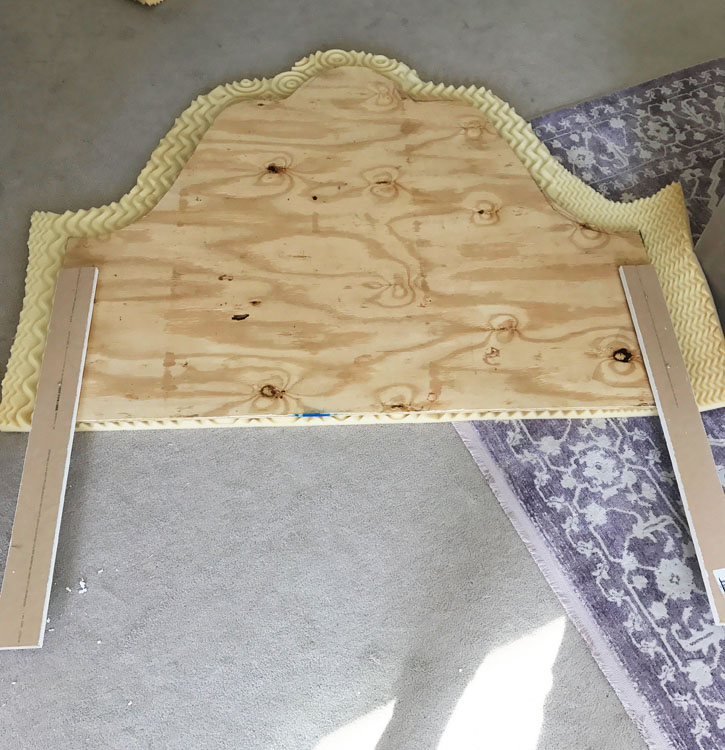
I used the same method I used in making my boys headboards (tutorial can be found HERE). After cutting out the shape I wanted with a jigsaw I wrapped the foam in plywood and stapled it to the back.
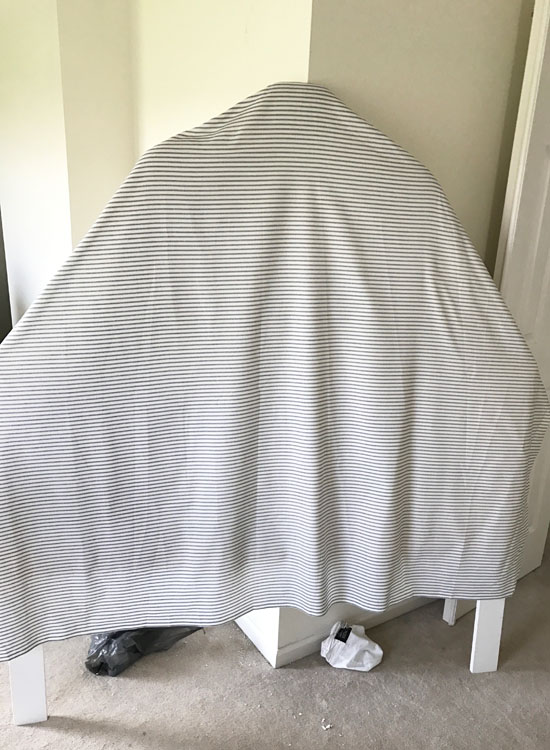
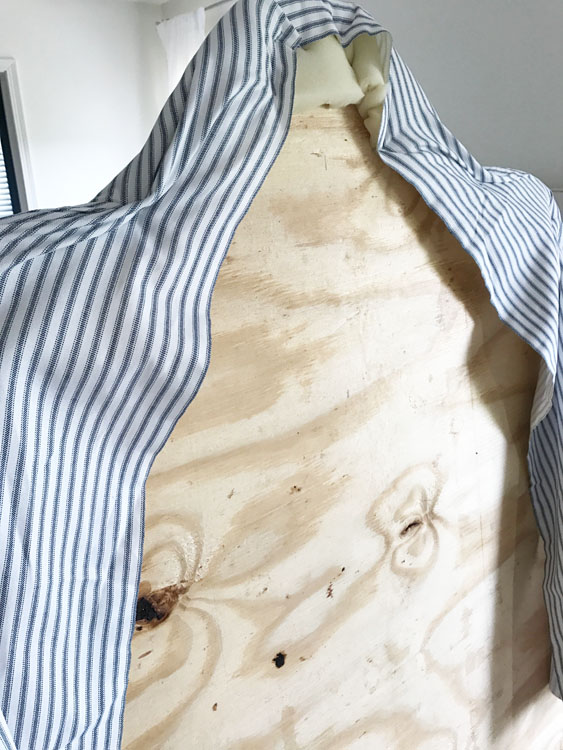
I then wrapped the fabric around the foam and very careful pulled and stapled it making sure the stripes were straight in front.
I’m absolutely love how it turned out!
I hope you enjoyed seeing the rooms progress so far! I still have much to do. Please let me know if you have any questions about either of these projects!!
Thanks for being here!:-) You can check out the progress of the other ORC guest participants, HERE!

