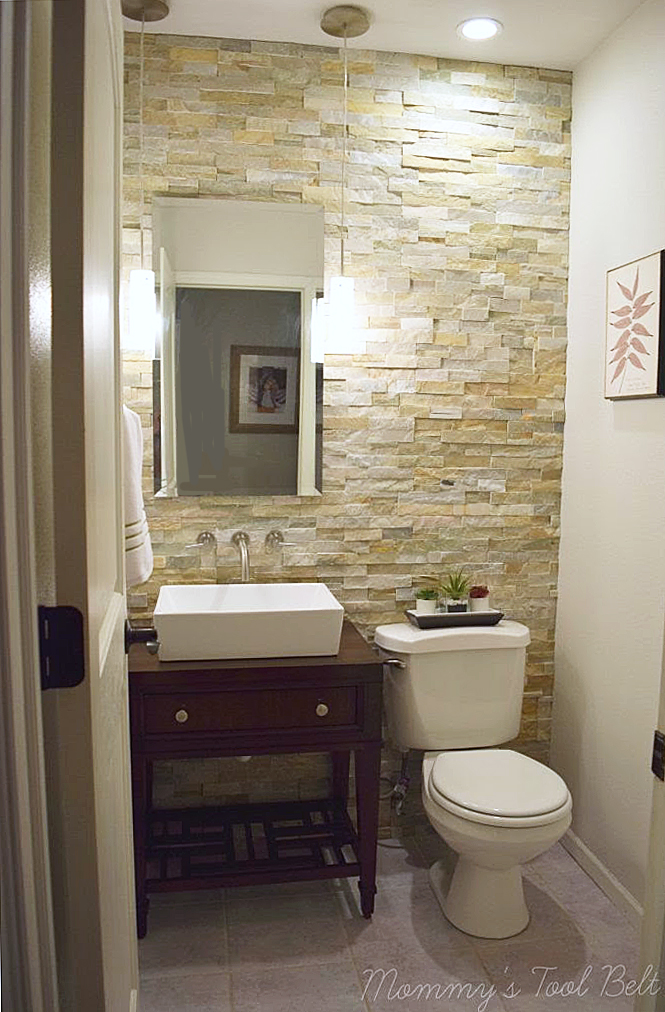
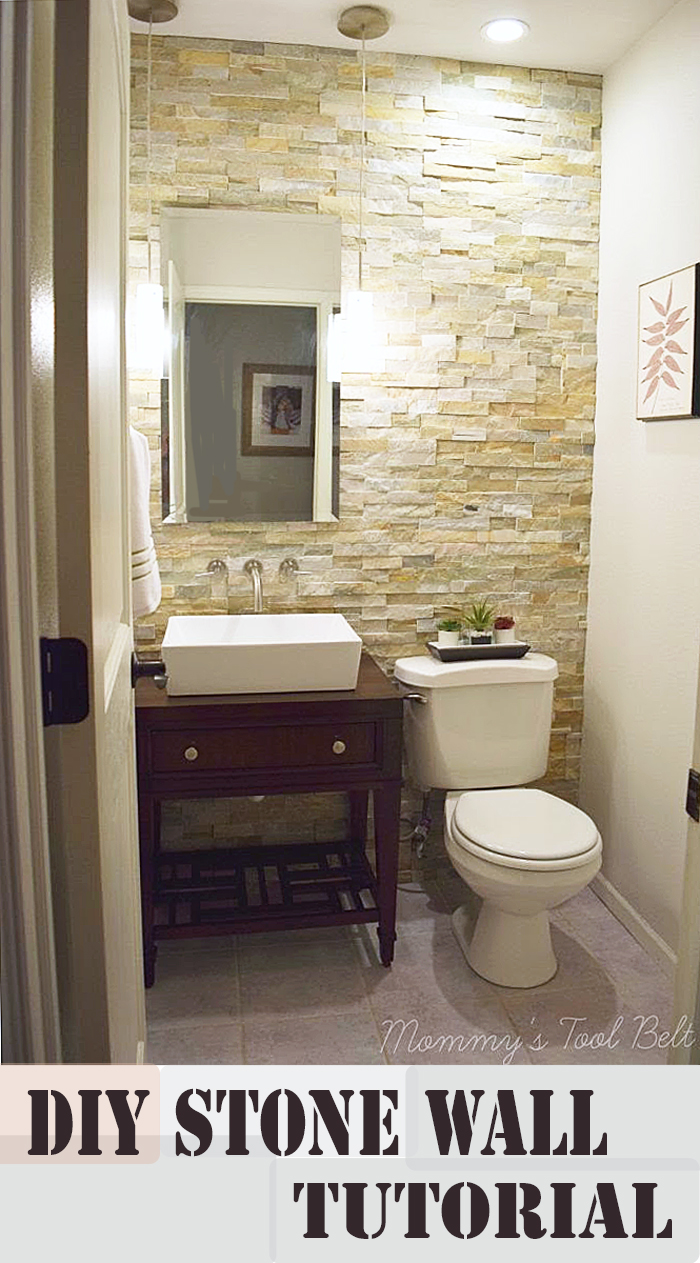
And Chrissy from Mommy’s Tool belt did such a beautiful job installing one in her powder bathroom makeover!
She is here today to share how she did! Take it away, Chrissy!
***************************************************************************
Hi, my name is Chrissy and I’m visiting from my blog Mommy’s Tool Belt. I love to show readers how easy it is to DIY and create a beautiful home all on your own.
At Mommy’s Tool Belt, I also throw in a little DIY craft and cooking when a project calls for it! I believe every person can have a sense of pride in their home and what better than to create it yourself!
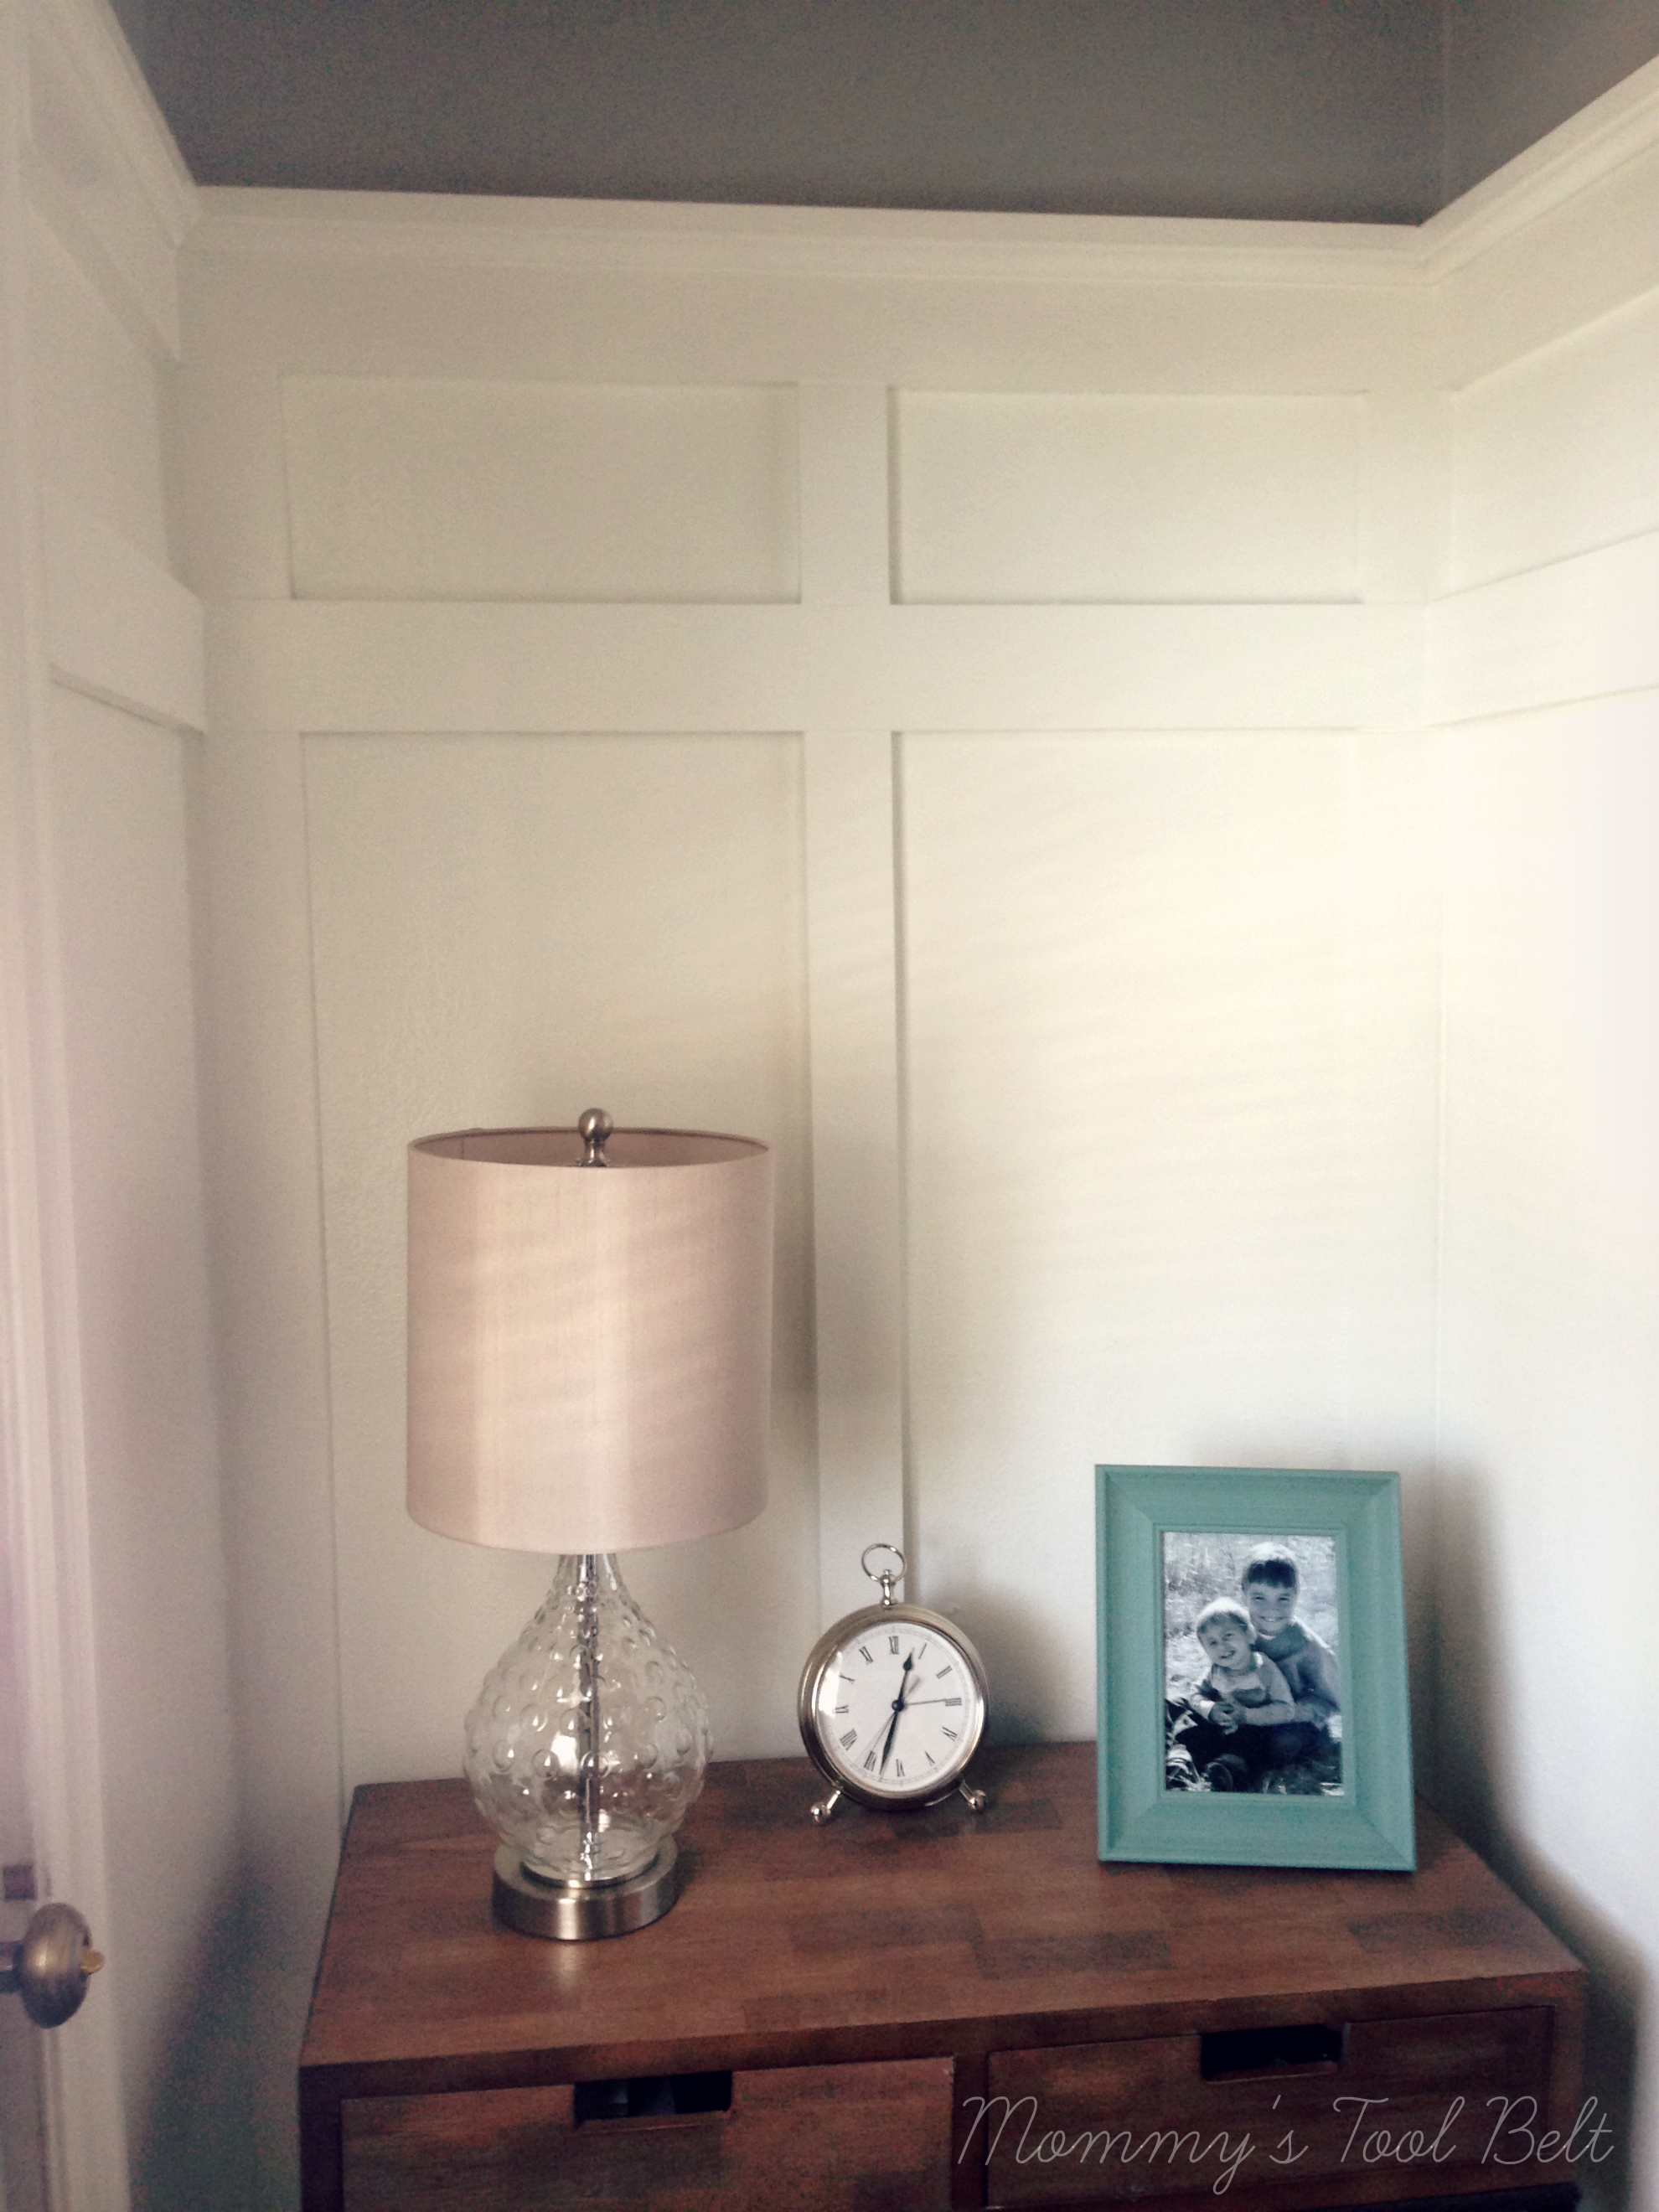
You can see projects like an entryway makeover with board and batten…
or a DIY Faux Shiplap tutorial.

I’m very excited to share a tutorial with everyone at Provident Home Design on how to install a stone wall. You will get your hands dirty, but the work will pay off with a stunning wall that will make people say “Wow”!
The type of stone that is used in this tutorial is called stacked ledgestone in Desert Quartz. It’s very natural and easy to install. It doesn’t even require grout which is awesome!
I’ve learned a few things during the installation that I wish I had known beforehand, but now I can share those tips with you as you complete your wall. So my pictures might not match up exactly with the directions.
Lets get started on creating your stone wall!
Step 1
Remove any sheetrock (or drywall) and replace it with cement board by screwing it into the existing studs to help support the weight of the stone. Cement board is designed to hold heavy stones like ledgestone unlike sheetrock.
These stones have the ability to peel off the front of sheetrock and fall so it’s good practice to replace your sheetrock wall with cement board to make sure it doesn’t go anywhere!! (We installed the stones directly on the sheetrock since we didn’t know the benefits of cement board until after we installed it.)
When the cement board is installed, don’t replace the trim on the wall because the stones will go from the floor to the ceiling.
Step 2
Mix the thin set as directed. Thin set* is the cement that glues the stone to the wall. Put a glob of thin set on a notched trowel* and spread it evenly on the bottom of the wall. Rake across the thin set to create the burrows that will help the stone suction to the wall and make a tight seal.

Step 3
Start with the first stone tile at the bottom of the wall. We will be working up the wall so the stones can rest on one another while they dry. The pictures show me working up one side of the wall first so we could leave the toilet in for the kiddos, but I suggest working one row at a time to make sure the stones are level and fit together.
Using a full stone tile, start in the middle of that bottom row and work your way out towards the corners. The sections that are left on each side of the row are the stones that will need to be cut to size. Make sense?!
Use thin set on the wall and a add a thin layer on the back of the stone so it adheres completely. Apply pressure to the stone so it sticks on the wall with no air trapped behind it.
Unlike tile, you don’t use spacers with ledgestone. There should be no spaces between the stones so push them together tightly.

Use a level* as you work so the rows are straight, but working from the floor up should make it pretty easy to keep them level!
Step 4
As you finish the first row of stone tiles, each side will need to be cut to fit the last pieces in. A wet saw tile cutter* will work best to cut the stone to size. Once the first row is completed, move up to the next row and repeat step 3.
Continue placing the stones up the wall and if at any time you need to stop for a long period of time, finish with a completed row. I learned the hard way that once it’s dry, there’s little room for error when you start again.

Step 5
The last row of stones might fit snug to the ceiling or they may need to be cut down to fit in the space that’s left. Ledgestone breaks apart easily and certain pieces of the stone can be separated to fill in any gaps so the stone butts up to the ceiling. Once the wall is finished, there’s no need to group between the stones. How great is that?!

Step 6
Apply a coat of stone sealer* to the wall to protect it from stains and moisture. Use a paint brush to apply an even coat and it should be dry within a couple hours.
The beautiful stone wall is finished and will be a timeless accent in your home for years to come!
To see the tutorial of the bathroom transformation with the stone wall, check out the tutorial here.
A huge thank you to Provident Home Design for having me and I hope you all enjoyed my tutorial of how to install a stone wall! Come visit Mommy’s Tool Belt anytime!
***************************************************************************
Thank you so much, Chrissy! You can check out Chrissy’s website, HERE! I hope you found this tutorial as helpful as I did.
This week I am wrapping up a bedroom makeover for my friend’s daughter and I am hoping I’ll be able to share it with you next week! I hope you have a great weekend:-)

*Amazon affiliate links (which means I’ll receive a small percentage if you purchase through those links with no extra cost to you).
Related Posts From the Blog:
 How to Install a Tile Backsplash Pt. 2
 DIY Cobblestone Boot/Shoe Tray
 Design 101- Creating a Focal Point
 A Powder Bathroom Makeover for Lolly
 The Look for A Lot Less
 How to Add Woodwork Above the Mantle/Fireplace
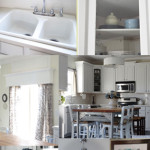 10 Steps to a High-end Kitchen on a Low-end Budget
 Peel and Stick, Removable Wallpaper Options!