Hello! I hope you all have had a great week! This week has been all about getting ready for Halloween around here.
With four kids ages ages 3-10 you better believe the energy level has been high with excitement for the big day!
Tonight we went to our church Halloween Party and I couldn’t help but dress the puppy up too before we left! We have a little division in our family this year of bad vs. good>:-) Who will win???
A couple of months ago my friend Cindy did a guest post on how to paint tall walls (you can check it, HERE). Today I am going to share a guide to painting any room!
I’ve now painted 2800 out of 3000 square feet of our home. Additionally, a few of those rooms I’ve paint twice. I also painted much of the condo we lived in before we moved here. I’ve learned a lot along the way and want to share all I know about how to paint a room with you right now!
HOW TO PAINT A ROOM
How do I pick a paint color?
Lets start with picking a paint color. Always choose what mood you want your room to have before choosing a paint color. If you want your room to exude energy than go with a bright color. Sophisticated and serious then go with a deeper, darker color. Wanting casual, calm space then go with lighter colors.
If you want to play it safe with paint color you can always go neutral on the walls and use color in your decor pieces to help give your space the mood you are desiring.
I have written 2 posts that I think will answer the rest of the questions you may have on how to choose a paint color
I’ve tried a lot of different brands and grades of paint.
I’ve tried as high as price range as Benjamin Moore brands to as low as Walmart brand.
My view point is that the Benjamin Moore paint does not warrant a price of $70 a gallon. It is a good paint but so are some other options for $30-$35 a gallon.
The Walmart brand I tried for $15 a gallon was terrible.
Here are my 3 TOP Favorite Paint Brands.
They all have a primer included in the paint so you don’t have to use a primer beforehand, are no VOC, and are acrylic latex paints and should take only two coats to cover.
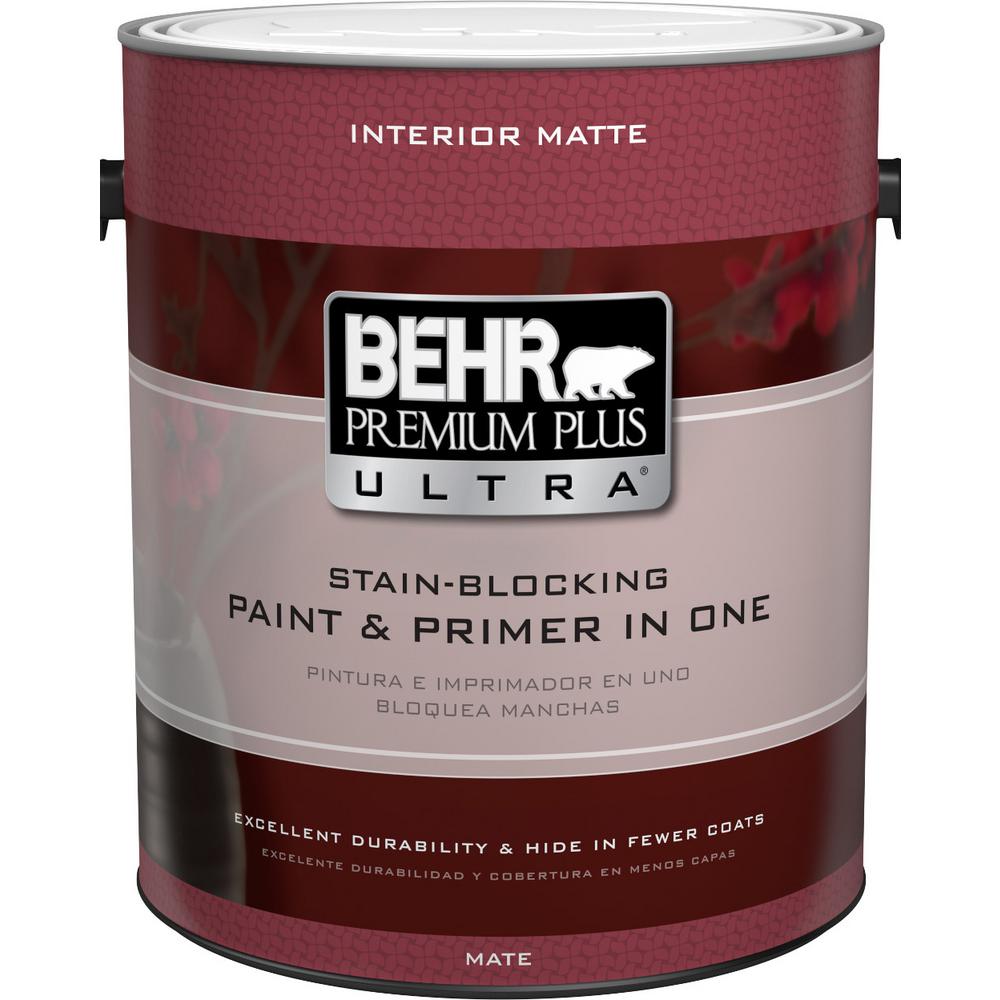
1. Behr Premium Plus Ultra
BEHR PREMIUM PLUS ULTRA® $31
What Behr says about it:
“Paint & Primer in One
Excellent Durability & Hide in Fewer Coats
Washable, Easy-Clean Finish
Coverage per Gallon: 250-400 Sq. Ft.
Zero VOC
High Performing”
2. Valspar Signature
Valspar Signature®- $33.98
What Valspar says about it:
ScuffShield™ Technology – resists scuffs and stains
Zero VOC* Technology
High-hiding paint+primer
Stands up to Anything™
Stand-out Color – rich and fade resistant
Stand-up Finish – smooth, high hiding coverage
Fade and mildew resistant finish
Low odor, Zero VOC*
100% Acrylic latex
Lifetime warranty
3. Sherwin Williams Cashmere
If you love Sherwin Williams paint I would go with their Cashmere brand. It is $52 but once in awhile they will have 30% sales for the public. I’ve used it a couple of times and thought it was comparable to the other two paints mentioned above.
Cashmere® Interior Acrylic Latex Paint
What Sherwin William says about it.
“For an ultra-smooth, rich, silky finish, count on Cashmere.
This paint easily glides off the brush or roller and the result is a difference you can definitely see and feel.
Cashmere is our most forgiving paint, offers outstanding coverage and is perfect for painters with limited experience.”
List Price:$52.49
Remember that if you find a paint color in another brand that you love you can get that paint color made in any brand you want. I will often get Benjamin Moore paint colors made in Behr’s Premium Plus Ultra brand.
You can just go to the paint desk and say, “I would like Benjamin Moore’s Old Navy in a gallon of Behr’s Premium Plus Ultra in Satin sheen”. Speaking of sheen…
What sheen do I choose, flat, eggshell, satin, semi-gloss, or gloss?
Sheen is basically how glossy/reflective the paint will be. The glossier it is the easier it will be to clean. For interior walls I do satin. For trim like baseboards and door trim (as well as doors themselves) I do semi-gloss.
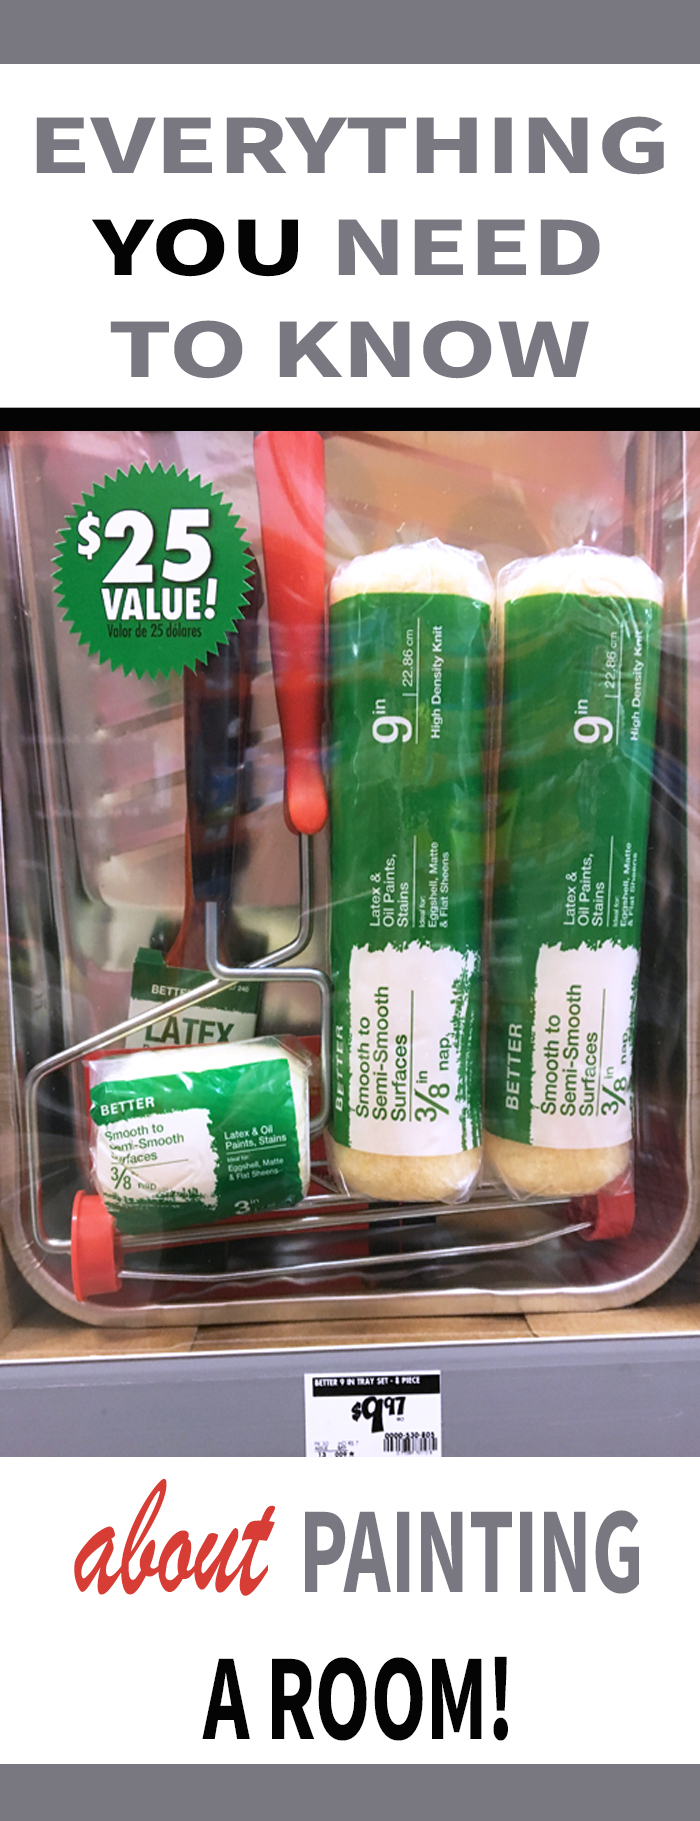
What supplies do I need?
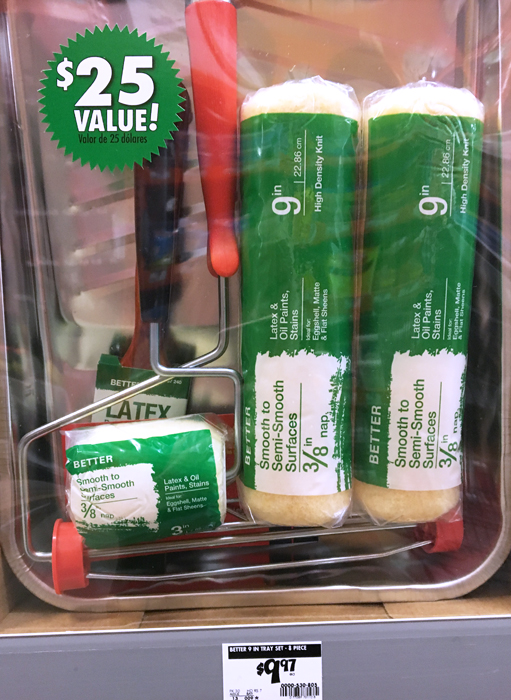
I buy the kit below because it has just about everything I need for a super low price. Just a paint brush alone can cost $10. For $10 you get:
(2) 3/8 In. roller covers for walls
(1) 3 in. roller cover for trim
(1) 3 in. roller frame
(1) 9 in. roller frame
(1) 2 in. brush
(1) Metal roller tray
(1) Paint-can opener
Other items you may need depending on the job are:
– Painter’s cup or large disposable plastic drinking cup
– Painter’s tape
– Drop Cloth
– Tray liners (if you are painting multiple colors)
– Spackle
– Putty Knife
– Sandpaper
– A Ladder or Stool
TIP- For the drop cloth I use this large, super inexpensive but durable plastic drop cloth that I got at Home Depot.
Do you have to prep the walls?
No, but you may wish you had. If there are dents or nail holes in your walls now is a great time to repair them. Just purchase some spackle and a putty knife and fill the dents in and smooth it out.
If there is any excess spackle on the wall be sure to lightly sand it off with fine grit sand paper. (See video at the end for demonstration).
I don’t wash my walls before I paint but I do inspect them and if there appears to be any problems areas with dirt or oils I will wipe it down with a lysol wipe.
Do you tape to get nice clean edges?
I do not tape. I hate taping. Over years of not taping I’ve developed a steady hand.
If you are planning on doing a lot of painting I would suggest not taping so you can learn how to develop that skill. Keep a lightly damp paper towel or rag on hand to correct your mistakes right away.
IF you think you will only be painting 1 or 2 rooms in your lifetime then go ahead and tape. Use the longest pieces of tape you can (without it getting tangled up) and place them carefully along the edges of the areas you don’t want to get paint on like the ceiling.
How do I begin?
Lay your drop cloth down. Open the can with the silver leverage paint can opener.
Carefully pour your paint into a plastic paint cup or a large disposable drinking cup half way full.
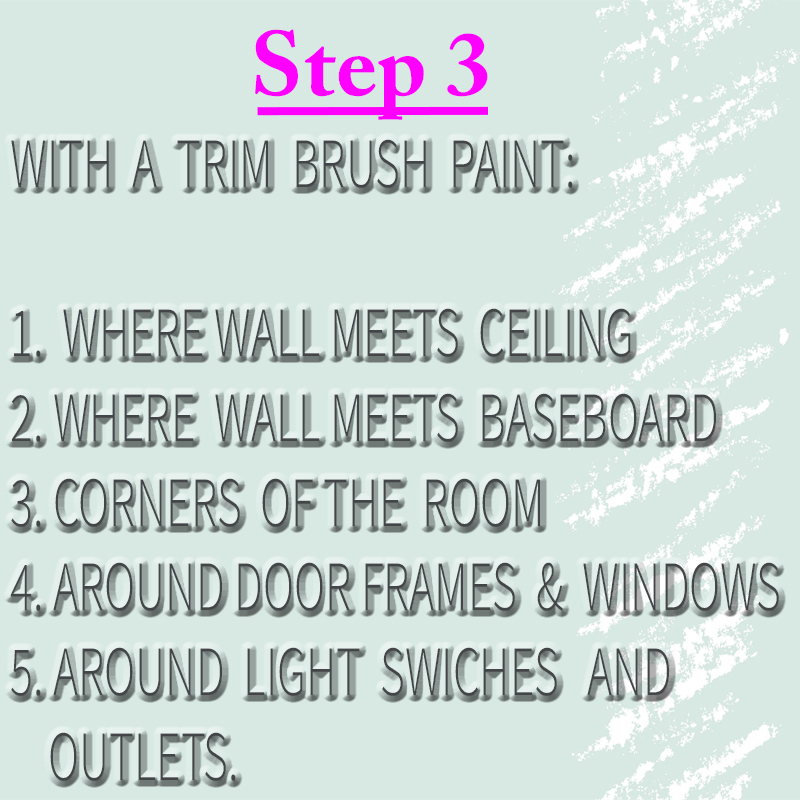
Dip your angled brush (also called a trim or sash brush) into the paint and brush it against the inside top of the paint holder a couple of times to prevent drips. Use long steady strokes along the following areas.
(See video at the end for demonstration].
Once you put down one coat of paint along all edges secure foil over the top of the pant cup.
Now it’s time to ROLL!
Carefully pour the paint into the bottom of the paint tray. Fill the bottom a little over half way full. Roll your roller into the paint, roll your roller back in forth in the the tray making sure to get all sides of the roller with paint (see video for demonstration).
To prevent drips roll the roller towards you in the tray with pressure (this releases excess paint).
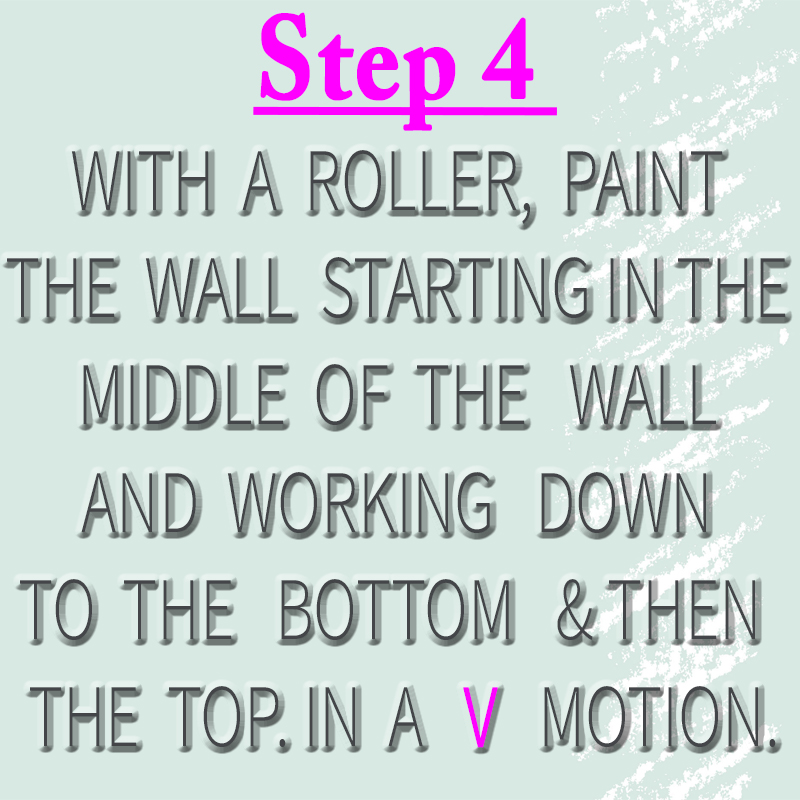
Choose a wall to begin with and start rolling in V pattern motion in the middle portion of the wall (middle as in middle, bottom, top). Roll the middle potion until you’ve covered about 4 feet (48 inches) of space.
Get more paint if needed and roll the bottom section of the same 4 feet area. Then move on to the top section (you may need a stool for this part).
(See Demonstration of the Above in the Video at the end of this post).
Continue working in continuous 4 foot sections around the room until the room is completed.
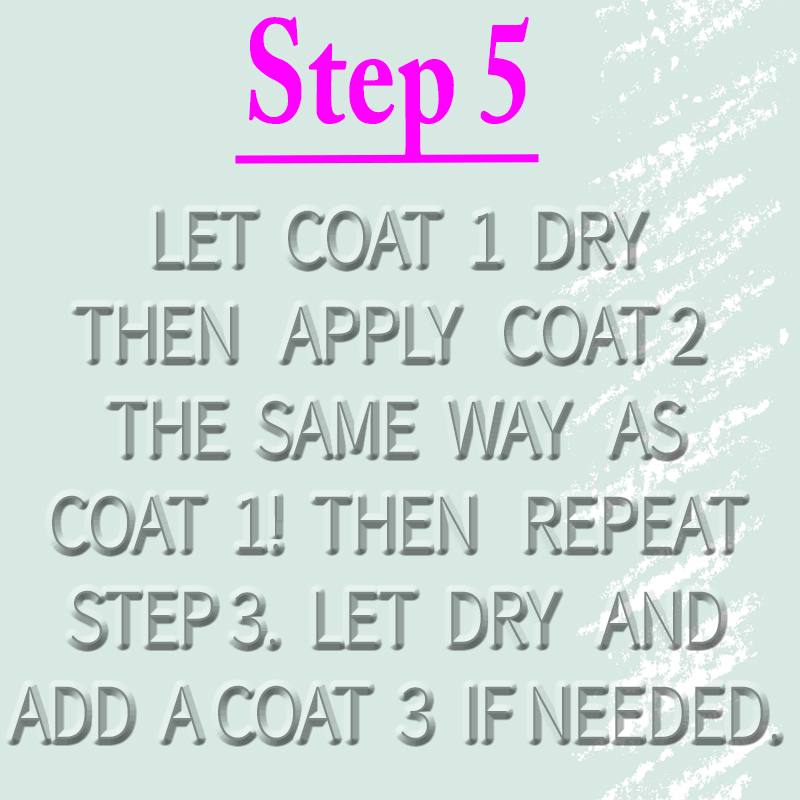
Let your first coat of paint dry for at least 2-4 hours.`
While you are letting the first coat of paint dry you can carefully apply a second coat of paint to all of the edges again. Be sure not to bump up against the wall in the process.:-)
When it is time to apply the second coat of paint on the wall use the same steps as you did to apply the first coat.
Helpful Tip! Often you won’t have the time to paint all coats of an entire room all in one shot. To keep your paint brush ready place it in a freezer ziplock bag (make sure to push the air out of the bag before sealing).
Place foil tightly and firmly around the top of paint tray with the roller inside. Or you can use a large kitchen bag to place the tray in.
If you are going to be away from the paint tray for more than 6 hours go ahead and pour the remaining paint back into the paint can before sealing the tray with foil.
If the roller doesn’t have too much paint left on it you can take it off the frame and put it in a freezer ziplock bag to keep it fresh.
Then you can come back to it the next day.
How do I clean my brushes and roller?
If you want to reuse your brush and roller for another time down the road you can clean them in the sink with water and a little dishwasher soap. It helps to use your hands to push the paint out of the brush when washing it off so you may want to use disposable gloves.
Once you’ve gotten all of the paint off the brush lay it out to dry on a paper towel.
I mentioned earlier that I learned how to edit movies in the iMovie app this week. I had tried to figure it out on my own and was confused so I asked a friend to help show me and guess what it was so much easier to learn seeing it done.
Likewise I hope this 2 min. and 32 sec. video demonstration will help you see how truly easy it is to paint a room!
(next time I will remember to take the video horizontally) :-/
If you are already an avid painter I’d love to hear your tips in the comment section! What are your favorite paint brands? What painting tips did I miss?


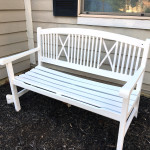 Outdoor Bench Makeover & Best $15 Sander Around
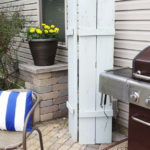 The Trick to Hiding your Outdoor Uglies
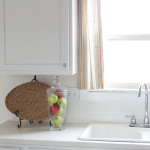 Love Your Kitchen Series- Adding Fabrics
 Design 101- How to Define Your Own Unique Decorating Style
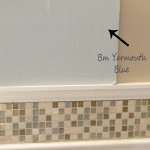 Best Tip for Picking the Right Paint Color for a Room
 The Look for A Lot Less
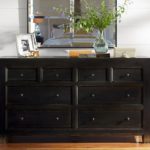 Easy Dresser Makeover + Progress in the Bedroom
 Coastal Inspired DIY