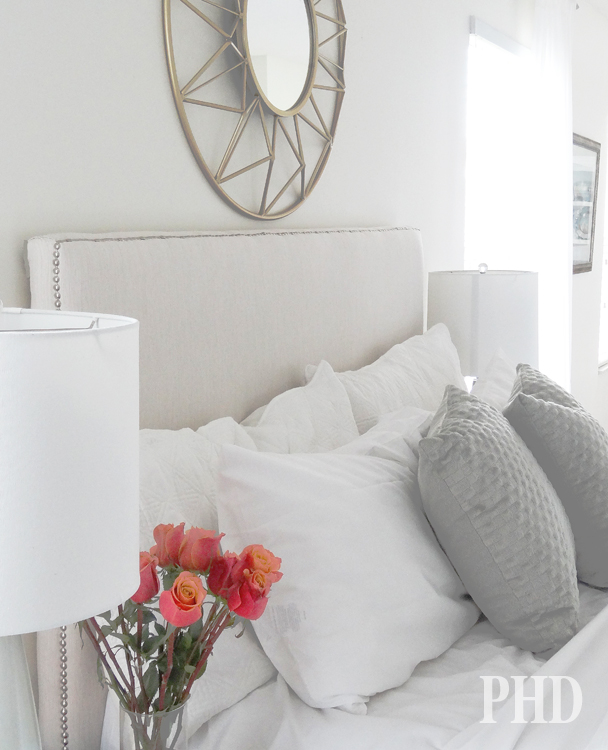
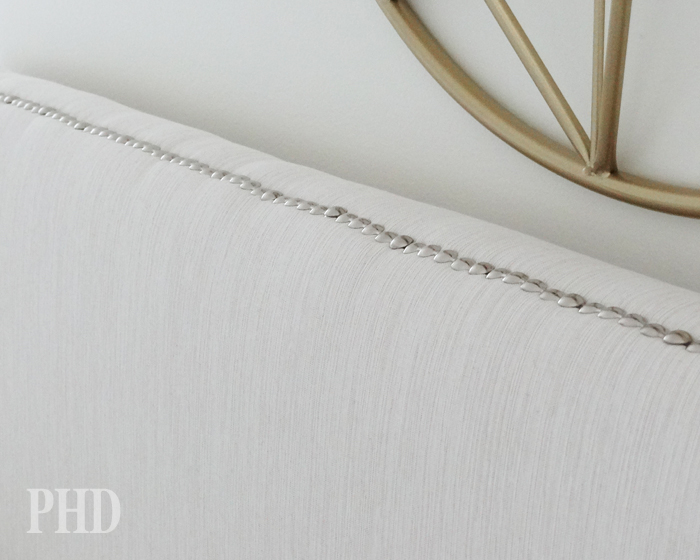
This past week I made a new headboard for my bed (as shown below) and believe it or not it only cost $65 to make!
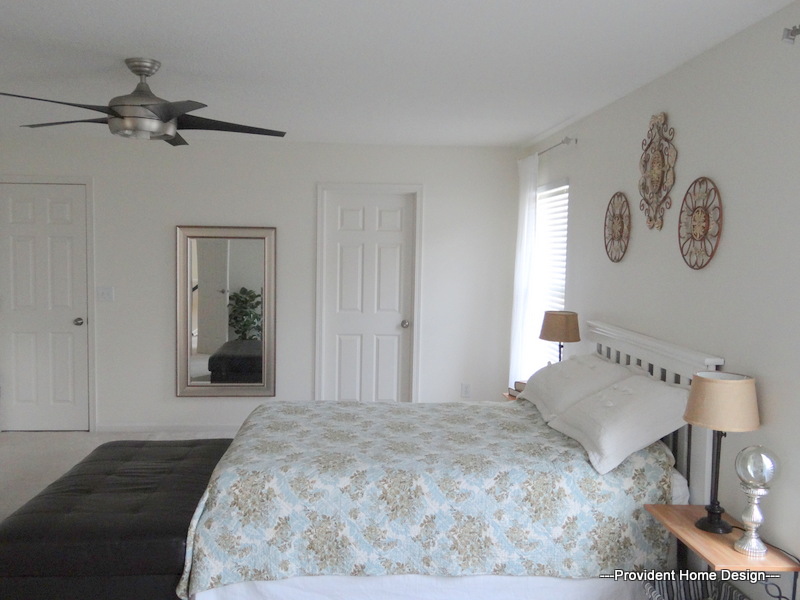
My husband and I had been going headboardless for over 6 months (I know, audible gasp)!:-)
There’s a backstory (if you don’t like backstories, no hard feelings, you can skim down to the section How to Make it ). It all started when my husband and I began waking up achey and not fully rested. It took a couple of weeks for us to realize that our once comfy, Deep Sleep Serta bed was no longer so comfy.
It was our first purchase together as a newly married couple 12 years ago (a $400 steal at Macy’s) and we sadly realized it was time to move on to a bigger and better bed.
After a ton of research on my part (I’m the researcher in the family) we decided on THIS gel memory foam mattress in soft and are back to sleeping like babies (the sound sleeping babies not the ones that keep you up all night).:-) We love it! (affiliate links used in this post for your convenience).
The new taller mattress made my previous headboard look ridiculously puny. I had bought it years ago at a garage sale for $5.
It ended up looking good in my friend’s daughter’s bedroom makeover I’m working so you will see a reappearance of it in the future!
A long story to explain why we’ve been going headboardless!
I couldn’t decide whether to make a new one or buy one.
I had made two upholstered faux tufted headboards for my sons’ bedroom and a beadboard headboard for my daughter’s room but with other projects going on I seriously considered buying an upholstered headboard instead of making one.
It was tempting with amazing prices like THIS and THIS but none of these options had the height I was seeking in a headboard for my new taller bed.
So at last I decided to make one!
I tried a new method this time so I wanted to share the tutorial and a little video on furniture nailhead trimming (which can easily glam up any existing furniture you already have)!
HOW TO MAKE IT:
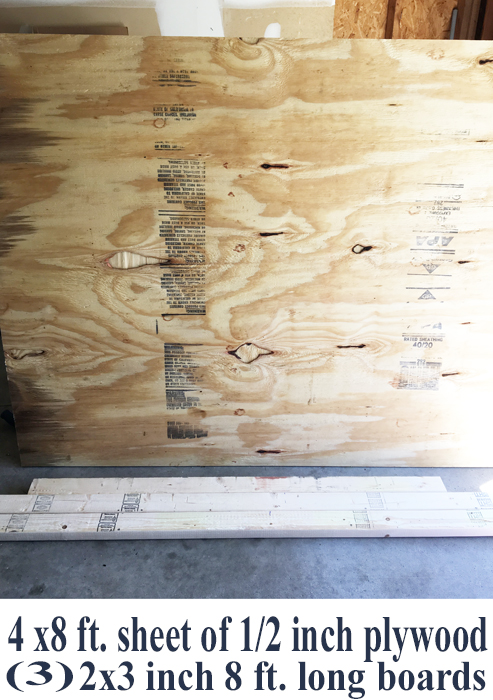
Step 1- Purchase a 4′ x 8′ sheet of 1/2″ thick plywood and have them (Home Depot or Lowes) cut the piece of plywood to the width you want the headboard to be. I was making it for our queen size bed so I had them cut it to 61 inches wide.
Also pick up (3) 2×3’s and have them cut 2 of the pieces to the height you want your headboard to be. I had them cut 2 to 55 inches because that is how tall I wanted my headboard to be.
Have them cut the 3rd 2×3 to the width of the headboard minus 5 inches so for me that was 61-5= 56 inches.
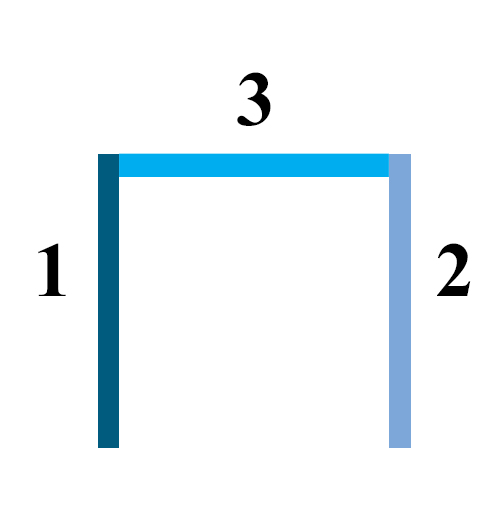
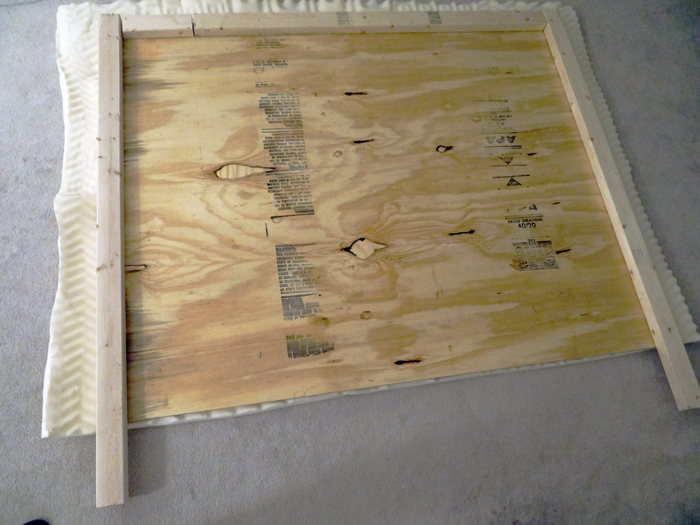
Step 2- Lay the 2×3’s out in the position below.
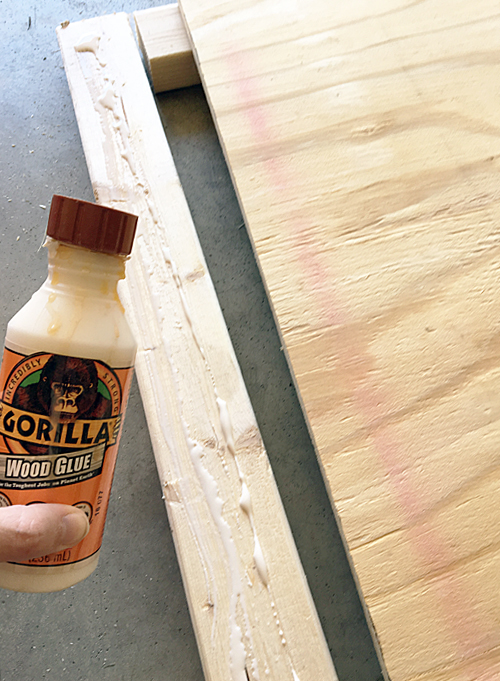
Apply wood glue to the tops of the 2×3’s as shown below.
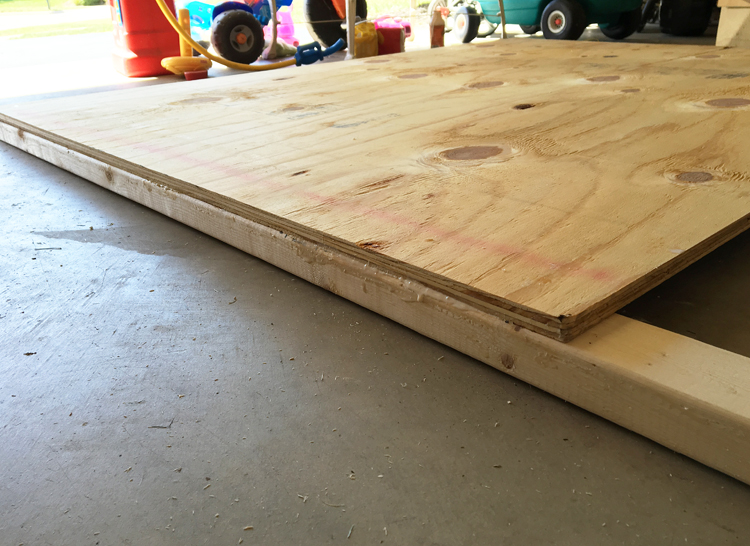
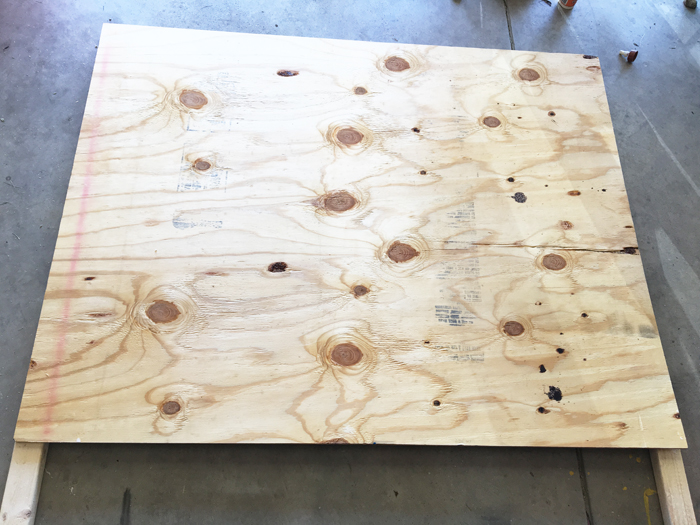
Lay the plywood on top of the 2×3’s and make sure that the edges of the plywood line up just right with the edges of the 2×3’s.
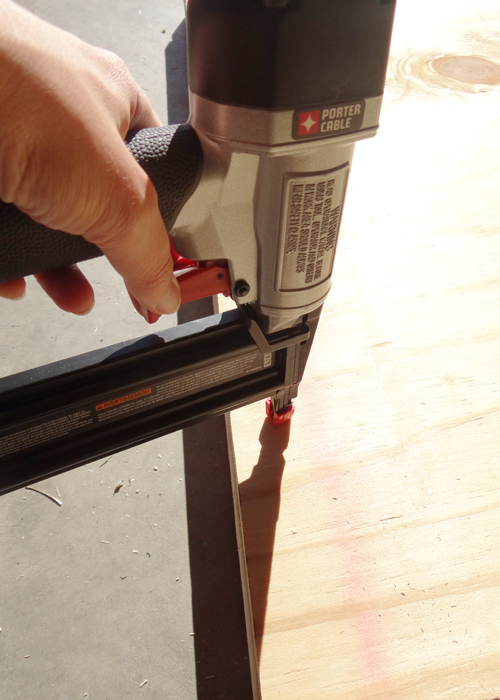
Step 3- Now nail the plywood to the 2×3’s to secure the headboard together (you can use a hammer and nails or a nailgun).
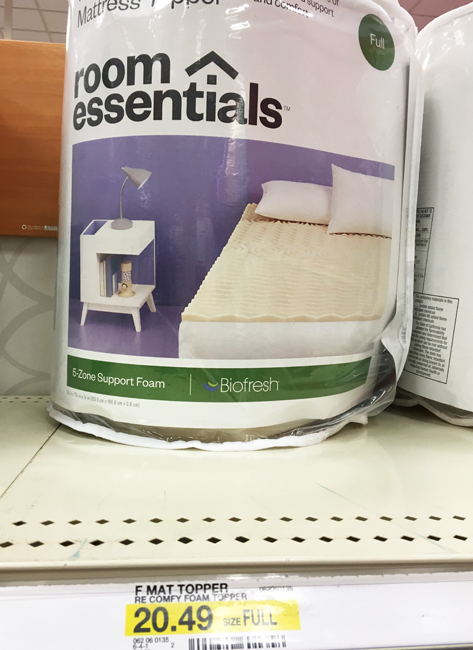
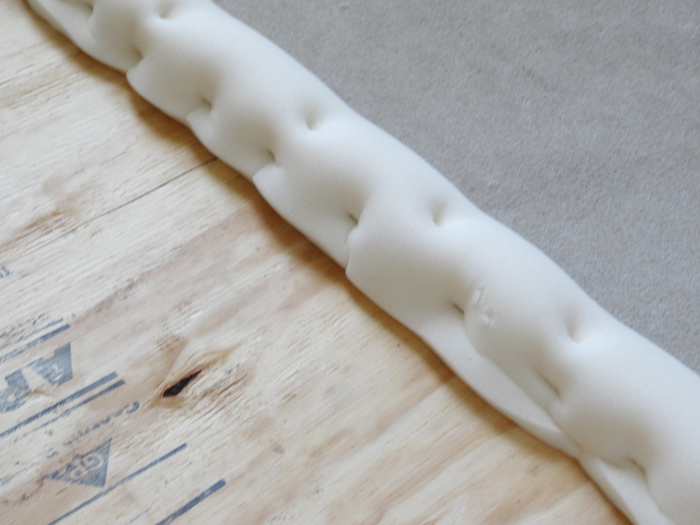
Step 4- Now it’s time to make your headboard comfortable. I bought a full size foam mattress topper from Target for $20. If you are doing a twin size headboard you can buy a twin size foam topper.
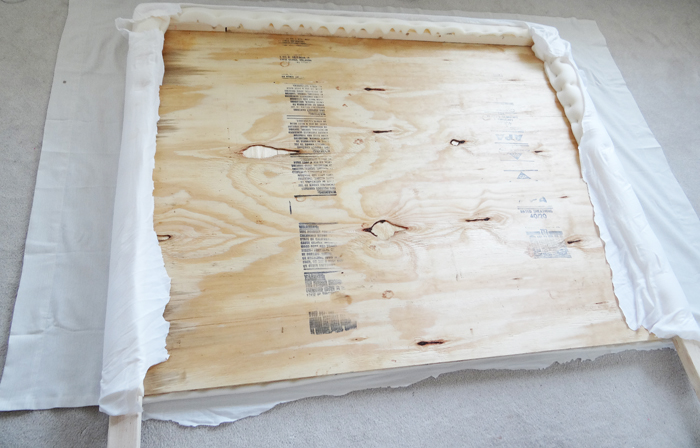
Lay the headboard face down on the textured side of the mattress topper.
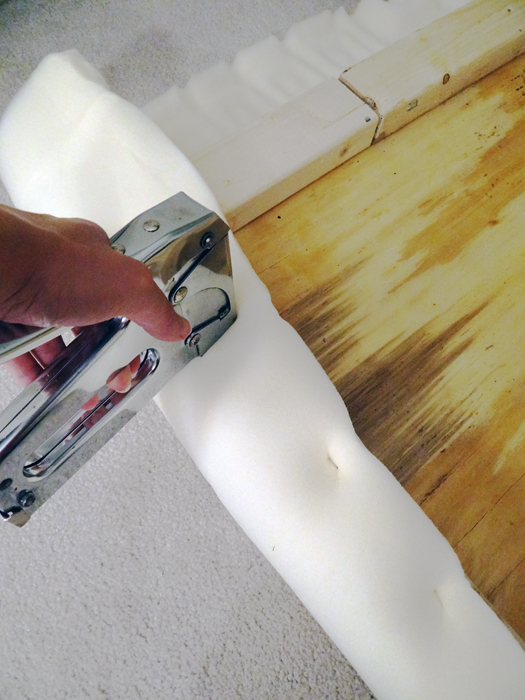
Pull the foam topper taut and staple to the 2×3
If there is excess foam staple to the inside of the 2×3 as well as shown below!
For the corners fold down the inside foam and pull the outer corner over it and staple (a lot).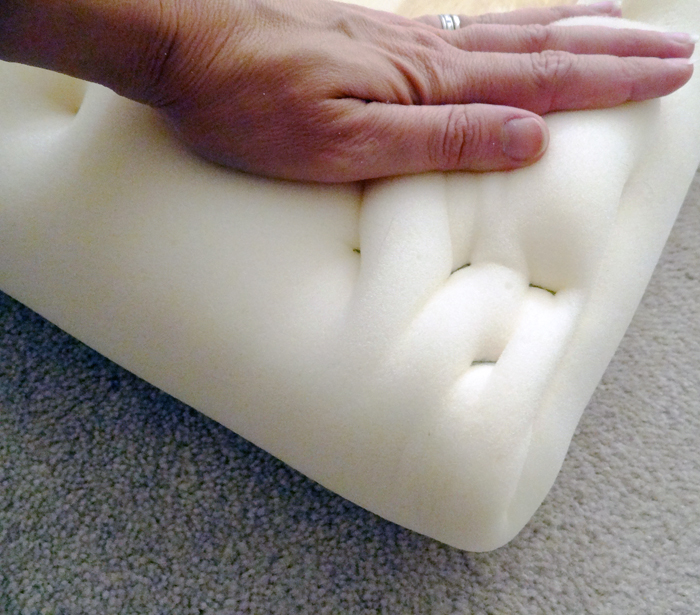
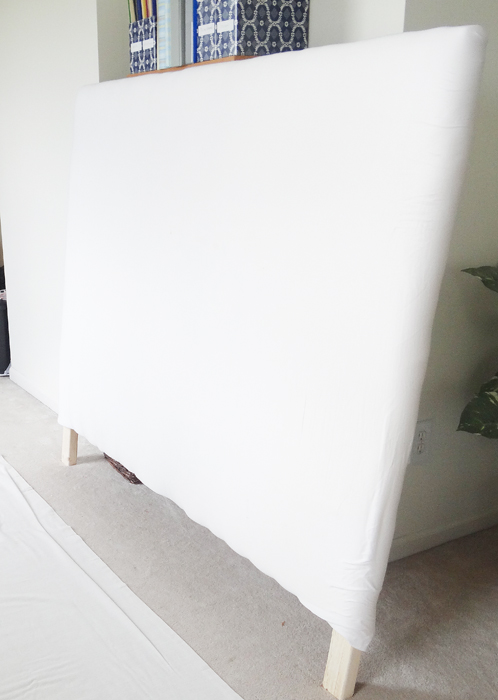
Step 5- If you are using a medium or dark color of fabric for your headboard than you can skip this step. But if the fabric is light colored than you will want to use an inexpensive piece of fabric in between the foam and the outer fabric so the foam color doesn’t show through.
I just used an old white sheet and it worked great for blocking the yellow foam color. Attach it the same way you attached the foam making sure to pull it as tight as you can on each side before stapling.
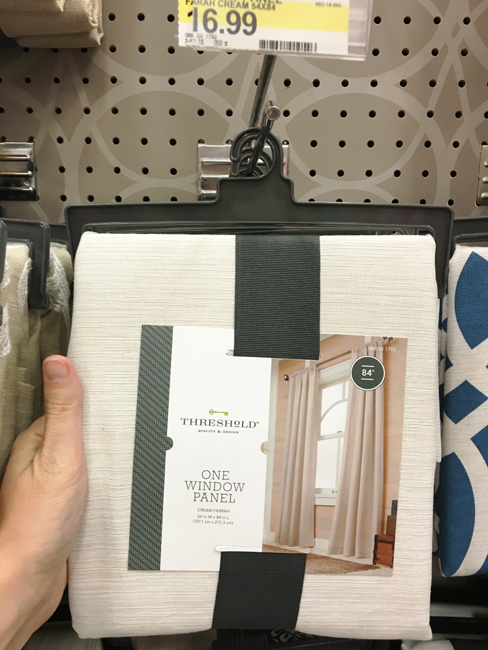
Step 6- For the final layer of fabric I used a window panel from Target. A queen sized headboard needs at least 2 yards of fabric which can get expensive.
The drape panel I used was just the right look and size I was going for and for a good price ($16.99).
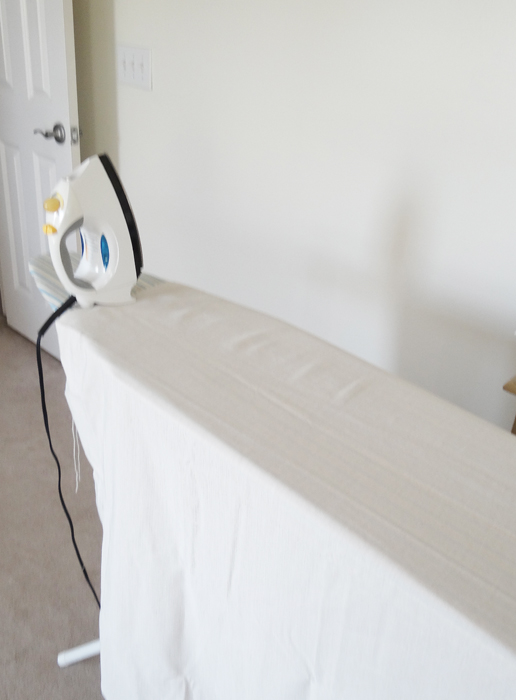
Make sure to iron your fabric before you attach it to the headboard.
When it’s all nice and wrinkle free lay it face down on the floor and place the headboard centered on top of it.
Pull it tight on each end and staple.
On the corners tuck the outside corner in and pull the inside corner down and staple (as shown below).
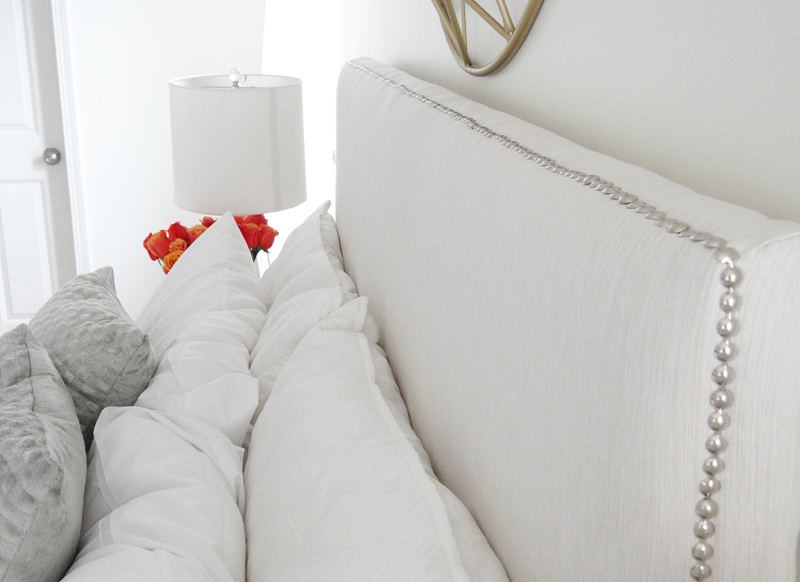
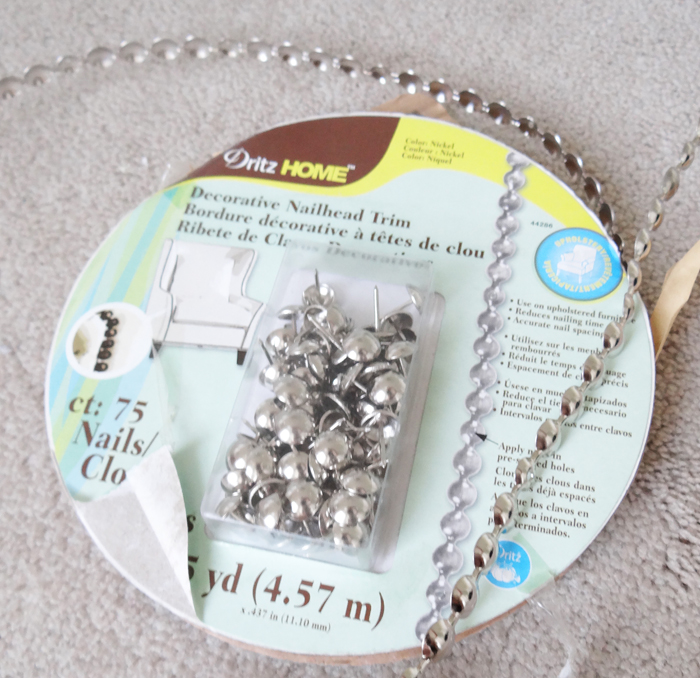
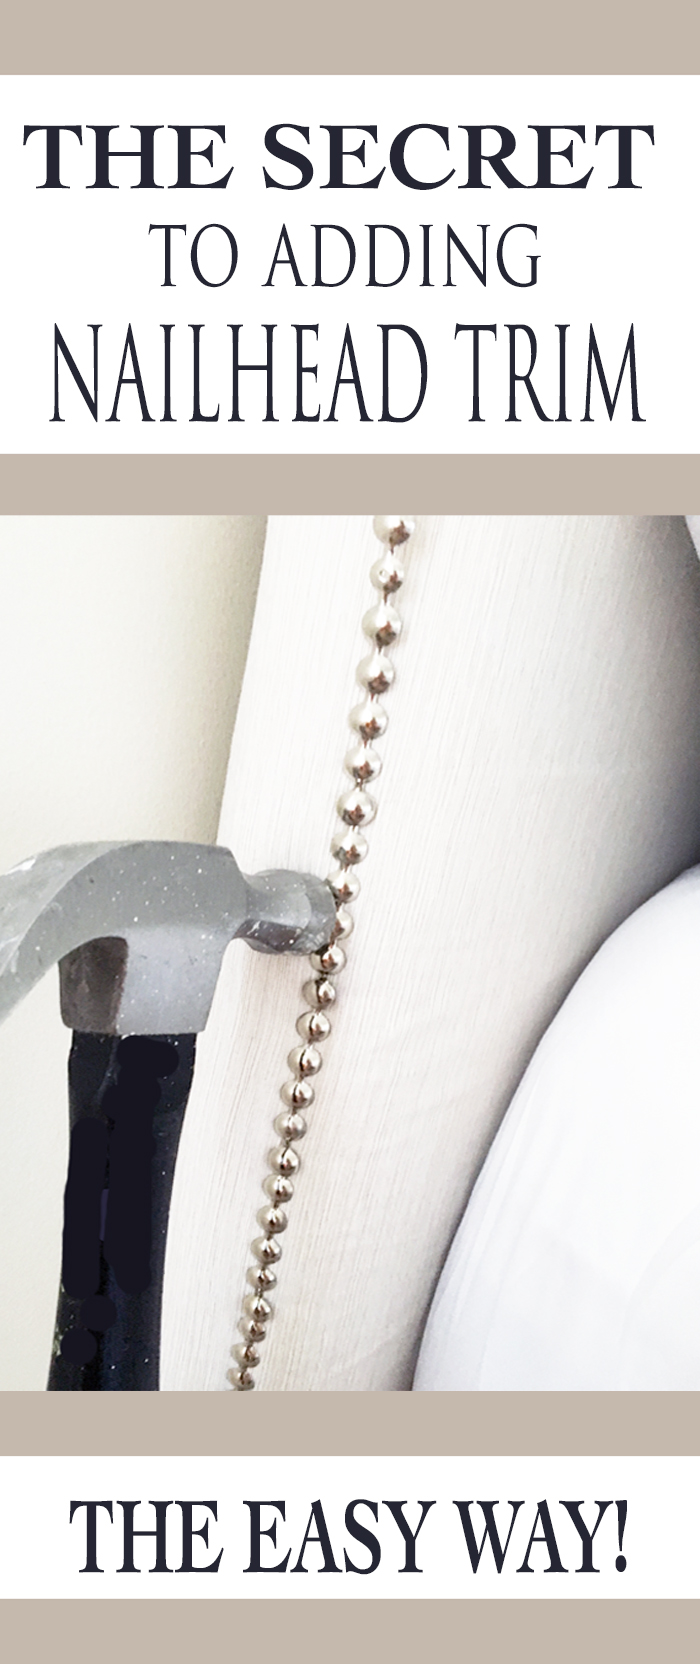
Step 7- Nailhead trim is a great way to make furniture feel a little more fancy or polished (it’s like jewelry for furniture). There are varying ways to add nailhead trim. I think the easiest way is using the product below.
I bought it at Joann Fabrics. It was $21 but I used a 40% mailer coupon so it was more like $14. It’s 5 yards of it so I think $14 is a very fair price (but you can get it even cheaper HERE which I will do next time).
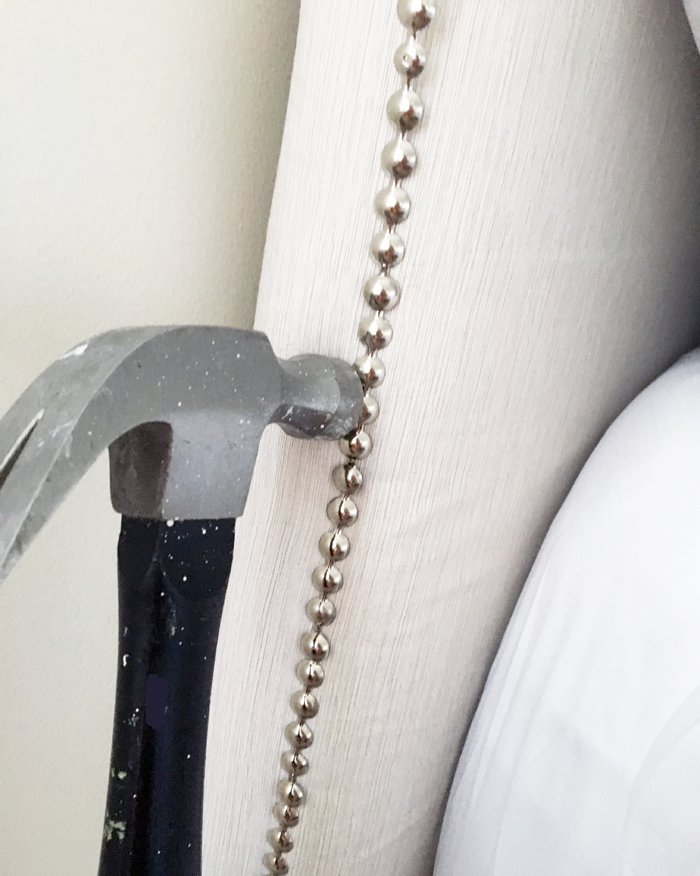
The nailhead trim already comes connected and then you hammer in a nailhead when you see a hole in the trim. It’s kind of hard to explain so I took a little video so you could see it in action.:-) Click HERE to view the video.
The nailhead trim is so easy to do and can really make any existing furniture look more expensive!
I’m really happy with how it turned out! And feel so much more complete now that we aren’t going headboardless anymore…lol.
What have you guys been up to? Are you working on any projects right now? As always please let me know if you have any questions!!
I hope you have a wonderful rest of your week!!

