I had all intentions of writing and sharing this post last week and then life happened (namely the stomach flu, sinus problems, writing a post for another website, 4 kids, a puppy, and a kitten). At last I am here and I truly appreciate your patience!:-)
(The kitten is the easy one).
Today I’m sharing a trash to treasure makeover. It all began on a sunny afternoon as I was walking (or was the puppy walking me?) to the bus stop to gather my children off the bus. As I got closer to the bus stop I noticed a neighbor (the dad of my son’s friend) carrying a leprous bench to the side of the road.
Knowing that trash day was the next day I asked him if he was getting rid off it (always best to make sure in order to avoid an awkward situation).:-)
He said yes and so I asked if I could take it and fix it up. He answered in the affirmative and was even kind enough to carry it to my house a block away (I have good neighbors).
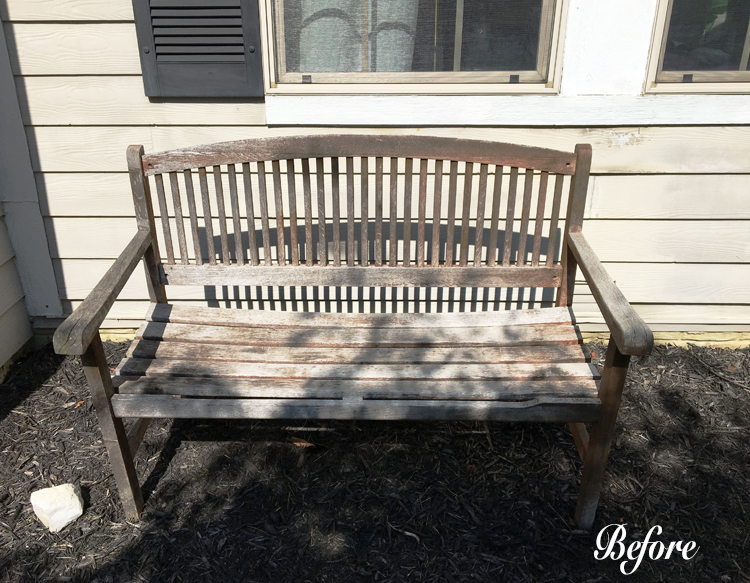
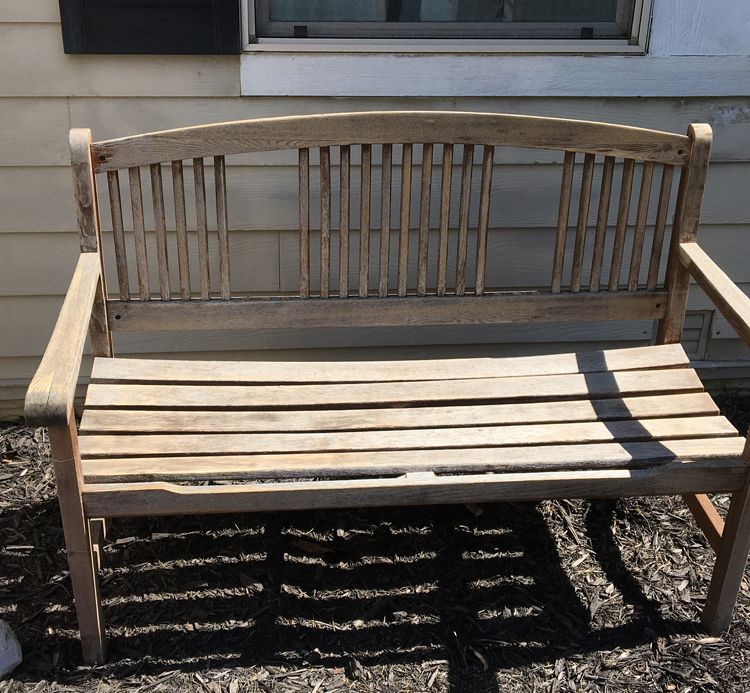
So here is Leprous Larry. Leprous because it’s “skin” was shedding off and looked to be a dying wooden bench.
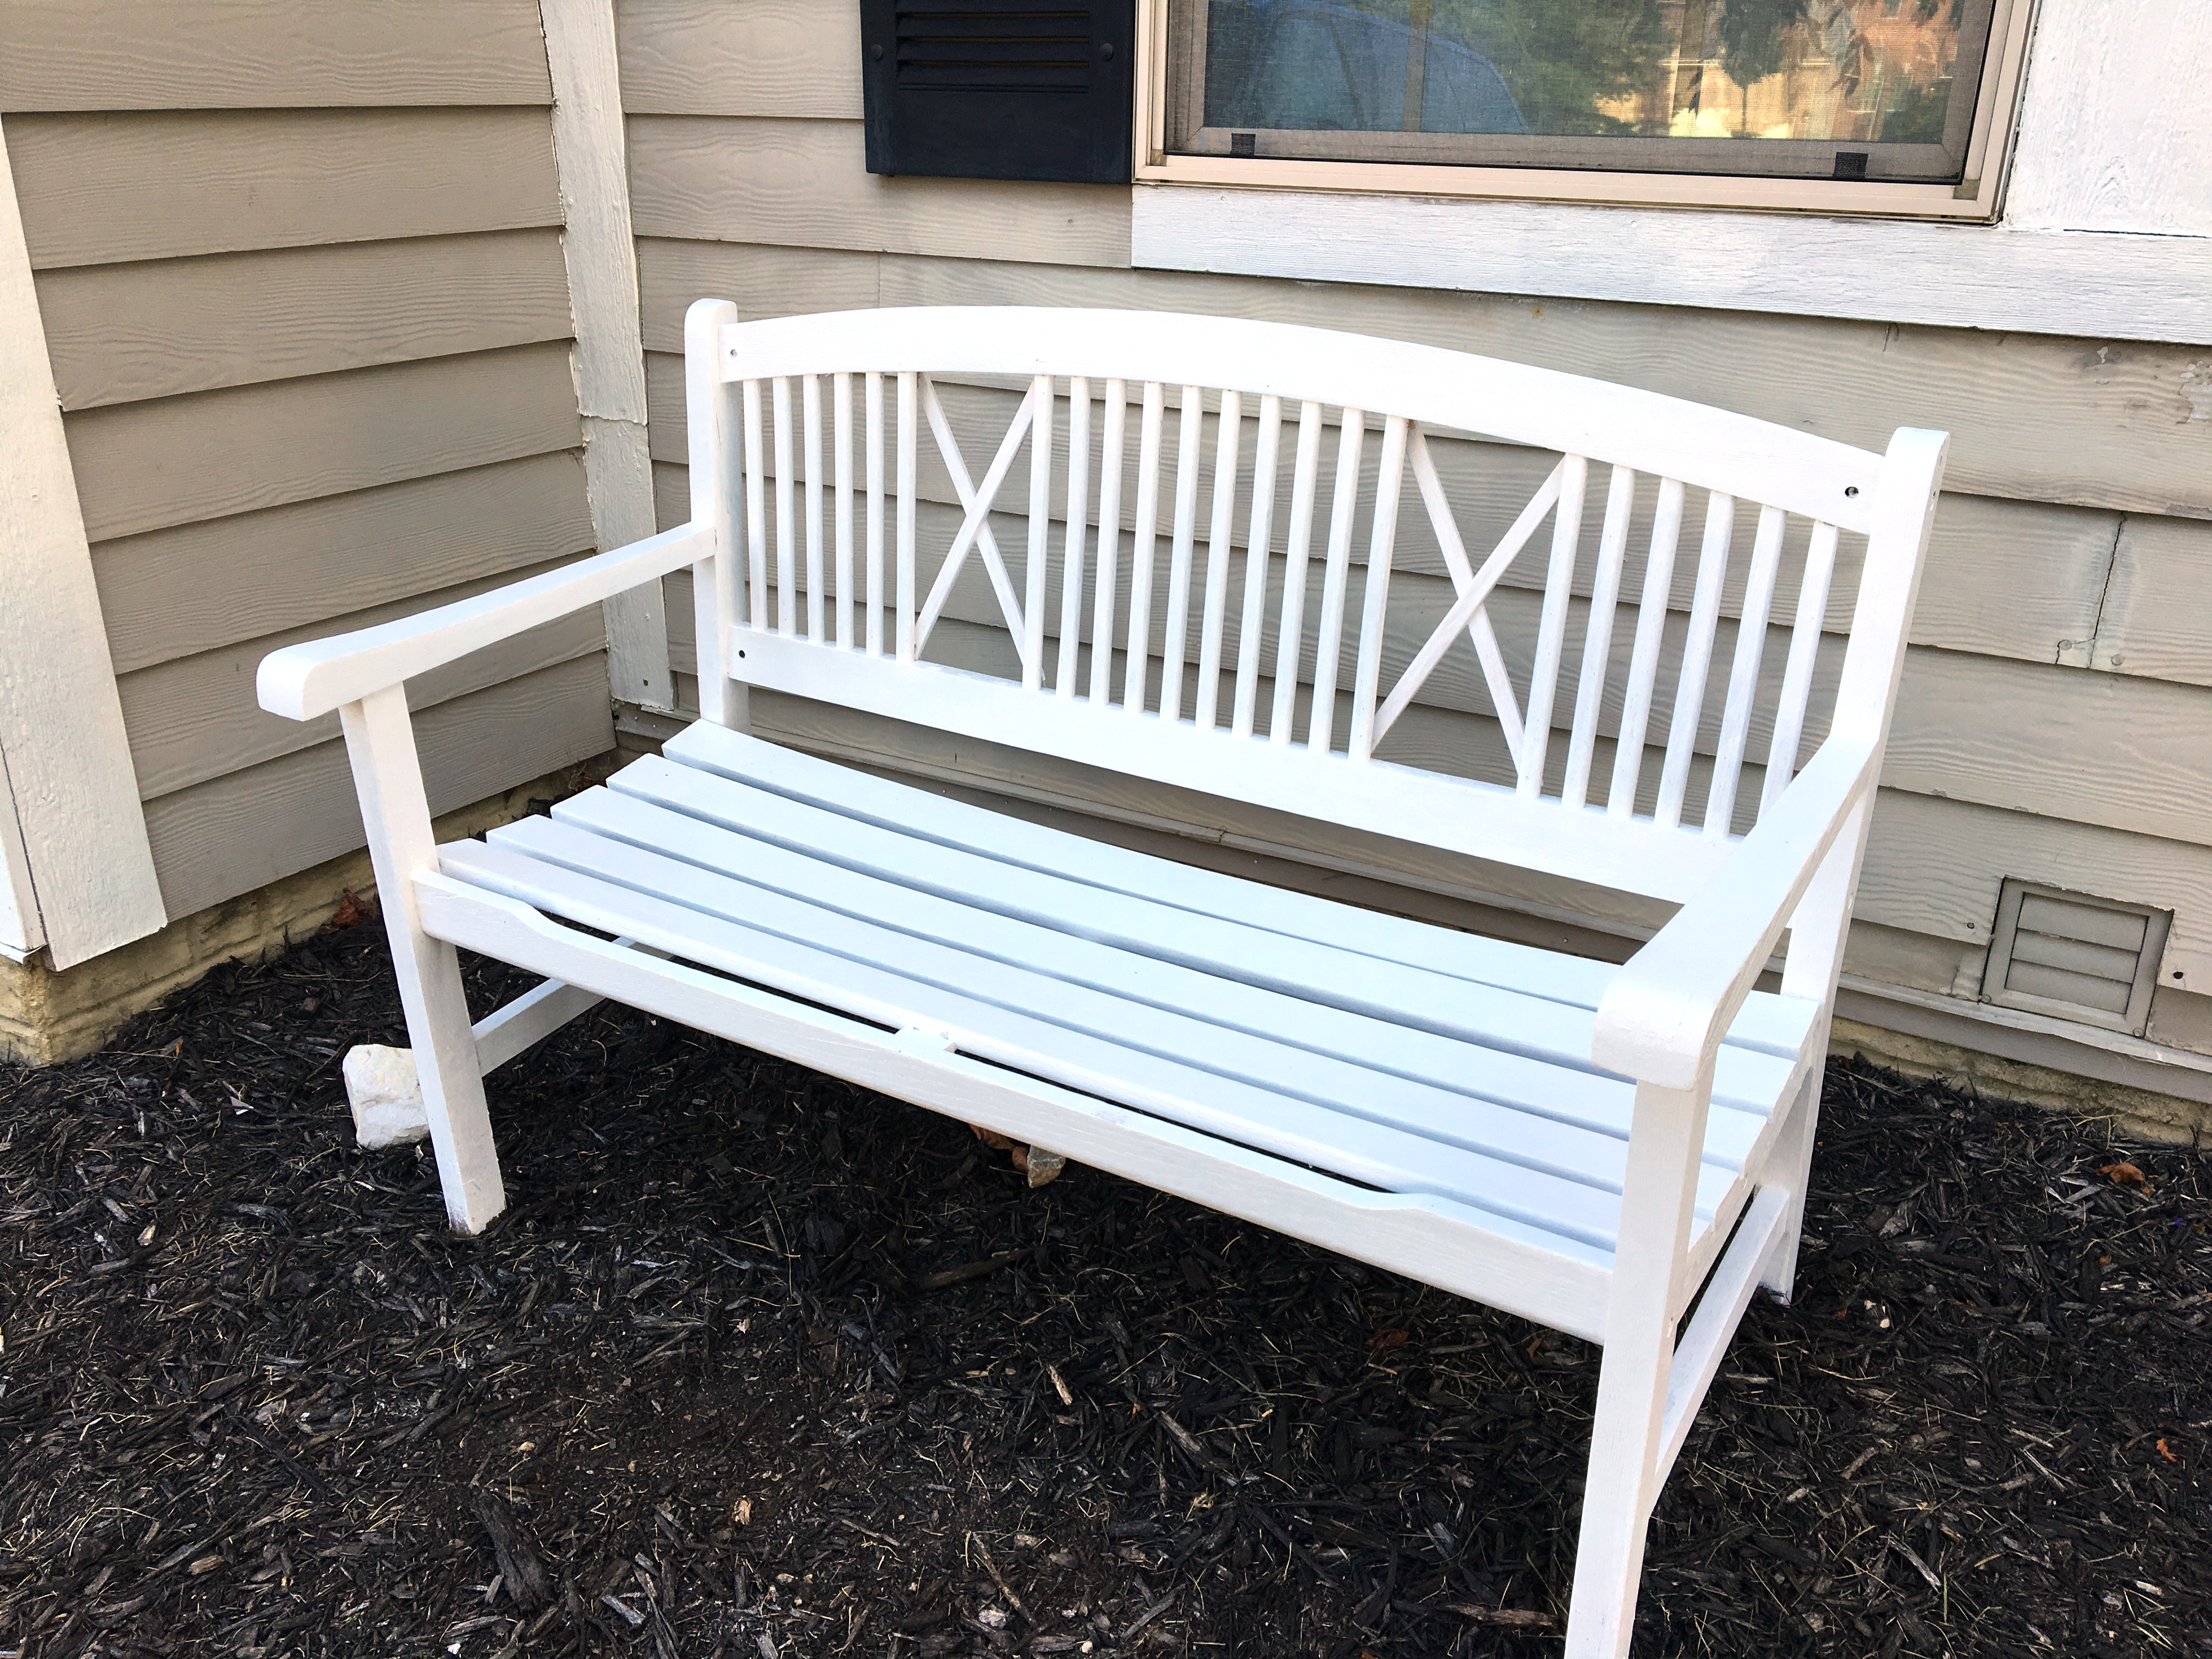
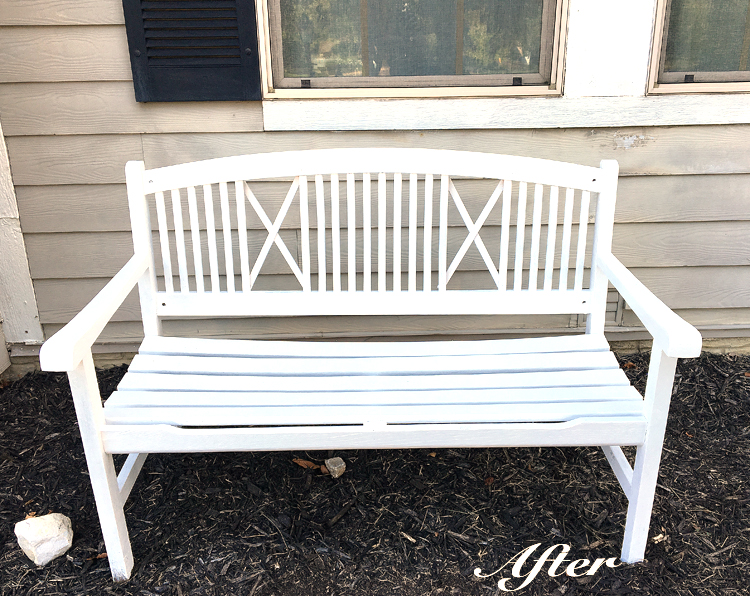
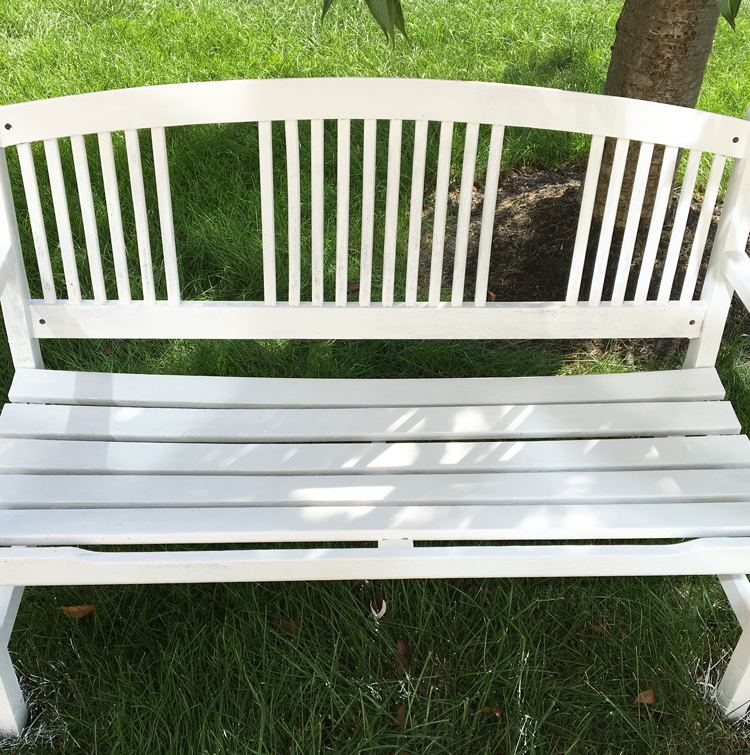
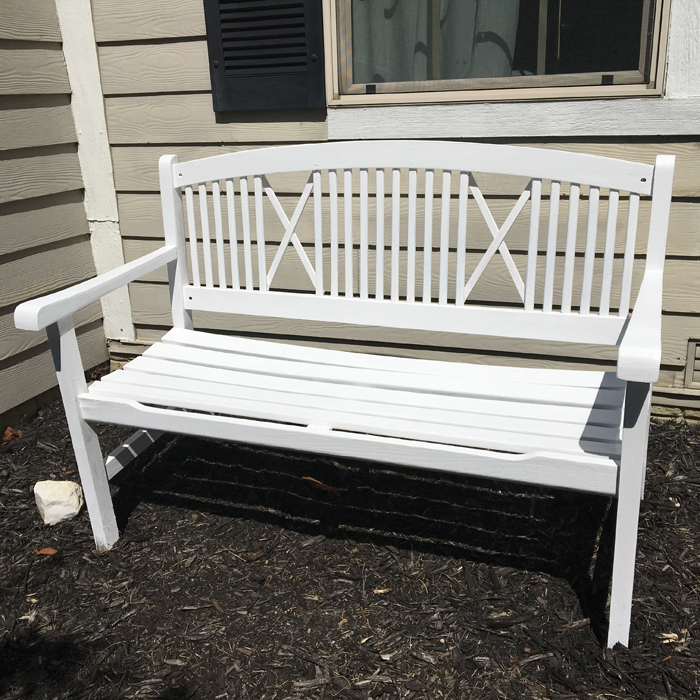
And here is the now, Looking Good Larry!
All it took was a little mending for Larry to be revived. Here’s how I did it!
First I ordered this Genssis Corner Palm Sander on Amazon (affiliate link used for your convenience).
I found it when I wrote THIS post on making over your stairs and wish I would have bought it years ago. I wanted to show you how easy it is to use so I made a little youtube video you can watch HERE if you’re interested.
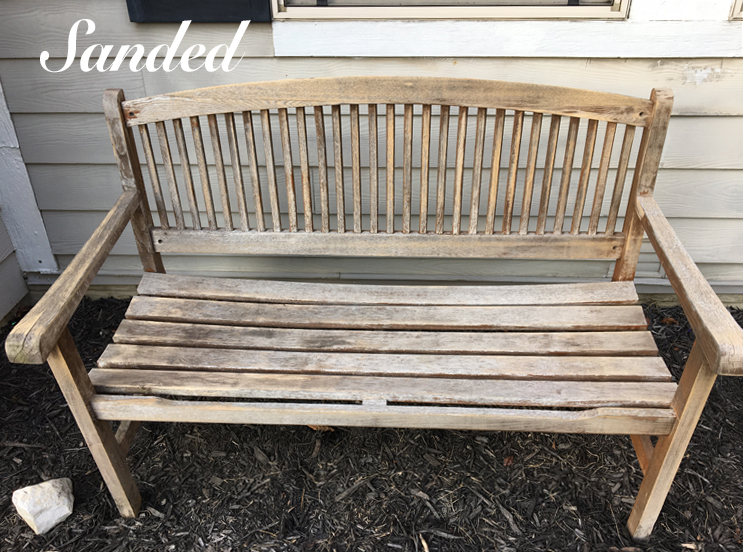
So since Larry was peeling I sanded the entire bench. In the matter of minutes he went from
THIS
TO THIS
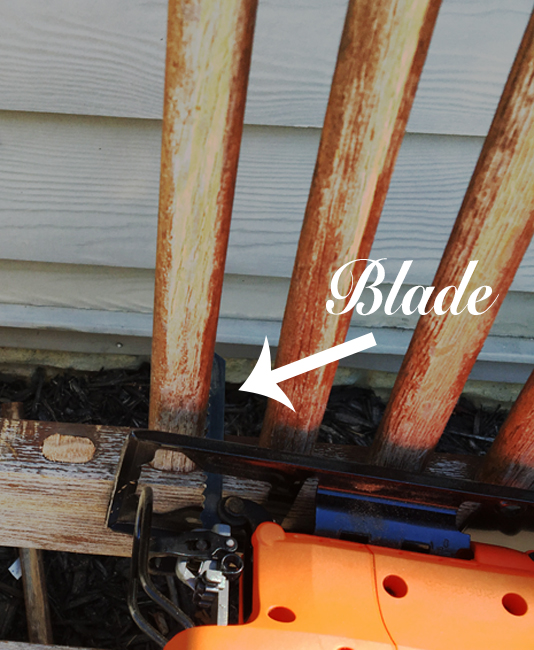
Next using a jig saw I cut off 8 of the Larry’s spindles (4 on each side).
I was wanting to give Larry a new look.
So next it was time to give Larry a paint job. I chose my go -to Behr Alkyd Enamel. Yep the same one I used to paint my kid’s bathroom vanity! It’s an Indoor/Outdoor paint and best thing is it only took 2 coats of paint to complete!
Don’t mind the paint in the grass it comes off with mowing (eventually).:-)
Although I liked how Larry looked at this point I wanted him to have a little more pep in his step.
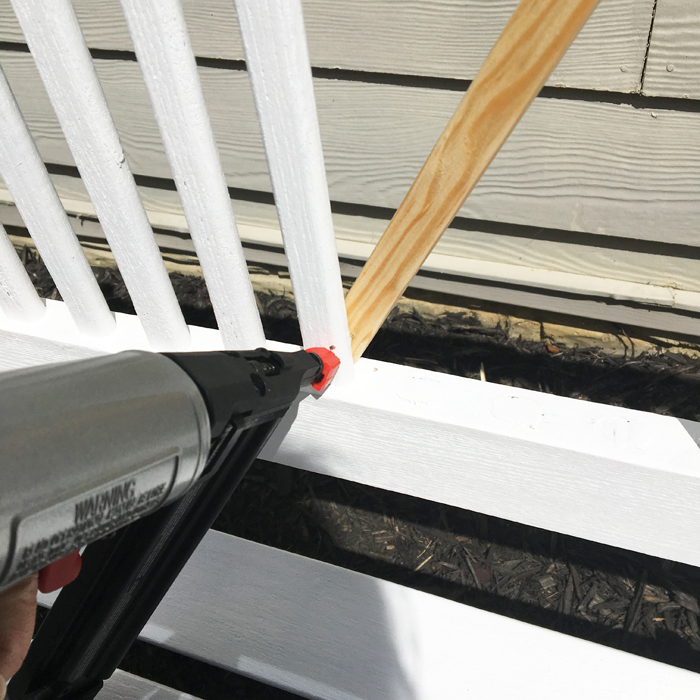
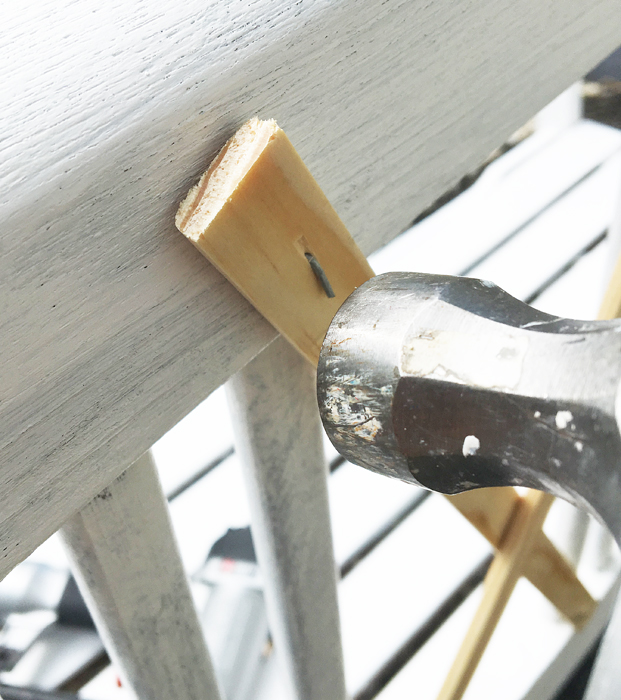
So, I went to Home Depot and bought some trim similar in width to the other spindles and attached them in an “X” pattern using a nail gun.
I shot Larry through the front because then on the back I could gently press the back of the nail down with a hammer for a secure attachment.
Larry’s backside had only been given one coat at this point so the pic above gives you an idea of what one coat will look like.
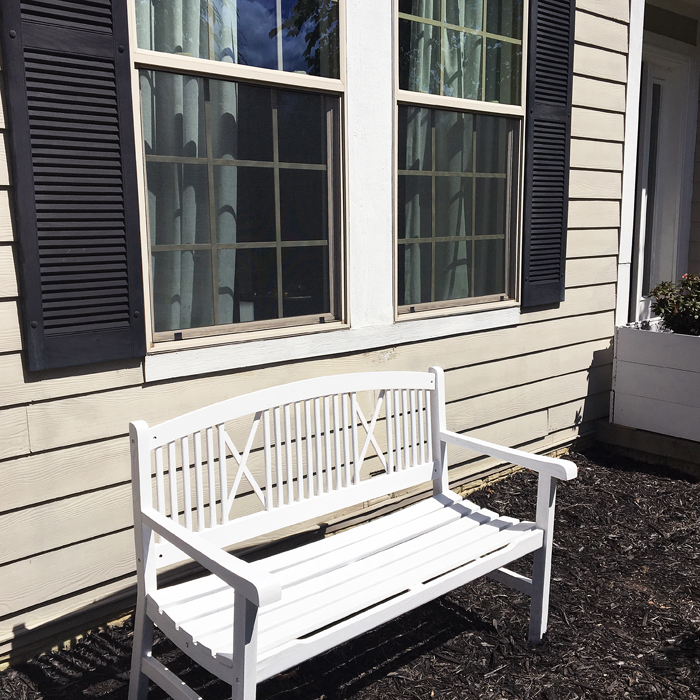
And here is Larry again cured, thriving, and Looking Good
He now resides where there use to be two little boxwood bushes (after some transplanting shenanigans last year they sadly perished. Hey, you can’t win them all right?)!:-)
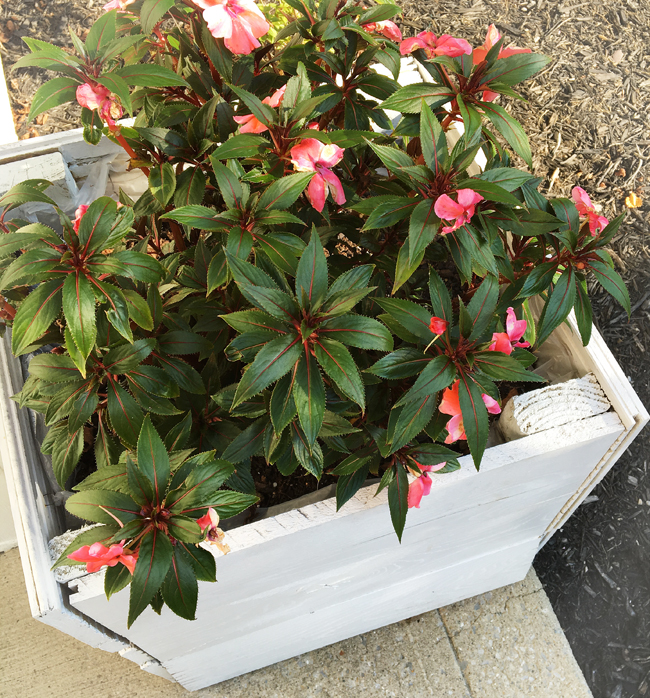
On a positive note we did manage to keep the flowers in our DIY front porch planters alive all Summer. It gets the intense afternoon sun and the New Guinea Impatiens held up to the heat like troopers.
Well, I hope you enjoyed the tale of Larry the Leprous bench (even if it did come a week late). Looking forward to being back next week! Happy Friday!:-)

