Hello! I’ve been excited to share this tutorial with you because it has made such a big impact in my own home and for under $100!
My stairway to the upstairs is the first thing you see when you come into our house.
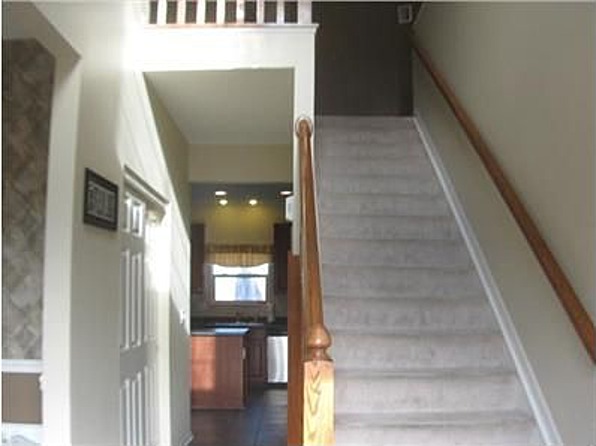
When we moved here it had the builder-basic carpet stairs with oak railings. This isn’t an awful look but it wasn’t what I was hoping for.
BEFORE
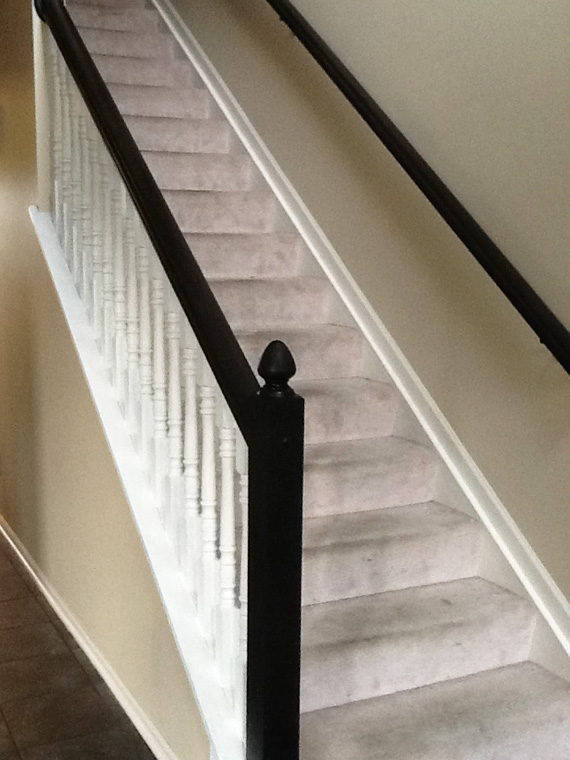
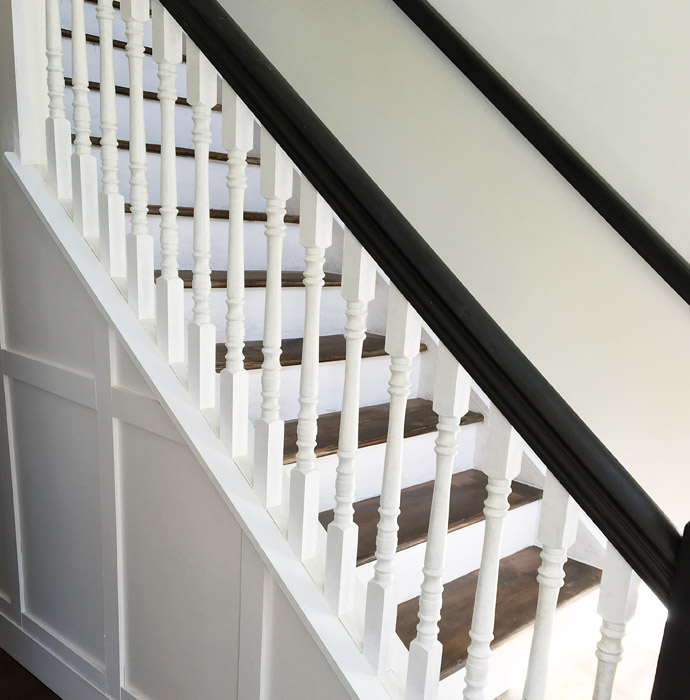
The first thing I did was paint the hand railings dark espresso and the railings white (HERE is the tutorial on how to do this step which is SO worth it IMHO)!
PROGRESS
Next I got so disgusted with the carpet on my stairs that never seemed to look clean no matter how much I cleaned it that one day I just started pulling it up (I’m not an impulsive person but once in awhile when it comes to home projects it happens).:-)
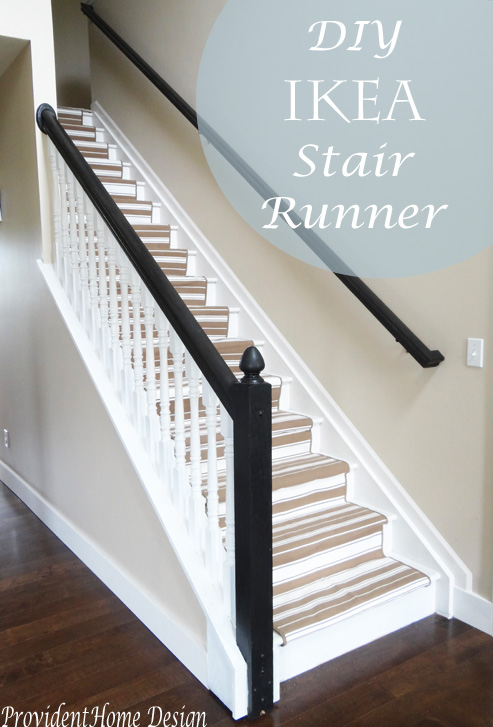
My youngest was around 1 years old at the time so I still wanted some padding on the stairs in case of falls. I kept the carpet pad on the middle portion of the stairs and installed a $75 “runner” down the middle of the steps.
You can learn all about how to take the carpet off your stairs HERE as well as how to add an inexpensive runner!
PROGRESS
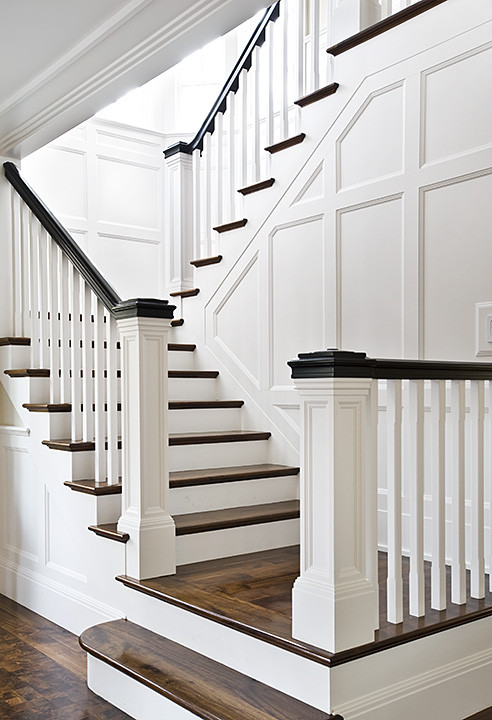
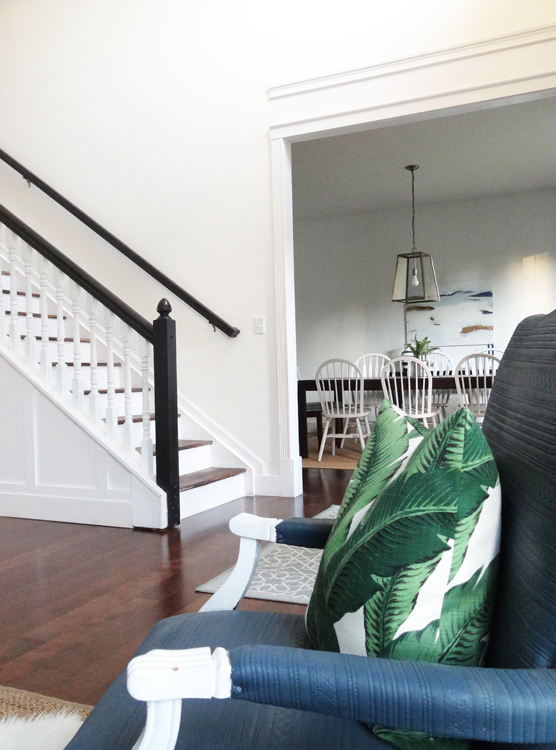
I really loved how it looked but I’ve always for the past 5 years dreamed of having the clean look of brown wood treads with white risers.
Plus a few months into having the the new runner one of my children managed to spew all over the top of the stairs and although much of the mess came out it did leave stains on three of the steps.
So as soon as my youngest got really good at walking up and down the stairs by himself I began researching the best way to go about staining stairs.
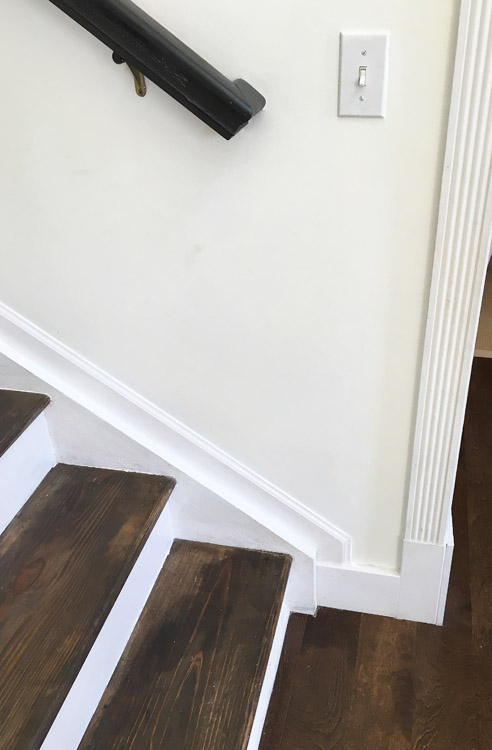
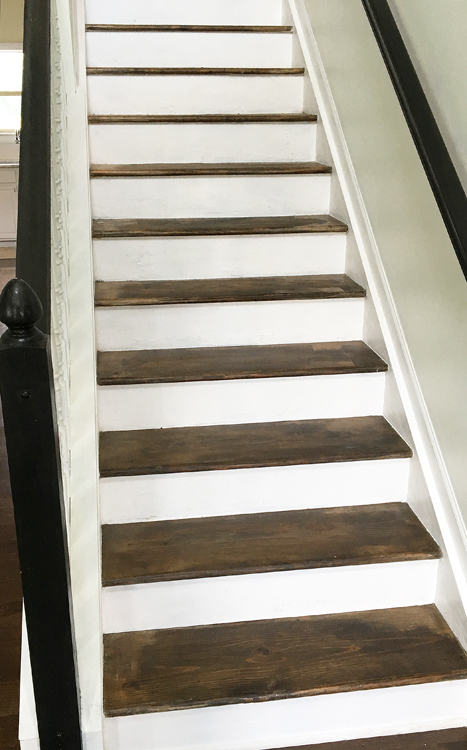
After much consideration I decided that using the original pine treads would be the easiest and most cost effective avenue. And here is the results!
AFTER
I am so happy with the results!!
You CAN totally do this even if you are a beginner at DIY–so don’t let fear get in your way!
I will take you Step by Step (no pun intended)!:-)
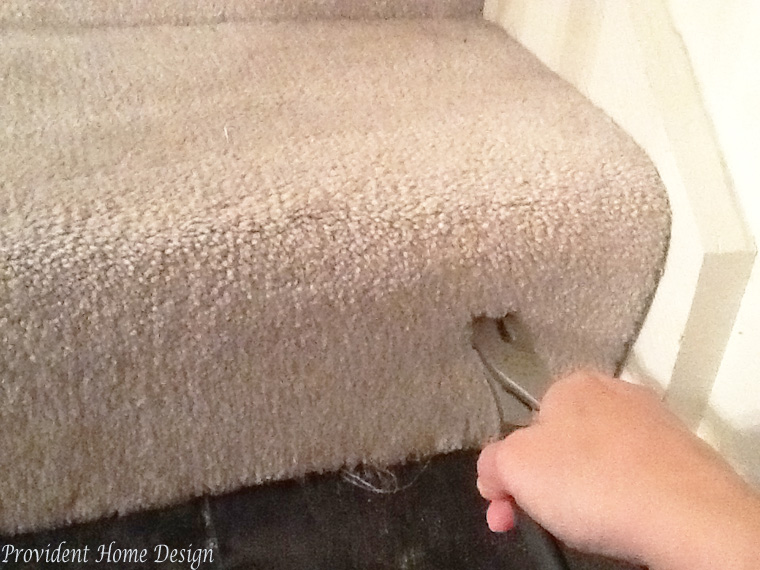
1. I started with the bottom step by using pliers to pull the carpet away from stairs.
2. Once you get the carpet up this is what you will see. The blue stuff is the carpet padding (yours might be a different color) and the arrows show where the nail strips are.
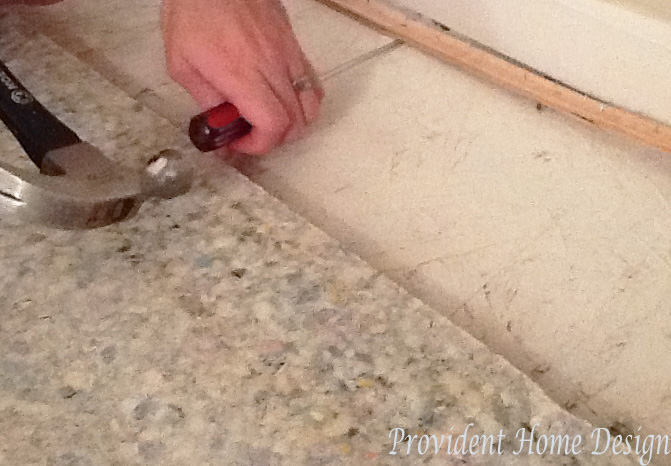
With a flat head screw driver up against the nail strip strike the end of the screw driver with a hammer until you can get under the nail strip and pull/pry it up (you may want to use gloves during this step).
TIP: Getting the nail strips up is the longest part of the process (and some are easier than others to pull up). I only had a little bit of time each night to work on this project so I did a few steps at a time and then put the carpet back down over the steps.
I wouldn’t pull the whole carpet off the stairs all at the beginning unless you knew you were going to have the time to get all the nail strips up in one big nail stripping session.:-)
3. Pull off the padding and remove any staples or nails left on the steps. The flat head screwdriver works great for prying up the staples as well.
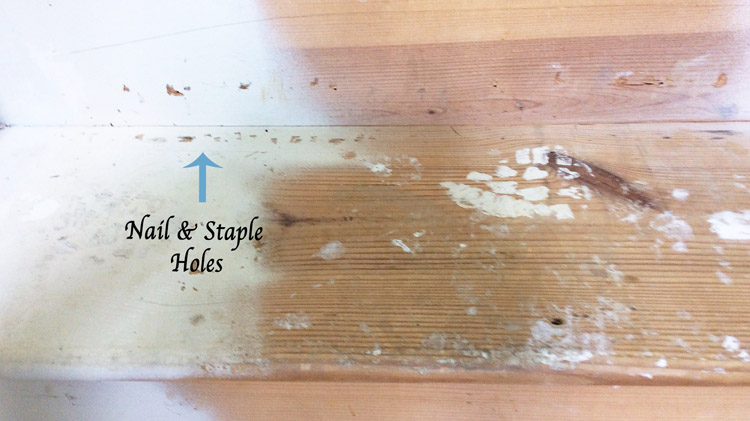
4. After step 3 you will be left with little nail and staple holes.
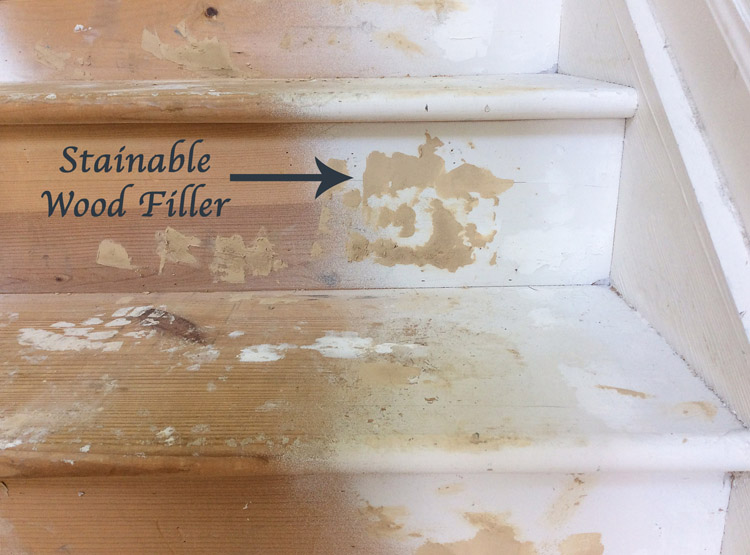
Fill these holes with a stainable wood filler (for your convenience I will have a supply list with links to these items at the end of this post). You can apply and smooth out the wood filler best with a putty knife.
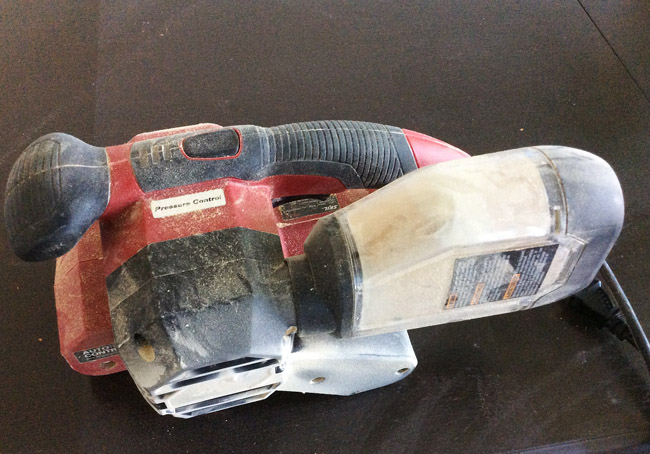
5. Now it’s time to sand. For this step I borrowed a friend’s belt sander. If you don’t have a sander or a friend to borrow one from no worries!
There are some 4 1/2 star sanders on Amazon for only $15-$35 that will work awesome for this project (links to the sanders at the end of the post).
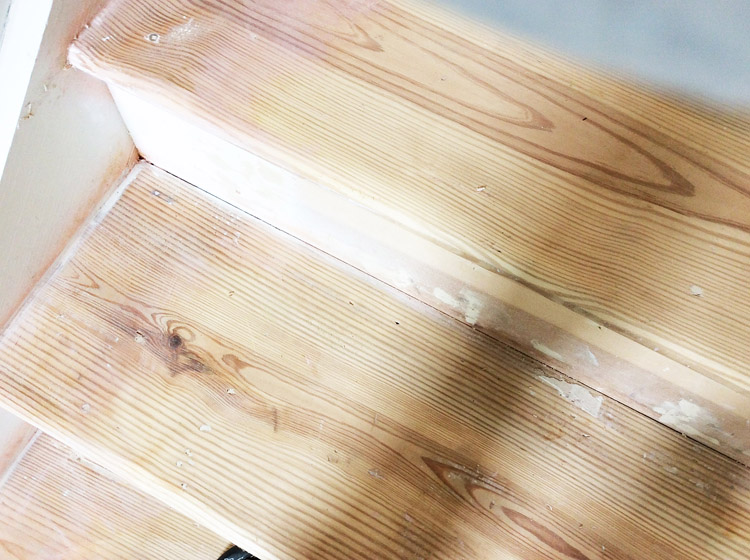
Sand both the treads and the risers until smooth.
6. The belt sander worked really well for me, however, it didn’t do well getting the spots close to the edges of the stairs (you won’t have that problem with the sanders I recommend below)
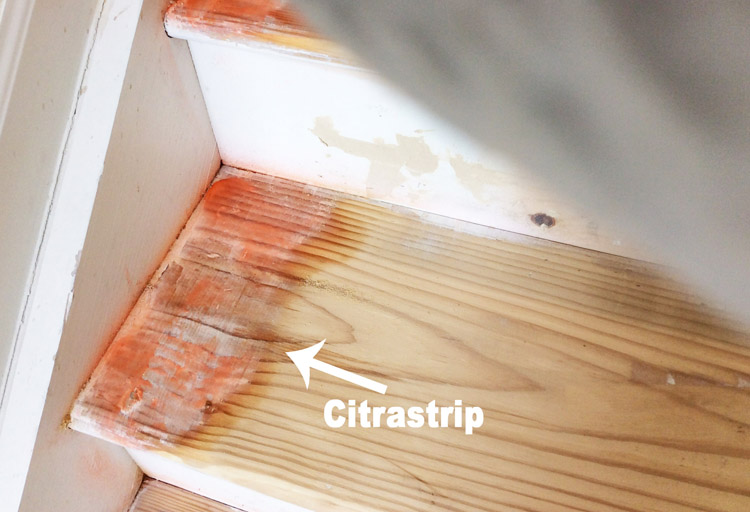
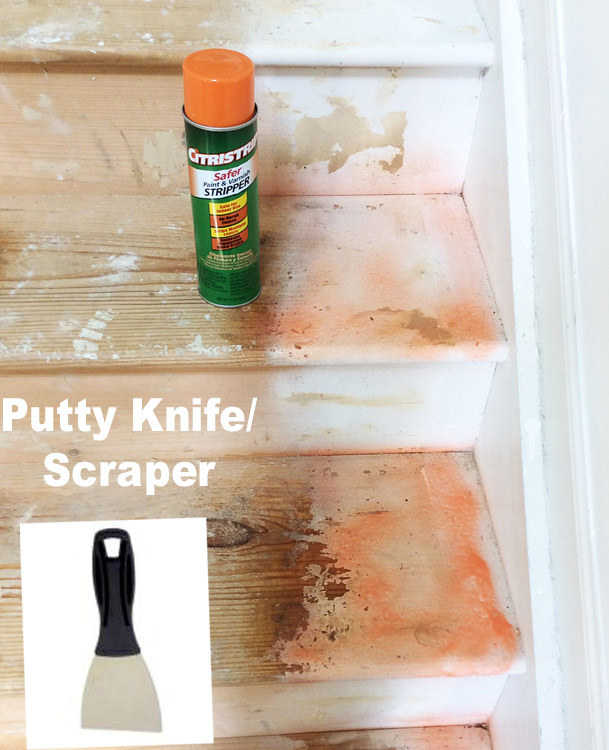
So for these areas I used a product called Citrastrip. I got the spray bottle version for convenience. After spraying it on you leave it for 30 minutes and then start scraping it off with a putty knife or scraper.
When I had installed the runner a couple of years ago I had also painted the sides of the steps will 2 coats of white enamel paint so it took a few applications of the citrastirp before I got all of the paint up.
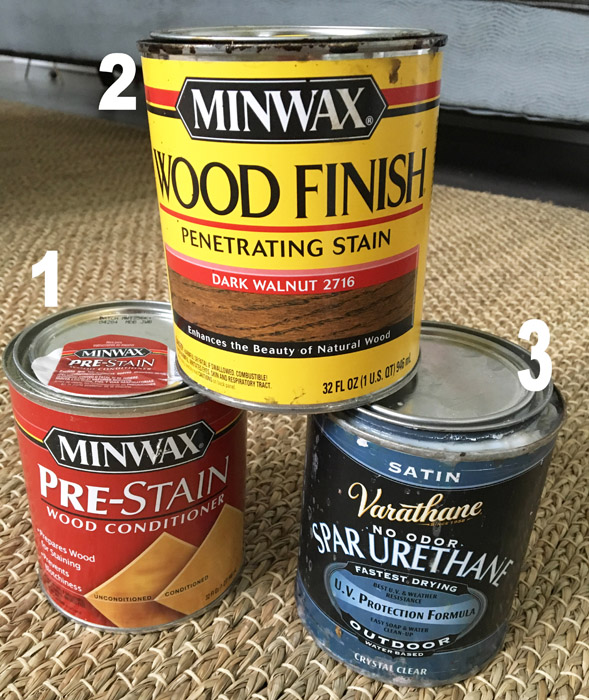
7. Now onto the fun part! You will use these products in the order shown below.
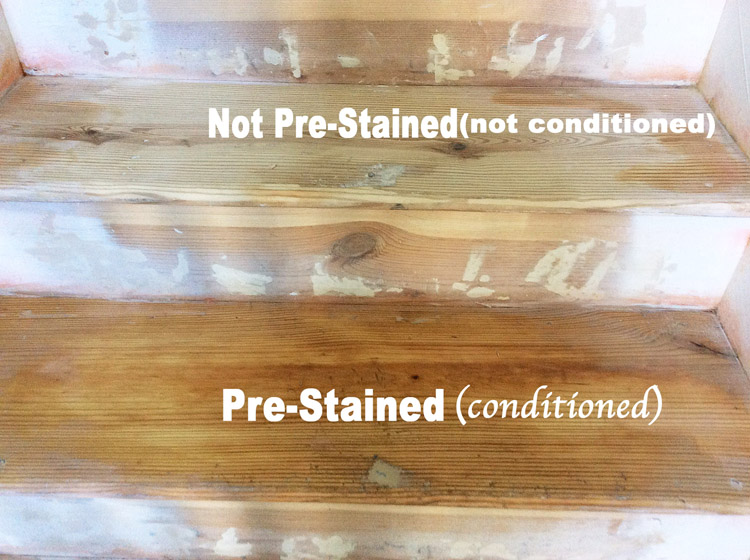
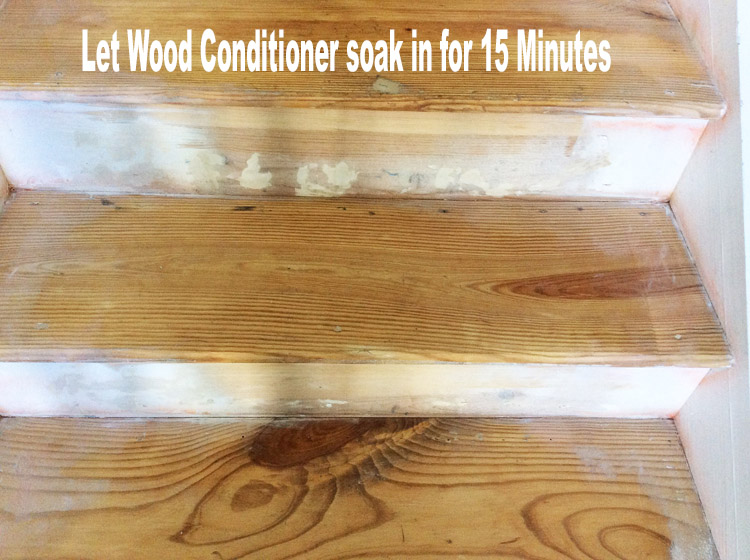
First, with a paint brush cover four steps with Pre-Satin Wood Conditioner. The conditioner is very important to achieving a beautiful, even stain so please do not skip this step!
Let the wood conditioner soak in for 15 minutes and wipe away any excess (there wasn’t any for me).
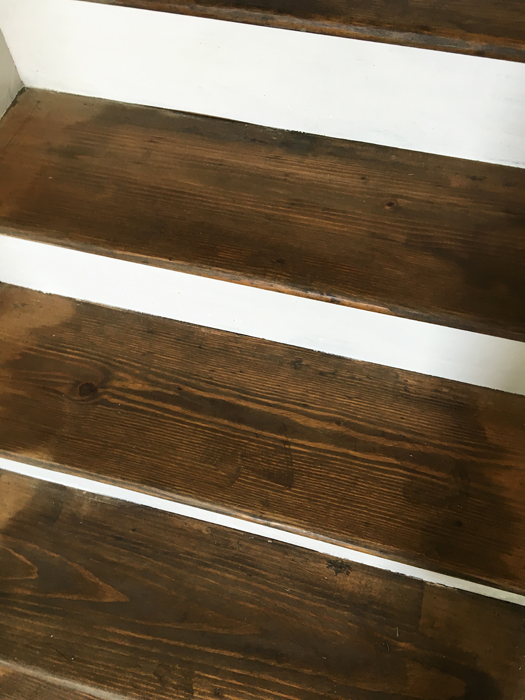
8. Have a rag ready. Using a different paint brush, brush on your stain making sure to use a thin and even coat. Quickly remove excess stain on the step by vigorously wiping the step down with a rag.
Sadly I didn’t get any pictures of this step because of the time sensitive nature involved.
Tip: It is easier to add more stain for a darker color but impossible to make the stain lighter after it dries (and it dries very quickly). So be sure that as soon as you apply the stain that you “wipe it away”.
Keeping adding coats of stain until you get your desired color. I only needed to do one coat.
9. Once you get it to your liking it’s now time to protect all your hard work and give it a professional looking finish by brushing on a Polyurethane. I applied 3 thin coats since I knew our stairs would get lots of abuse.
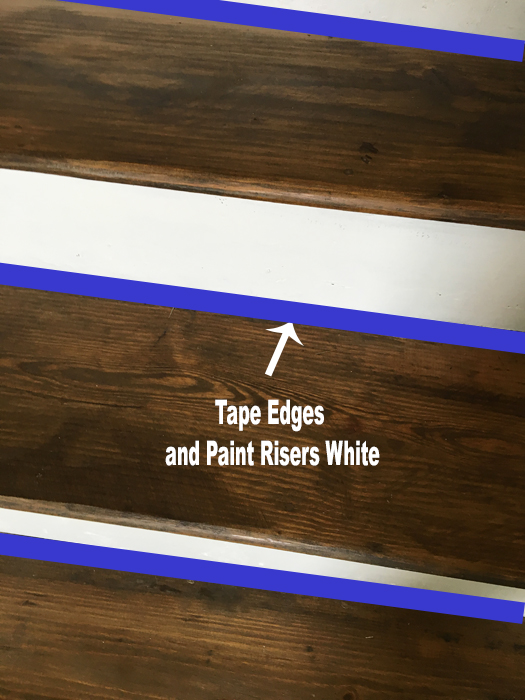
10. For the last step tape off the edge where the treads and the risers meet and where the treads and sides meet and paint risers white.
Make sure to tape precisely so that you get a clean crisp line once the tape has been removed! Once the paint dries, remove the tape and you are DONE!!
We are loving our new steps!
As promised here is your supply list that links you to the actual products you can purchase for this project! (affiliate links included for your convenience)!
SUPPLIES
Electric Sander (Option 1) (Option 2)
Stain (I used Miniwax Dark Walnut)
Polyurethane- For a little shine (Option 1) For more shine (Option 2)
White Paint- I used Behr’s Pure White Enamel Paint from Home Depot
I hope you enjoyed this tutorial! As always let me know if you have any questions! I hope you have a great rest of your weekend!!:-)

