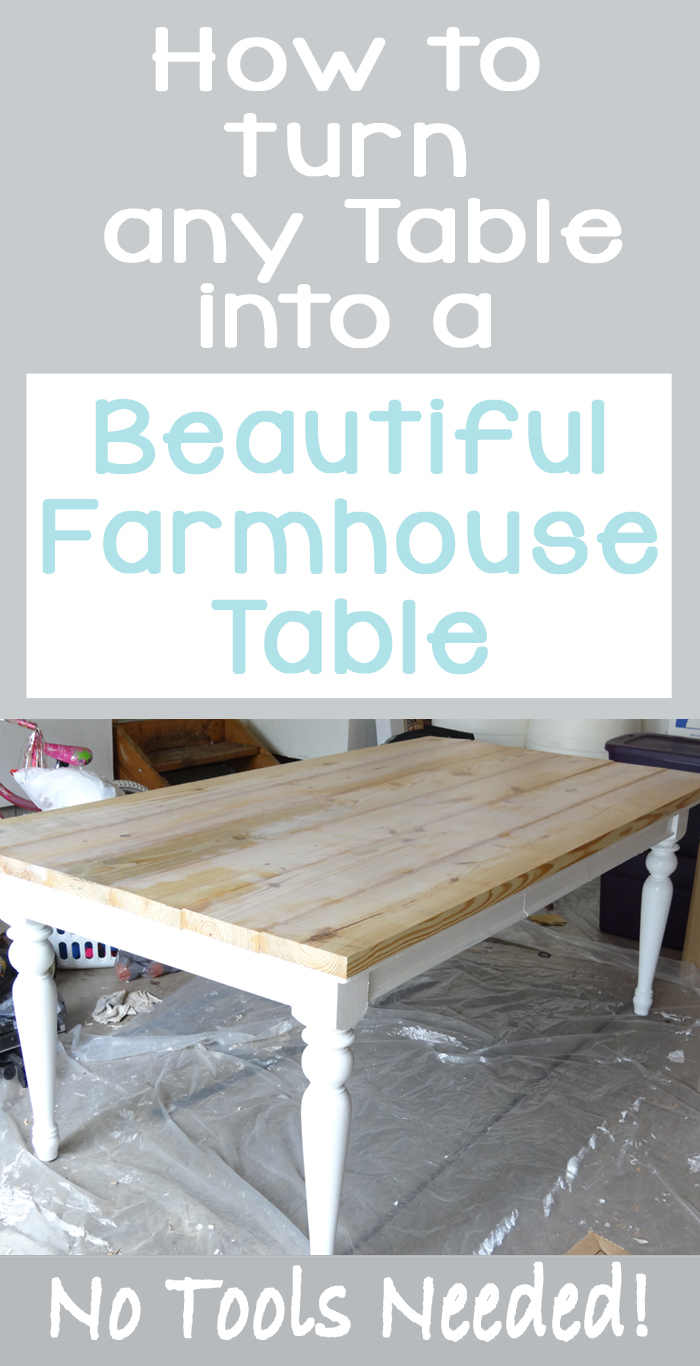
I recently helped my friend, Heather, transform her beat up kitchen table into a beautiful farmhouse table. Her 13 year old daughter is obsessed with the Fixer Upper show and Joanna Gaine’s style. She asked if I would help her daughter with a project she had found on Pinterest where Diana from Our Vintage Home Love had taken off the top of their existing table and replaced it with a farmhouse-styled top.
 \
\
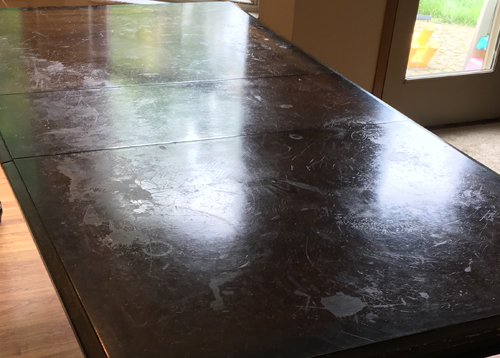
My friend, Heather, had a sturdy table with beautiful legs but the tabletop had taken a beating over the years with four young kids.
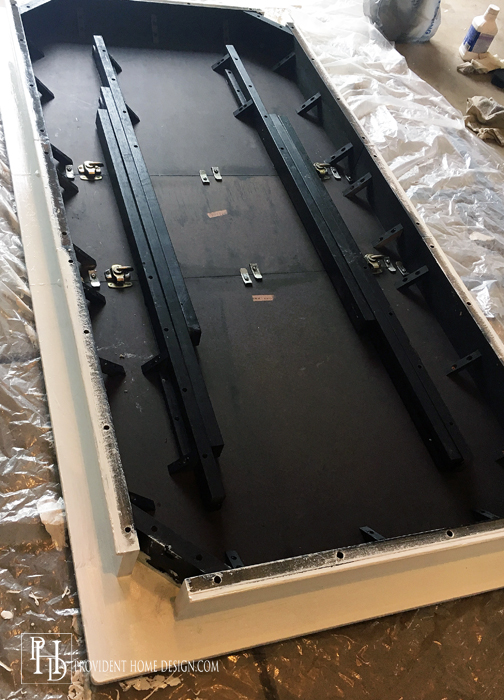
With all of the screws under her table we thought for sure it meant we would be able to remove the tabletop however after taking a good looksy underneath we realized the top was going nowhere!
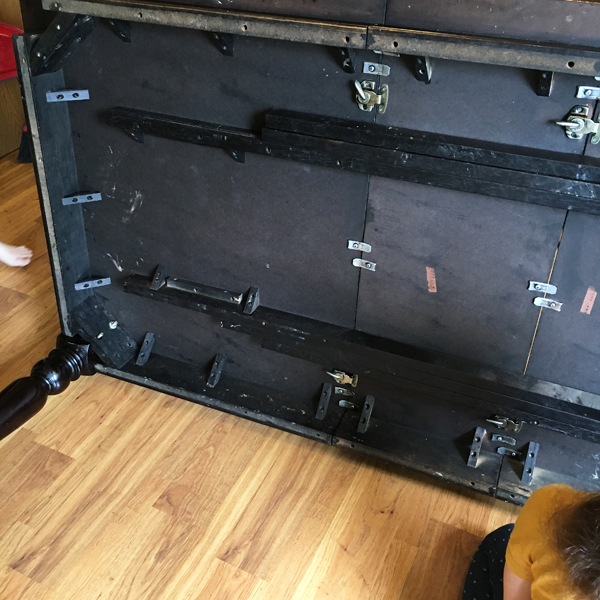
As I was thinking about what to do the idea came to me…why don’t don’t we just install the wood planks right over the existing table top!
So that’s exactly what we did!
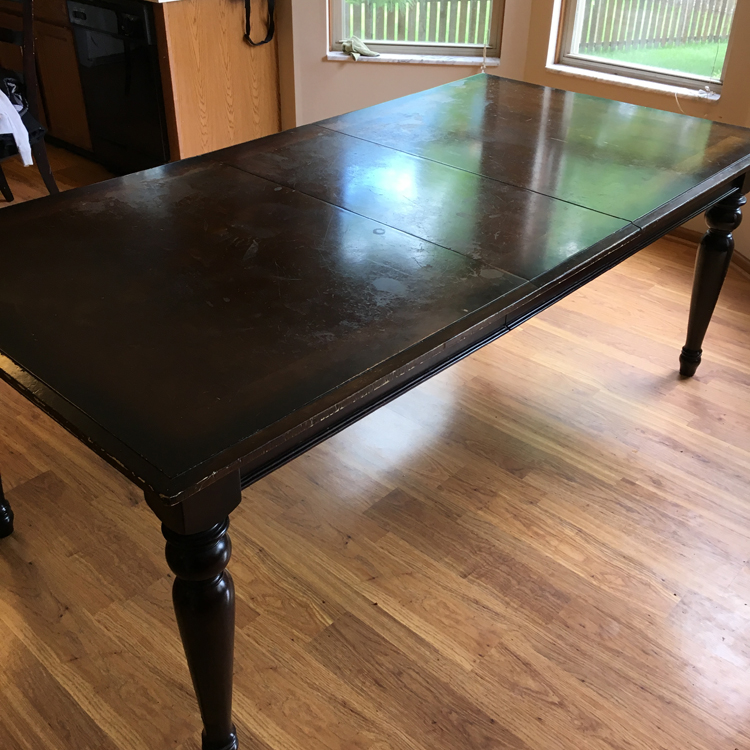
Before
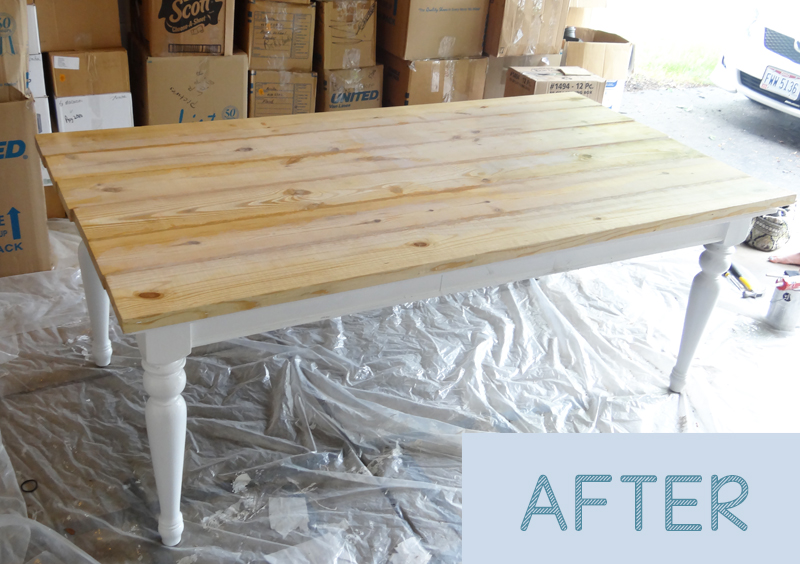
And the Afters

How we did it:
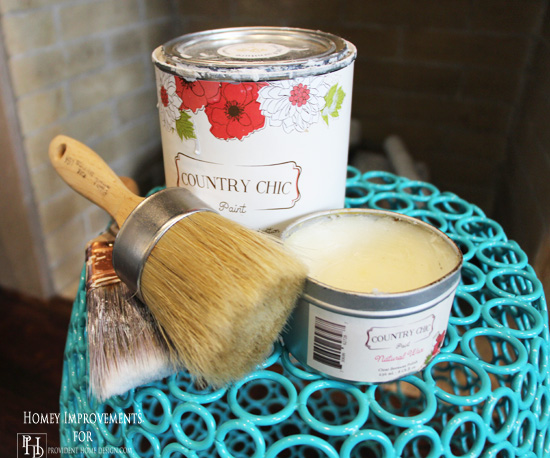
First, the legs and base/apron of the table were painted white. We used this tutorial for painting wood furniture which consists of using a deglosser and then 3 coats of enamel paint.
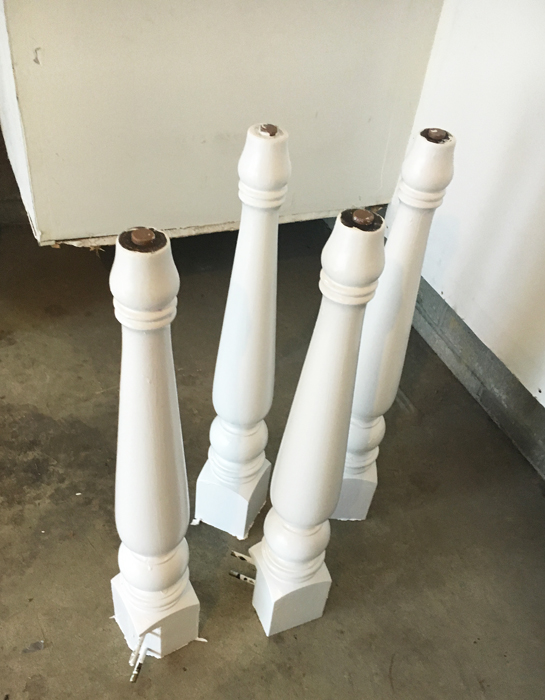
You can paint the table with their legs on or take them off just be sure paint the entire apron of the table.
Next we measured the width and length of the table. The width was 42 inches. We used 2″x8″ pieces of pine boards to create the tabletop.
Even though the pine board says it is 8 inches wide it will really be around 7.25″. So, 7.25 times 6 is 43.5″. We felt good about there being a .75″ overhang on each side of the table so we went with (6) 2″x8″ pine boards (cost of boards came to about $40).
We had the length of the boards cut at the store 1.5 inches longer than the existing table top.
Tip: When you are picking out the pine boards I would line them up on the floor of the store to make sure they line up together well. Some boards may be warped slightly and it is hard to tell until you line them up next to each other.
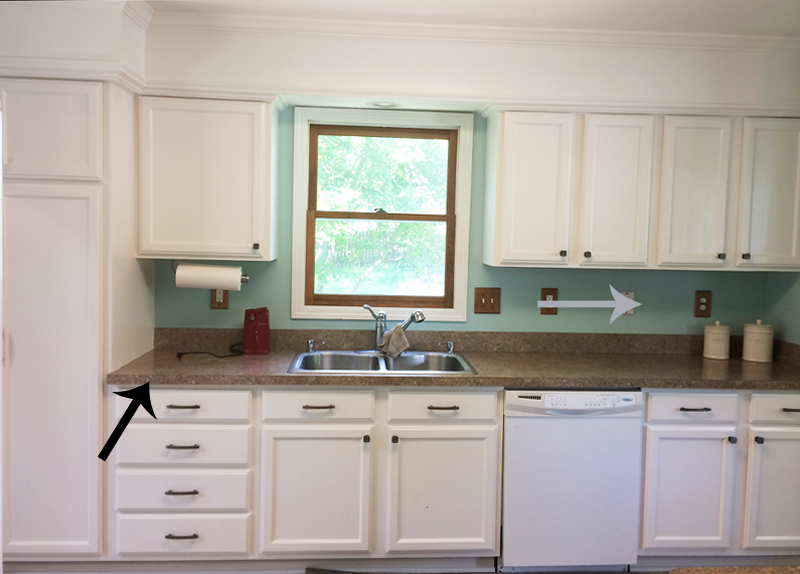
The next step we took was measure the width of the table and marked the center of it (as seen with the arrow below). We then added lines of Liquid Nails adhesive down the center of the tabletop.
If you have an even number of boards like we did (6) you will lay the first two boards down so that they meet at the very center of the table.

Keep adding Liquids Nails adhesive to the tabletop and line the pine boards up until they are all on and lined up correctly.

Let the adhesive dry for 12-24 hours or as package indicates.
It was very important to Heather to fill in the cracks between the different boards (the last thing she wanted was to have food stuck in cracks). So to fill the cracks we used stainable, natural colored wood filler.

via Amazon (affiliate link)
We squeezed the filler out onto the crack and then wiped it smooth with our finger. Use a slightly damp cloth to wipe away any excess wood filler.
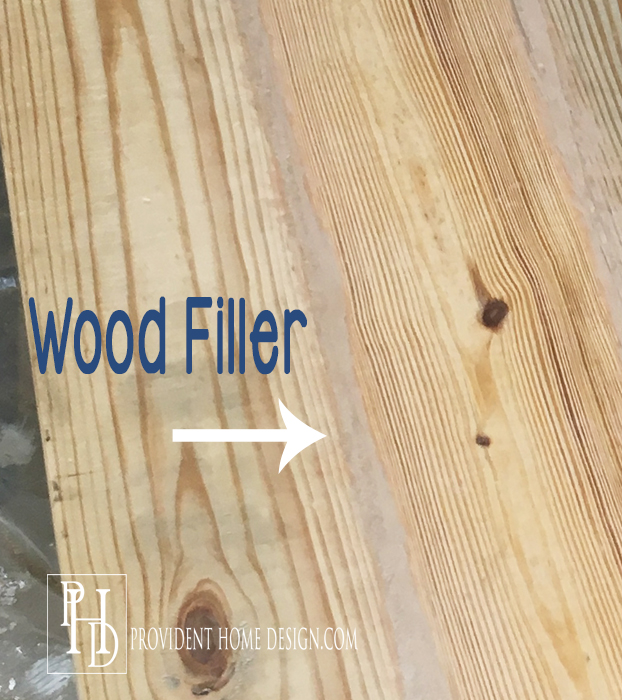
We let the wood filler dry for a couple of hours and then sanded the whole table down by hand with fine grit sandpaper. Some of the boards may be ink stamped. Sanding those areas well will take it away.

Next stain the boards as desired (be sure to wipe away all the dust before this step).
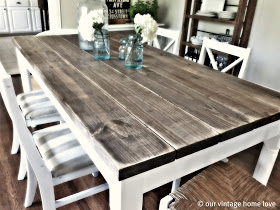
Heather loved the look of the table below so we decided to leave the boards unstained and just white wash the table in areas.

Source Unknown (please let me know if you know the source of this photo).
White wash can be made by mixing one part paint to 4 parts water. Now just start going for it!
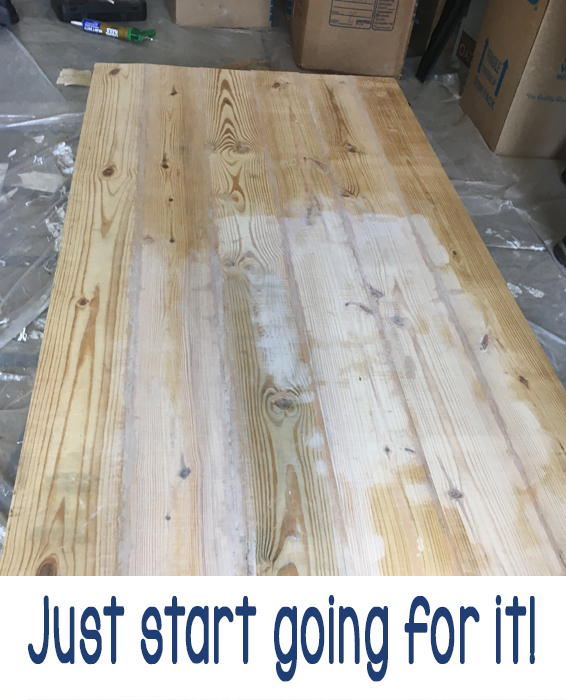
Heather’s daughter did a beautiful job with the white wash! Add the white wash with a brush and then immediately wipe it away with a rag.

After getting the first coat on how we liked it we added even more water to the mixture and “splotched it” on next to the white wash we had already done. This way the white wash appears less defined and more natural and faded.
Once you get it the way you want it’s time to protect all your hard work!
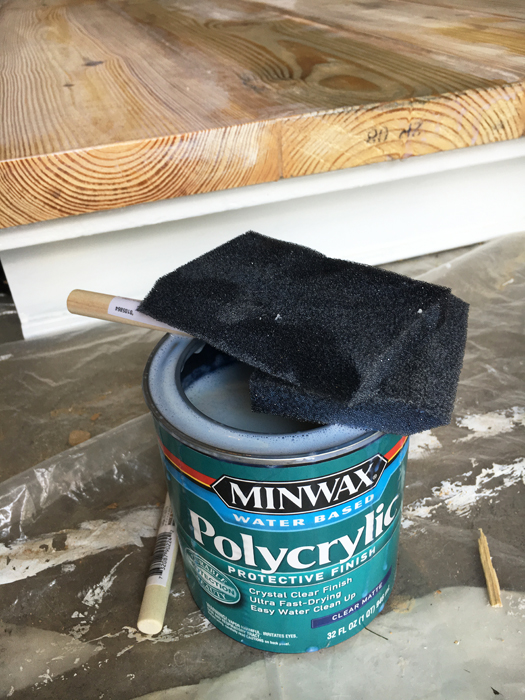
We used water based Minimax polycrylic in matte (none shiny) finish. We applied 3 thin coats and lightly sanded in between each coat.
Let it dry and then you’re done!

I think it turned out beautifully! And Heather has ordered some chairs for the table that are very similar to the inspiration photo. It’s going to look awesome!

via Amazon
Do you have any tabletops that need a facelift? This could be your answer. Let me know if you have any questions!:-)

Related Posts From the Blog:
 5 Things to Know about Benjamin Moore’s Color of the Year ‘Simply White’
 A Beautiful Bedroom Makeover for Zoe
 New Build Update
 You Know You’re a DIY-er IF…
 DIY Capiz Shell Drum Light Fixture
 Tool Time with Tamara- How to Use a Miter Saw
 Seize the Day(and the New Year)!
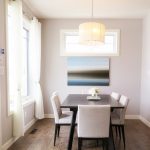 5 Tricks for Making a Small Space Look Bigger