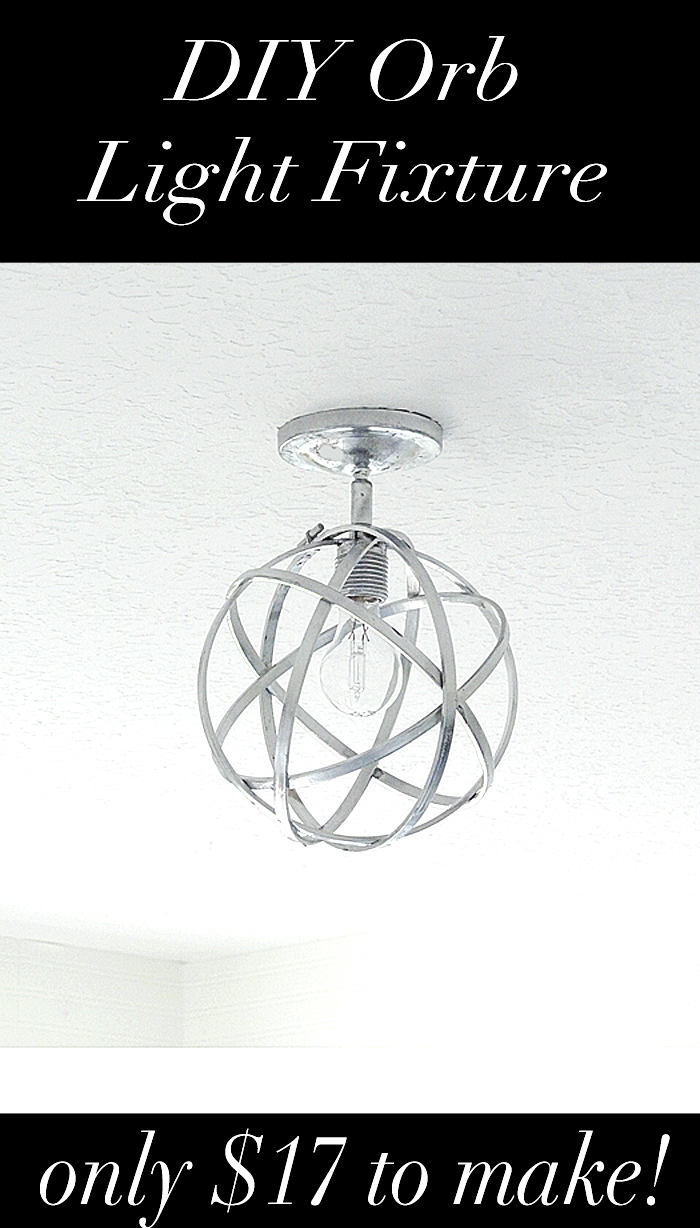
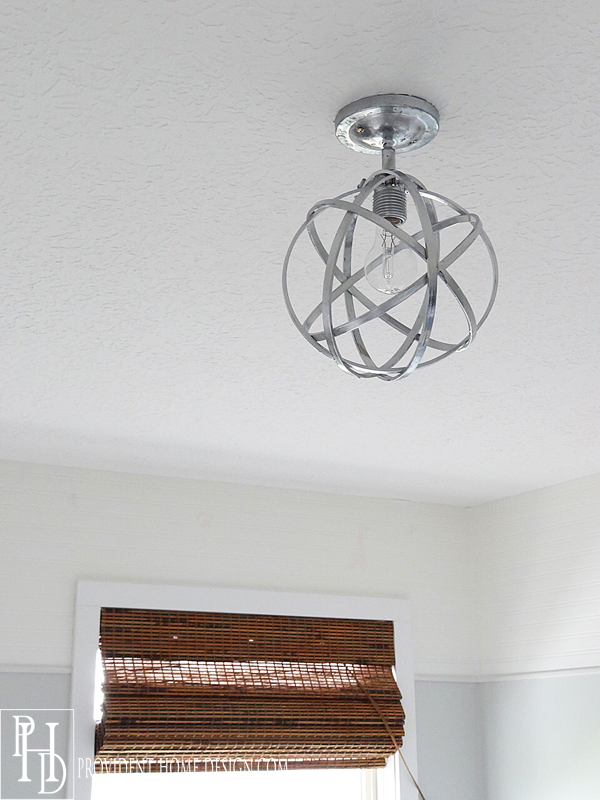
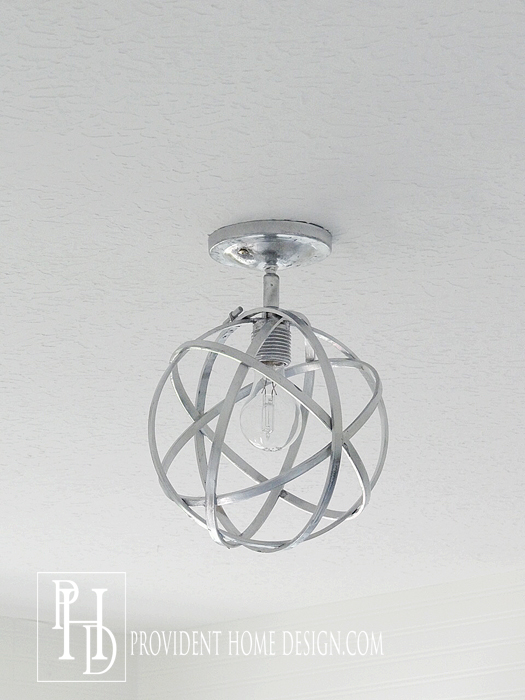
Hi guys! Today I’m going to show you how I made the silver orb ceiling light for my sons bedroom makeover.
I’ve been a sucker for orb lights for a couple of years now. This beauty was one that I fell in love with a couple of years ago when at a wedding reception.
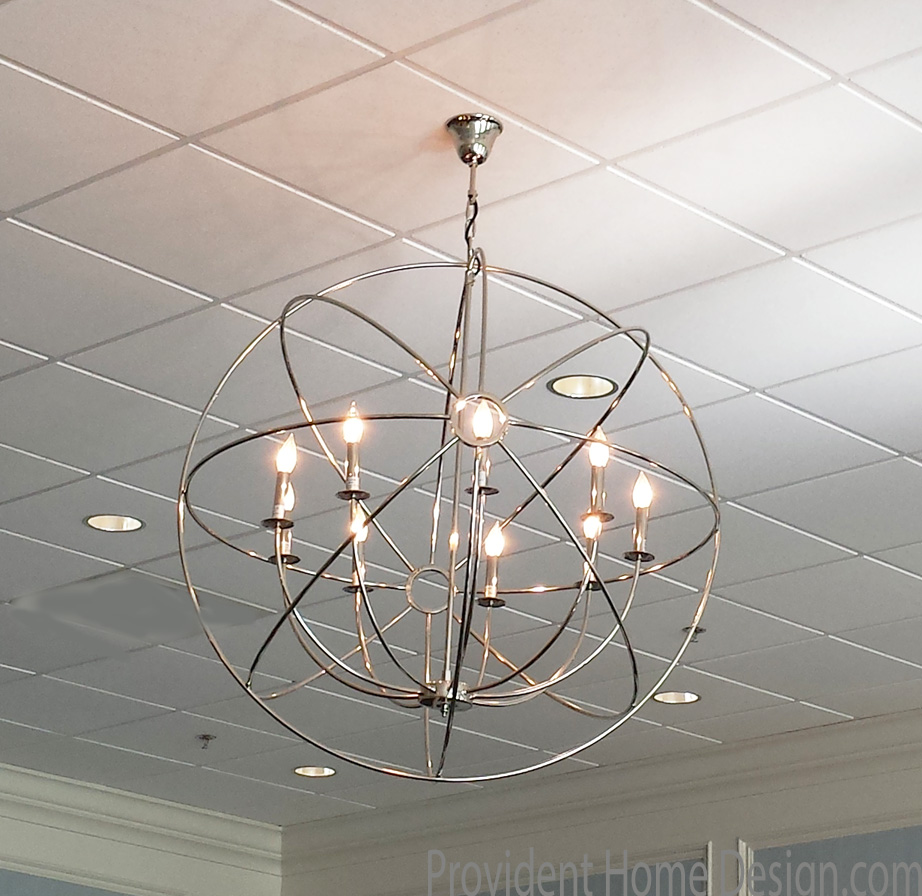
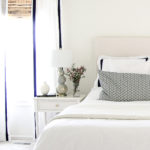
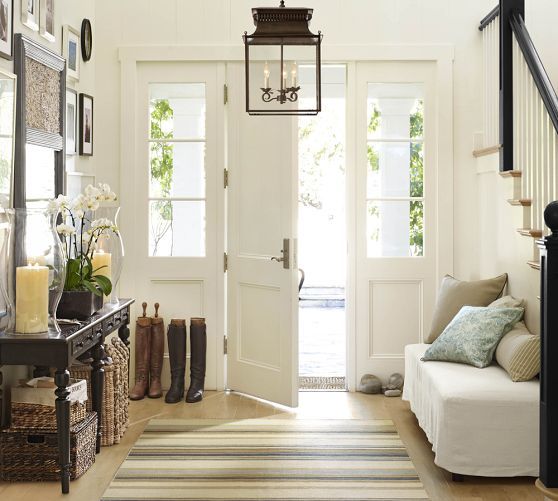
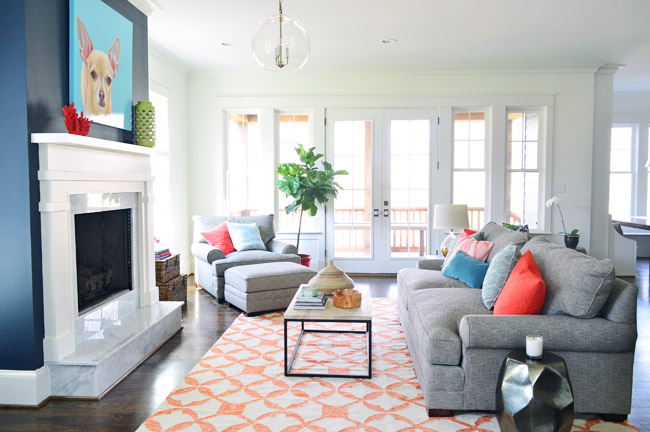
Orbs are especially a great option in rooms that have a lot of linear lines like boxes and stripes. The circular shape provide a nice contrast but is still clean and crisp.
My friend Erin suggested the light below for my son’s recent bedroom makeover and I instantly loved it. It is from Shades of Light. The cost is $159 which is not horrible and I considered buying it for a little while.
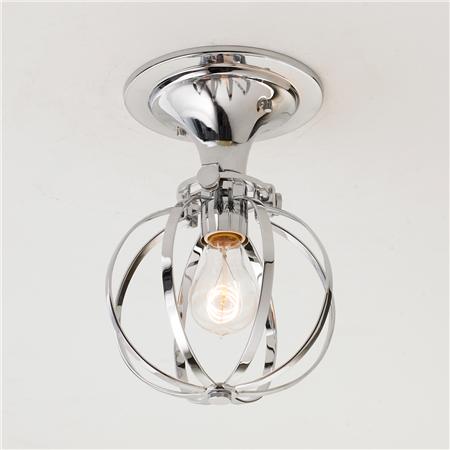
via Shades of Light
But the more I thought about it the more I became pretty confident that I could DIY something like it for a lot less.
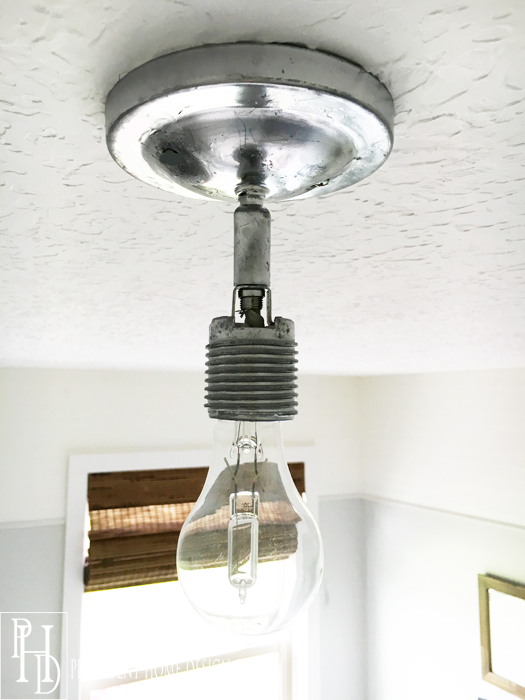
For the light part I used an old pendant (similar to the one below) that I had in storage. It was given to me by a friend who was updating her bedroom light fixture and asked if I would want it for a future DIY.

I realized this was the perfect DIY project to use it for! I removed the parts below by unscrewing them and taking them off the light fixture.

I was left with the below parts that I screwed together and spray painted chrome (be sure to stuff a napkin in the socket part before spraying).
If you don’t happen to have a pendant light fixture sitting in your storage no worries!!
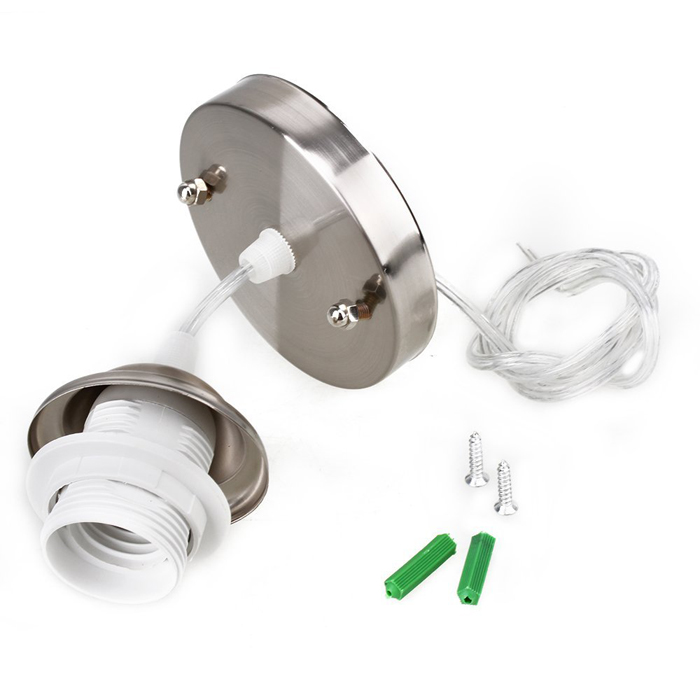
via Amazon
Amazon has this Chrome Pendant kit set for only $6.74!
For the orb I used embroidery hoops. The embroidery hoops can also be bought on Amazon (or Michael’s, Joann Fabrics or Hobby Lobby). The 10-inch size which I bought is only $2.49 is only on Amazon.
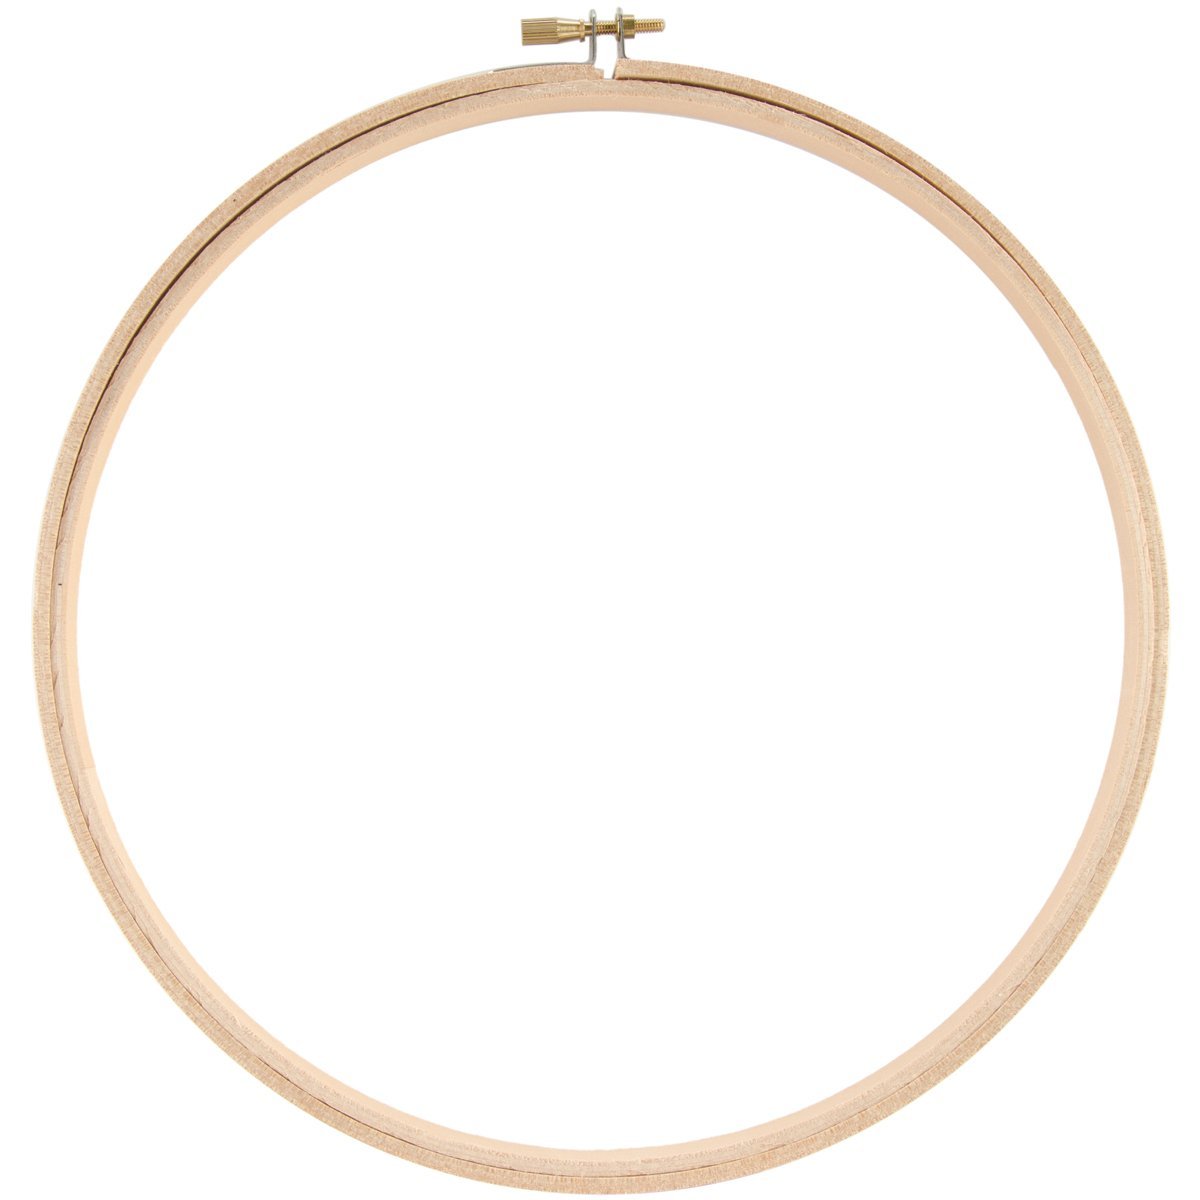
via Amazon
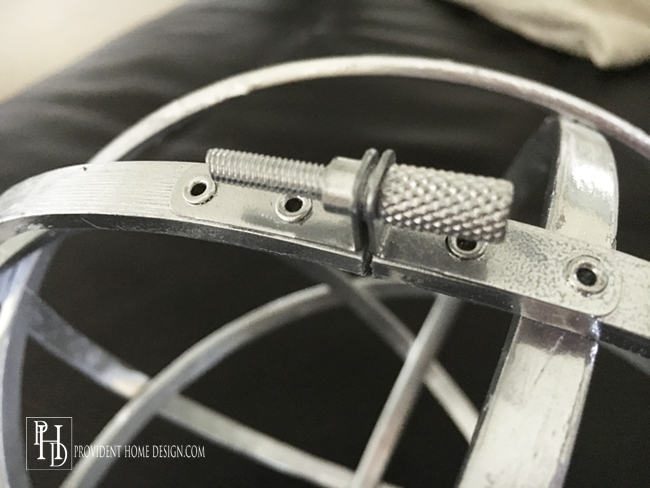
The above photo contains two hoops. The outer hoop has a screw that you can loosen and tighten and the inner hoop is plain. I bought three of these which makes 6 hoops in all. I only used 5 of the hoops (2 with the metal screws and 3 that were plain).
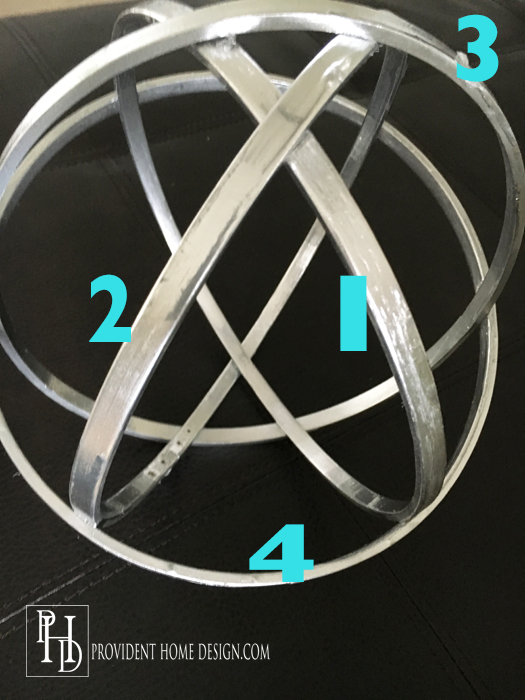
The above diagram shows the order and placing of the hoops.
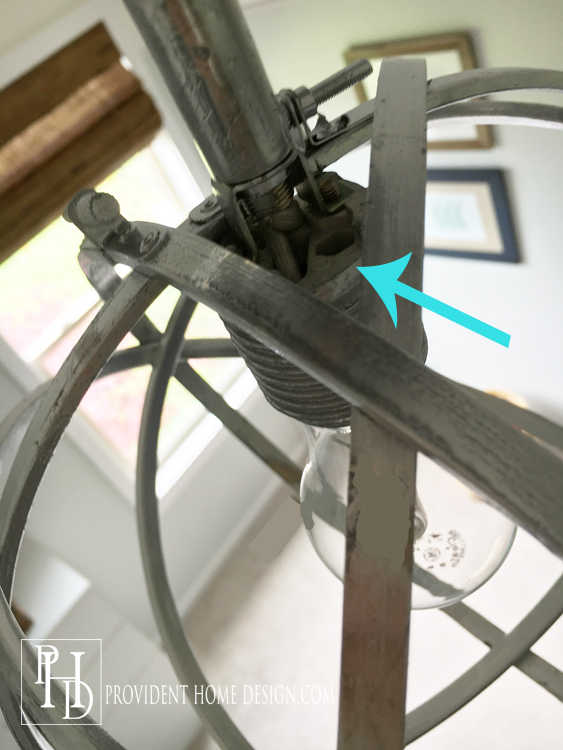
I added the 5th hoop on last. I didn’t really want the the screws to show much so I made sure they were placed at the top of the fixture.
I hung the orb by placing the orb on the socket and then sliding the 5th hoop on to make a tight triangle over the socket. The tight triangle keeps the orb secure to the fixture (I’m hoping the photo below helps this step make more sense).
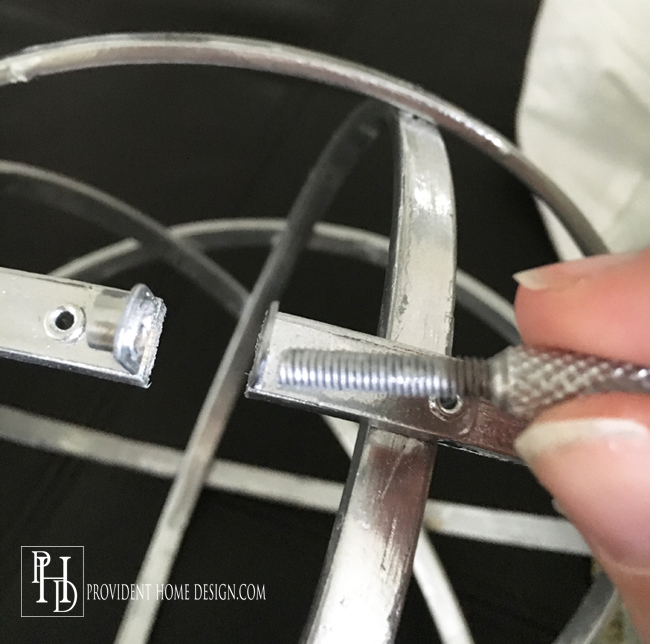
Tip: I would suggest your last hoop be one with a metal screw so that if you have a hard time getting the hoop around the orb you can unscrew the hoop to loosen it, get it around the orb, and then screw it back on.
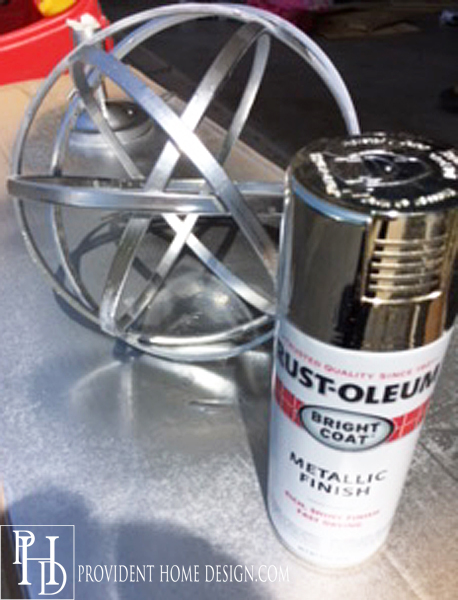
To give the wooden hoops a metallic finish I first lightly sanded them with sandpaper to take away some of the wood grain and then I sprayed it with my favorite chrome spray paint, Rust-oleum Bright Coat Metallic Finish in Gloss Chrome($3.68).
The spray paint and hoops came to $10.50 for me but if you needed the pendant light kit your total is $17 (affiliate links).
This DIY definitely gives you a lot of BANG for the buck!!
`
And if you wanted to do a larger scale one for over a dining room table they sell quilting hoops in larger sizes!
I really enjoyed this DIY! It was quick, easy, inexpensive and turned out beautiful (this combo is the best kind of DIY there is)!! I hope you enjoyed it. Please let me know if you have any questions!
Have a great weekend and the Happiest of Mother’s Day to all you wonderful women!!:-)