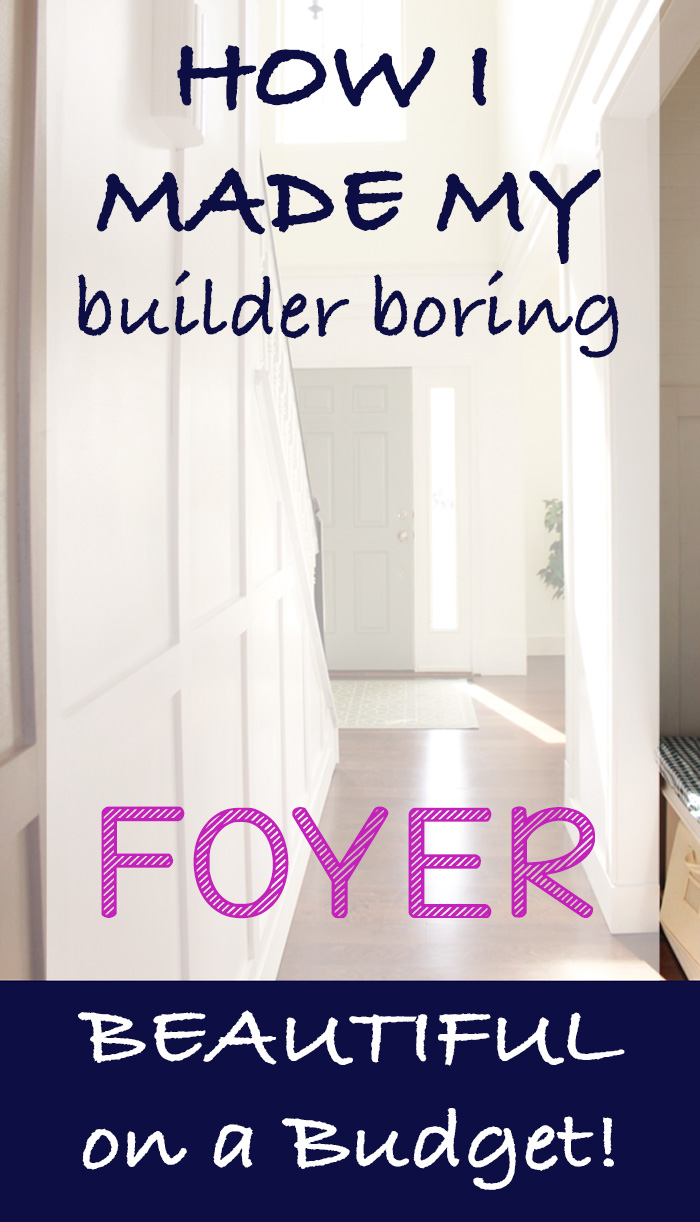
I hope you’ve had a great week! I am excited to finally be sharing my hallway and foyer makeover today!! For those who have been here for awhile you know this has been a loooong time coming. My foyer and main hallway that connects to the foyer were on my to-do list in 2015.
In fact on December 17th 2014 I wrote THIS post on 20 white entries to inspire (they are super inspiring..be sure to check them out if you haven’t yet)! I loved each and everyone of them but couldn’t seem to pull the trigger in my own home.
What was stopping me you may ask? Fear (and indecision because of fear)! After dragging my feet for awhile I finally made myself start the process by painting the hallway white, then I added the faux crown molding, then I painted the two story foyer Simply White, but the last part was the most difficult to decide.
For the life of me I couldn’t decide what kind of trim to do in the hallway (and I went back and forth a gazillion times trying to figure it out). The hallway is very narrow so I didn’t want the trim to visually close up the space at all (this was my number 1 fear).
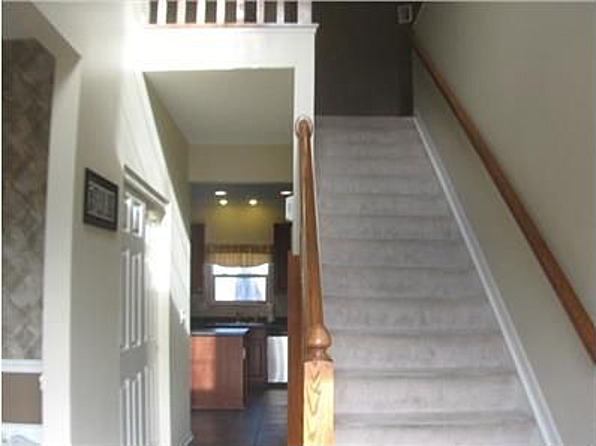
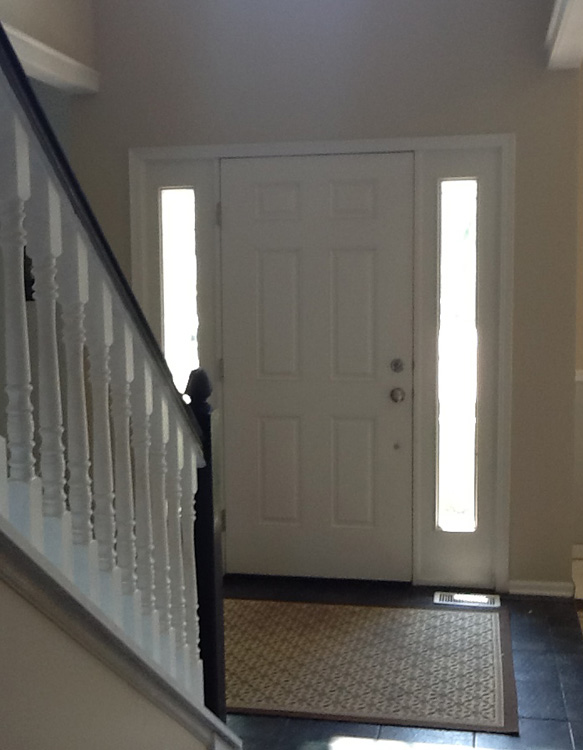
Here is a photo of our home (almost 4 years ago) before we moved in:
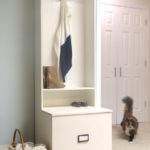
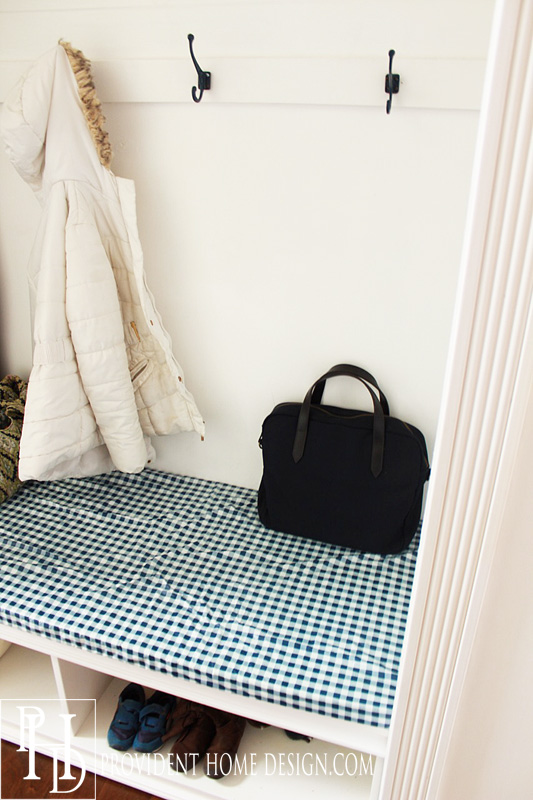
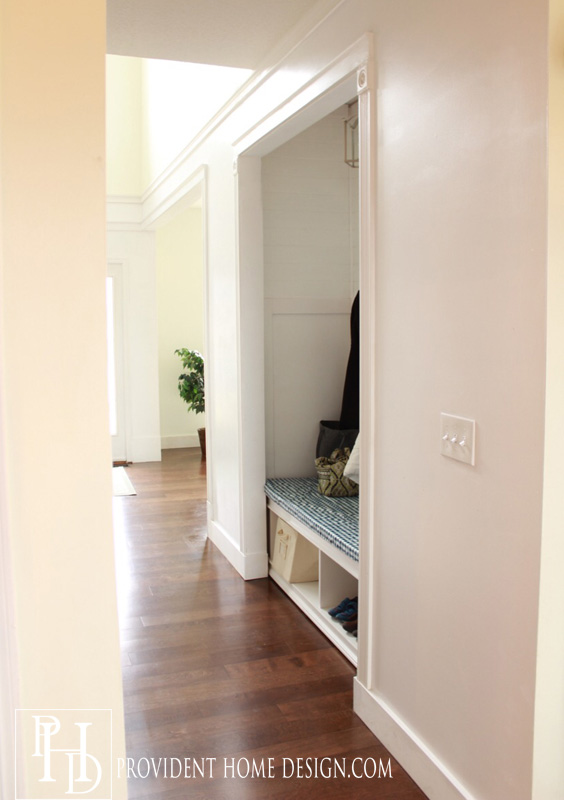
One of the first things I did after we moved in (I think it was actually the very first thing) was take off the doors to the hallway closet and turn it into a makeshift “mudroom”.
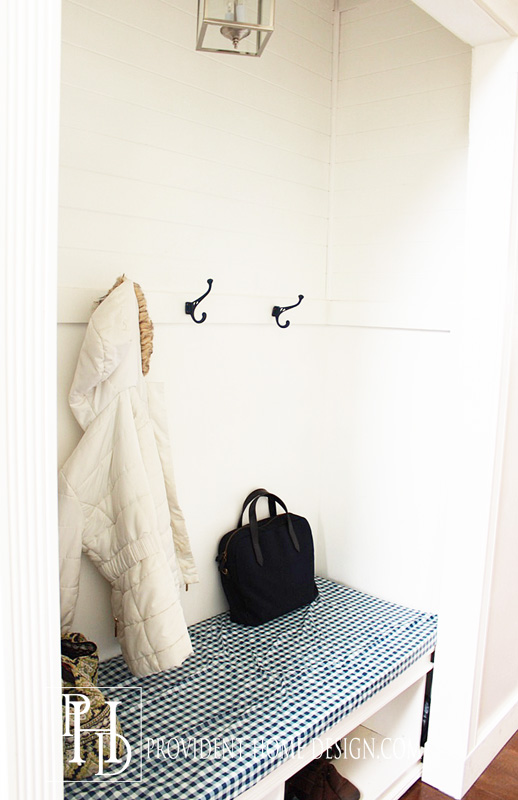
I did this by adding hooks for coats and back packs and a bench (that I got for a steal off of Craigslist) for shoes.

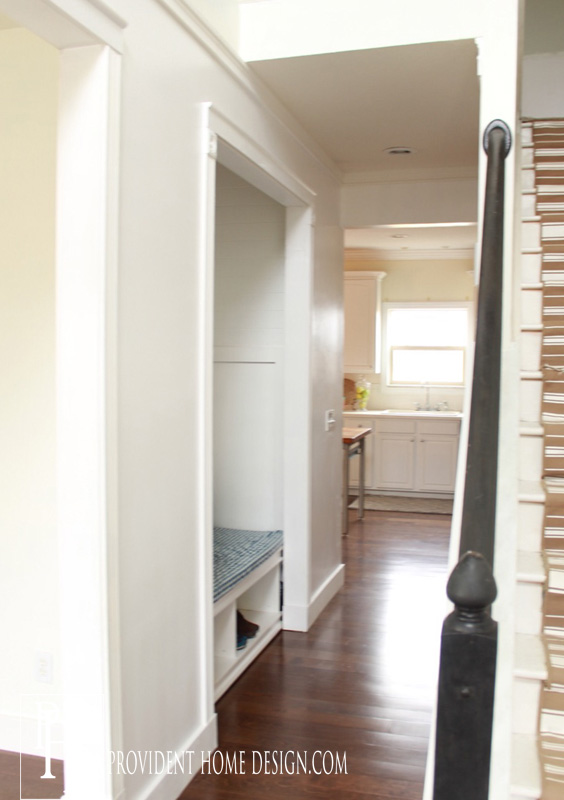
Last year I did my first mini wall demolition by raising the height of the closet turned mudroom. I did this to open up the hallway even more and so I could hang a light fixture down from the space (we hired an electrician to do that part). HERE (affiliate link) is the light fixture I got for a great price!

I recently added an upholstered cushion on the bench. It is made from 2 inch foam (the price of foam by the way is highway robbery in my book) and wrapped with vinyl navy and white check fabric that I found at JoAnn Fabrics for $5.99 a yard.
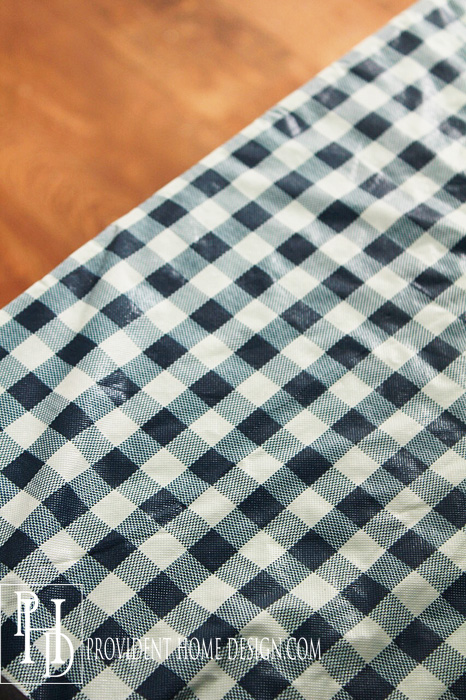
It made sense to get vinyl because I still have a 2 1/2 year old who still likes to stand on the bench (which is why it is all wrinkly…you gotta choose your battles, right)? It will be easy to replace once my kids no longer stand on it.
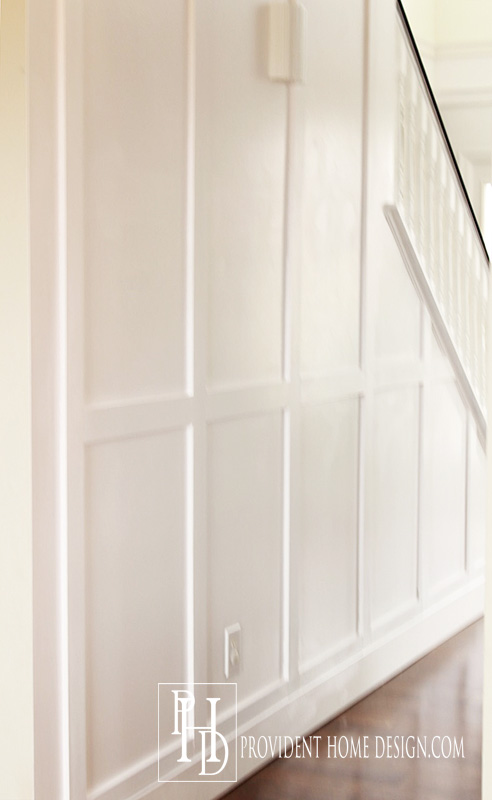
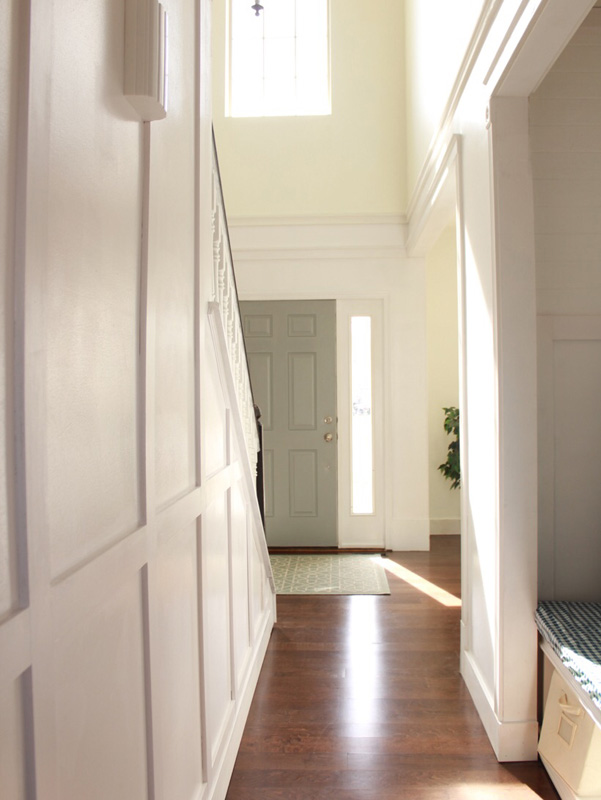
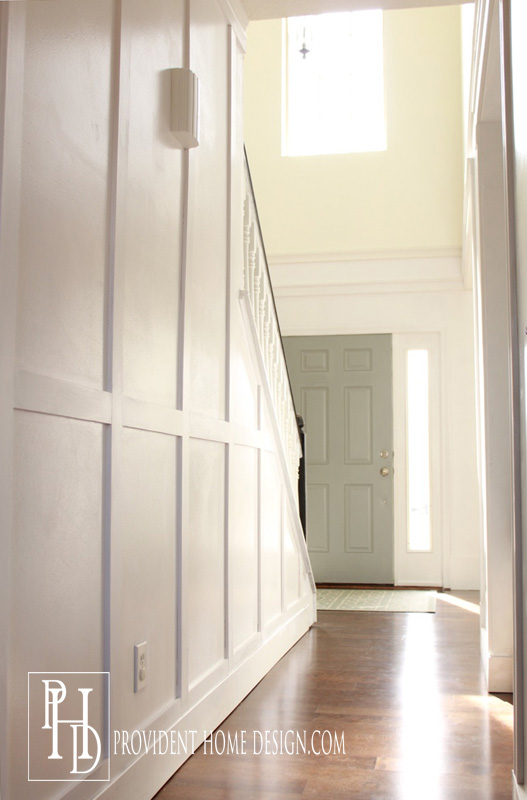
Now that I’ve made you wait here is a peek at what I decided to do with the “feature” wall across from the “mud room”.

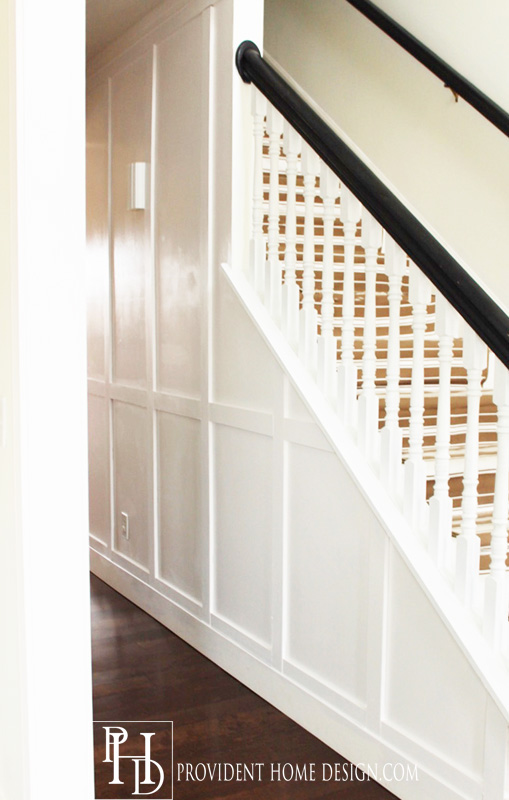
I don’t know what the technical term is for this wall treatment but I like to to call it a loose board and batten grid.

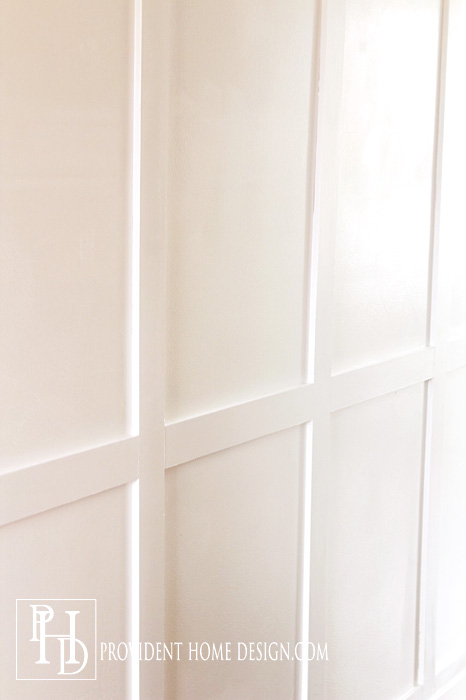
After finally deciding to go forward with this trim it was pretty easy to install (much easier than the decision itself)!:-)
I bought a 1/2 inch thick 8′ X 4′ mdf sheet at Home Depot for around $25. You can often get it cut down into strips at Home Depot or if you have a table saw you can rip the sheet at home.
I did the mdf strips 3 inches wide and 20.5 inches apart.

Then I added 2.25 wide inch strips at the very top and at the very bottom running horizontally. And lastly a 3 inch wide strip horizontally 42 inches from the floor (I have 9 ft. ceilings on my main floor so do 36 inches if you have 8 ft. ceilings).

My main tips for this project are to use a level and that a nail gun will make the process a ton easier and faster! I got my nail gun and compressor combo HERE (affiliate link) and have been very happy with it.
It wasn’t until I painted wood work white and slept on it (figuratively speaking):-) that I stopped fretting about my decision. I finally felt as peace and let out a huge sigh of relief!
Isn’t this photo below dramatic? It would make a great cover to a book, “The Woman who was Afraid to Paint her Entry White and add Woodwork to her Hallway But Eventually did Anyway and Loved it”!
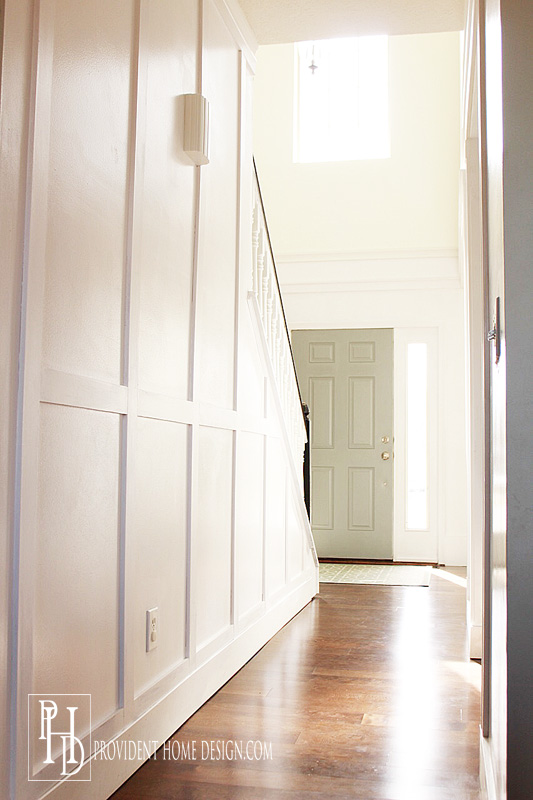
The book would be a thriller!:-) But in all seriousness we all have projects that scare us for some reason more than others. Sometimes it just takes time to be ready to move forward but other times it just takes moving forward ready or not!
I’m glad I did!

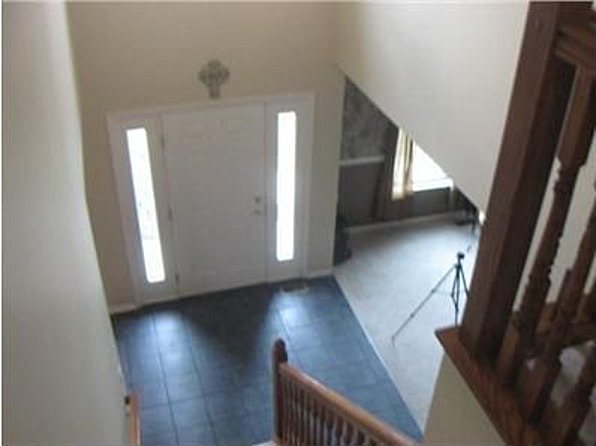
And a couple of Before and Afters of the Foyer!

Before looking down from the stairs.
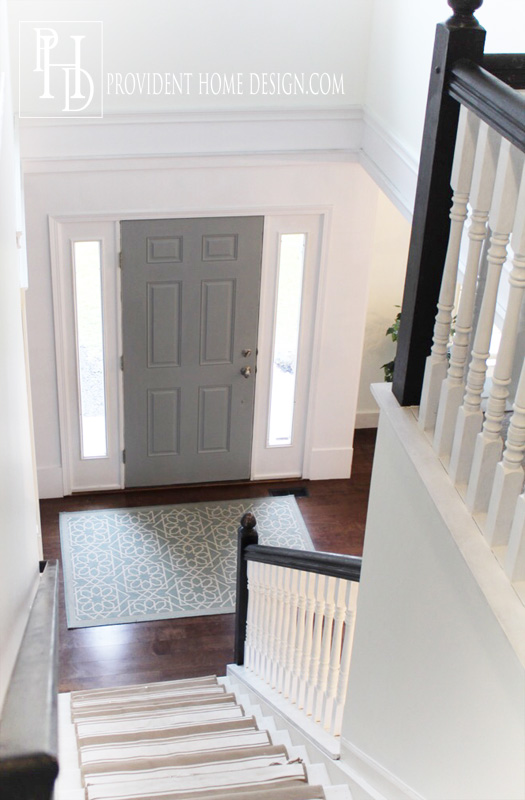
And now!
Here is the list of the projects (linked to the particular tutorial) that got me to now!
How to Case Doorway Openings / DIY Stair Runner / How to Paint Stair Railings like a Boss / DIY Faux Crown Molding / How to Save on Hardwood Flooring / Benjamin Moore Simply White
The gray color I painted the door was custom made but Valspar Wet Cement and Valspar Crushed Granite are very similar!
The rug is from Ballard Designs. I love their indoor/outdoors rugs for the entryway! They hold up really well and are usually reasonably priced.
I hope you enjoyed this post and will feel inspired to tackle a project that you know you want to do but scares you a bit!
I will leave you with a deep thought by Tamara:-) LOL– Sometimes it is not until we push ourselves into the darkness of the unknown that we will be able to truly find our way because only once we are there will the way be illuminated.
Have a great weekend!!