Hello! I hope you’ve had a good week. Today I have a new tool friend I want tell you all about and also give you the chance to win one! For years I have heard of other DIY-ers using a paint sprayer and to be honest I thought it sounded intriguing but even more so intimidating.
Unlike some DIY-ers I didn’t grow up around power tools nor do I have husband who uses power tools SO if I’m to try a new power tool I’m on my own. For this reason I can sometimes be reluctant.
But as often happens once I get the tool in hand it is so much easier than I had imagined it would be. This is how it went with my new tool friend, the Homeright HVLP Finish Max Fine Finish Paint Sprayer (reminds me of the “official Red Ryder, carbine action, two-hundred shot range model air rifle”).:-)

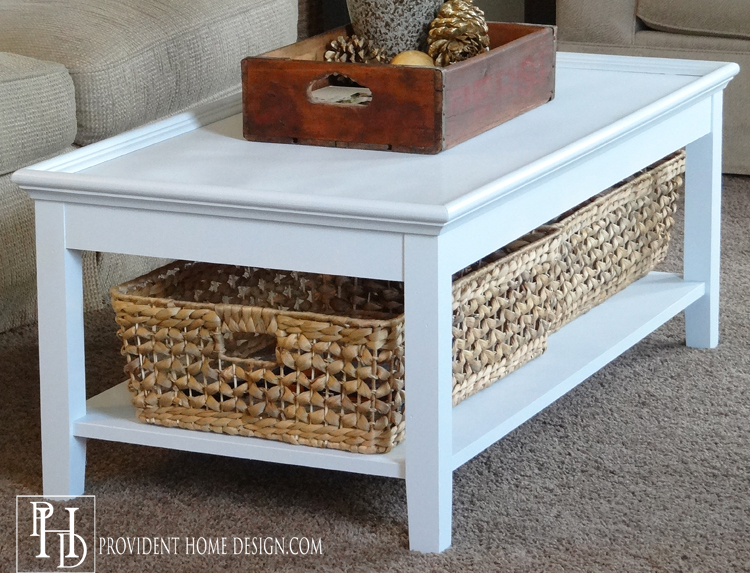
Since I have had it (3 months now) I have had a chance to use it on several projects. I first used it to paint a coffee table that I got at a stager’s sale (for $20) a pale blue color.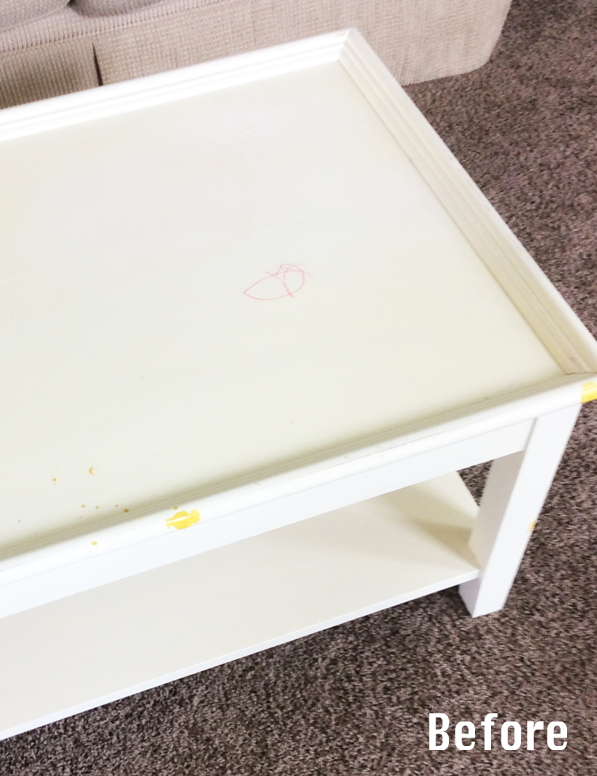
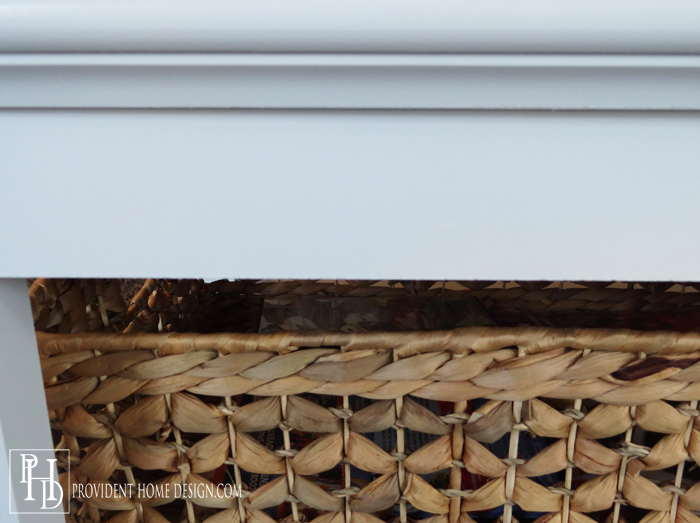
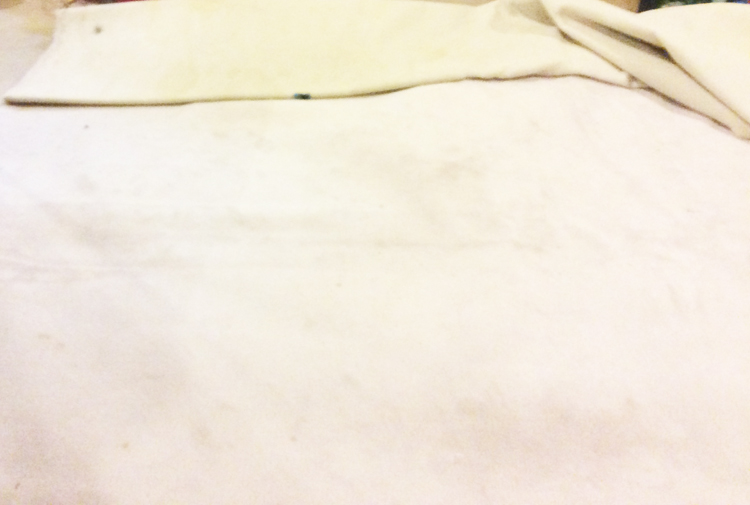
Below is a close up. I love the flawless results!
When you use a paint sprayer you definitely need to lay down some kind of drop cloth. There is a huge plastic one that I always get from Home Depot. It’s about $4 but I use over and over an over again.
It’s also good to use the sprayer in a well ventilated area like a garage with the door opened. I have used it in our basement a couple of times (which is not well ventilated) but I was sure to use a dust/paint mask.
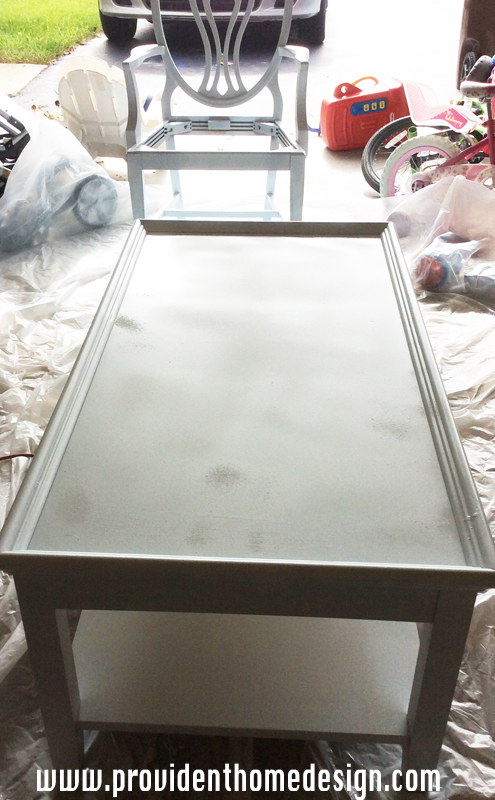
In the picture above I had only sprayed on the first coat (no primer was used). I ended doing 2 coats total on both the coffee table and the chair behind it.
One of the things that made me apprehensive about using a paint sprayer is that I had heard “horror stories” of them clogging up with thicker paints, etc. I didn’t want to have to deal with a clogged sprayer or with adding paint thinners and trying to figure out ratios.
In contrast to my fears and the “horror stories” the process is really simple!!
Just add 2 ounces of water to every quart of paint (I did this with latex and enamel paints).
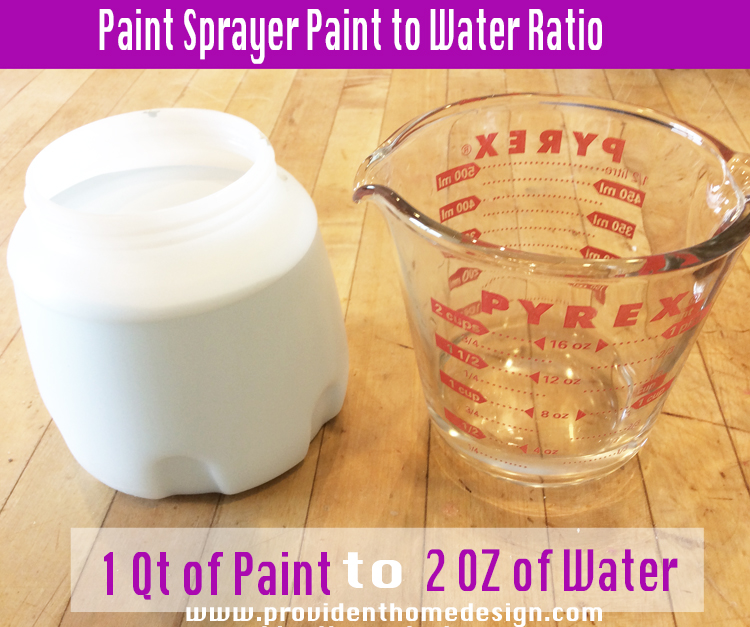
The paint sprayer container is about a quart in size. I just poured the paint into the container until it was almost full and then added 2 ounces of water. Lastly, I stir the water and paint together with a paint stir stick. I’ve had no clogging problems!
The other concern I had about using a paint sprayer was cleaning it!! I had heard that they are a pain to clean and I’m not a good match for high maintenance tools. Thankfully, it isn’t a big deal to clean (doesn’t mean I don’t sometimes get lazy and not clean in right away though).
I made a short video for all of you visual learners (which includes me)!
In the video I will show you:
- how to put the sprayer together once you get it
- how to take it apart for cleaning
- how to clean it
- how to use it
(Note: I hate how my voice sounds in the video and thankfully my husband agreed that I don’t sound like that in person…phew)!:-)
In the video I forgot to mention that after cleaning the sprayer parts the owner’s manual suggests filling the container with water, turning on the sprayer, and spraying the water out of it for a thorough cleaning. I’ve only done this 2 out of the 4 times I’ve used it and it has been fine.
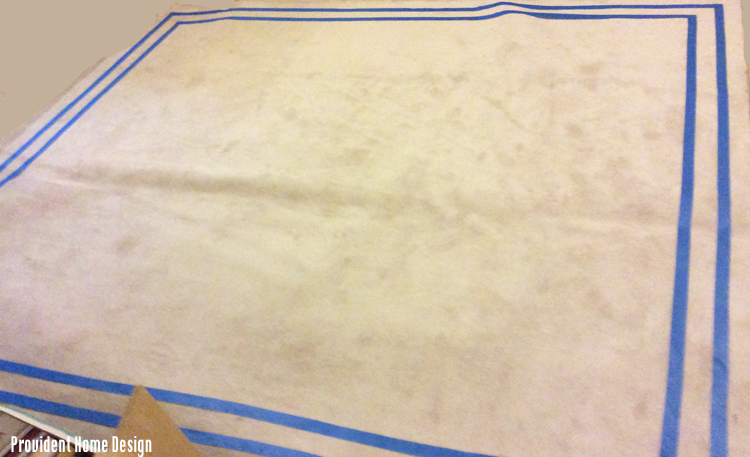
Another project I used the sprayer on was to paint a design on an old carpet remnant we had in storage. It became the perfect rug for the kids playroom.

I started by measuring out and marking the desired rug size. Then used a rug cutter (looks like an exacto knife) to easily cut the rug to size.
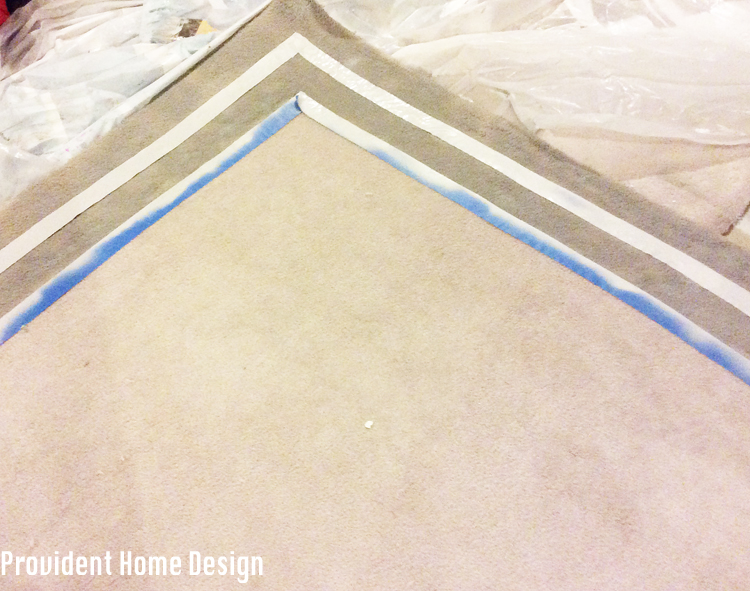
Then using painter’s tape I taped off the design I wanted to create.
Then I used the paint sprayer to paint the border portion of the rug.
This wasn’t the first time I’ve painted a rug. I also painted one, Here. After the paint dries on the rug you can go over it a few times with a vacuum to soften the painted area up. I’ve been really happy with my painted rugs.
Here is a short video of me spraying the rug with the Homeright HLVP Finish Max Fine Finish Paint Sprayer.
As you can see in the video, you move the sprayer back and forth over the area in an almost robotic way for best results!
I’ve been really happy with the smooth finish the paint sprayer produces and how much quicker and easier it makes certain projects (i.e. chairs, shiplap boards, painting upholstery, etc.).
Now it’s your chance to win one!!!
In order to enter to win leave a comment on this blog post stating what project you would use the Homeright Paint Sprayer on and then log into the rafflecopter below and click the box “I commented”.
For extra chances to win follow me on Instagram and Pinterest.
***Only US residents over 18 years of age can enter to win. Winner will be chosen by random via Rafflecopter and notified promptly via email. Giveaway ends Thursday, November 26, 2015 (Thanksgiving). All information provided (i.e.: email address) is confidential.
Disclosure: I was given a Homeright Paint Sprayer in order to provide a review. All opinions and content in this post are my own. Also if you end up purchasing the Homeright Paint Sprayer HERE I will get a small percentage of the sale.
Good luck and let me know if after watching both videos you have any lingering questions!! I will do my very best to answer them! And don’t forget paint sprayers are not scary…they are our friend.:-)

[jetpack_subscription_form]
Related Posts From the Blog:
 DIY Ballard Designs Inspired Ottoman/Stool
 5 Myths of Vinyl Flooring
 11 Money-Saving Tips for Decorating Your Christmas Tree
 Laundry Makeover Gone Glam
 Easy Spring Wreath and 11 Curb Appeal Boosters
 How to Remove Mildew and Mold from Patio Pavers and Other Concrete Surfaces
 ‘Baby’s got Back’
 Designer Spotlight- Kelly Nutt Design