I’ve had second thoughts about choosing the basement rec room to makeover for the One Room Challenge primarily because I can’t seem to get a decent photo given the 0% natural light and 100% florescent lighting!
I guess I will need to find someone much more skilled than me to take photos for the Week 6 reveal but until then I hope you’ll bear with me.:-)
This week I was able to pretty much finish the storage wall system (I still have a few trim pieces to add) as well as add a shiplap wall treatment!
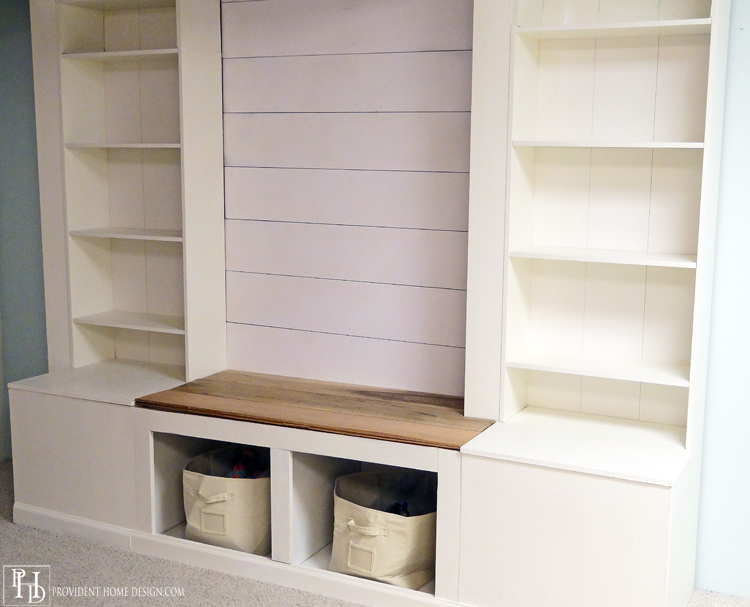
As a refresher last week I had gotten as far as the photo below by using this tutorial and then this tutorial.
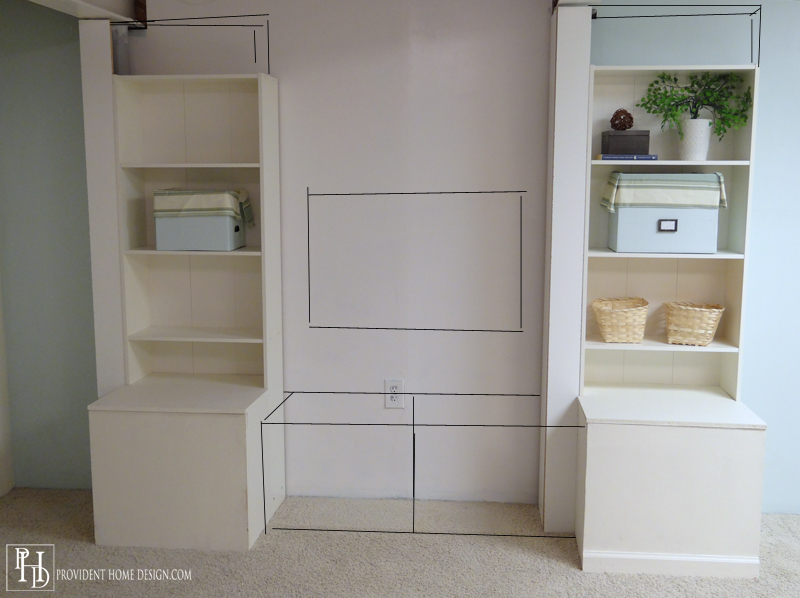
I added another shelf on top of the bookcases in order to completely hide the steel support poles that are in my basement. But for those who plan of making a wall storage system like mine you wouldn’t need to add an extra shelf.
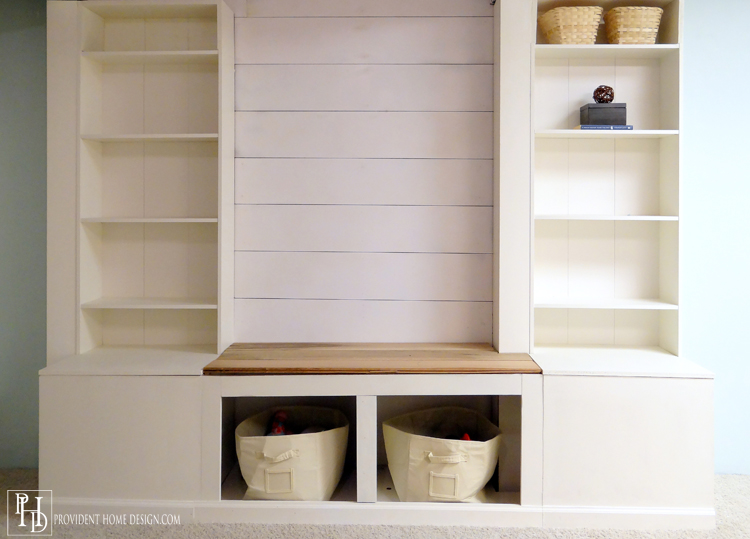
I will be sure to write up a post on how I built the entire storage wall system and for only $100 but for today let’s talk shiplap.
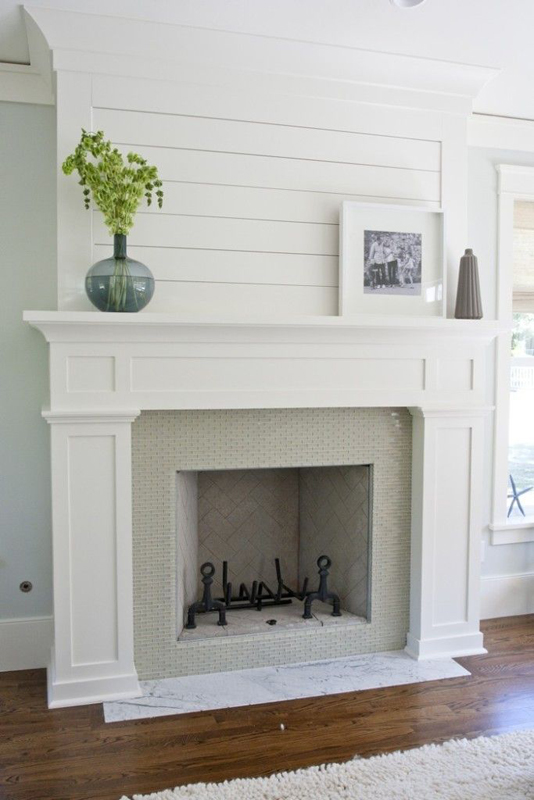
I’ve noticed shiplap being used a lot more and love it’s relaxed, somewhat coastal vibe. I love it in this classic bathroom below.
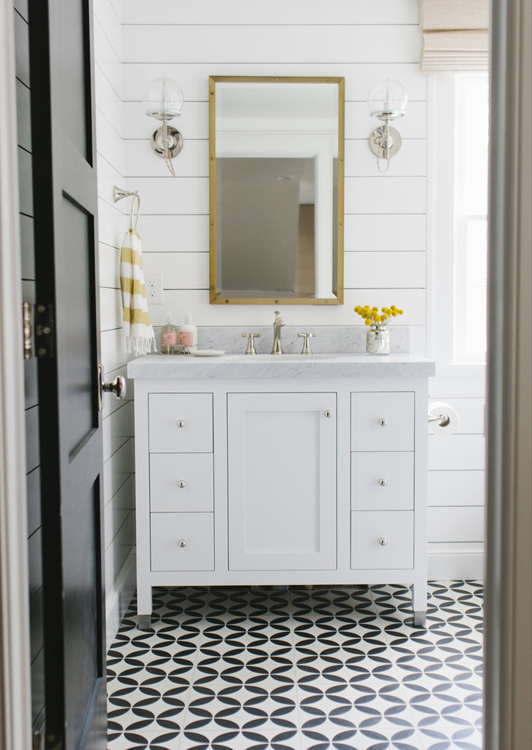
via STUDIO MCGEE
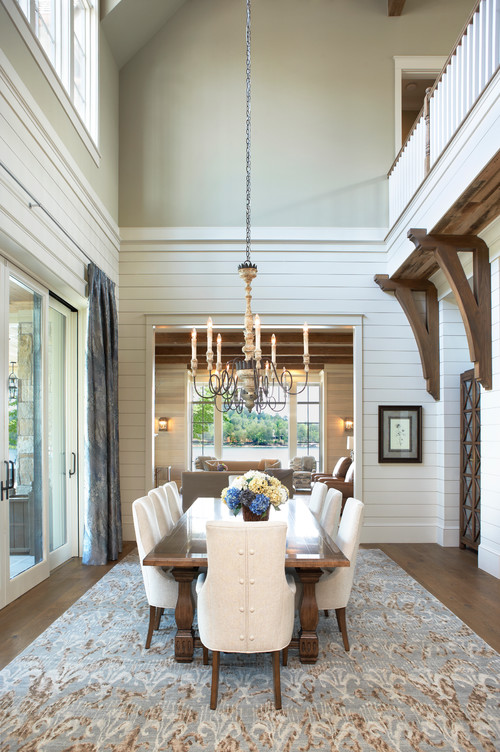
via Pinterest
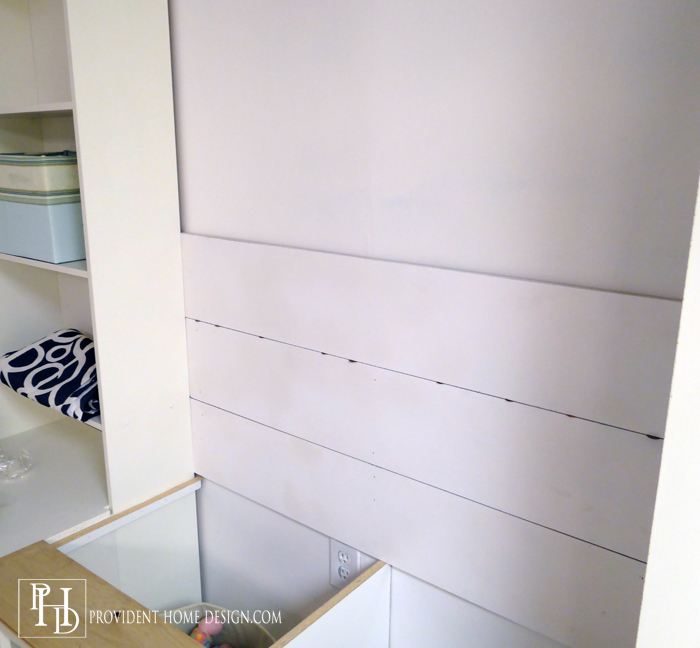
I thought it would be fun to use between the bookcases and as an eventual backdrop to the TV we will have there. It is very easy to install and economical too if you use MDF instead of real wood.
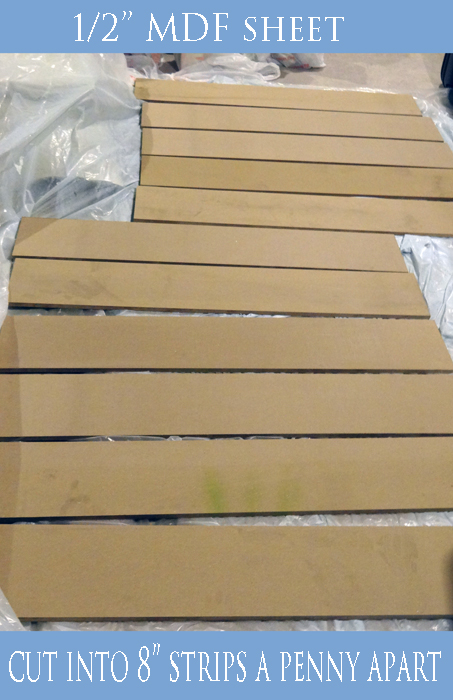
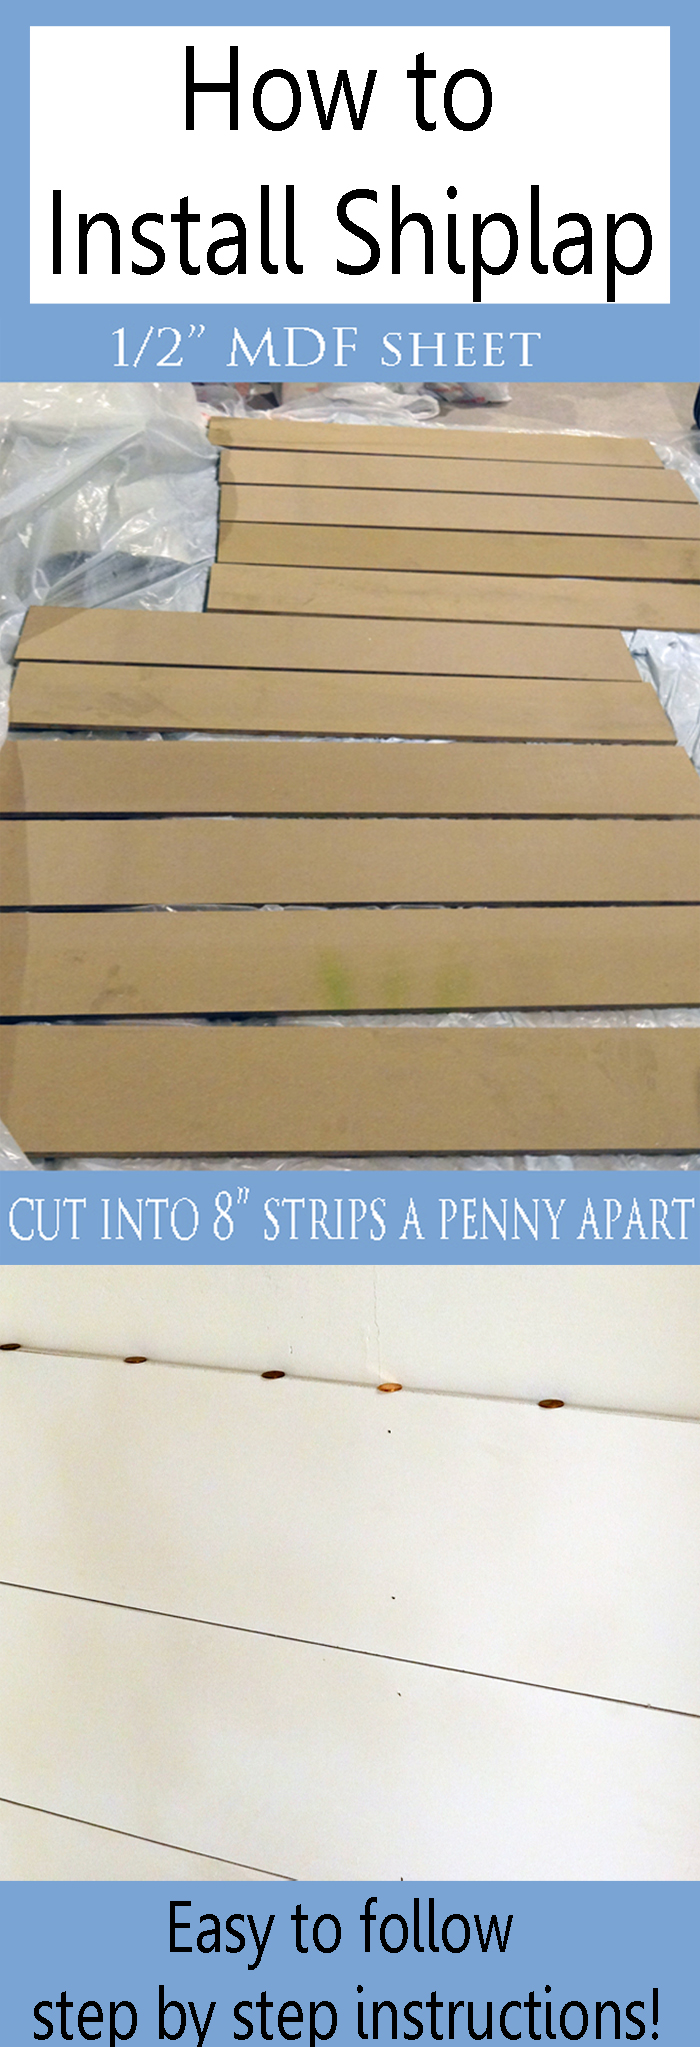
How to Install Shiplap
I bought a 4′ x 8′ sheet of 1/2″ MDF at Home Depot for $30. Then I had it cut into 8 inch strips for free at Home Depot.
When I got home I laid them out as shown above and spray painted them (more on that in a future post). Once they had a couple of coats of white paint (I used Behr’s alkyd enamel) I started installing them.
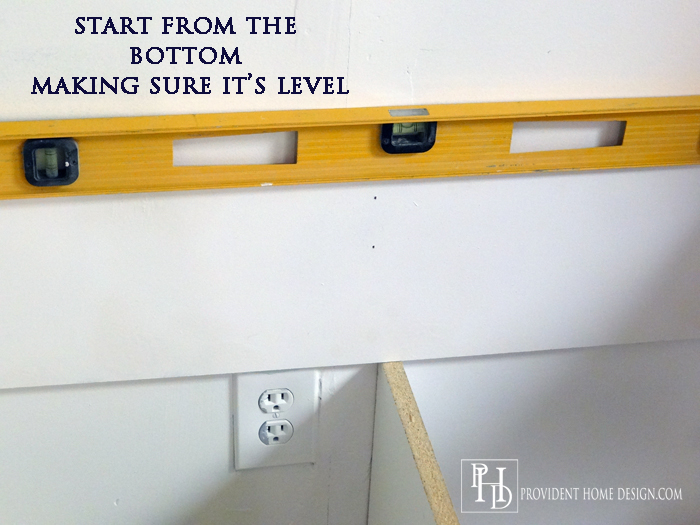
It’s important to start from the bottom and to use a level to make sure the first board is nailed in completely level.
After nailing in the first board I lined up several pennies on top of it…
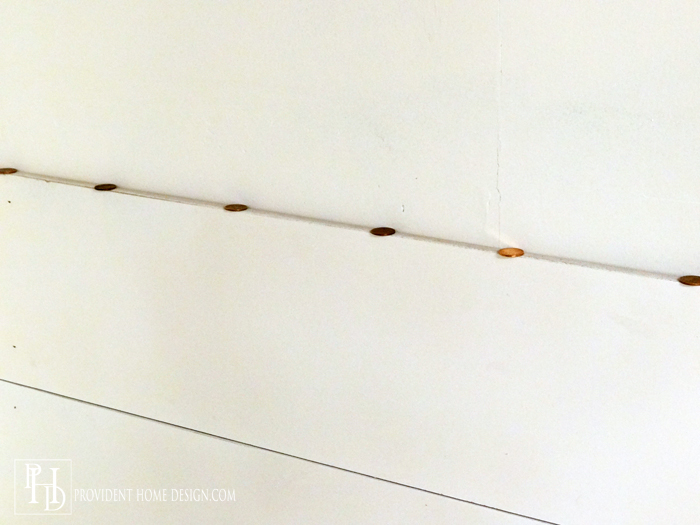
and then placed another board on top of the pennies and nail it in.
Once the board had been nailed in I pulled the pennies out and put them on top of that board. I continued this process until I got to the top.
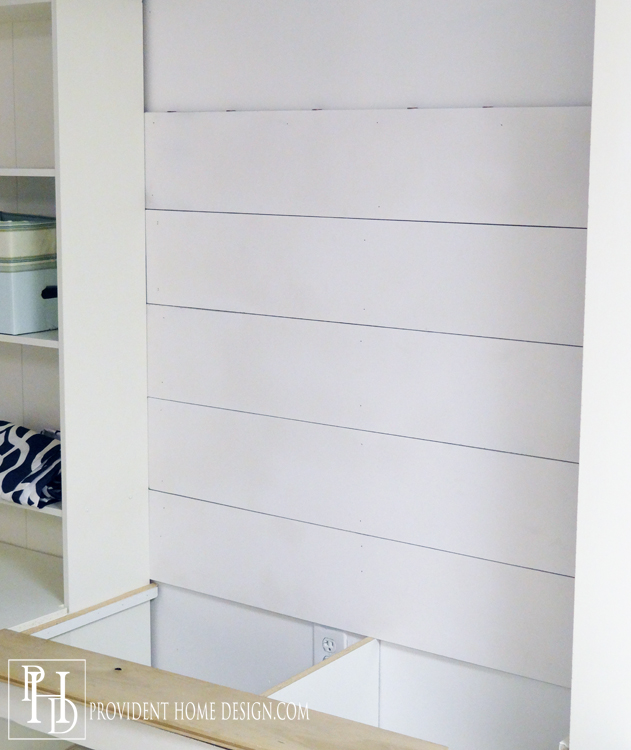
After I nailed them all in I filled in the nail holes with spackle and plan to do a light, last coat of paint with a foam roller.
I feel like this shiplap wall treatment gives a lot of bang for the buck!
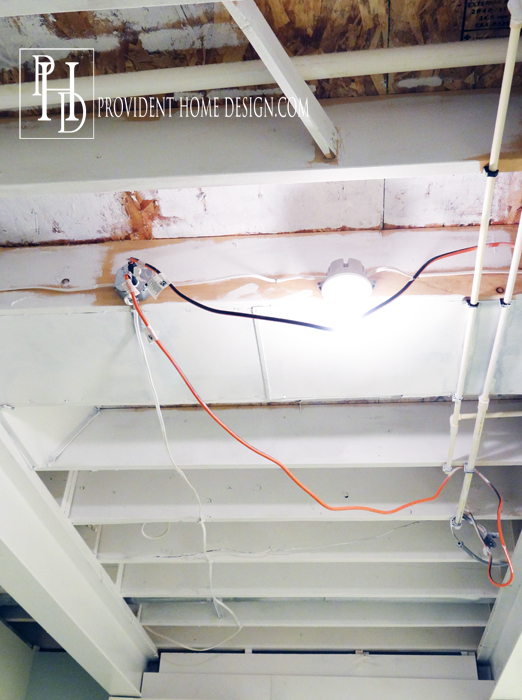
As for this week I’ll be working on getting the ceiling done (I will likely need to hire an electrician). Originally between the two steal beams there was a super low drop down ceiling and I hated how cave like it made that part of the basement feel.
So I took down the drop down ceiling in that area only to discover that the previous owners who had finished the basement had jimmy rigged the lighting in a super dangerous way hence needing to hire an electrician to fix it.
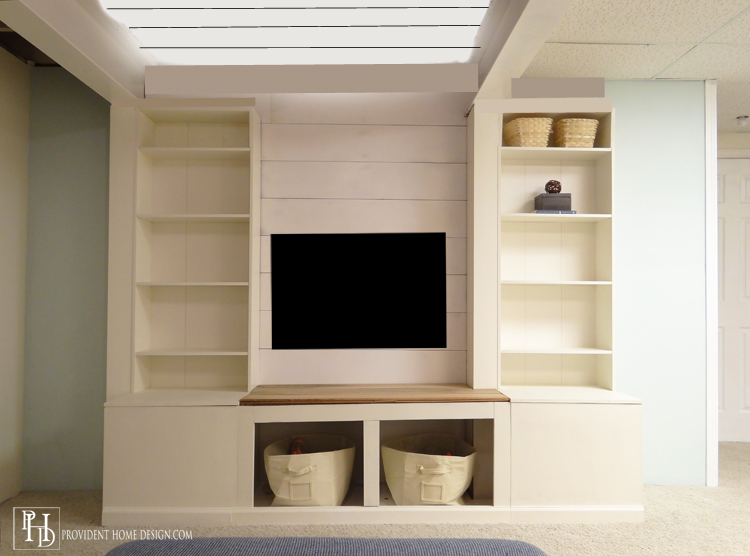
As you can see above I thought about just painting the wood beams white and leaving them exposed but have decided instead to try installing wide headboard for the ceiling and having 6 can lights installed in that area.

I would also like to get the TV in the space sometime this week. We’ll see how it goes!! Here is a a projection that I mocked up in photoshop of how it might look with the TV and headboard ceiling.
Little by little!! What do you think of shiplap?? Let me know if you questions and don’t forget to check out the progress of the other One Room Challenge participants, Here!
As always thanks for being here!:-)

Follow me on Pinterest and Instagram for more decorating ideas and inspiration!
Related Posts From the Blog:
 DIY Orb Ceiling Light Fixture
 My House Hunters Episode
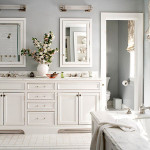 How to Replace a Hollywood Light with 2 Vanity Lights & How to Patch a Hole in the Wall like a Pro
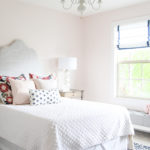 Master Bedroom and Girl’s Bedroom Makeover Reveal!
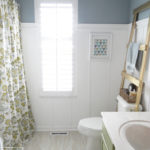 Kids and Guest Bathroom Reveal
 Outdoor Furniture & Decor Deals
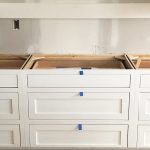 New Build Update- Cabinets are in!
 Gersby Bookcase IKEA Hack