Hello! I hope you’ve had a great week! I’ve been busy this week working on my downstairs rec/playroom and my family room. This is Week 2 of the One Room Challenge (ORC). If you are unfamiliar with the challenge you can learn about it, HERE.
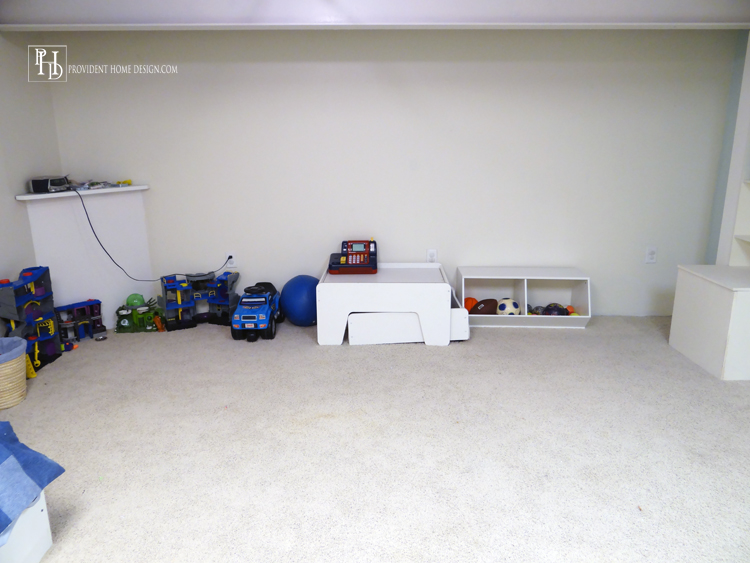
As a refresher, here is the before shot of the downstairs (before we moved in).
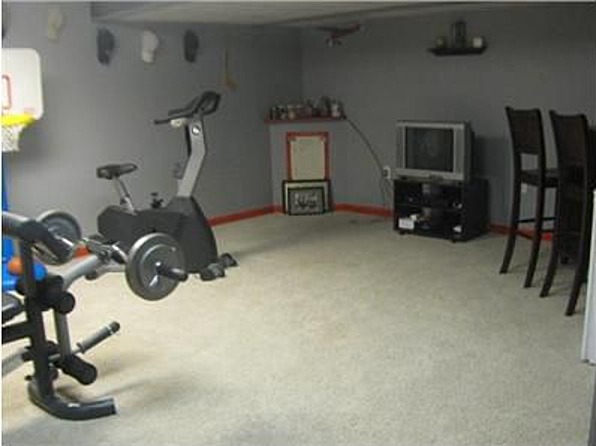
Once we moved in I took off the red baseboards right away but didn’t do anything else to the space to improve it (home improvements on the rest of the house took precedence).
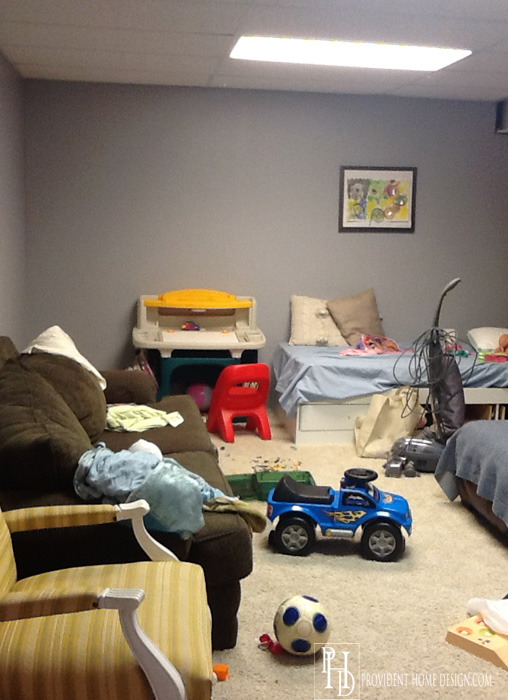
In the attempt to lighten the space up I have painted 3 out of the 4 walls Valspar Del Tequila Cornado which is a pretty off-white, cream color (My master bedroom is painted the same color).

Yes, you are seeing cords hanging out of the ceiling in the above photo. I will explain next week.;-)
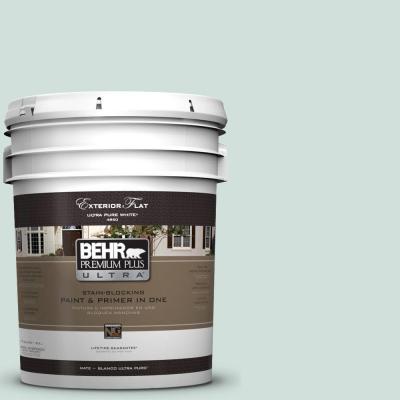
I like how the lighter color has brightened the space! I painted the accent wall in Behr Melting Moments.
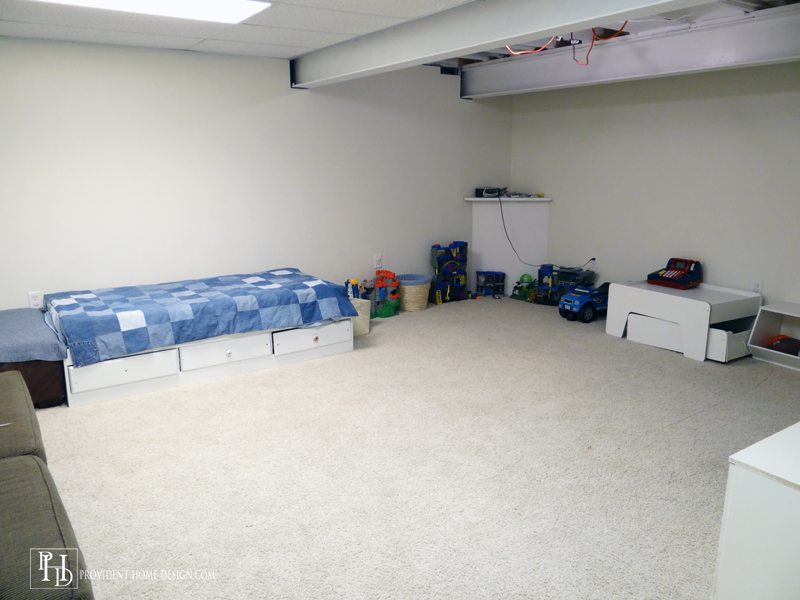
Here is what I have done with the accent wall so far.
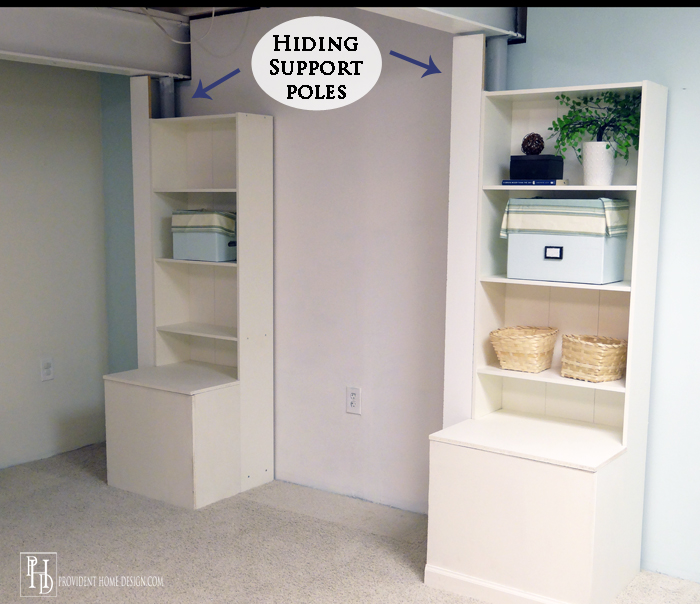
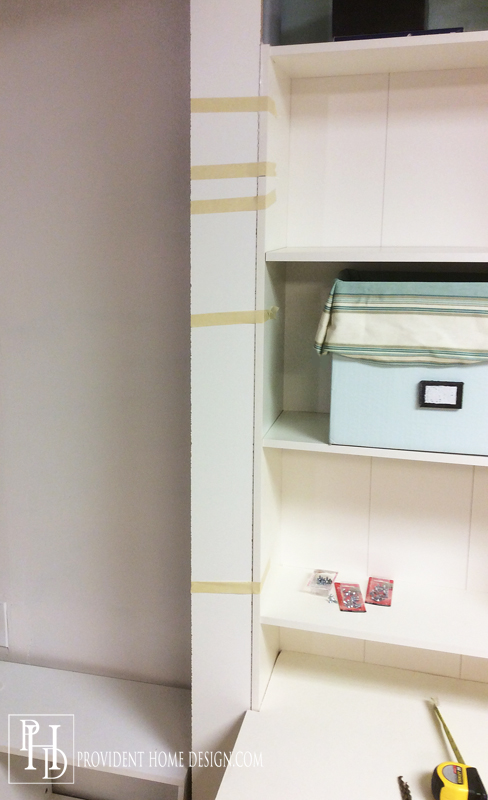
As the photo above points out there were two metal support poles (eye sores) against the wall. I decided to build a cabinet system around them in order to hide them and make the area aesthetic and functional.
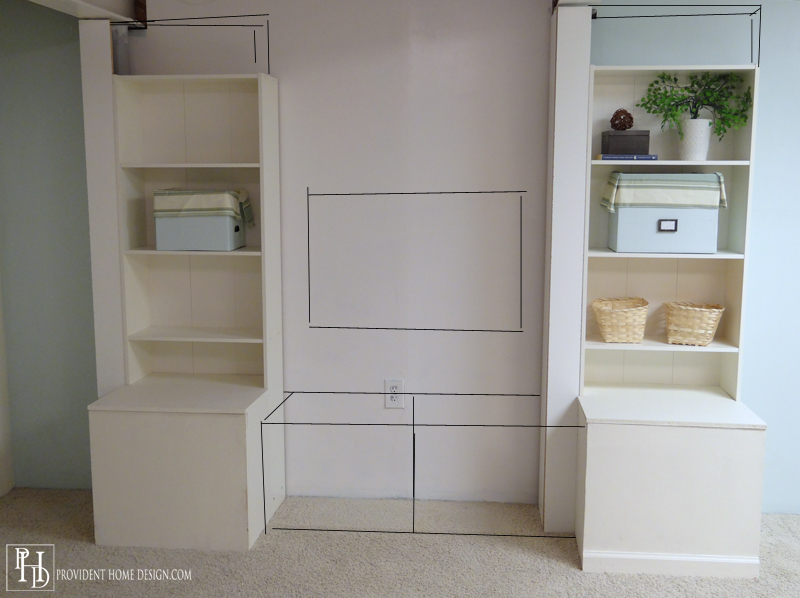
Below is what I have left to do with the cabinet system–add another shelf on top of the bookcases, add a horizontal storage area between the bookcases. The rectangle in the middle is where we will put our old TV that has been in storage. And some other little things here and there.
I made the two ‘bookcases’ with the tutorial found HERE.
And then added the pole cover by connecting two pieces of melamine with L-brackets and then…
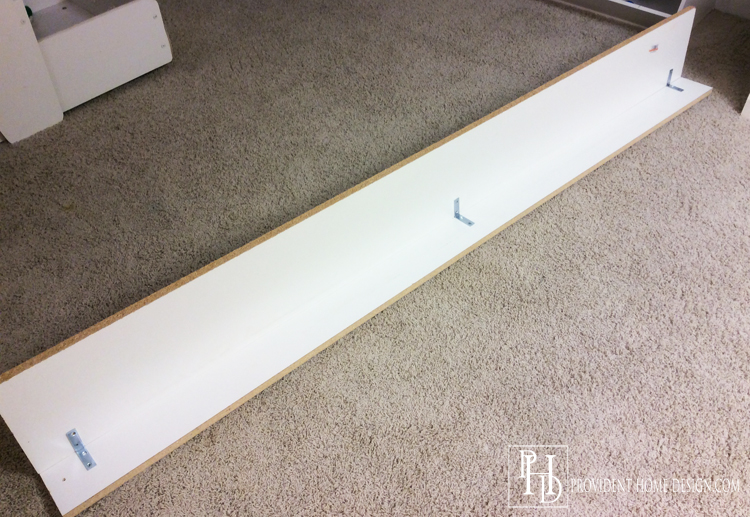
gluing the pole covers to the sides of the bookshelves with gorilla glue.;-) I taped it till it dried so it wouldn’t slide around.
I’ve also been making decorative storage totes out of empty diaper boxes. Store bought storage totes and baskets can add up quick.
Here’s how I did it.
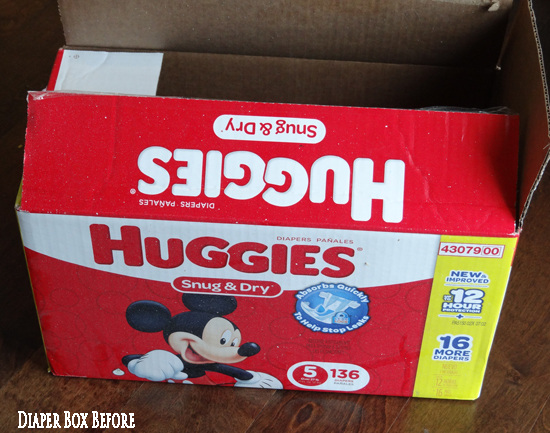
I painted the box with the same wall paint that I painted the accent wall (Behr Melting Moments).
Then I cut four 7 inch wide strips of fabric to the length of each side of the box and hung it over the top of the box.

At first I tried using spray adhesive I had on hand but It didn’t keep the fabric intact too well. So I tried liquid nails and it did much better.
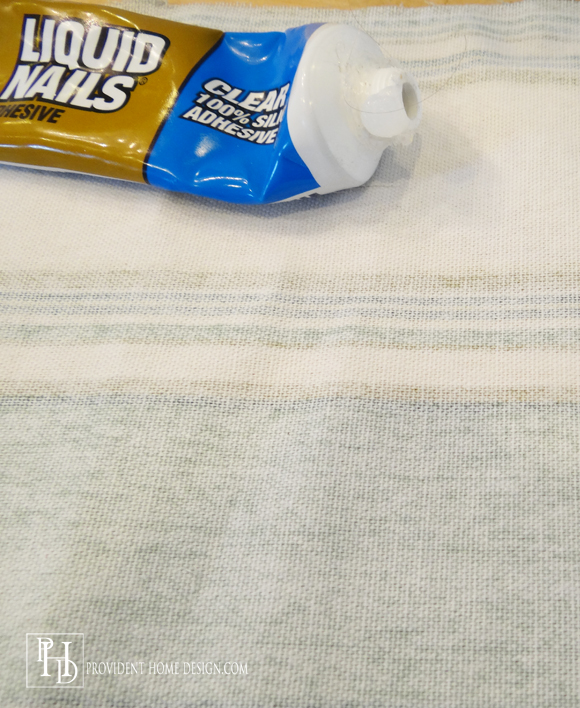
Be sure to press the fabric firmly against the box.
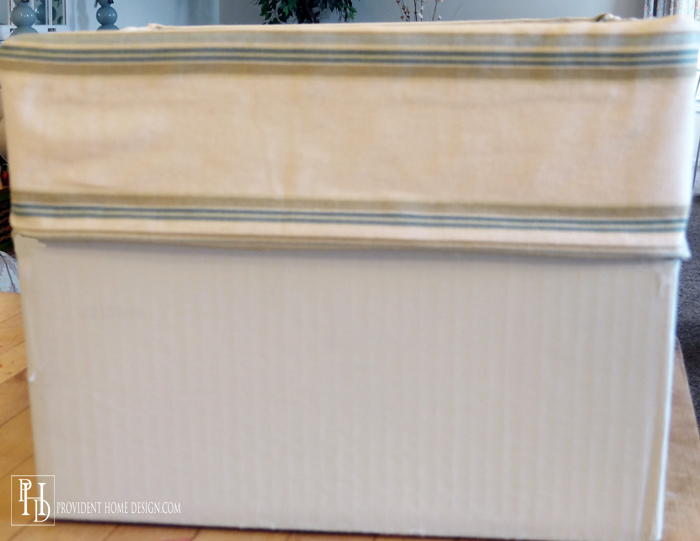
I added a label using cardboard, painters tape, and paint.
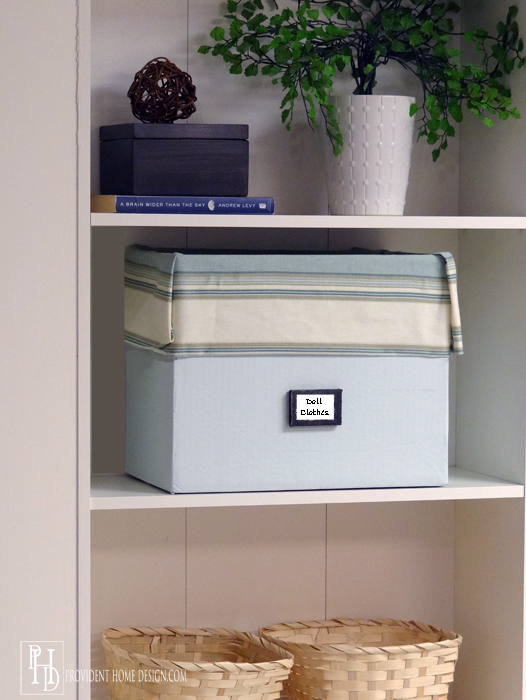
Other ideas instead of using fabric on top could be stenciling a painted design or using decorative wrapping paper on the top instead of fabric. The possibilities are endless!
Lastly, I’ve been working on adding more decorative layers to my family room. I made a trip this week to Homegoods (dangerous) and bought the lamps and the blue pillows below. As you can see they still have tags on them so I’m not 100% sure yet that I’m keeping them.
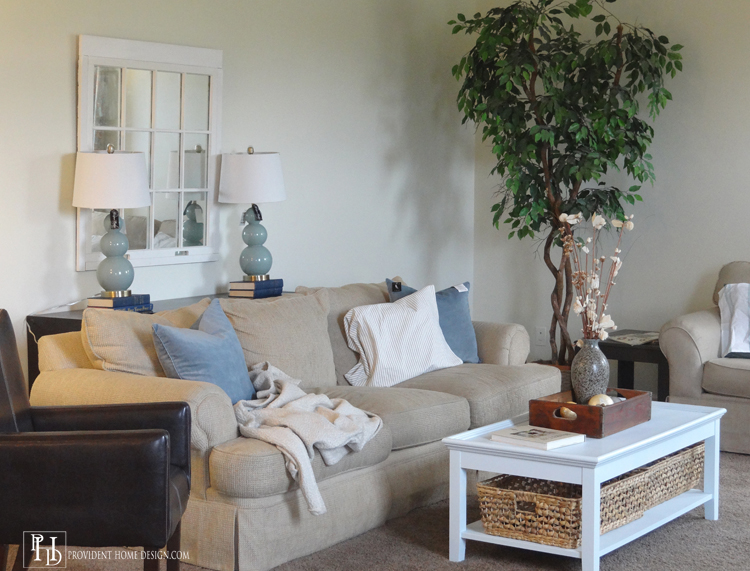
The coffee table is new to the space as well. I will share more about it with you next week!
I hope you enjoyed seeing the progress of the downstairs even though it sure isn’t pretty (yet)!:-) This week I’m hoping to finish the wall system, get the couch in the right place, make some pillows covers for the family room, get a quote from an electrician and whatever else I can manage to squeeze in.
If you are interested you can check out the other participants’ progress, HERE.
Hope you have a great week!!


Related Posts From the Blog:
 Beautiful Upholstered Headboard and Nailhead Trim Tutorial
 The Trick to Growing Grass & Porch Update
 Taking Stairs from Carpeted to Stained Hardwood
 Parade of Homes-House Tour #2 1/2
 24 Arm Chairs Under $250
 An Old Favorite Paint Color & A New Favorite Paint Brand
 Making a Case for Window Casings
 Design 101- Repetition of Pattern