Hello! I hope you’ve had a good week!! This week in Ohio the weather has gotten wet and chilly. I can definitely tell Fall is here and that Winter is coming!
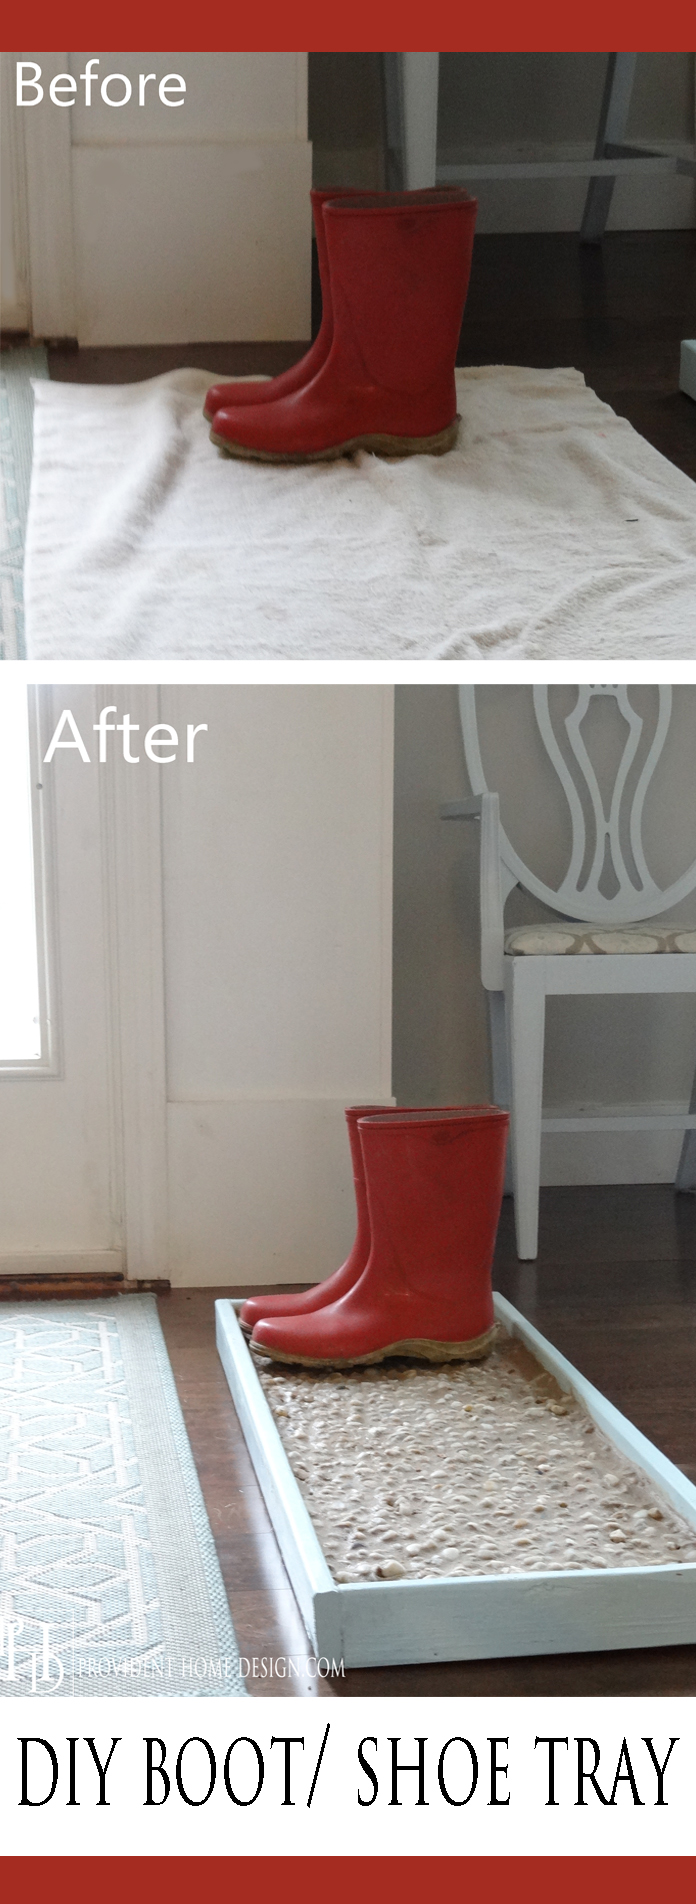
In the past I have laid down an old towel by the door to protect the floors from wet boots and shoes during the Fall and Winter months.
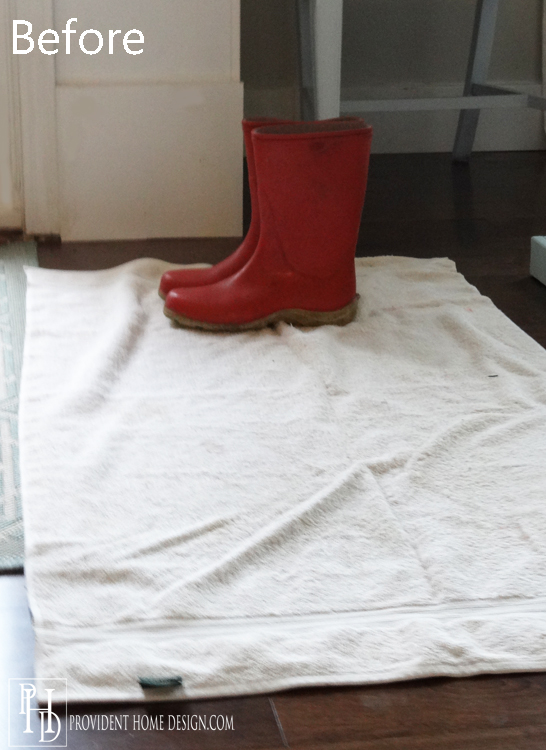
Our past couple of winters have been so snowy that I’ve had the towel down by the door for weeks at a time.
I’ll be very frank, it drives me nuts! It ends up looking so messy and dingy and makes the dreary Winter feel even more dreary.
So I was motivated this week to find a solution to contain the wet boots and shoes in a more attractive, upbeat way.
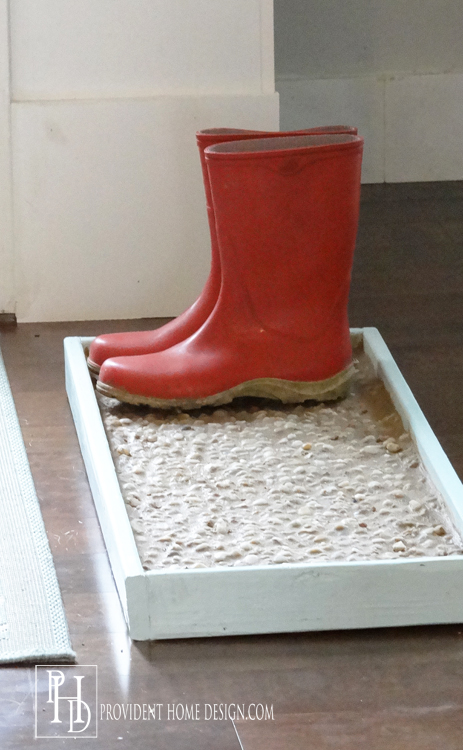
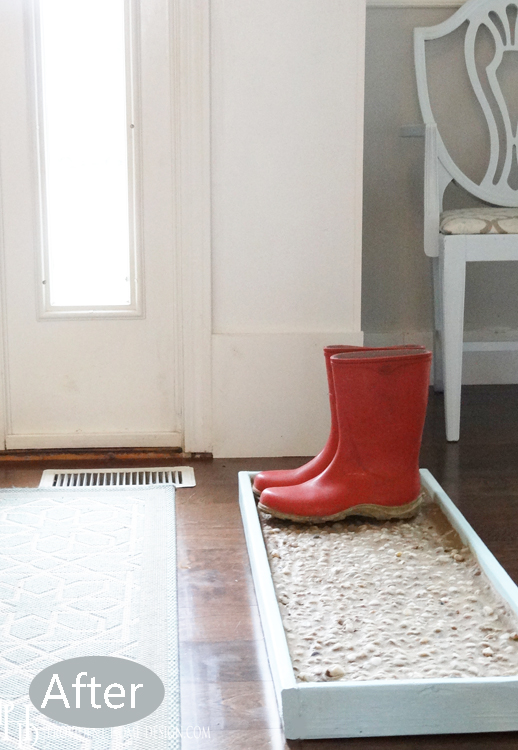
Here is my solution below, a DIY Cobblestone Boot/Shoe Tray.

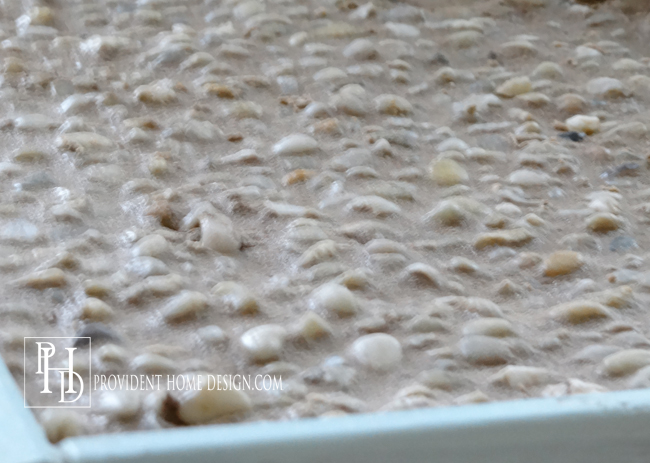
I’m sure I looked pretty silly taking the picture above as I was lying stomach down on the floor with the camera out in front of me!:-)
This project is super inexpensive and can be done to the degree of difficulty you are comfortable.
READY to learn?? Here we go!
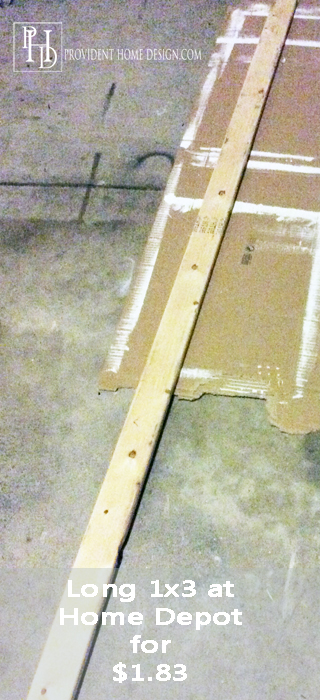
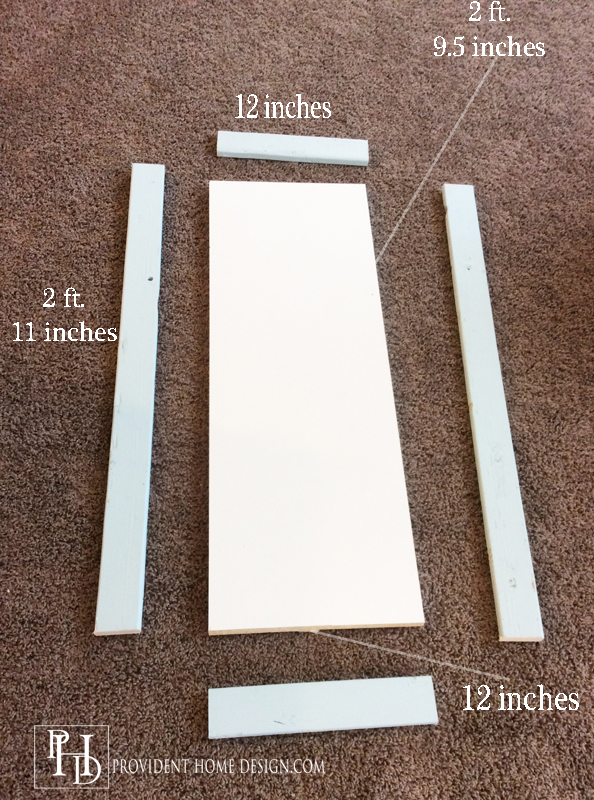
I bought an 8 ft. 1 x 3 piece of low grade pine for $1.83 at Home Depot (i’m sure Lowe’s has it too). If you take your measurements there they will cut it for you.
The measurements I used are in the photo below. The white rectangle is a piece of melamine I had left over from another project. You could use melamine or plywood just make sure that it is 3/4 or an inch thick.
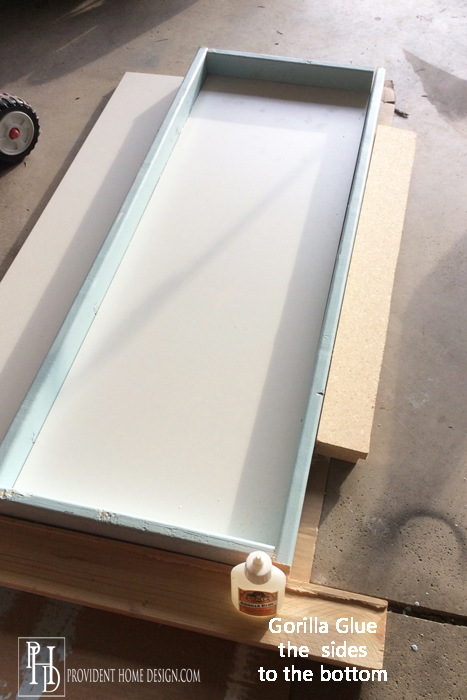
Next I used Gorilla glue along the bottom of the wood sides and pushed them up against the sides of the white melamine. I placed wood supports around it to keep the sides in place and let it dry for 24 hours (as shown below).
Note: If you would rather nail in the sides to the melamine you can.
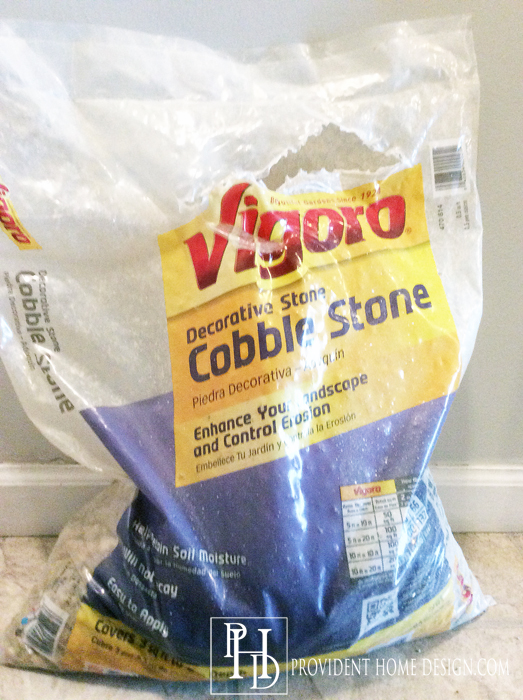
Next, the outdoor garden area at Home Depot carries a bag of cobble stone for only $3.50 (I still have lots left so you can make multiple if you’d like).
If you don’t have children, have older children, or if you have young children who are extremely self disciplined then you could just wash off the cobblestones (they will need to be washed) and pour them in the tray and be done.
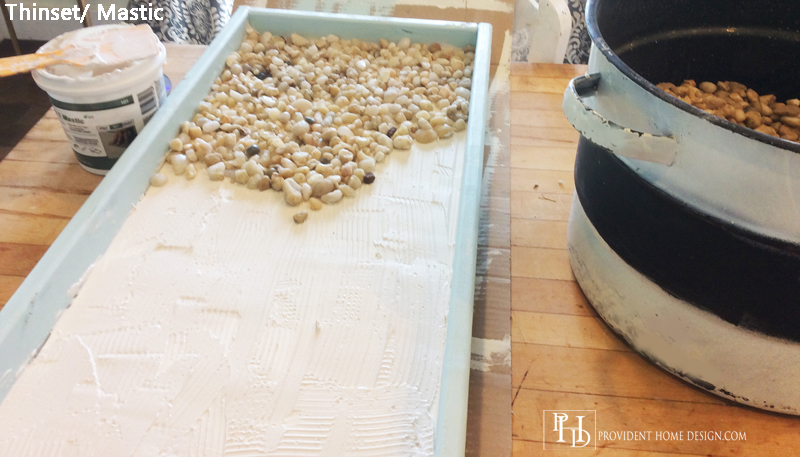
But if you have young children like I do and don’t want to find stones all over all over your home then I suggest you put down a generous layer of thinset/mastic (the same kind you use for installing a backsplash).
Below you can see that I put down the thinset (my layer was too thin I should of put more) and started placing the cobble stones on top.
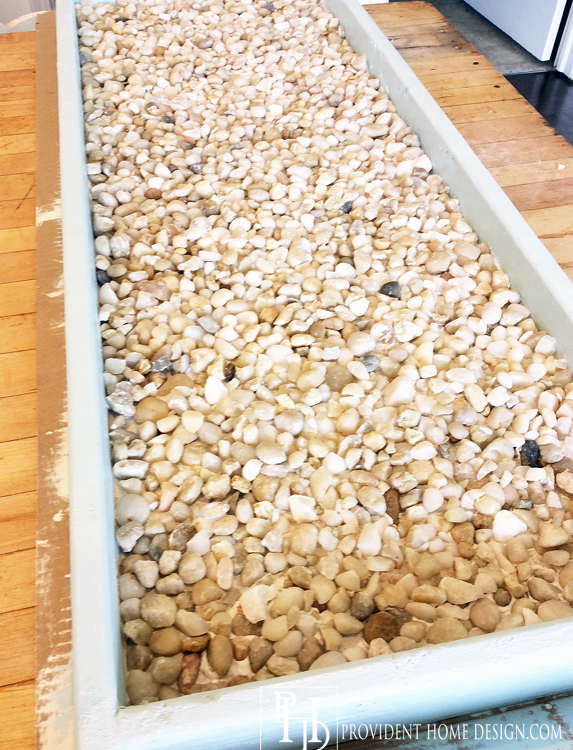
This is what it looked like with all of the cobble stones laid over the thinset. At this point you can let it dry and be done with it . Or if you want even more reinforcement and permanence to the stones you can add grout like did.
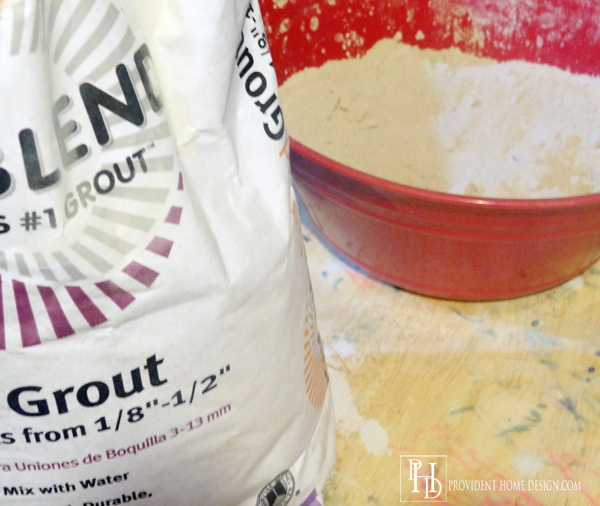
Pour the grout (I used tan) in a bucket and add the appropriate amount of water like you do with grouting a backsplash.
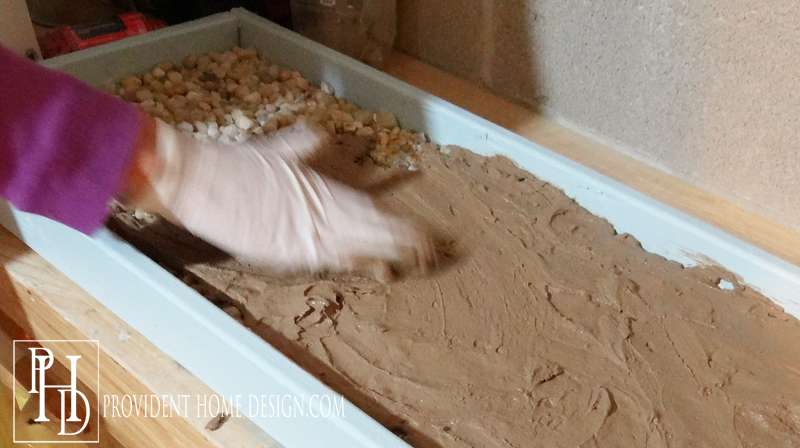
Grouting is indeed as messy as it looks in the photos. I use a rubber glove over my hand to spread the grout over all of the stones.
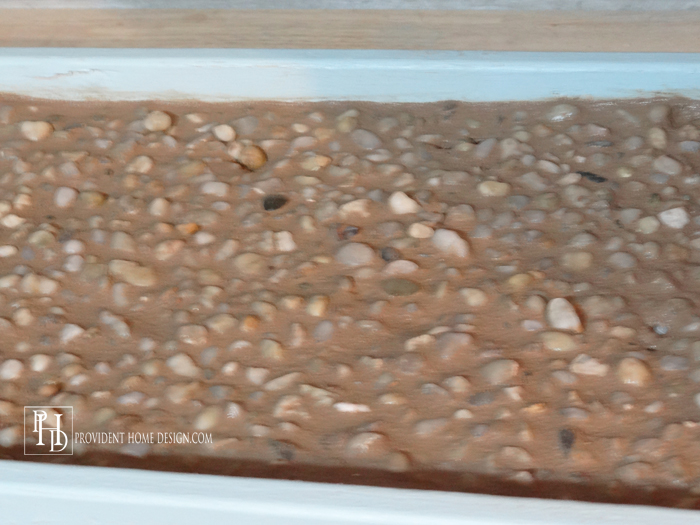
When you finish spreading the grout let it sit for about 15 minutes or so and then with a large wet sponge start wiping away the grout. You will want a bucket of water next to you as you wipe off the grout because the sponge will get super messy and will need to be cleaned regularly.
When the grout it wiped off the stone it will look something like the photo below. Let it dry.
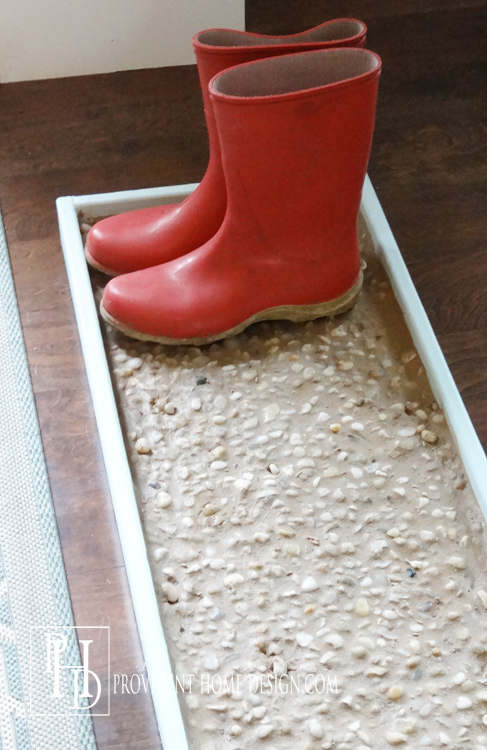
After you let it dry the grout will lighten up a bit as shown below.
That’s it! I expect his to last for a very long time and am hoping it will help the dreary months ahead not be quite as dreary!
Have a wonderful rest of your weekend and as always let me know if you have any questions (and remember there are no dumb questions)!:-)
[jetpack_subscription_form]
Follow me on Pinterest and Instagram for more decorating ideas and inspiration!

