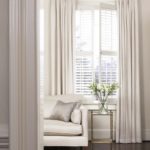
Hello! I love a good Ikea hack and I’m so excited to share one with you today! I’ve been admiring Pottery Barn and Ballard Designs decorative storage systems for years!
 via Pottery Barn

Whether they function to organize shoes and coats and backpacks in an entryway OR toys and crafts in a playroom or craft room it doesn’t matter–I love them all! I haven’t met one I haven’t liked but I also haven’t met one that I can afford.
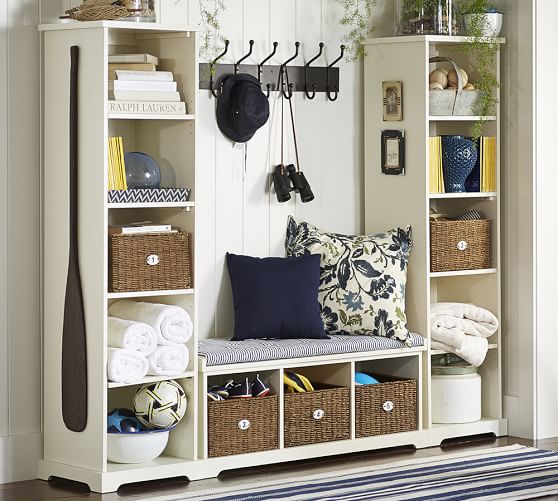
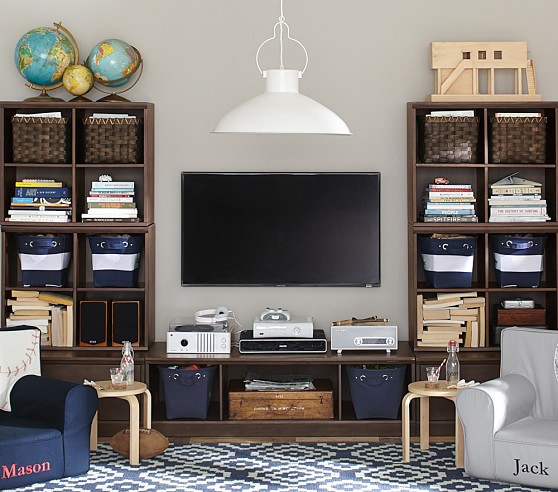
Unfortunately, these organizing beauties come with a hefty price tag. The one below was the inspiration for this Ikea hack costing $899 for the set of 3 and $399 for just one compartment!

via Ballard Designs
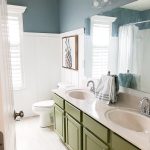
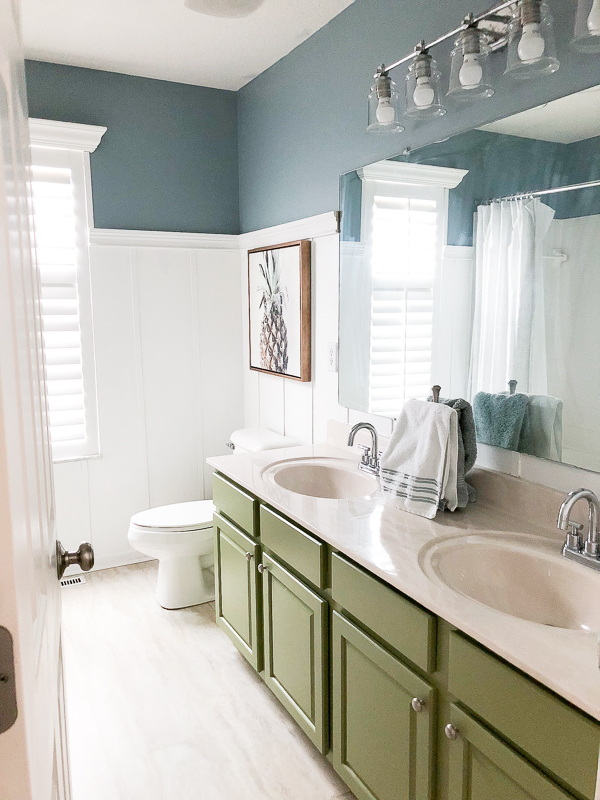
Sadly, they are too expensive for me. Since I already turned my hallway closet into a “mudroom” I don’t need one for the entryway but I’ve been dreaming of a decorative storage system for our basement playroom (and boy does it need one).
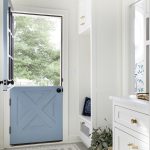
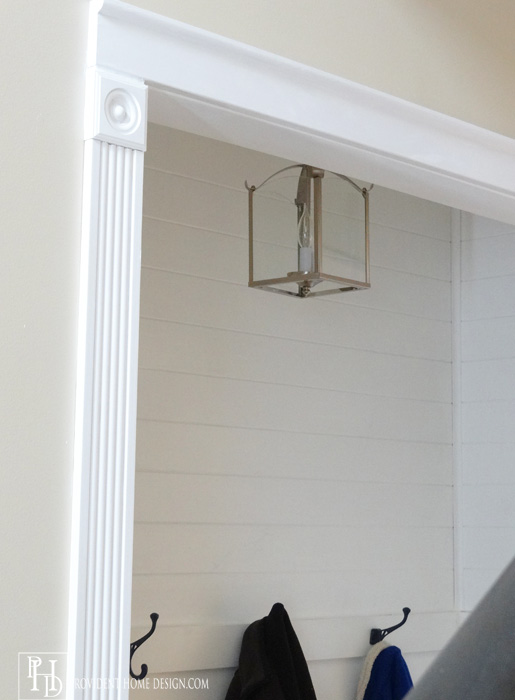
A Glimpse of our Hallway Closet turned “Mudroom”:-)
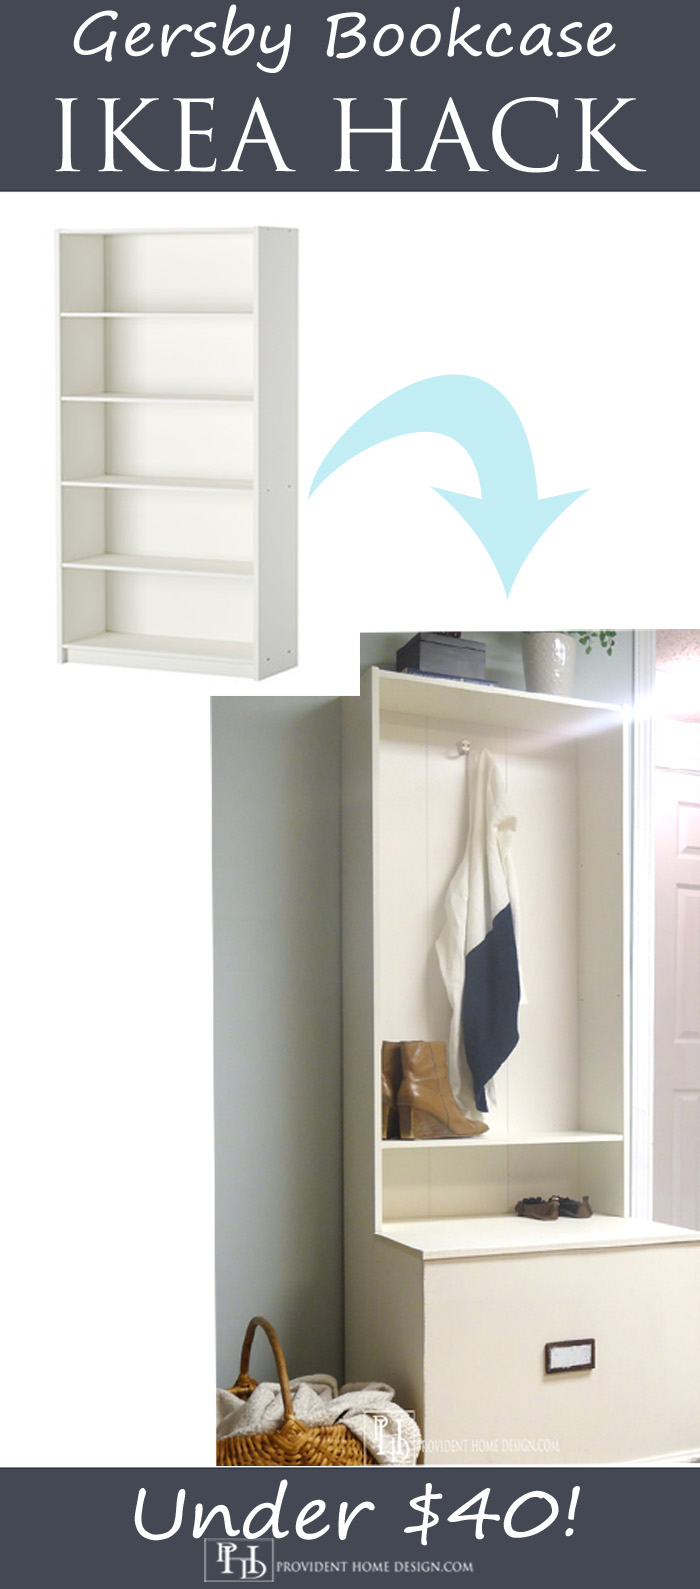
In mid-Summer I got a chance to stop by the Ikea in Cincinnati. It was there that I happened upon the Gersby Bookcase for only $25!
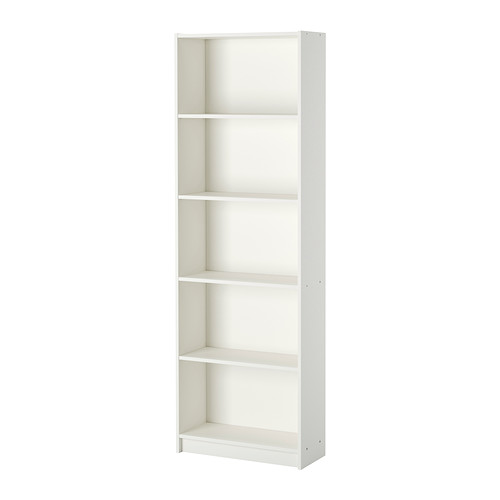
via Ikea
In the heat of the moment I threw (actually I had 2 nice Ikea customers help me put) two of these babies into my cart not knowing what in the world I was going to do with them. But for $25 a piece I knew I would figure something out!
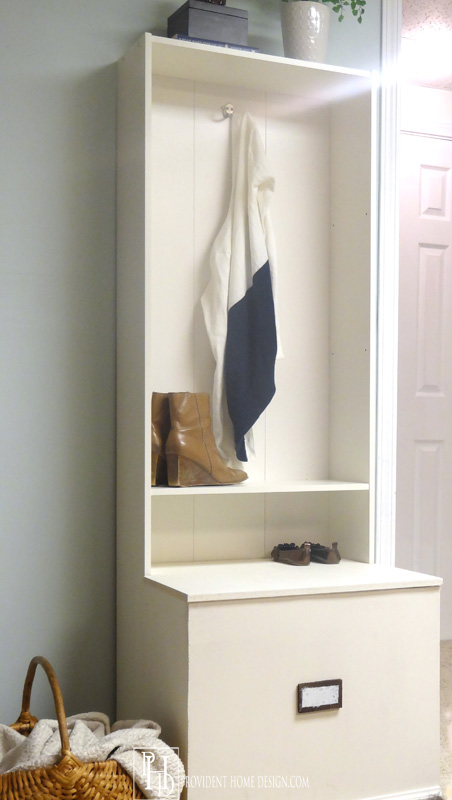
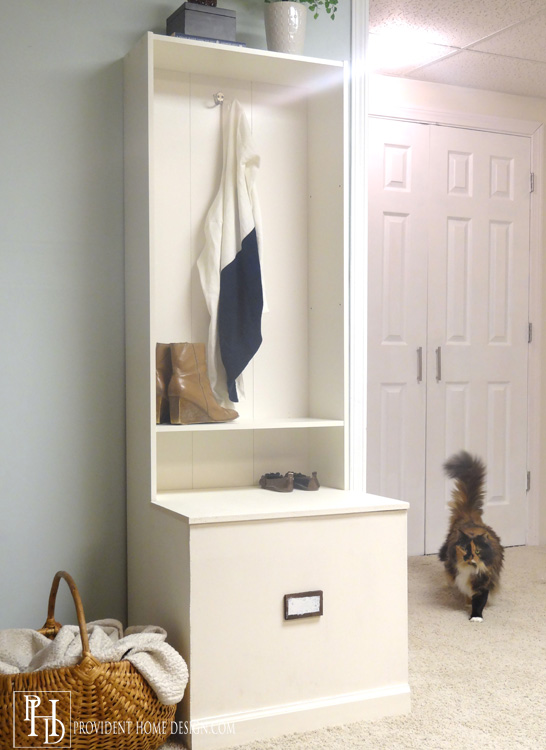
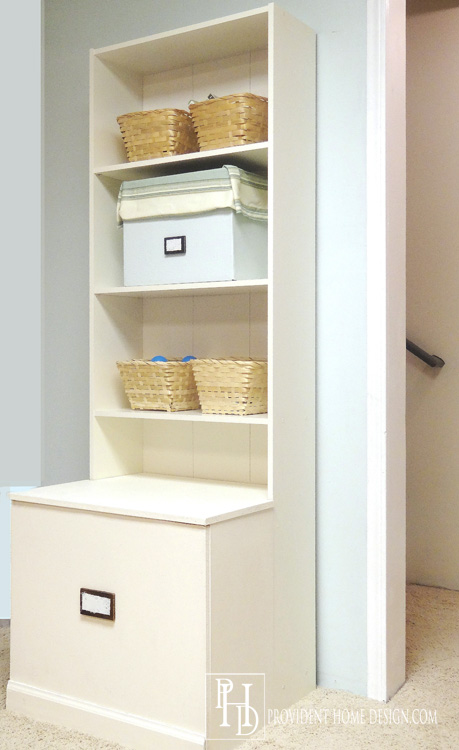
Well, here’s the result which can be used in an entryway or in a playroom or craft room (and you can imagine how lovely multiple ones would look lined up in a row)!
Entryway Version
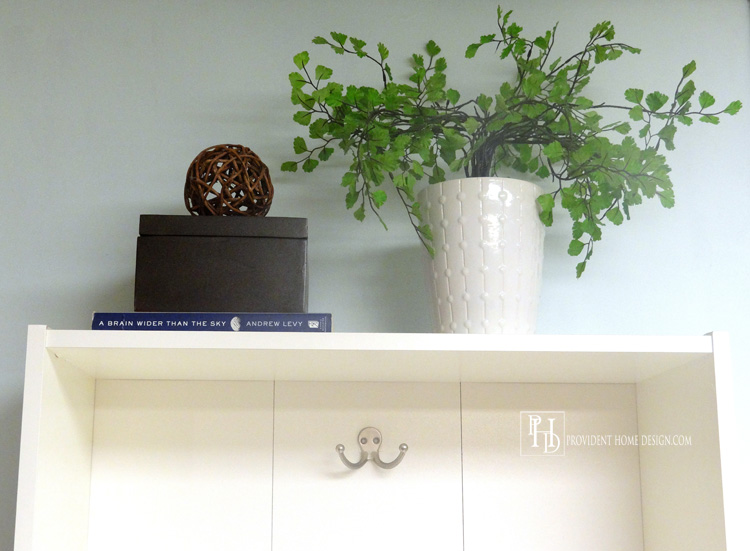
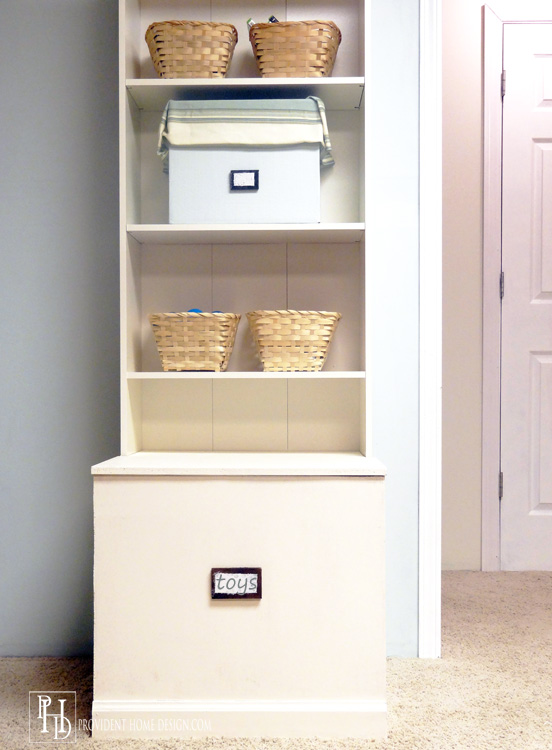
The Play room/ Craft Room Version

I’ve made one so far and have one to go but couldn’t wait to share this tutorial! It’s a simple hack! Ready to make one??
Tutorial
1. First, put the Ikea bookcase together following the instructions in the package (it is very simple). At this point you can leave off the removable shelves.
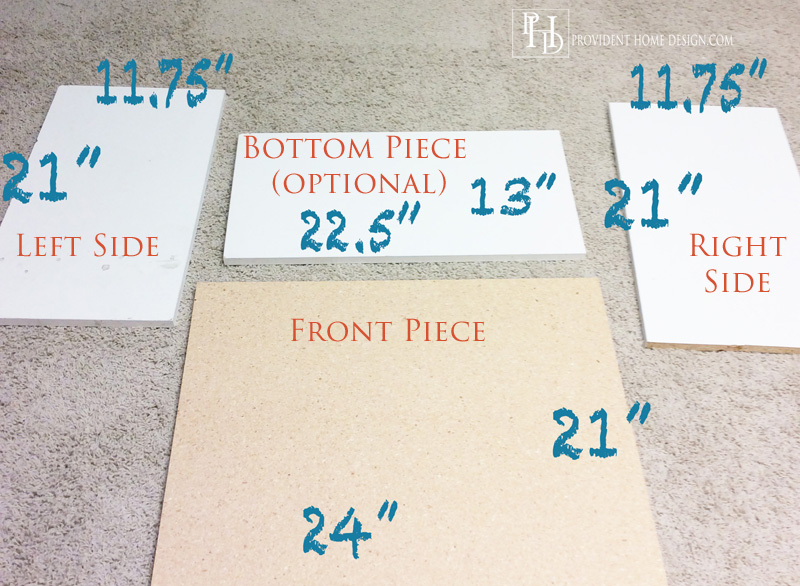
2. Next, you will begin making the box part that attaches to the bookcase so you will need to get the box pieces cut.
Below are the measurements I used for each side of the box (not including the top). I used particle board which is very sturdy but less expensive than wood.
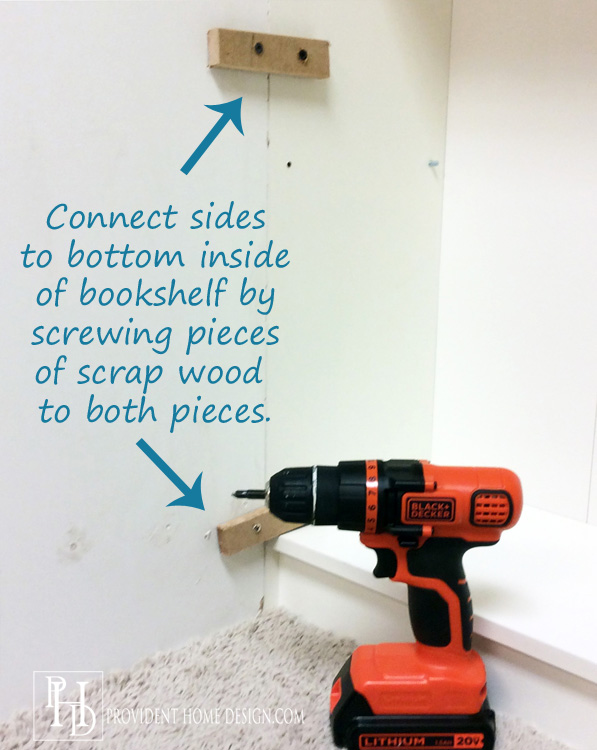
3. Hold the left side piece of particle board next to the bookcase as shown below and with a drill screw a screw into a small piece a wood or MDF so that there is a screw in the particle board and one in the bookcase holding the two together. Do one on the top and one on the bottom.
4. Repeat the above step for the right side particle board piece. After the left side and right side boards are attached it will look like the photo below.
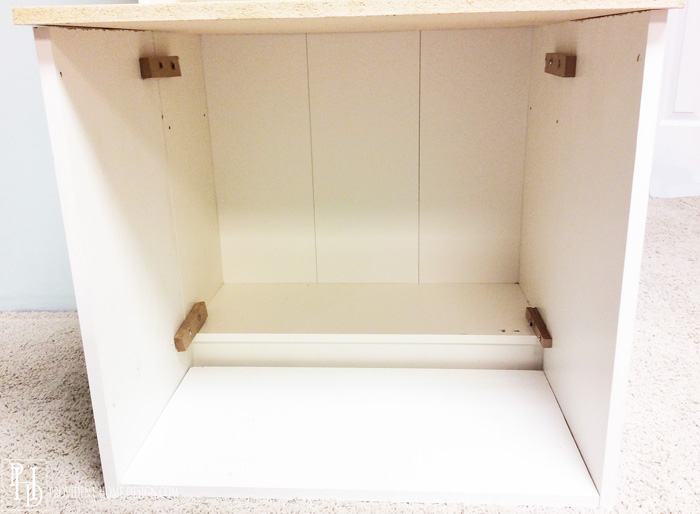
Optional: If you want your cabinet box to have a bottom now is the time to slide it in as shown above. Otherwise the bottom will just be the floor surface it is resting on.
5. Next we will be attaching the front of the box. We will do this by using L brackets or corner braces on the inside front corners of the box.
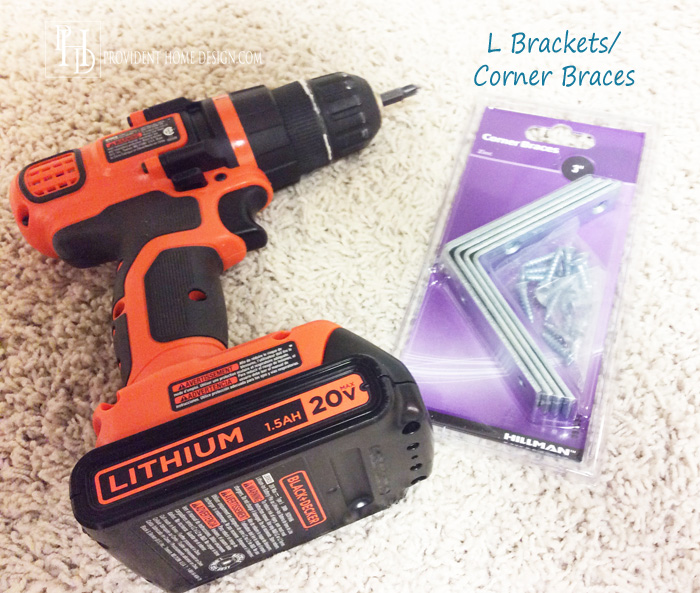
Position the front piece against the sides pieces and place a bracket on the inside corner and screw it tight making sure the corners line up well.
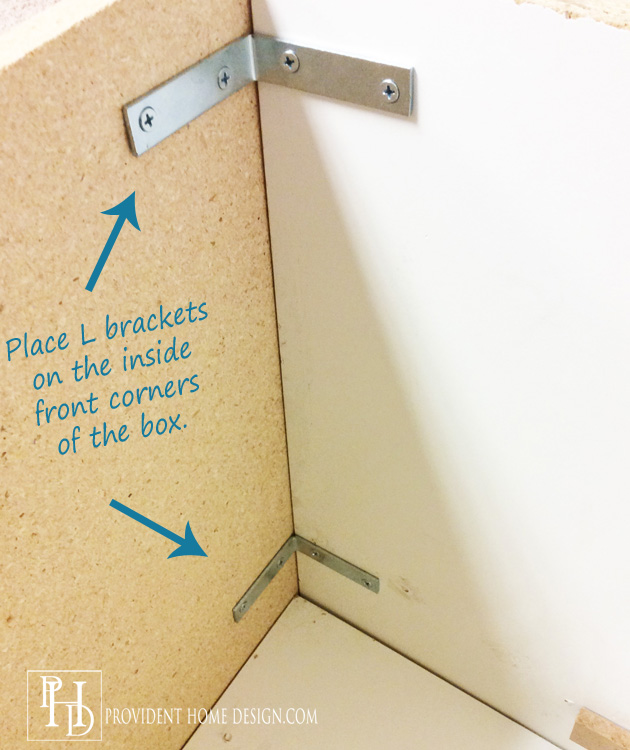
Repeat on both sides.
6. Now comes the top of the box which will be how the box opens. This piece will be 24″ x 23″ (I got 24″ x 24″ inch particle pieces at Home Depot for only $1.28)! The top piece will slide to the back of the bookcase so it will need to be trimmed on the sides as shown below.
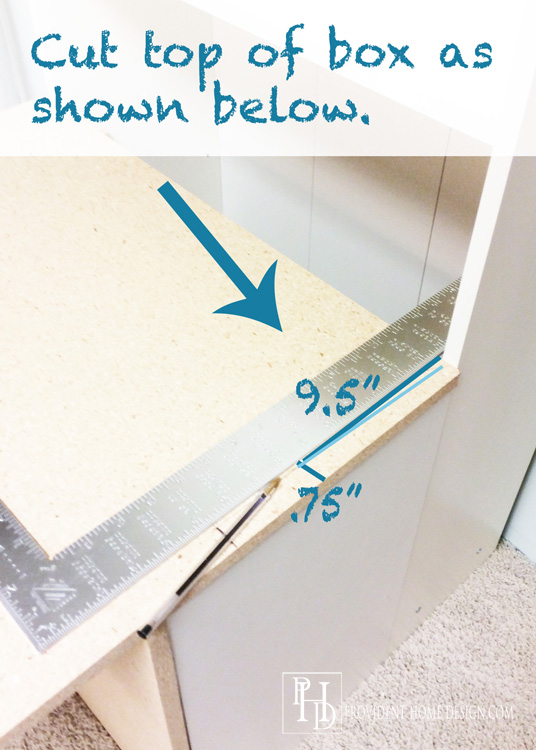
I used my jig saw to cut the top piece particle board along the cut lines I had made with my ruler and pen.
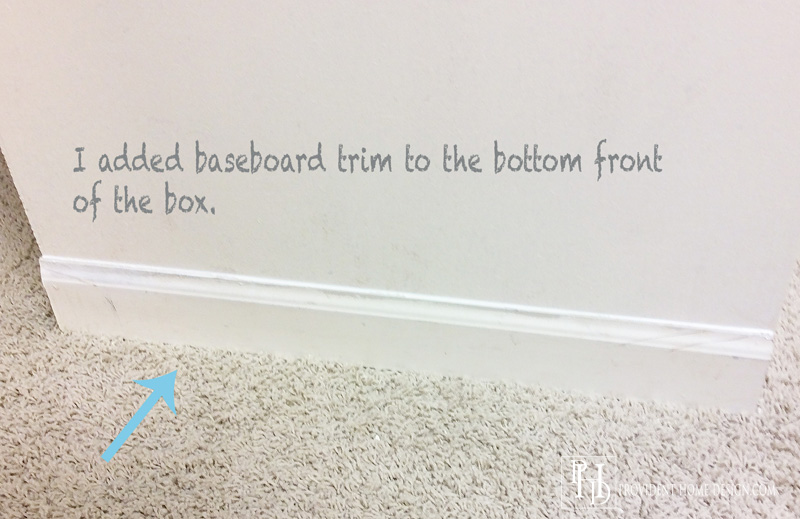
7. (Optional) I added a piece of old baseboard trim to the bottom front of my box for decorative purposes.
8. Apply caulk to where all of the different pieces of wood meet.

9. Lastly, paint it to your heart’s content. The bookcase is a cream-ish off-white color. I happened to have a cream paint on hand that matched the bookcase so I painted the box the same color. The color is Valspar Del Coronado Tequila in case you would like to match the bookcase too.
If you are using it in an entry way then don’t add the removeable shelves but instead add a 1′ x 3′ horizontally to the top back of the bookcase and install a hook to hang coats, purses, etc. on.
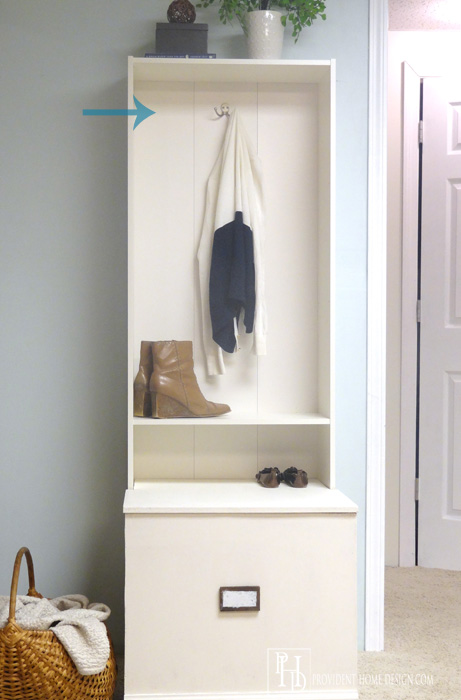
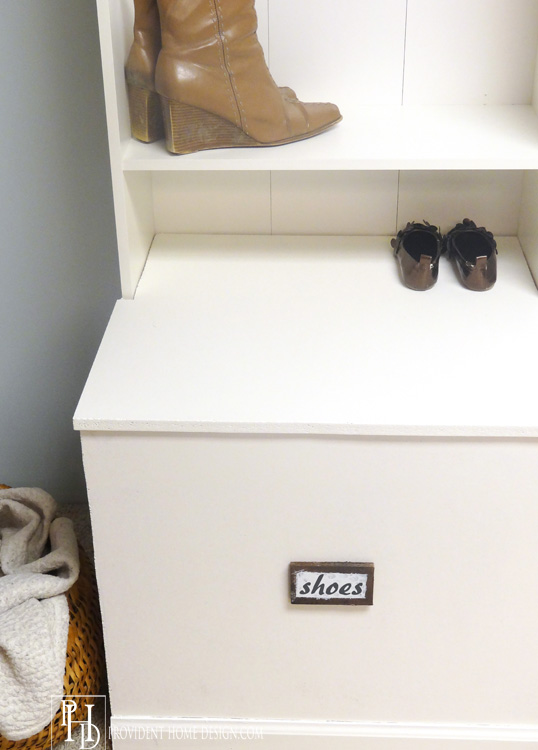
I made a label for the front of the box out of cardboard and paint but I will likely buy metal frame label pulls at some point down the road.
When all is said and done I want to have created a set up in the basement somewhat similar to the photo below.
I have a whole lot more to go but I’m off to a good start (baby steps). I hope you enjoyed this Ikea hack! As always feel free to ask questions if you have any!!:-)
Oh, and just in case you missed it I was at Remodelaholic earlier this week teaching how to ‘Faux Stain’ with paint. You can check it out, Here. Thanks for being here!!:-)

[jetpack_subscription_form]