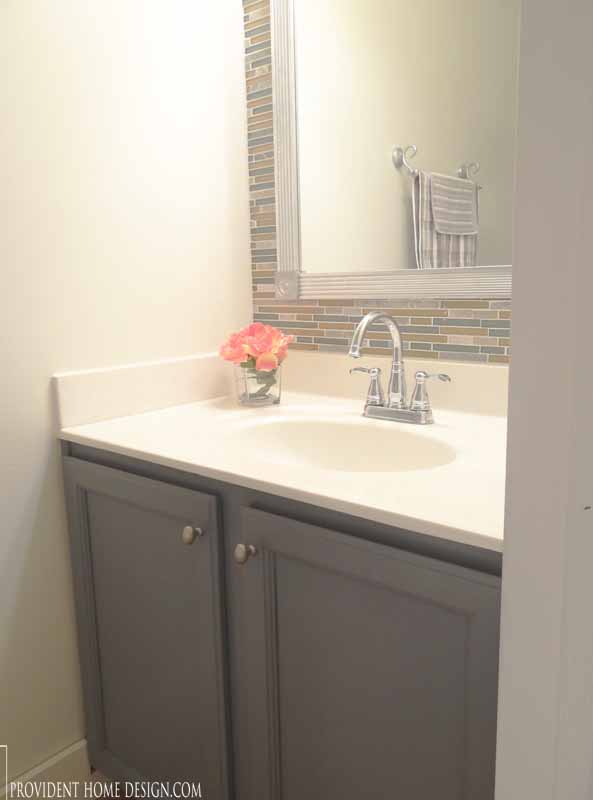
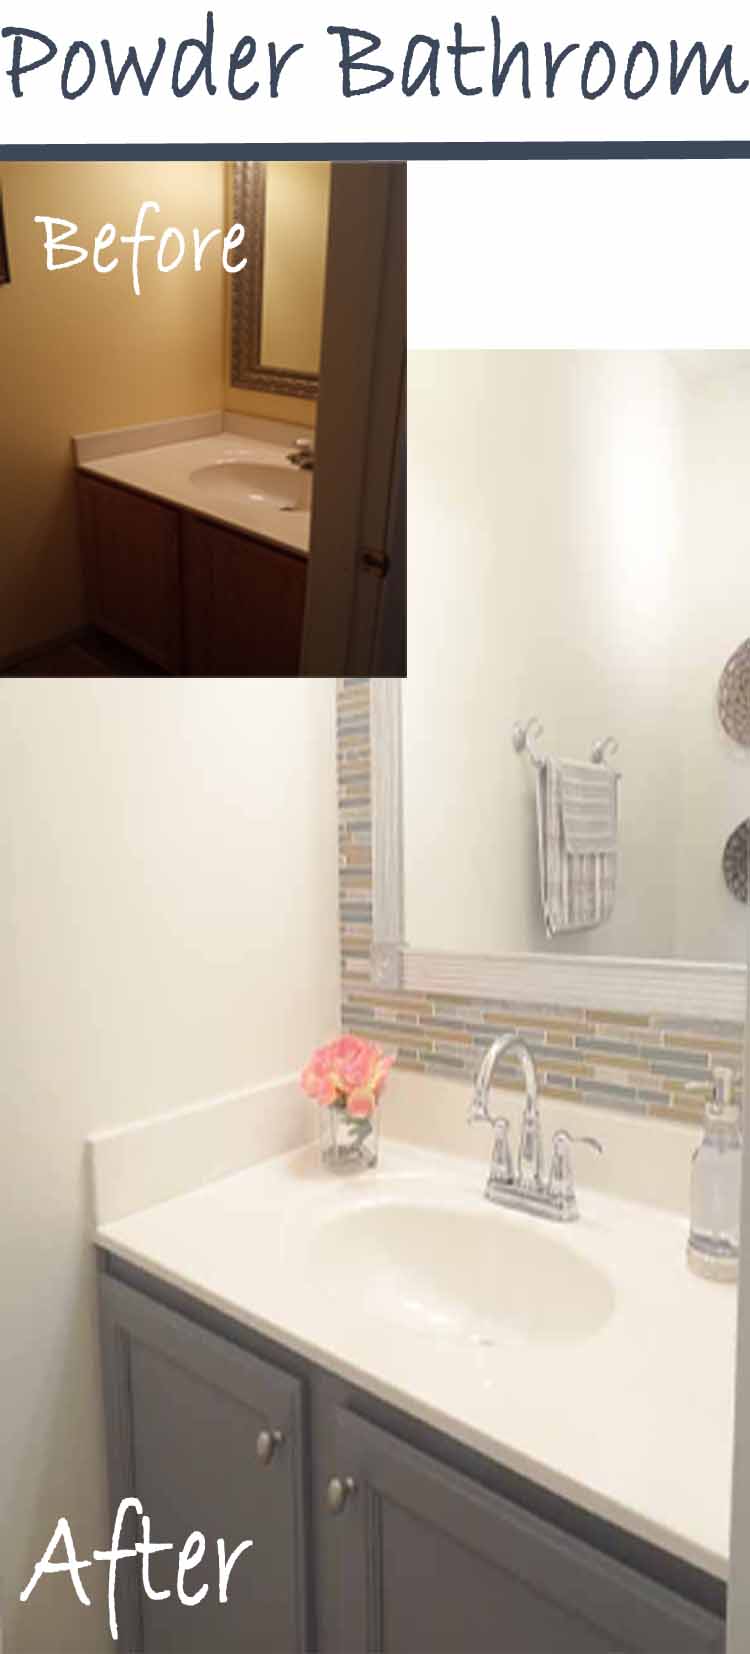
You may remember when I helped my friend, Lolly, makeover her powder bathroom (if not see post, Here).
Well, we’ve been at it again! This time re-working her laundry room.
Her laundry room was somewhat functional with an IKEA wall shelf but she felt she needed more storage space…
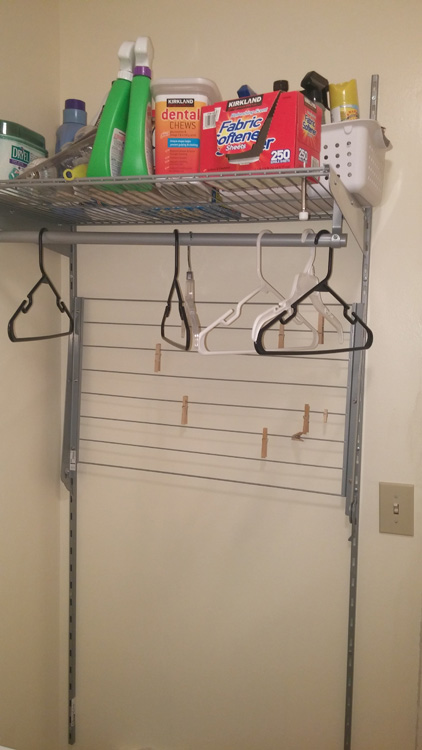
and didn’t like twisting to hang things up on the side wall. She preferred to have her storage and hanging rod above the washer and dryer and her laundry and dog supplies behind closed doors.
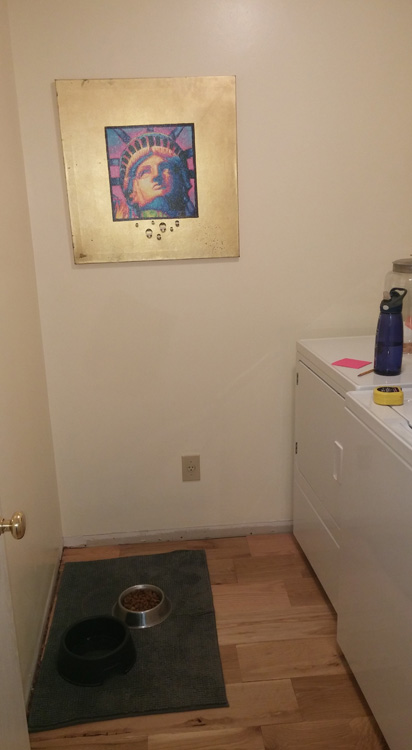
Additionally, it was evident to me that we needed to create a more space efficient and aesthetically pleasing dog feeding system.
All this while infusing Lolly’s desired style of decorating coined, “rustic glam”. I’m happy to say we achieved all of the above criteria!!
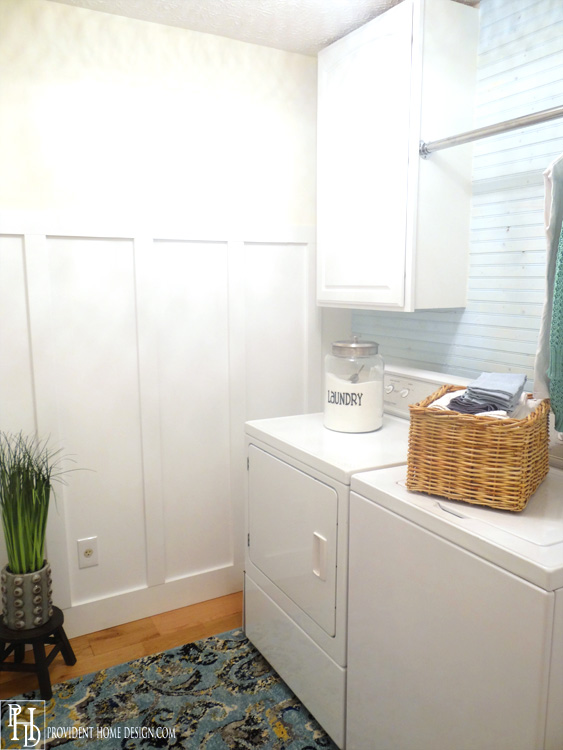
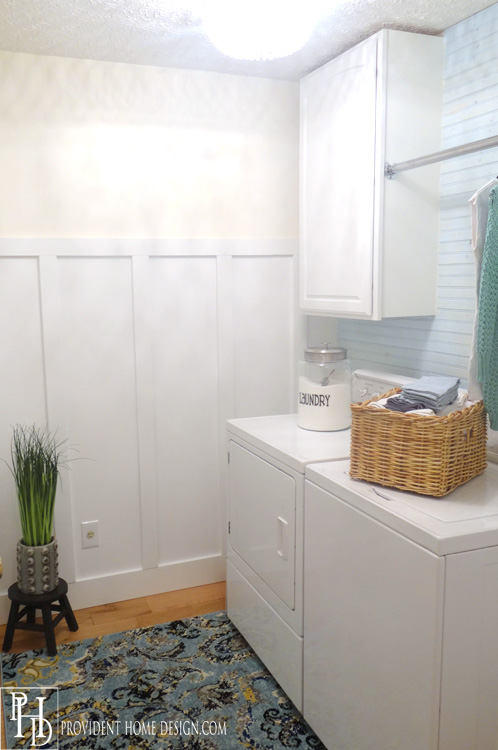
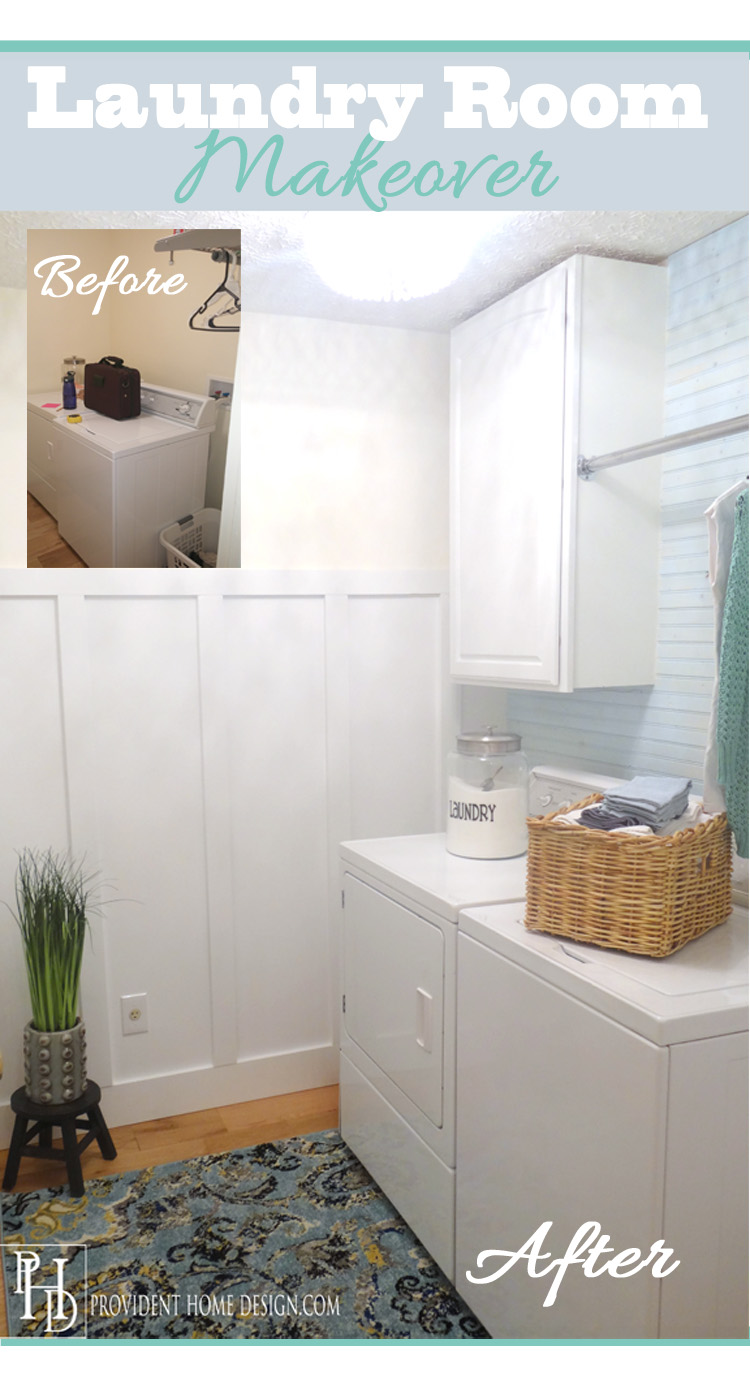
Here is Lolly’s new and improved laundry room! What do you think??

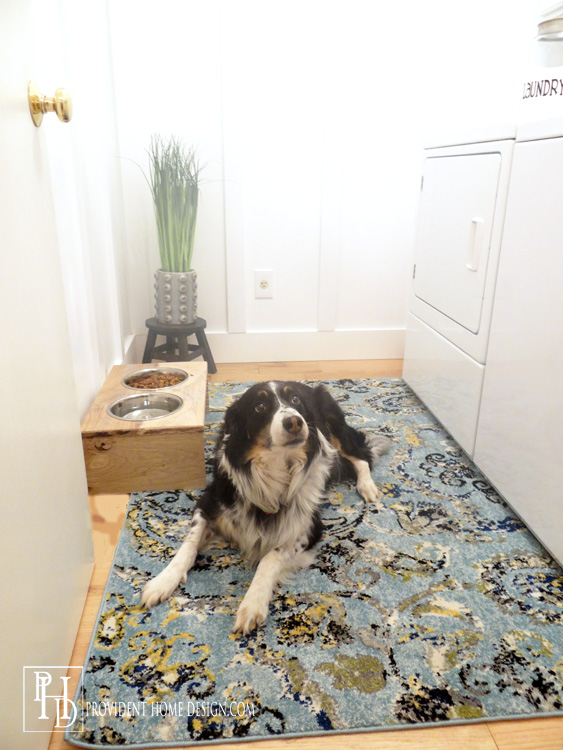
Even her sweet K9, Cole, seems pleased with the transformation.:-)
So what did we (I did the designing work and she and her hubby did the DIY work) do?
First she added board and batten to 3 walls of the room (tutorial to come).
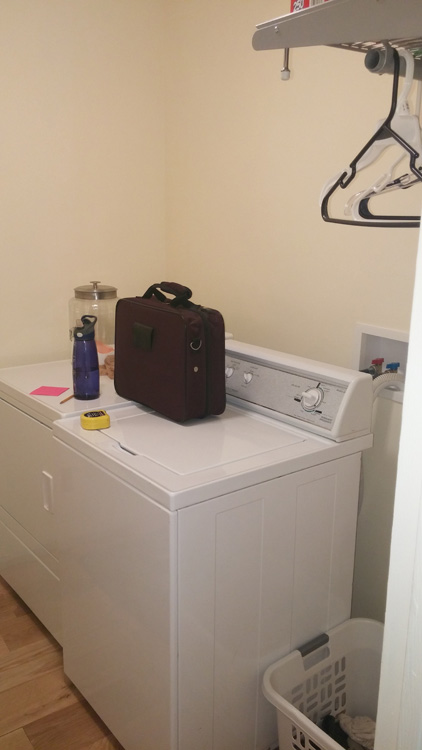
Before the washer and dryer were pushed against the far side of the wall so next we brought the washer and dryer to the center of the wall.
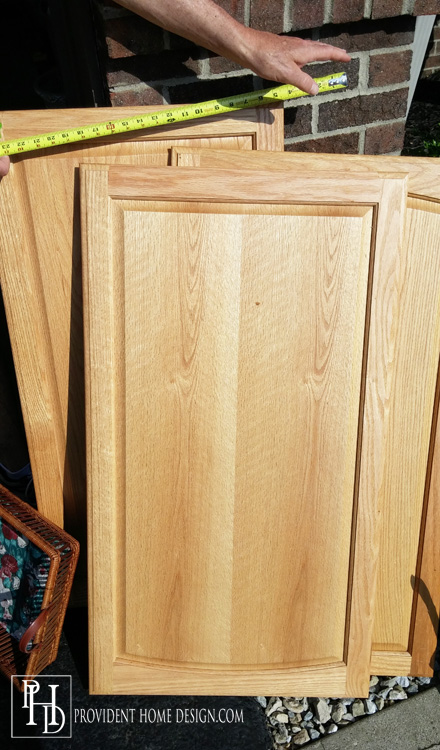
Lolly really wanted cabinets for storage and had looked at stores and on Craigslist for possible budget friendly options but without success. When Lolly sent me this picture in a text of some 42 inch tall cabinet doors for $4 at a garage sale I said, YES, get them!
With help from a church missionary who used to work at a cabinet shop, she and her husband made the cabinet boxes for the door fronts (tutorial to come). They did a great job didn’t they?
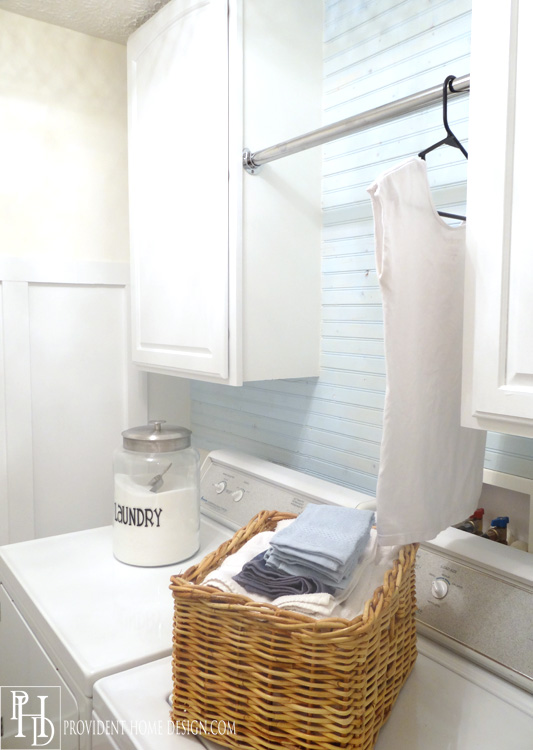
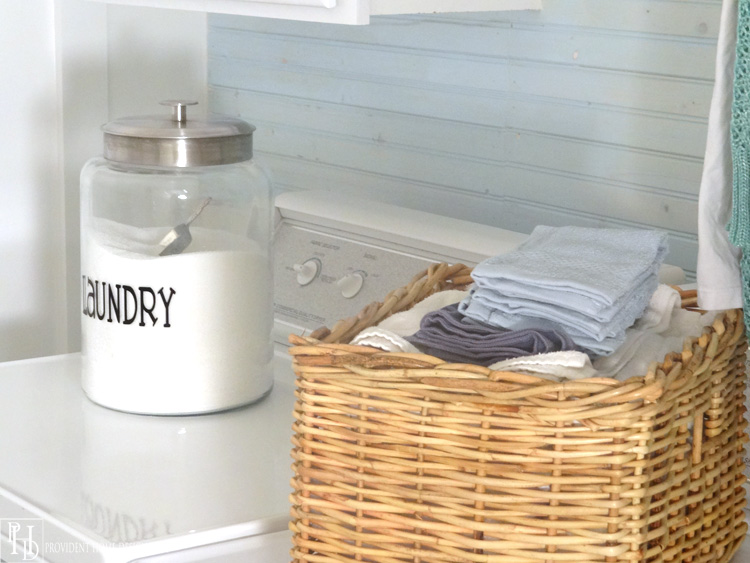
To add a bit of a rustic feel and for some textural interest we added a tongue and groove(y) beadboard backsplash that went all the way up to the ceiling. The packs were on sale at Menard’s for $7 and we used only used 2 packs.
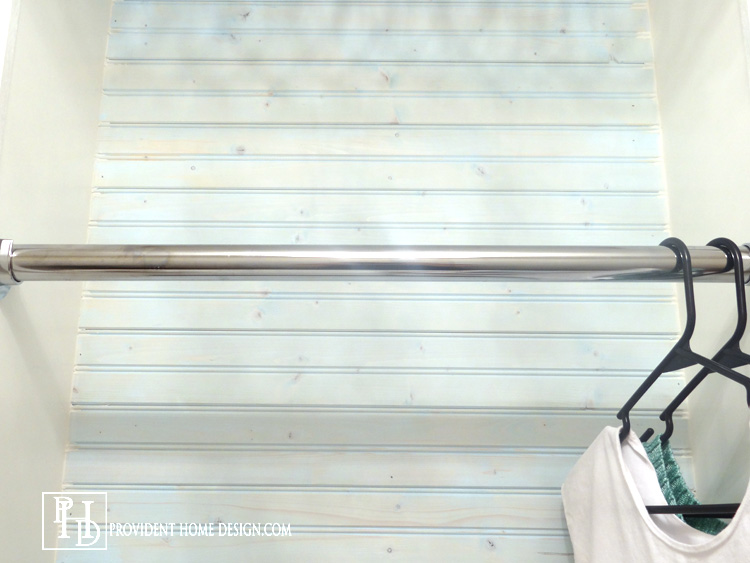
For a pop of color we “whitewashed” the bead board in Behr’s Silent Breeze. If you haven’t whitewashed before it’s super easy you just mix 1 part paint to 1 part water and brush it on (we only did one coat).

Money Saving Tip: If you are just doing a small project like this you can buy a sample size of paint for $3. 1 cup of water mixed with 1 cup of paint was all we needed for this job!
Lolly definitely wanted a place to hang clothes and so I chose to separate the cabinets and have a pole going in between the cabinets. She bought the pole/pipe at home depot and got it cut to size there. I think the pole and hanging hardware came to around $20.
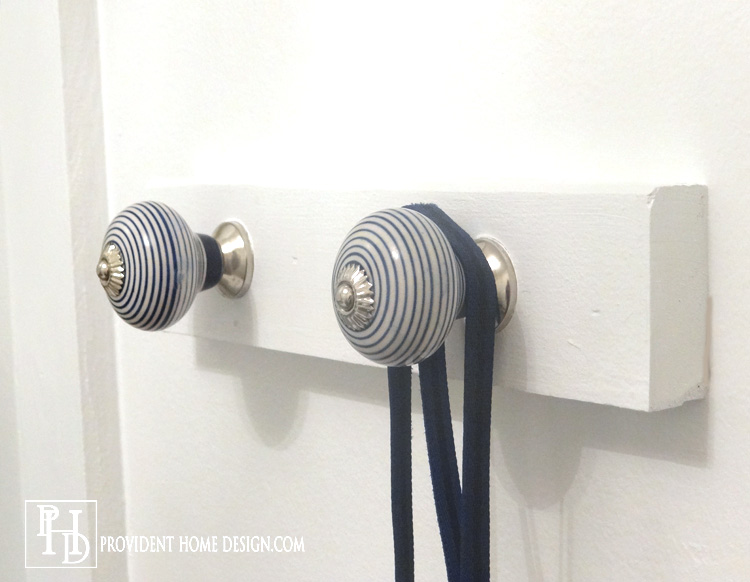
On the wall by the door where the Ikea shelves used to be we hung a 12 inch board with a couple of cute decorative knobs we found at Homegoods.
As for the dog dish solution I suggested making a pretty dog food feeder. I love this one but it sells for $60.
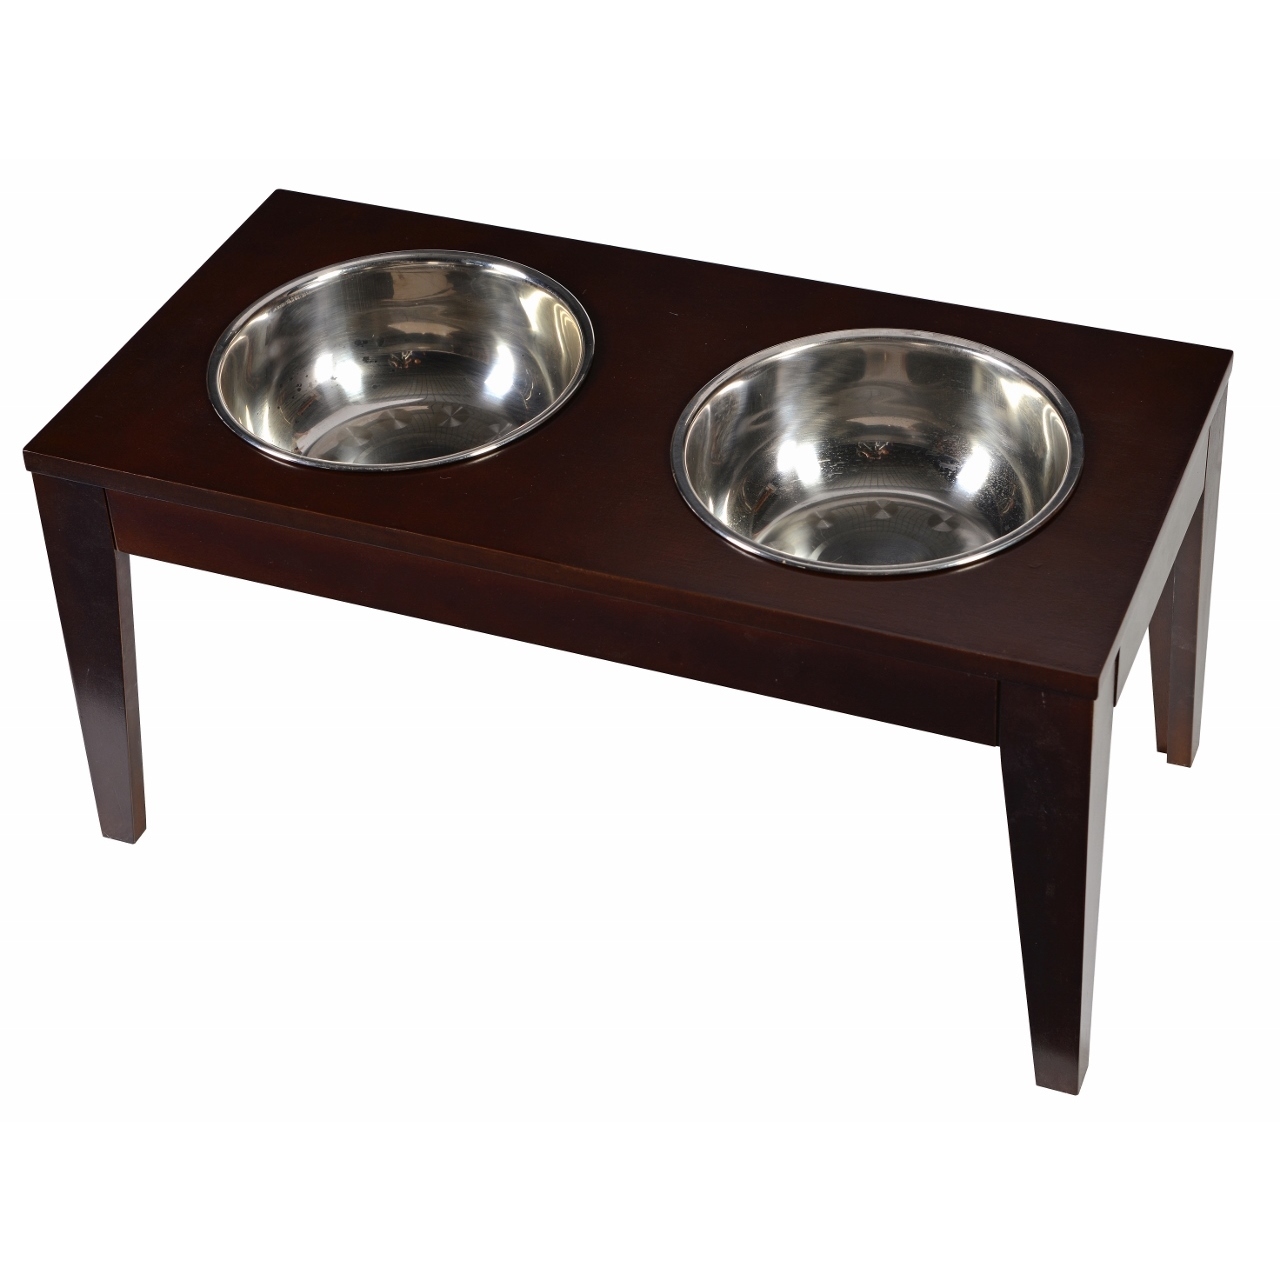
via Overstock
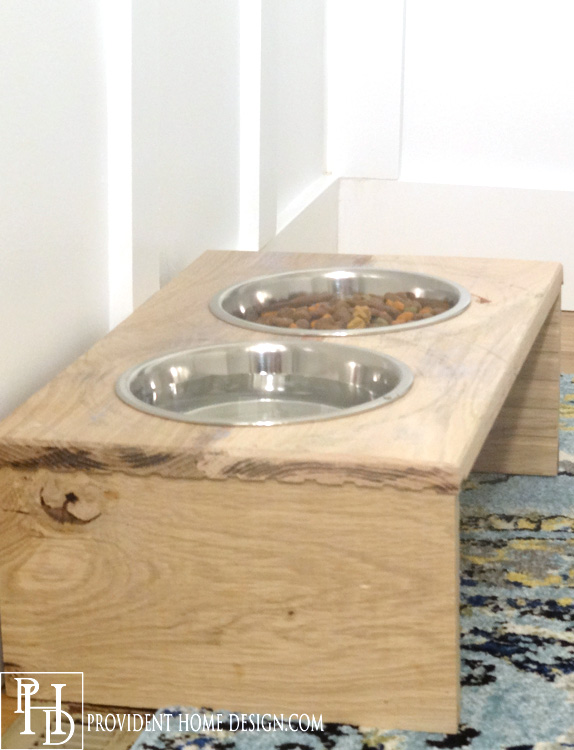
Lolly’s husband made this one for only $10! I think it looks great with the clean lines and rustic feel of the room.
I wrote all about where I got the rug, Here. We ended up cutting the rug in half and each taking a half (I now have the same rug in my laundry room).:-)
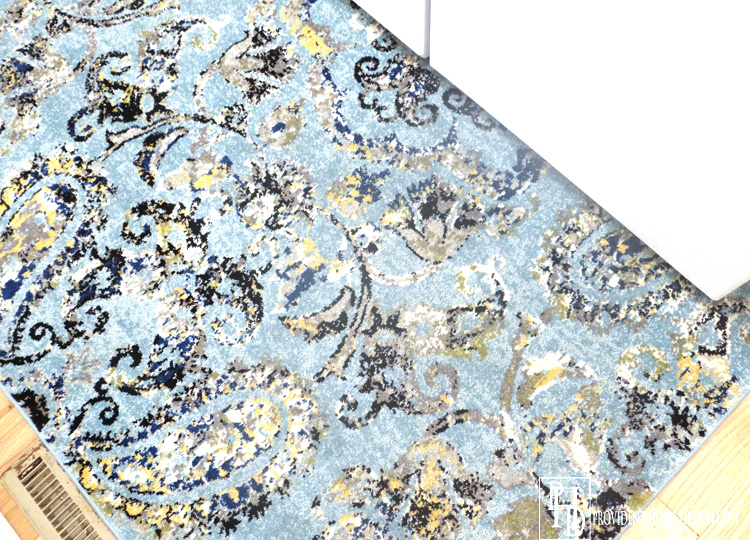
I wasn’t sure how the rug would cut but we used an exacto knife with a “carpet blade”, turned the rug over, measured and drew a straight line and it cut like buttah (clarification butter not butt, uh).:-) Seriously it was SO smooth and easy!
Just an FYI if you ever want to cut a rug, Home Depot does sell self-adhesive binding tape for around $6 that you can put on the side of the rug that has been cut. They only have brown and red in stock at our Home Depot so since our cut edge is hidden safely under the washer and dryer we decided not to bind.
At last we get to talk about the most glamorous part of the laundry makeover, her beautiful ceiling light!

Before she had a two bulb, frosted “boob” light. I knew we would need to replace with something that was more light and airy and glamorous and that it needed to be under $65. Light fixtures can be ridiculously expensive but thankfully we found this one for only $56!

via Home Depot
It gives off tons of glorious light (I’m a sucker for a generously lit space)!! Although I like the finish the light fixture comes in I felt it wasn’t the right finish for Lolly’s laundry room so we spray painted the hardware in silver/chrome before attaching the beads and hanging it.
And there you have it, Friends, a happily ever after laundry room!:-)
A huge thanks to Lolly for letting me have some design fun and for letting me share it with you all! If you liked this makeover feel free to pin or share it too!
Till next time!:-)

[jetpack_subscription_form]
Related Posts From the Blog:
 The Look for Less- My 5 Most Recent Home Decor Deals!
 Design 101-Masculine vs. Feminine
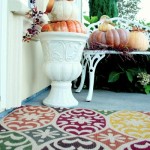 Why I Love Blogs
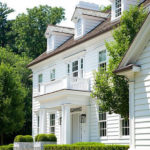 House Exterior Paint Refresh
 Easiest Ottoman Slipcover Ever (and ORC Week 4 Update)
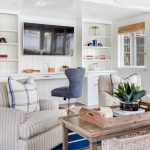 Designer Spotlight: Brooke Wagner Design
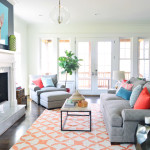 5 Things to Know about Benjamin Moore’s Color of the Year ‘Simply White’
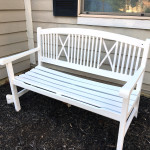 Outdoor Bench Makeover & Best $15 Sander Around