Happy St. Patrick’s Day! This St. Patrick’s is a little more meaningful for me because I now know I’m 28% Irish! You may be wondering how I know this exact percentage??
This past Christmas my Dad gave all my immediate family a present we didn’t ask for or expect but one we have all enjoyed! He gave us an Ancestry DNA kit. Basically you spit in a tube and send it off to a lab and then 3 weeks later they send you back your personal countries of origin percentages.
I now know I am 40% German, 28% Irish, 16% Scandanavian, and 10% Great Britain (and trace percent of some others). It’s been fun to see the similarities and differences I have with my parents and siblings (mostly similarities). A long story (but hopefully interesting 😉 ) to explain why I know I’m Irish and 28% for that matter!:-)
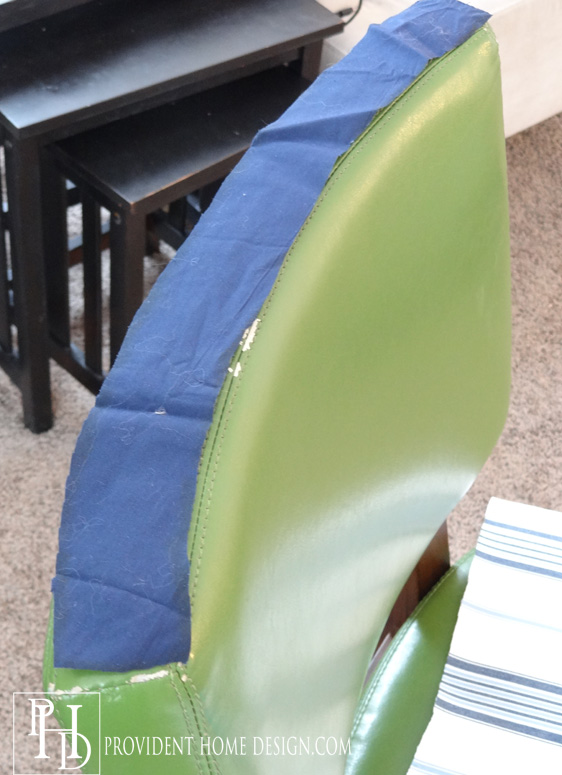
As I mentioned in an earlier post I lucked out one day (my Irish luck perhaps:-) ) while scavenging a local thrift store. Besides some décor items I found two matching green vinyl chairs for only $6.50 a piece!
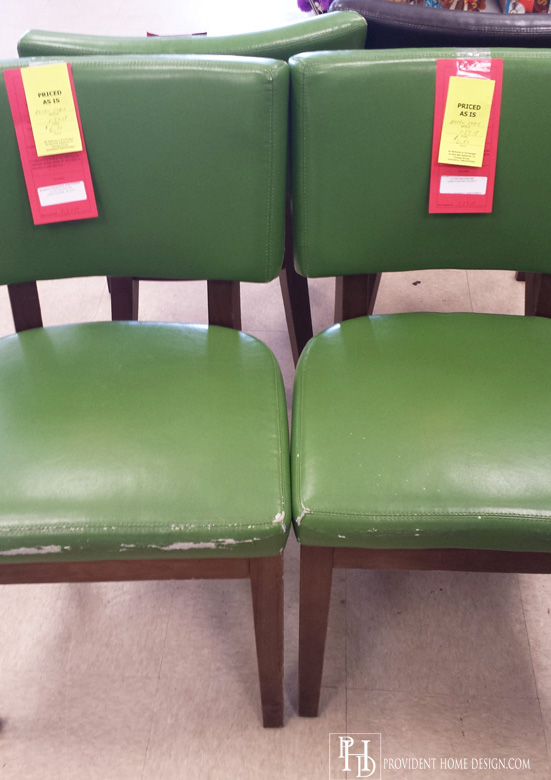
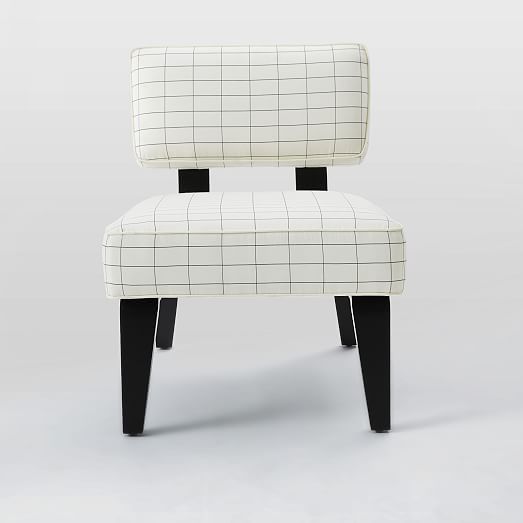
The lines of the chair reminded me of the West Elm Bentwood Slipper Chair selling for a hefty $399 per chair. I thought for sure I could figure out a way to reupholster them and use them in my Living Room Makeover!
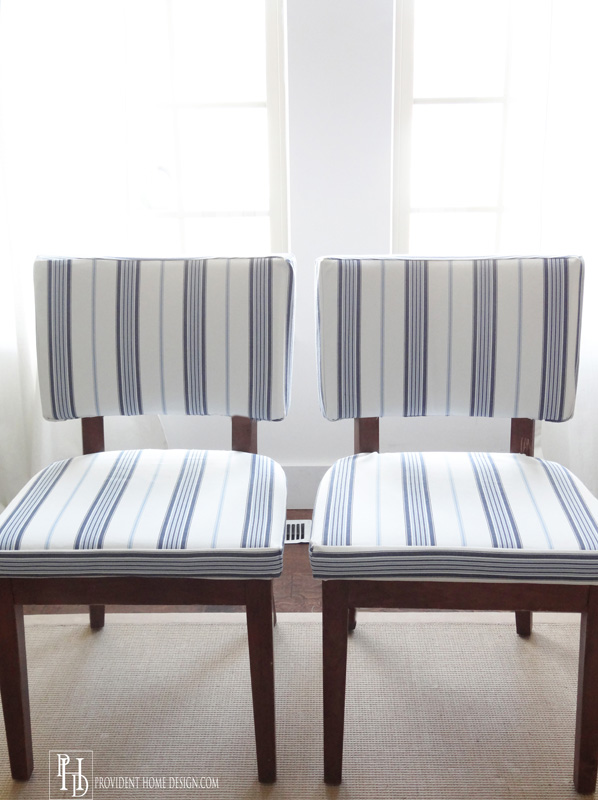
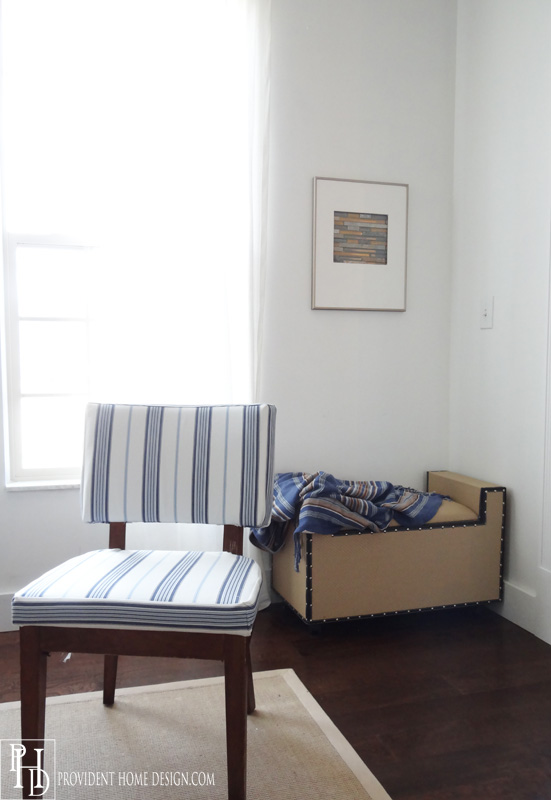
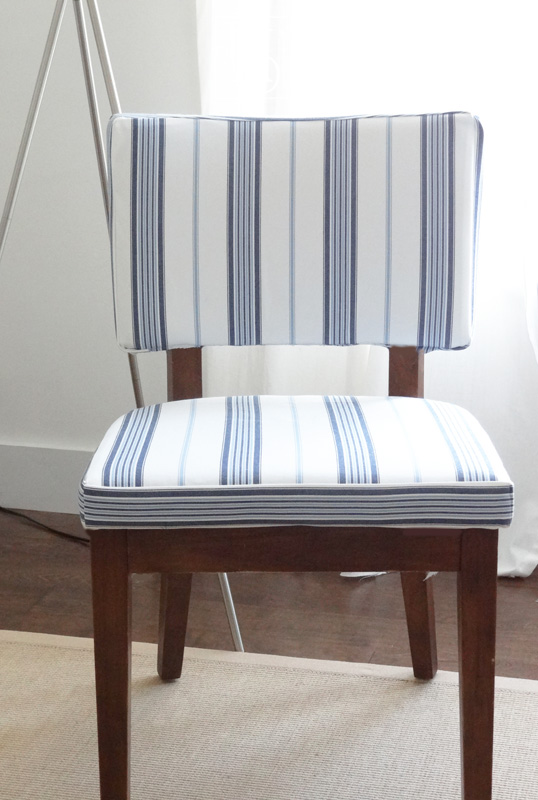
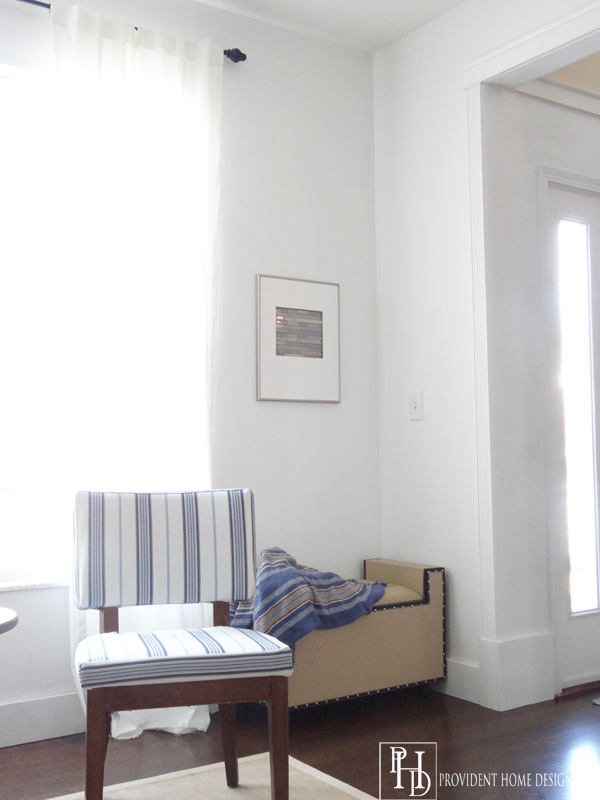
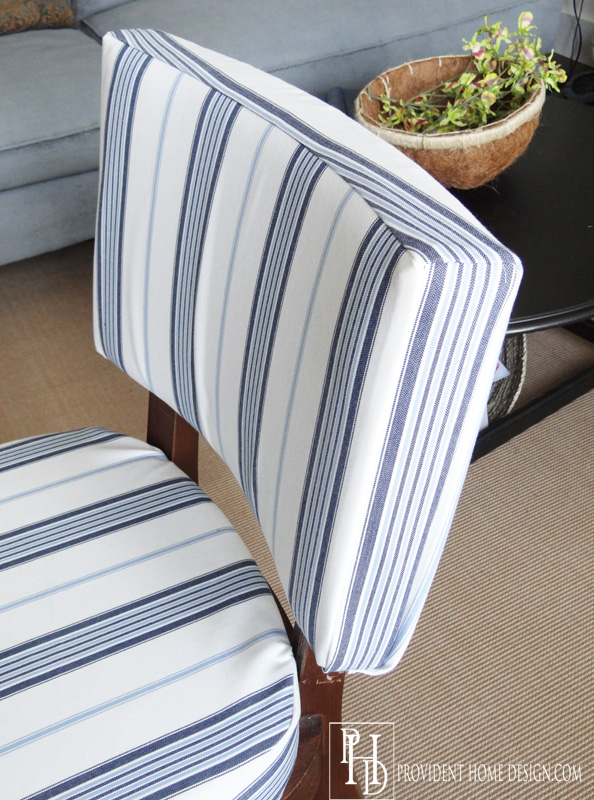
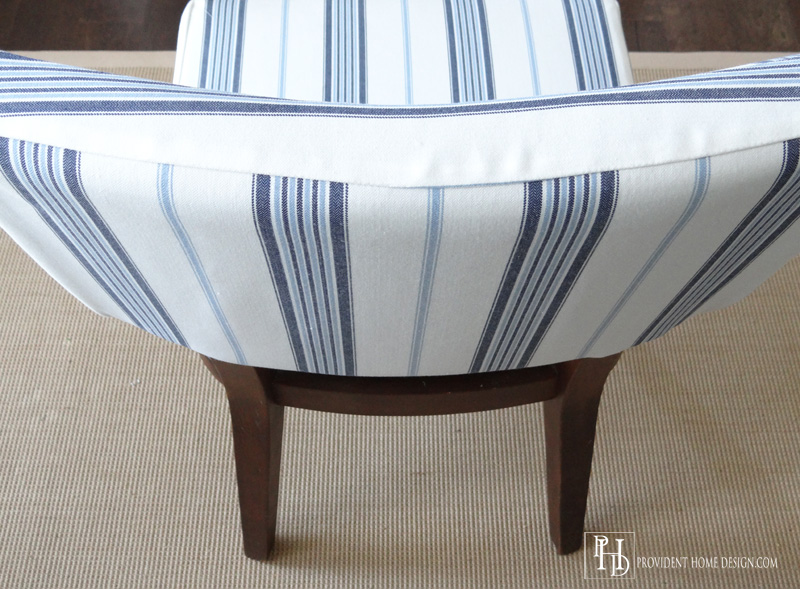
Well, I did it!! Please let me introduce you to my newly upholstered matching chairs! Only $16 a piece!
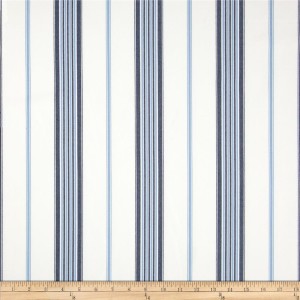
I purchased the fabric from Fabric.com. It was only $7.98 a yard and the material is the perfect weight and quality for this project.
TIP: If you are buying more than $35 worth of fabric from fabric.com then shipping is free. However, if you buy less then $35 then I usually go find it on Amazon (they sell most of their fabrics on Amazon too) because the shipping for it is only $2 on Amazon.
Okay, so here is the Tutorial! I want to preface this saying I’m not much of a seamstress so this was a big deal for me to try but I’m so glad I did!
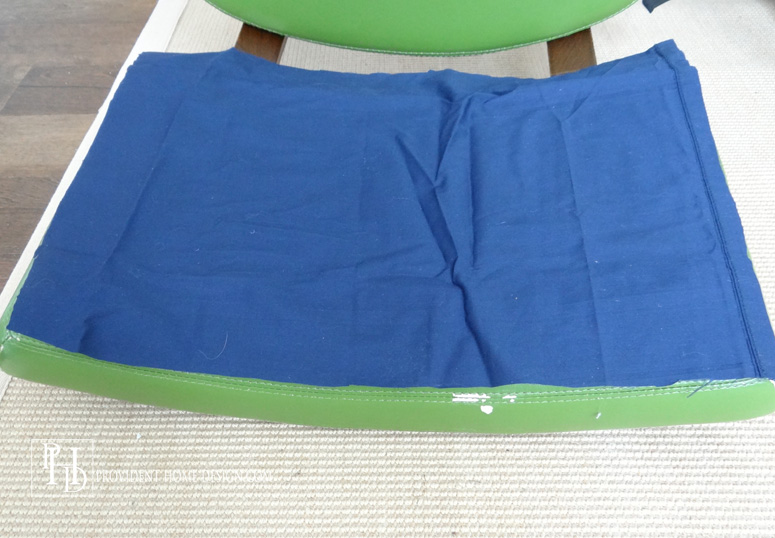
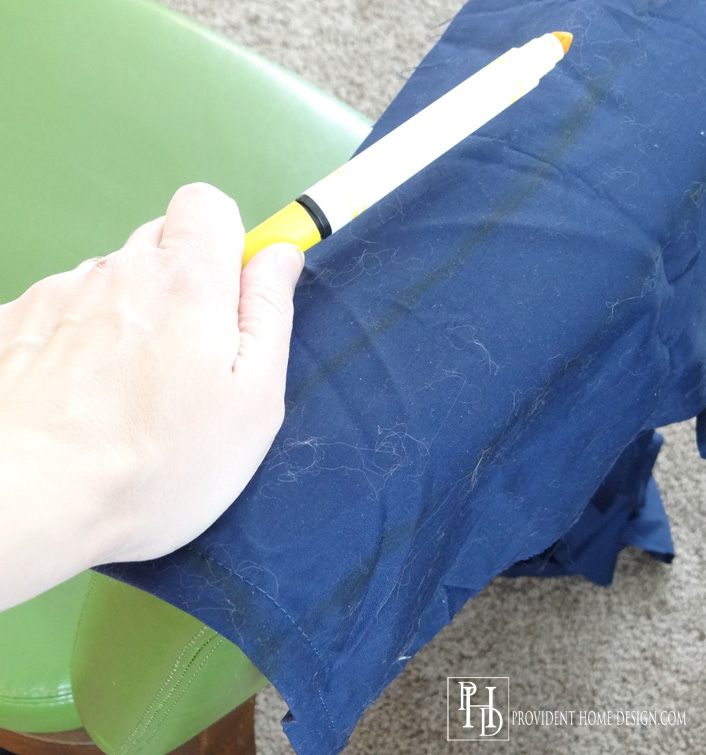
1. Using an old sheet I held the sheet up to the chair and traced around each part of the chair (the seams of the chair).
This is me tracing the very top of the chair with a yellow marker. When I tried to take a picture the sheet slipped so the photo is not great (plus the lovely cat hair adhered to the sheet).:-/
2. Once I traced each part I would cut it out with scissors and then hold it up to the chair to make sure it fit correctly (as seen below).
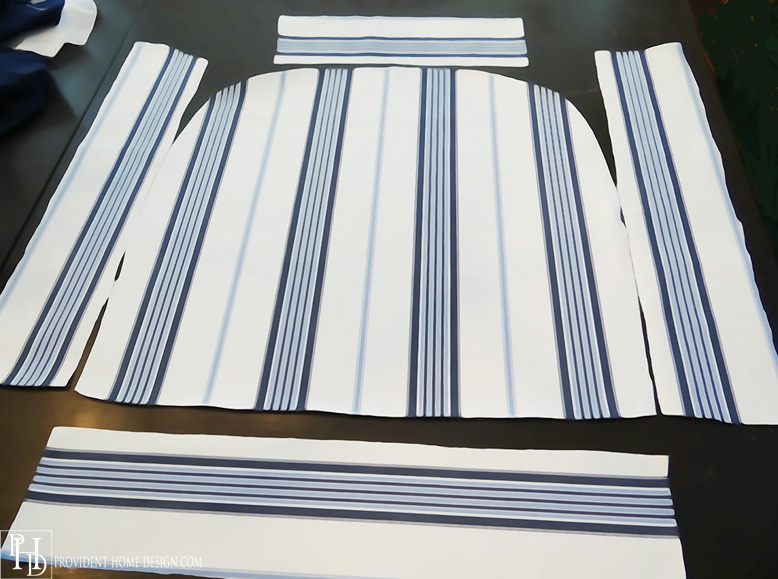
3. At this point it is very important to decide what parts of the fabric you want showing where. For example, I decided that I wanted the light blue stripe to be centered to the front, back, and seat of the chair. And the side pieces of the chair to be centered to the navy stripes (as shown below).
I dedicate this step to my Mom. 🙂 Thanks, Mom, for helping me think this one through! I may have jumped into the cutting part without taking the time to plan it out! The results would have been no bueno!
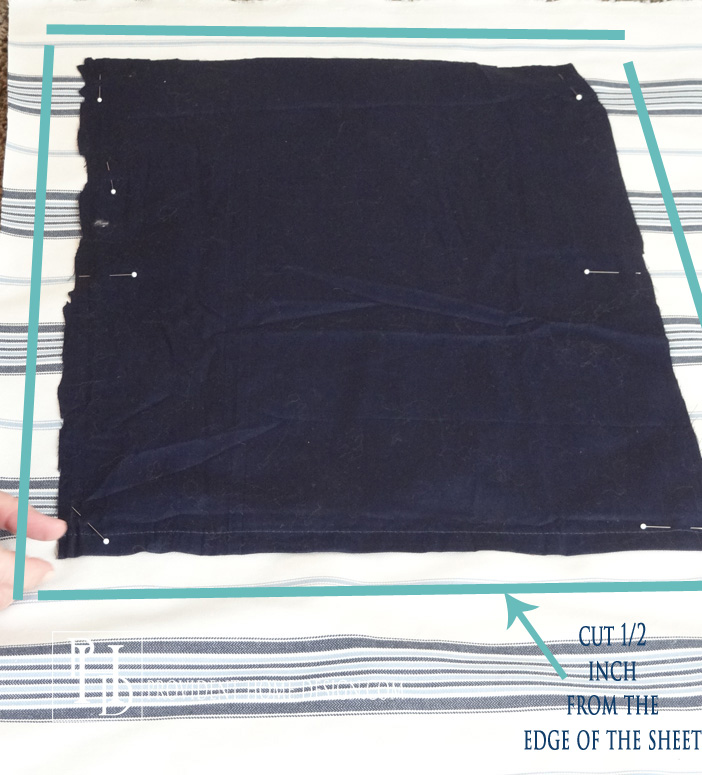
4. Next I pinned my sheet pieces to the planned out parts of the fabric and cut around each sheet piece adding 1/2 an inch to every side.
NOTE: Be sure to add an inch or two to the bottom of each piece so you can tuck it under and staple it (you will understand what I mean as you read on).
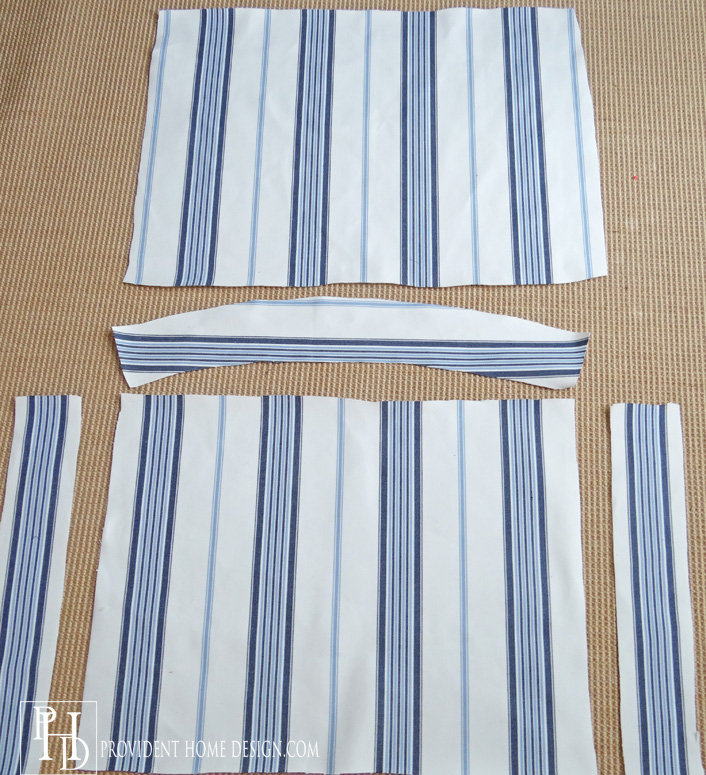
5. Organize pieces together.
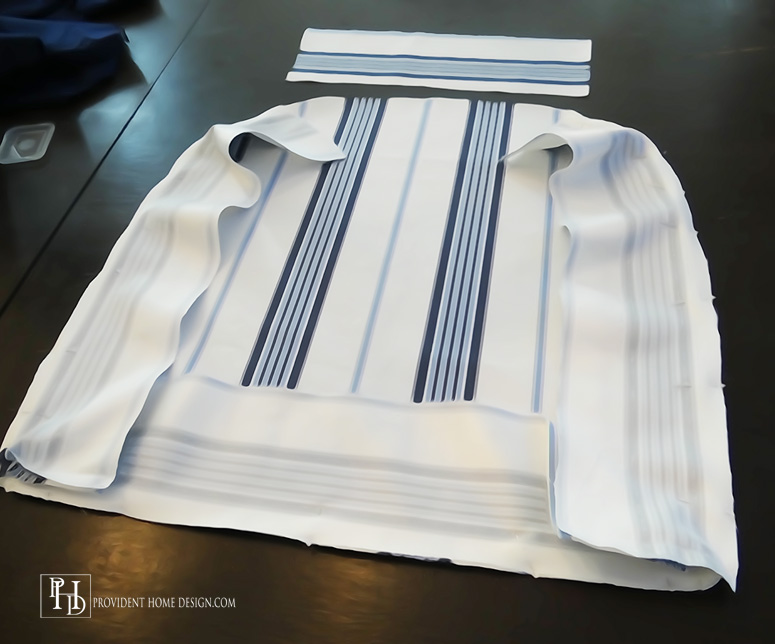
Top Half of Chair
Bottom Half of the Chair
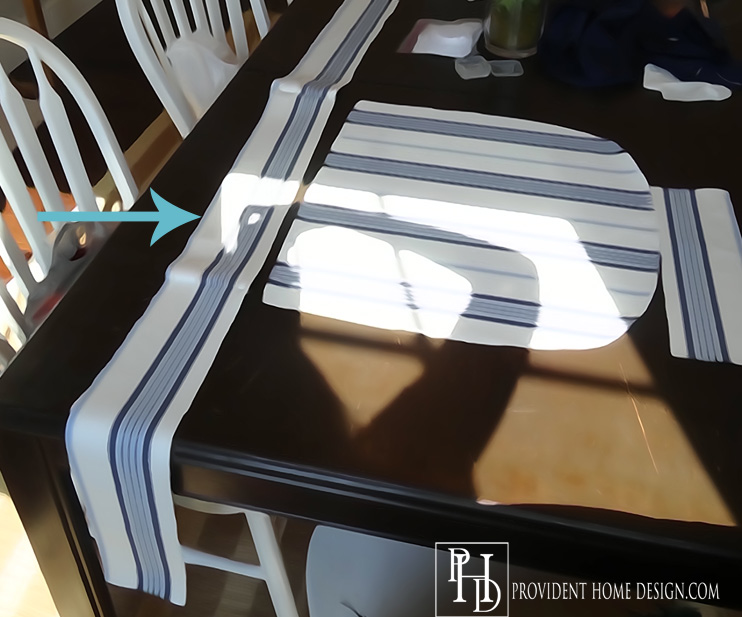
6. Start Sewing Pieces Together. (Looking at the photo above) I took the piece on the left and placed it facing down onto the piece on the bottom (like you are making a sandwich with nothing in it). Then I sewed a straight line along the left side of the sandwich.
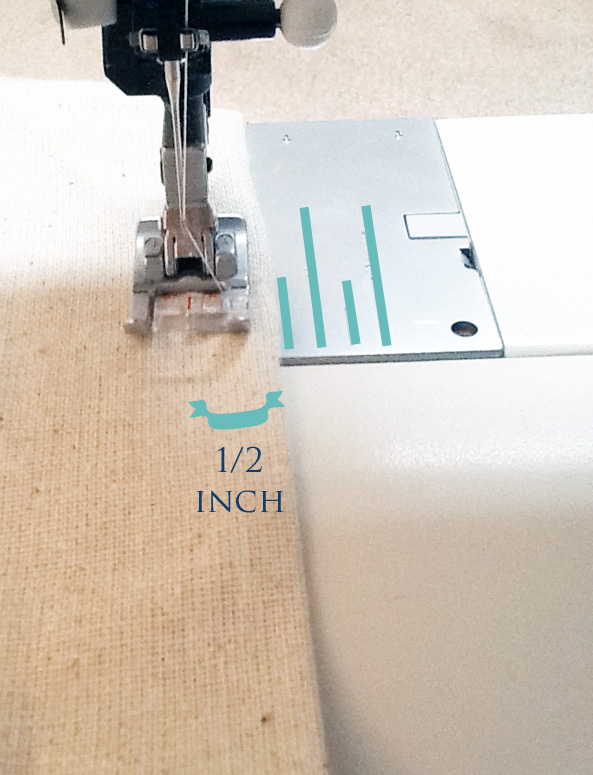
The photo below shows where to place the edge of the sandwiched side. The edge should be about a half an inch from the sewing machine needle (usually there will be a red line on the foot of the of the sewing machine as well to measure from).
The photo below shows that I have sewn together three of the sides.
(As shown below) Next, I centered the front side piece to the front seat piece and flipped it over and pinned the edge. I then pinned the left and right sides to the left and right edges of the seat.
Continue to sew it together inside out piece by piece (much like putting together a puzzle) until you are all done.
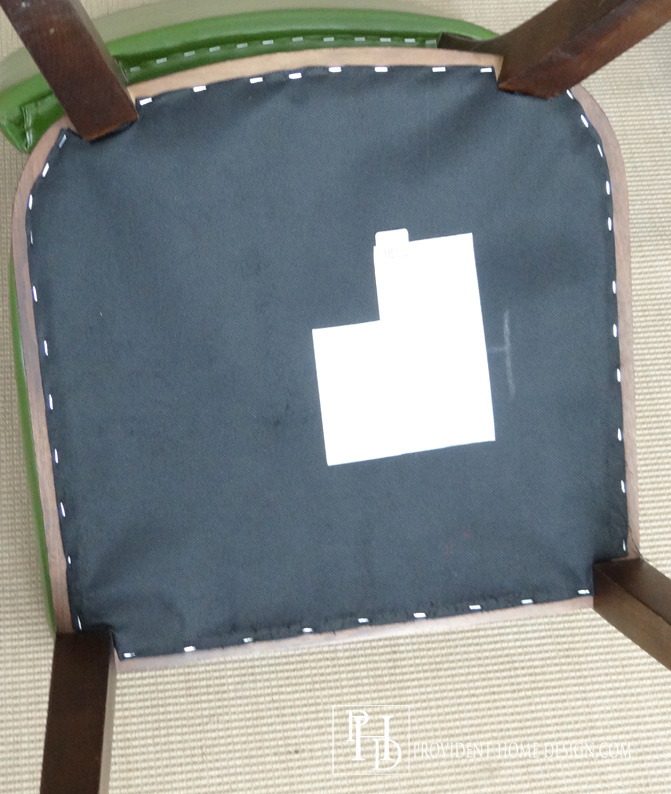
7. Next, I turned over the chair and pulled off the black backing.
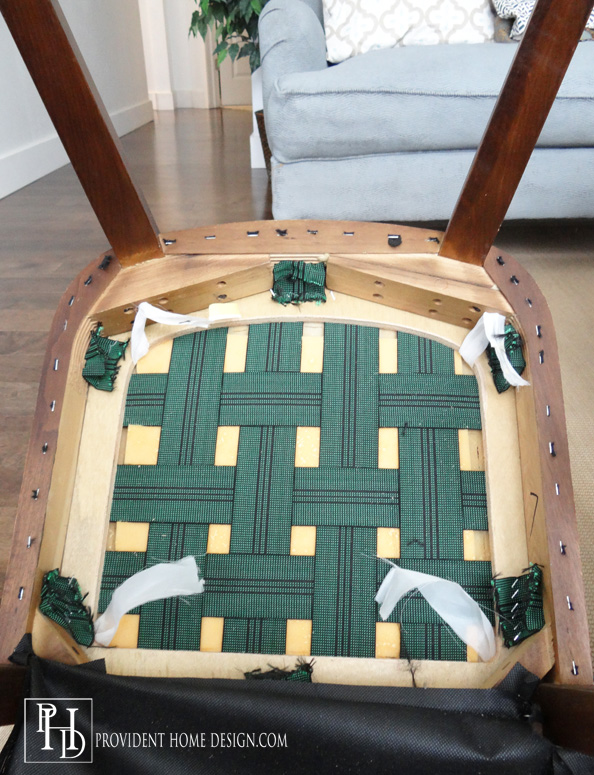
This was what was underneath the black backing.
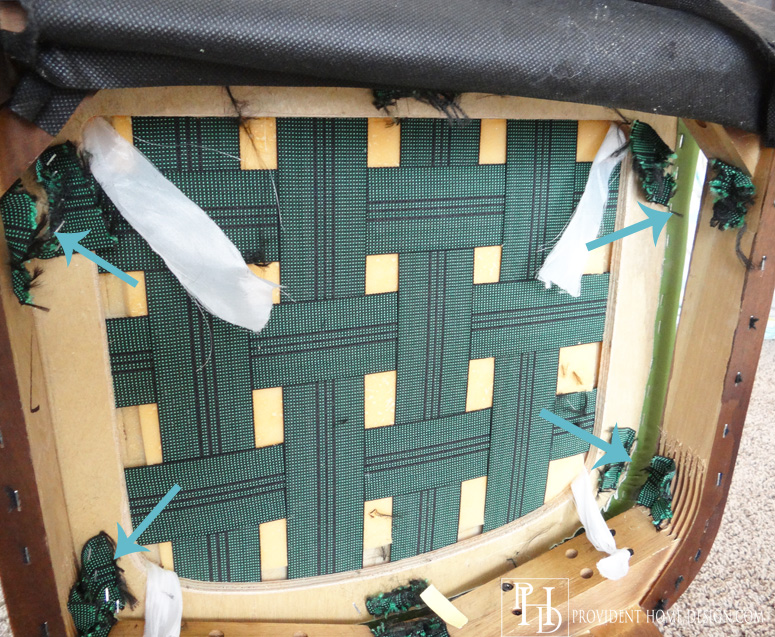
Depending what your chair looks like underneath you will either need to unscrew some screws in order to lift the seat off the frame or in my case I had to cut (with scissors) the straps in each corner where the arrows indicate below.
8. Staple the covers on. Once the seat was off of the frame I turned my striped seat cover right side out and placed the seat cover over the existing green vinyl cushion (I know, how dare I cover my Irish roots!).
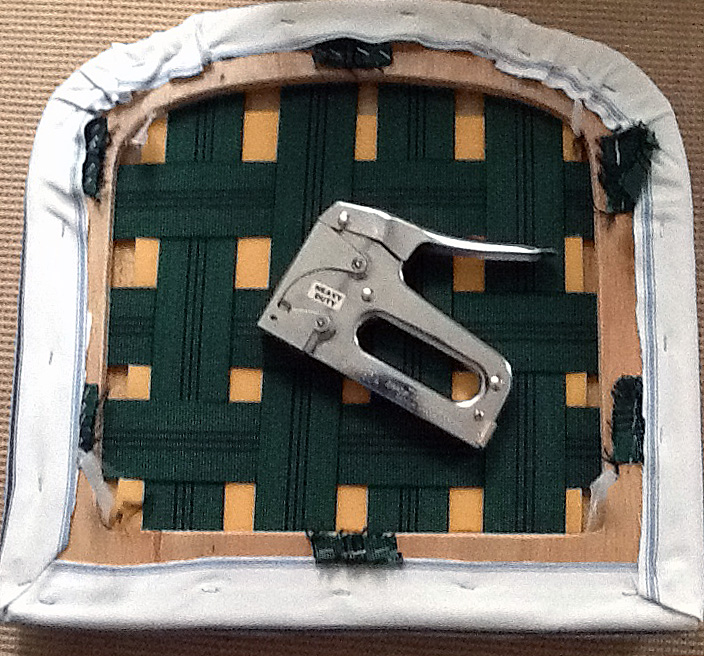
Then while making sure to keep the cover centered I pulled the cover taut and stapled all around the back of the cushion (shown below).
Next put the top cover on right side out and while another person is pulling the cover down tightly, staple the fabric on the underside of the top portion of the chair. My Mom helped me with this part and we found it is pertinent to start pulling down and stapling the center before moving on to the sides (this help the fabric stay smooth and not wrinkle up).
9. Last Step!! Reattach the bottom seat cushion. Do this by either re-stapling the straps or screwing the screws back in the bottom of the chair. I plan on spraying the chairs with scotch guard to protect the new fabric.
I’m very happy with how they turned out and the price! I have a few loose ends to tie up in my Living Room Makeover but I’m hoping to be able to share the reveal with you next week! Have a great week!!

