To begin, I want to thank all of you who took the time to fill out my blogging survey (if you haven’t had a chance yet you still can, it’s at the end of this post)! I feel so blessed to have such kind and encouraging readers! Thank you so much for your feedback, it means a lot!:-)
Recently, I was asked about the hutch in my living room. Particularly if I had painted it and if so what color and how.

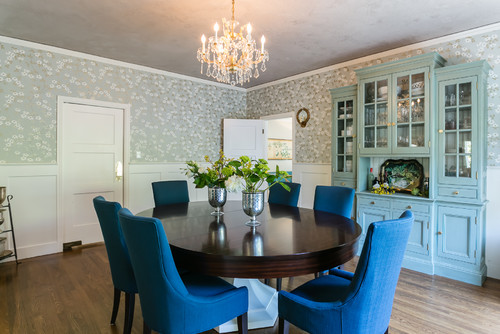
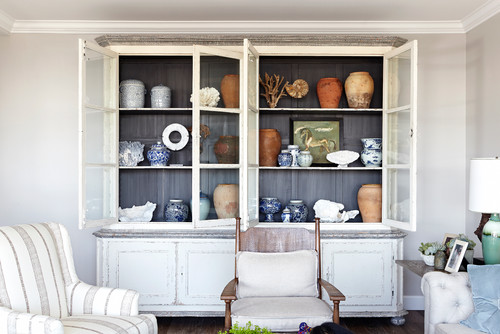
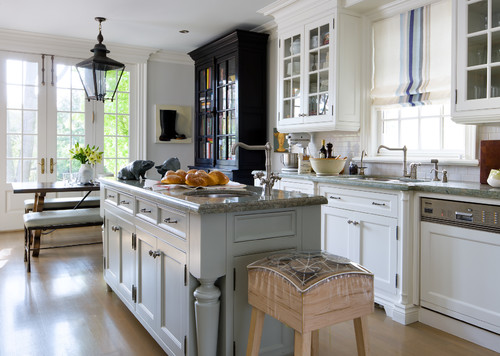
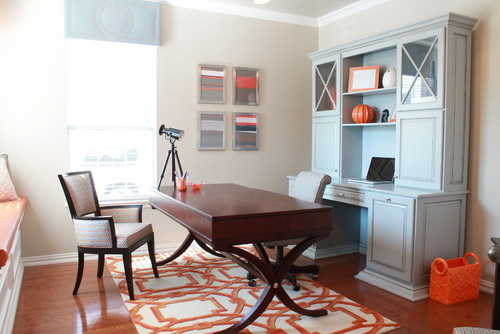
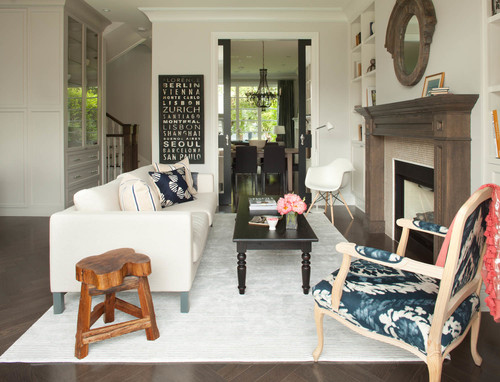
I wanted to share the answers to this question with you as well as a few more pointers to updating a hutch. But before I begin here are some inspiring photos of hutches working both functionally and aesthetically in a space.
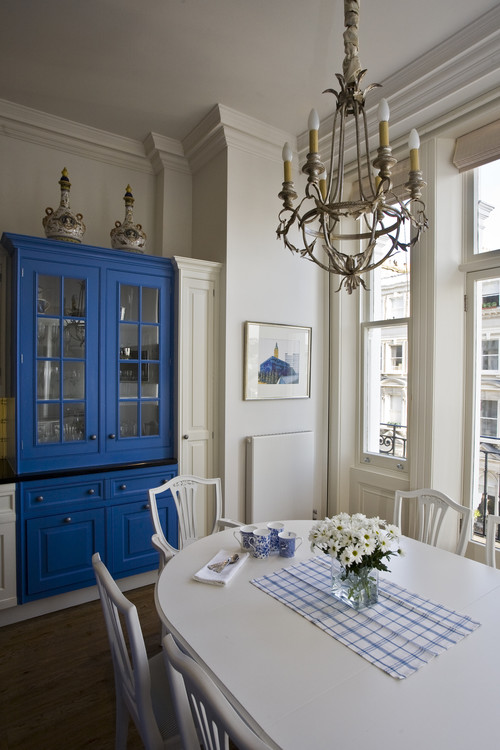
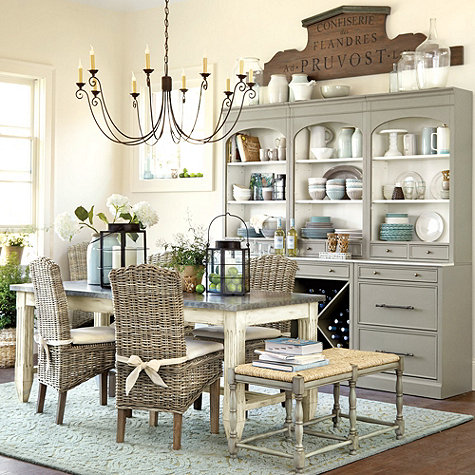 via Ballard Designs
I bought my hutch many, many years ago. It was actually my first Criagslist purchase and came in a matching “dining room set” which included a dining room table, hutch, and buffet console. We actually only wanted the table but the owner wouldn’t break up the set. It was such a good price we just took them all home.
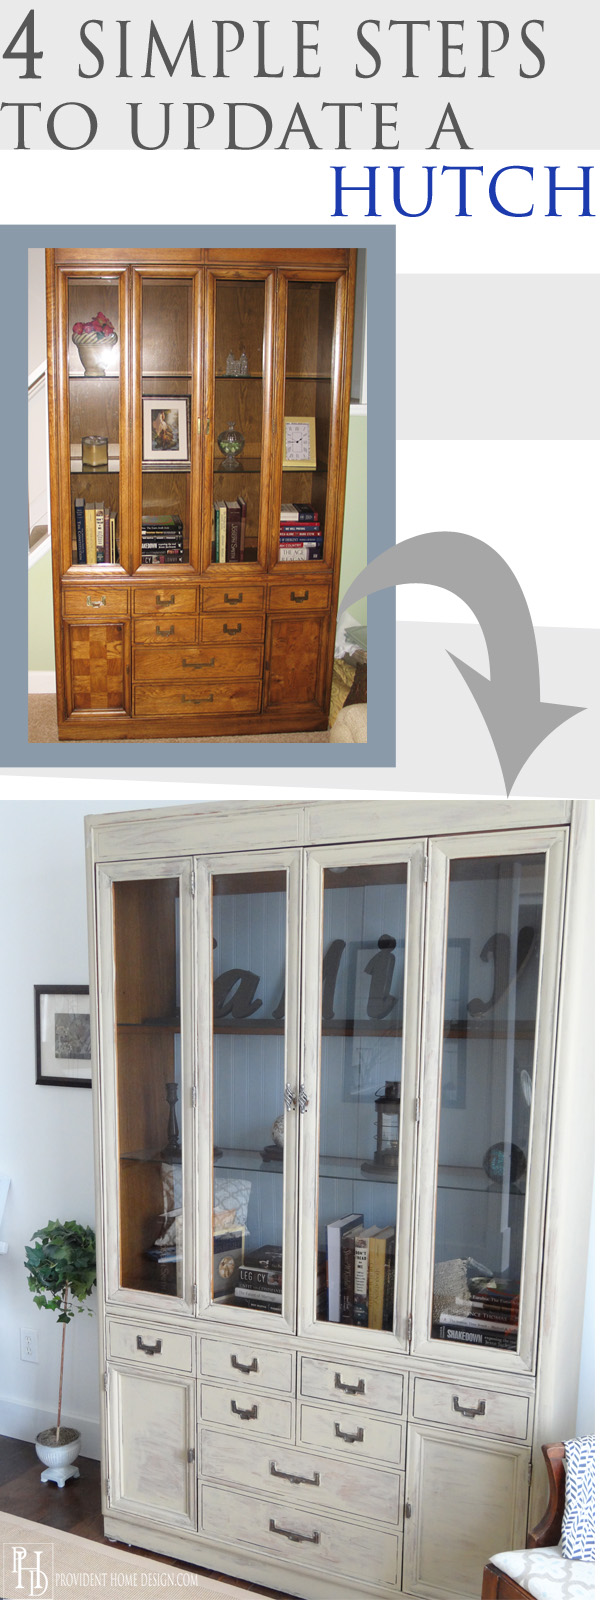
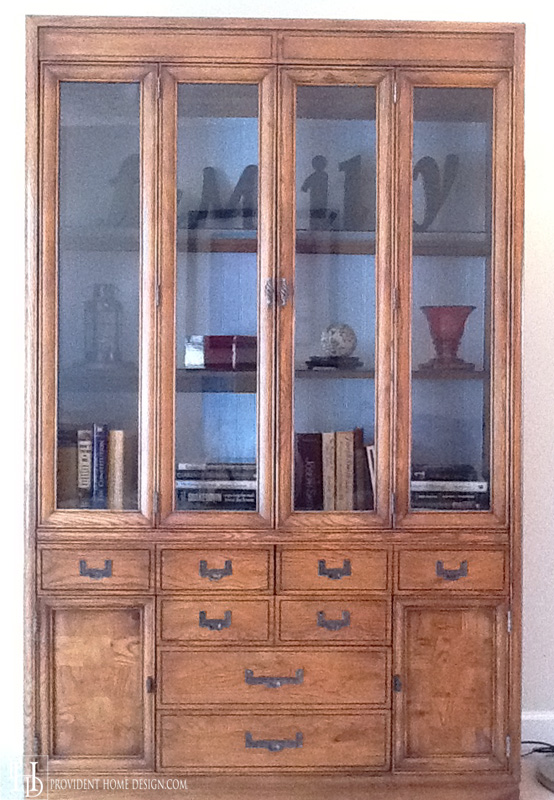
I’ve never been a matching furniture set person and I don’t have use for it in the “normal” ways so I’ve use in my living room as more of a bookcase. Below you can see how it looked when I first bought it and how I struggled with knowing how to style it!
Before

It seems as though the day after I bought it that oak and brass went from being desirable to displeasing (ok so maybe I’m exaggerating a little bit on the timing:-)) But nonetheless I was not thrilled about my recent purchase.
Although I had painted other furniture and cabinetry for some reason I was too chicken wasn’t ready to paint the hutch. So instead of painting it I updated in 3 other ways!
Progress
How to Update a Hutch or Bookcase
1. Back the hutch or bookcase with a different color or pattern. I took some left over beadboard, painted it blue, cut it to size with a jig saw, and placed it in the back of the hutch.
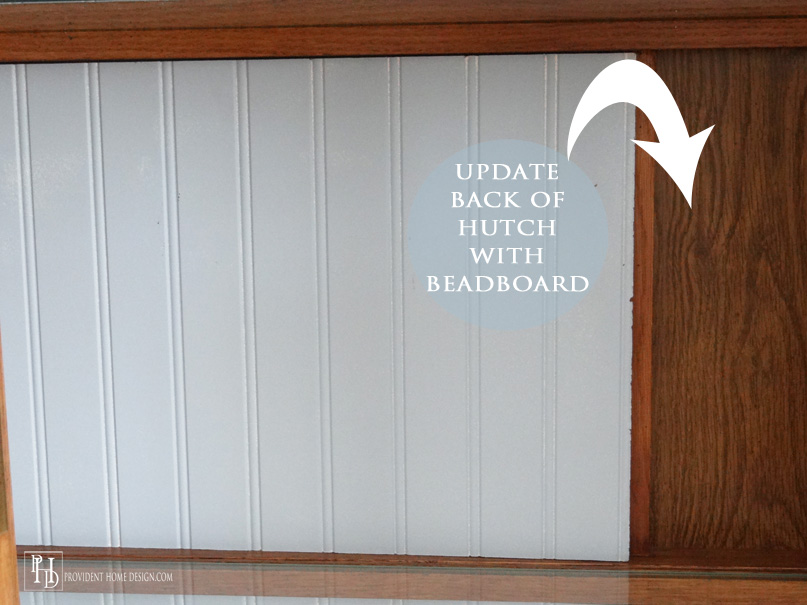
You can beadboard, wallpaper, stencil, or just paint the back of the hutch a different color. Just this one update alone can do a lot to freshen up an outdated hutch or bookcase.
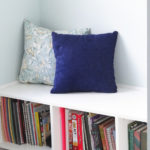
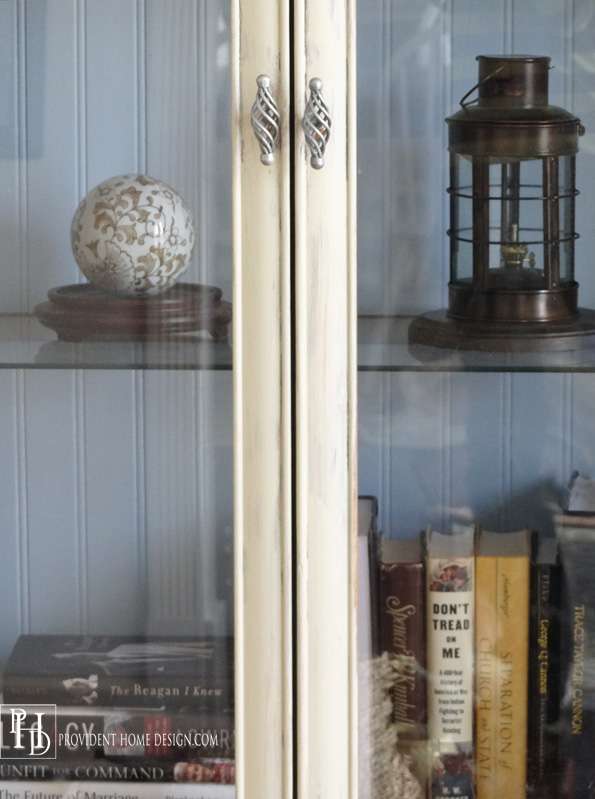
2. Change out the items you have displayed in your hutch. When I determined I wasn’t going to be painting my hutch quite yet I decided I needed to bring in some more updated items and color schemes to display. At the time espresso had just become all the rage and so I painted my diy FAMILY word décor in an espresso color.
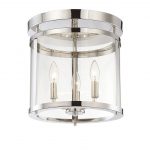
I also found the rubbed oil bronze lantern at a garage sale the other little trinkets at Homegoods. Switching out of items in your hutch or bookcase doesn’t have to be expensive. It can be as simple as spraying painting a trinket you already have a more contemporary color.
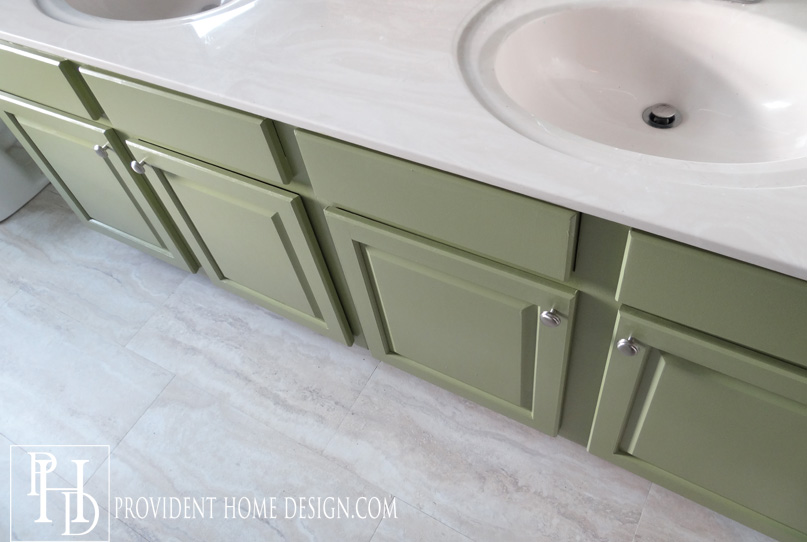
3. Change out or (paint) outdated hardware.
The hardware on my hutch was as brassy as you can get. I immediately thought to switch it out for something more current. I had done this with my bathroom cabinetry and it had made a huge difference.
I didn’t mind the shape of the hutch’s pulls which was a good thing because when I tried to take them off to spray paint them rubbed oil bronze it quickly came to my attention that these pulls weren’t going anywhere. They wouldn’t come off! So, with painters tape I taped around the pulls on the bottom half of the hutch and painted them espresso by hand (with a small paint brush, finger painting was not involved:-)).

The pulls on the top portion of the hutch we’re removable and I replaced them with satin nickel decorative pulls (see, I’m not matchy kind of girl:-)).
4. Paint it. Once I moved to our current home (about 2 1/2 years ago) I was finally ready to paint the hutch!
A few months beforehand I was Lowes and happened to be looking in the discounted/mistinted paint section (okay, so I didn’t just happen to be there my thrifty urges always take there if I’m passing by:-)). While there I secured a gallon of interior flat enamel paint for only $5 and it I knew it would be the perfect color for my hutch!
Unfortunately the color is a custom one with no indication anywhere on the containter of the mix. Fortunately though a friend and I found the perfect color match for it. It is Valspar Lyndhurst Stone. If you find you want to go a little lighter then you can do Valspar Cliveden Sandstone. If you want to go a shade darker then do Valspar Lyndhurst Mushroom.
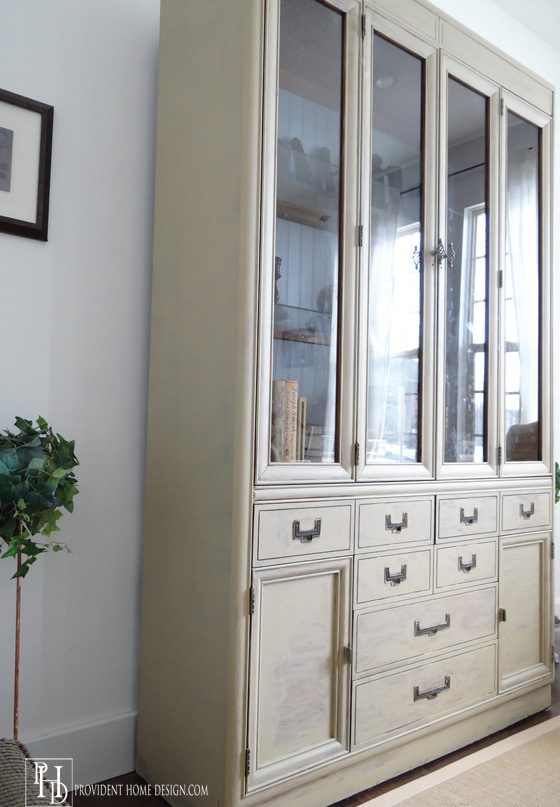
After
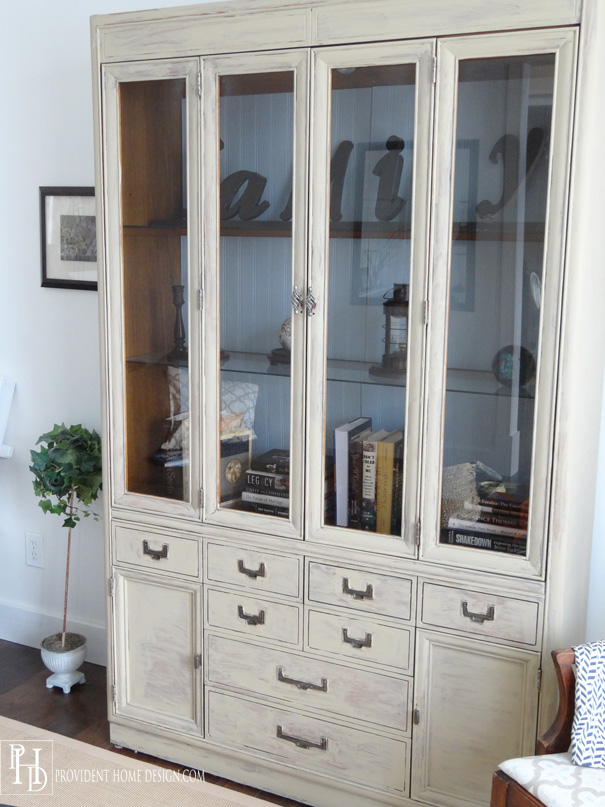
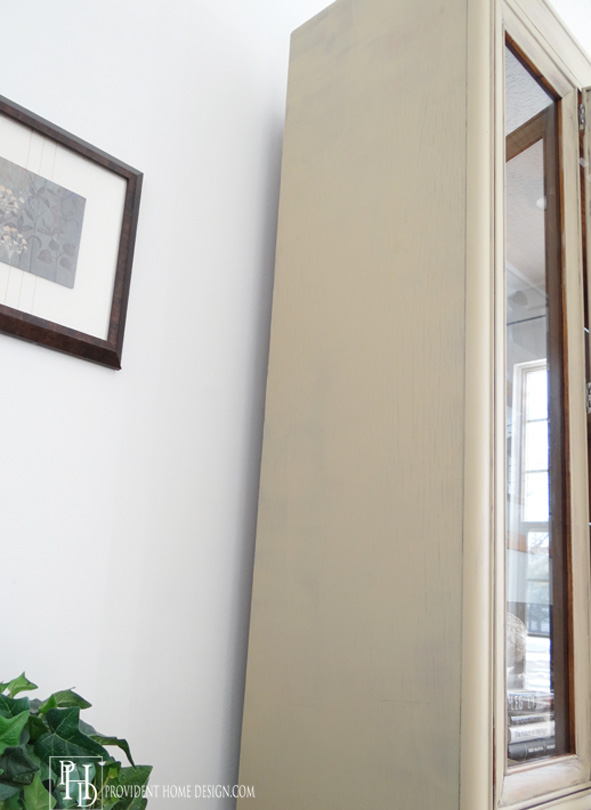
With the hutch I was going for a distressed, weathered kind of vibe. I wanted some of the natural wood to show through and so all I did was lightly sand and then apply one coat of the flat enamel paint with a brush.
There may have been a few areas that I applied another coat of paint but I just kind of eyeballed as I went.
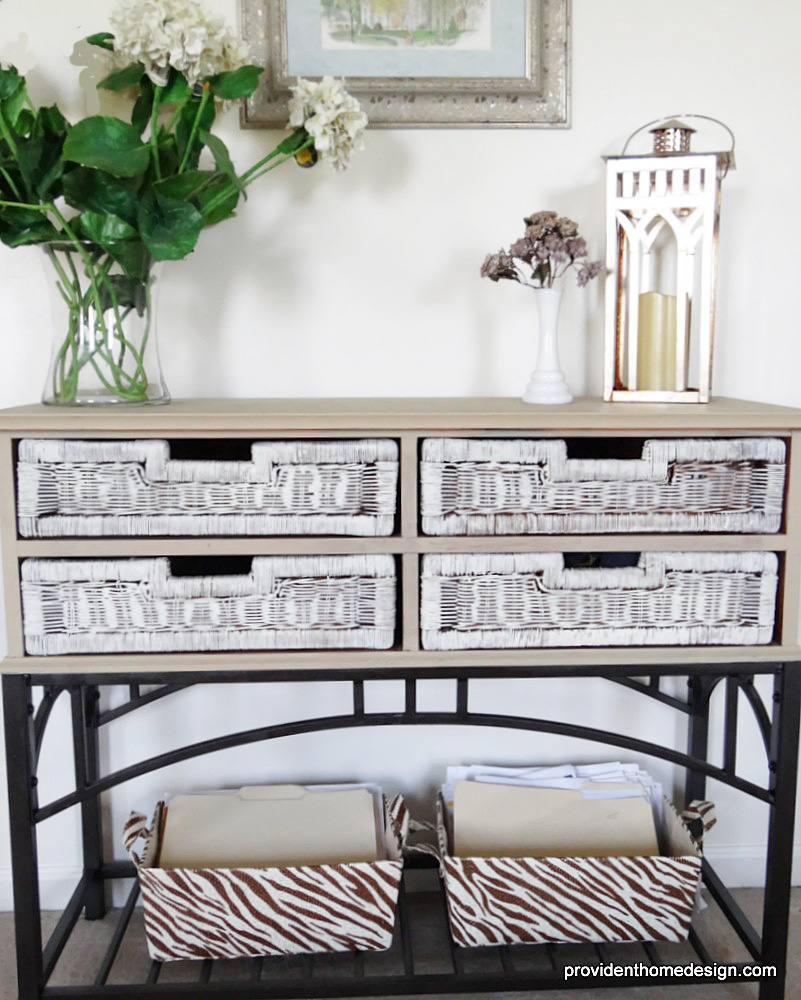
I also used this same paint to paint a console table for my room (I bought it at a garage sale, it was originally oak with green wrought iron). This time I didn’t want a distressed vibe (especially since the textured drawers were already giving off that vibe loud and clear). So I lightly sanded it and then with a foam roller gave it 2-3 coats.
I think an enamel paint is great for painting a hutch. I used an enamel paint on my kids bathroom vanity and loved working with this paint. It would be a similar process to painting a hutch except don’t forget to put painters tape around the edges of the glass. You can read more about how I painted my kids vanity here.

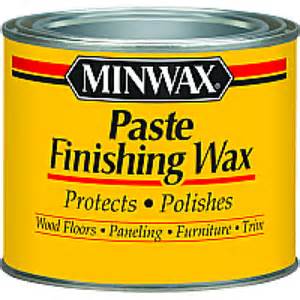
Another great paint to use on a hutch is chalk paint. Again, you don’t have to use primer! You can just lightly sand and start painting. The chalk paint will give a flat (no shine) affect kind of like the flat enamel. If you want to make it shine once it’s dry you can apply a clear finishing wax. I purchased my wax at Home Depot for around $10.
If you go the chalk paint route and want to save money don’t forget to check out my DIY chalk paint recipe here.
I have to be honest, there were a couple of times I thought about selling my hutch after I first got it. I even had a worker guy compliment it and state he would love to buy it from me to display his collection of gargoyles (no joke, to each their own:-))! But I’m so glad I held out and was able to figure out these steps to make my outdated hutch a piece of furniture that now feels right at home!
Anybody have a hutch they’re itching to update or that you’ve already updated?? Let me know if you have any questions!