If you would have asked me a year ago if painting a couch would be in my near future I probably would have responded, Please? (Which is a polite/strange way people from Cincinnati ask others to repeat themselves, aka What?)
Having ruined lots of clothes with paint splatters I knew paint and fabric was not a good combination.
In 2012 I came across a great blog where I learned that upholstery can be painted by mixing paint medium and latex paint. So, when making over my family room ottoman I used fabric on the top and paint on the bottom!
Then 2 years went by and all of a sudden I began to spot several pins on Pinterest about painting upholstery, especially upholstered chairs.
I think I read every single one of them because I was so in awe of the idea (even though I had already done it with my ottoman it was not on a part you would sit on).
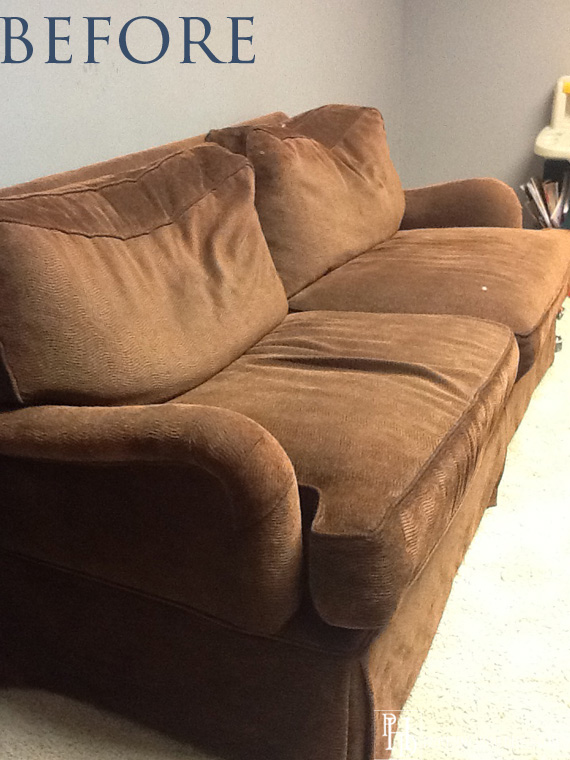
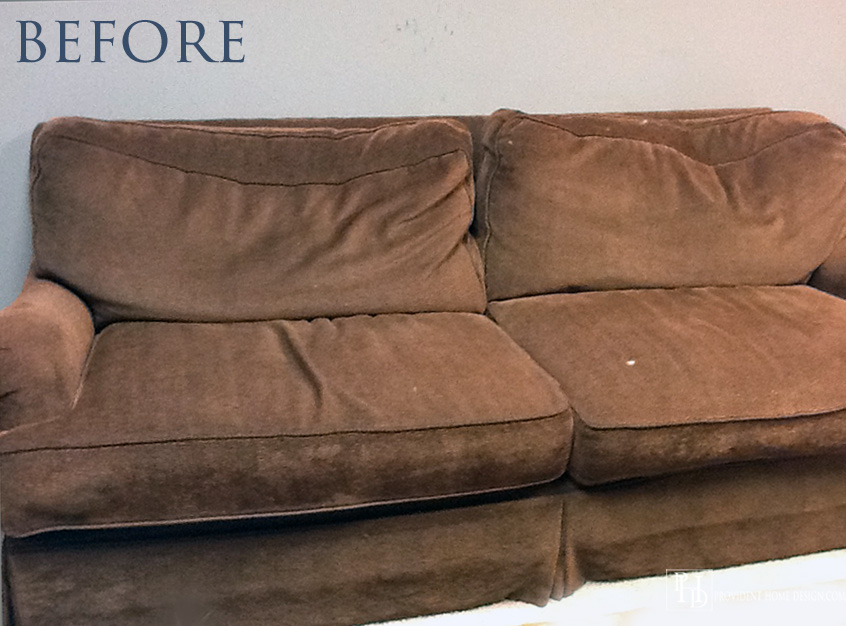
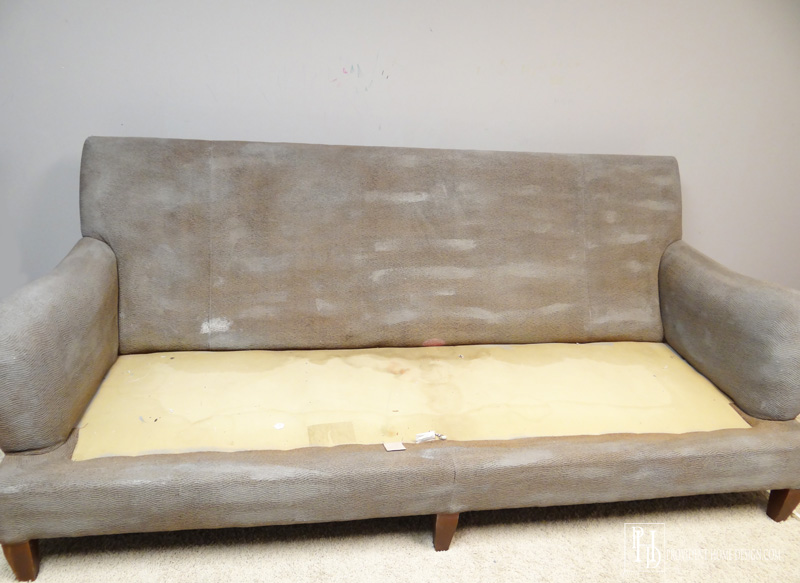
About a month ago a friend texted me saying she was getting rid of her brown couch in their playroom and would I want to work some DIY magic on it. The structure was good and it was SO comfortable but the fabric had a couple of stains and I wasn’t a fan of the brown color.

So did I really need another couch or another DIY project for that matter??
Well kind of. The green/tan couch in our living room is a sleeper sofa and was my first (and I think only) Craigslist mistake. In the picture on the listing it looked tan and it looked super nice for a sleeper couch (I’ve seen way too many velvet floral sleeper sofas in my time). I talked the guy down to selling it for $100 and rented a uhaul for $20 to pick it up and transport it.
My husband and I showed up with the uhaul at his apartment only for me to realize it was definitely more green than tan. I mumbled something to my husband like, UMMM, I didn’t realize it was green and he gave me a look like you’ve gotta be kidding me! Needless to say the green couch came home and I’ve made it work. But lesson learned! Go see the Craigslist item in person before renting a uhaul!:-)

So back to why I would need another couch. We are co-hosting a family reunion this year and I liked the idea of the green sleeper sofa being in the basement where overnight guests could have more privacy and room.
I decided the free brown couch would be a very fortunate opportunity to getting the green couch downstairs and to trying out this painting upholstery you actually sit on thang (wow that was a mouthful)!
When researching I came across two main methods of painting upholstery. First, use fabric medium with latex paint or second, use chalk paint. I read that fabric medium can get expensive when doing large pieces so I opted for the chalk paint method (I calculated that I would have needed over $60 worth of fabric medium plus the latex paint).
You may be thinking but, Tamara, chalk paint is expensive too, right? You are right it is and even though Americana chalk is so much cheaper it still would have cost too much to do a whole couch. So I made my own chalk paint!
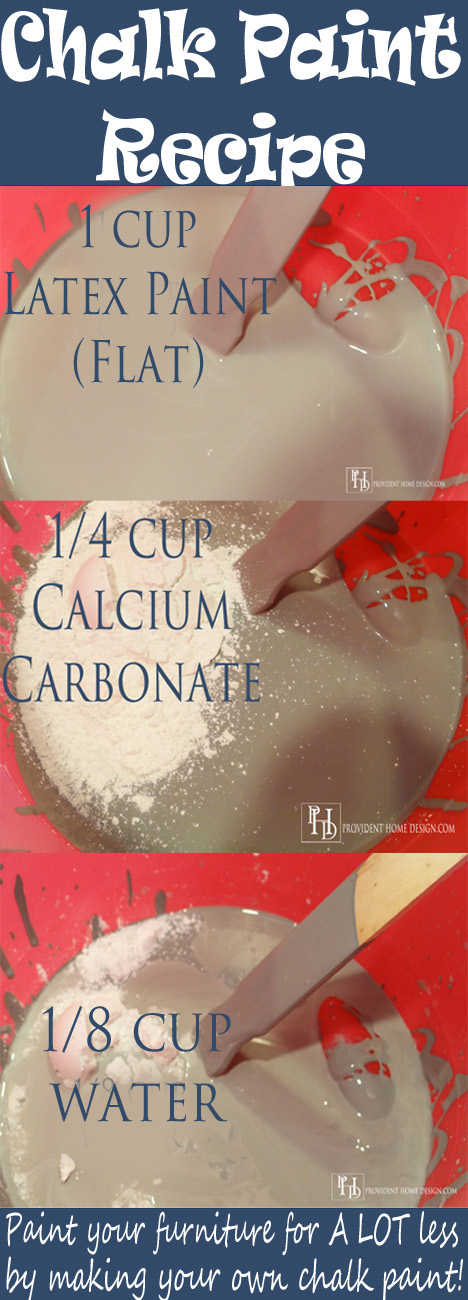
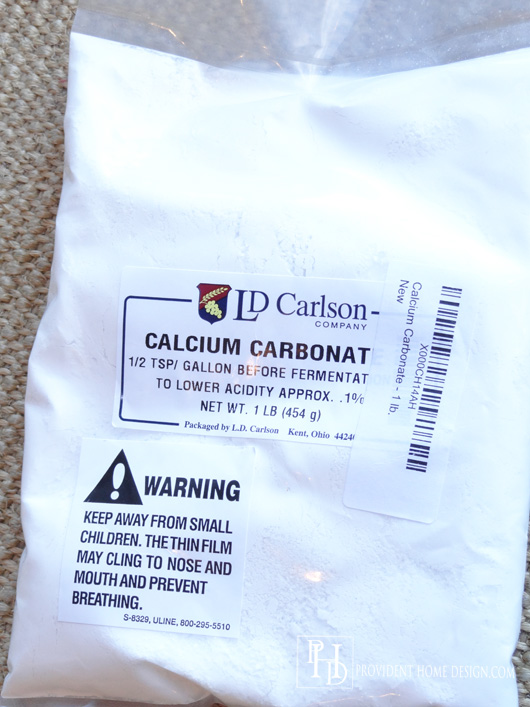
For this I did some more research and discovered that the consensus among DIY-ers is that the calcium carbonate recipe is the best. After trying out lots of recipes I came up with my own recipe that used less calcium carbonate but enough to do an awesome job. Here is the recipe (feel free to pin it for later)!
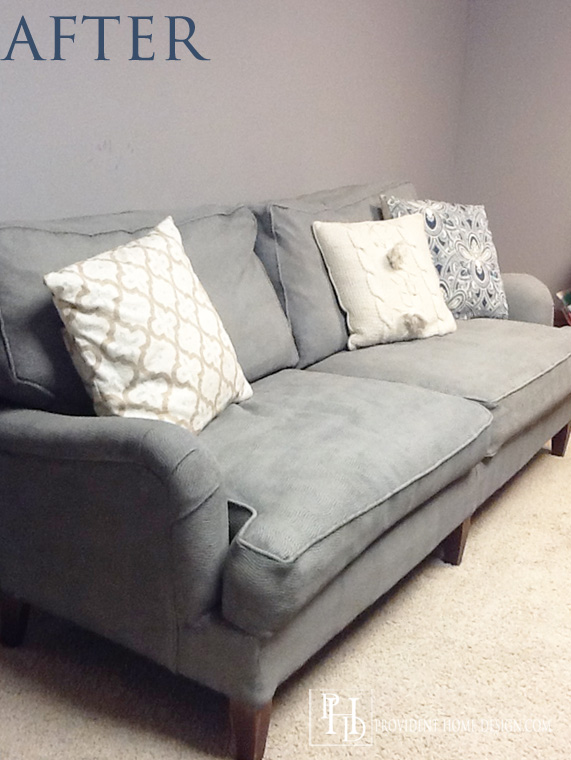
But before going on, are you ready to see some before and afters?:-)
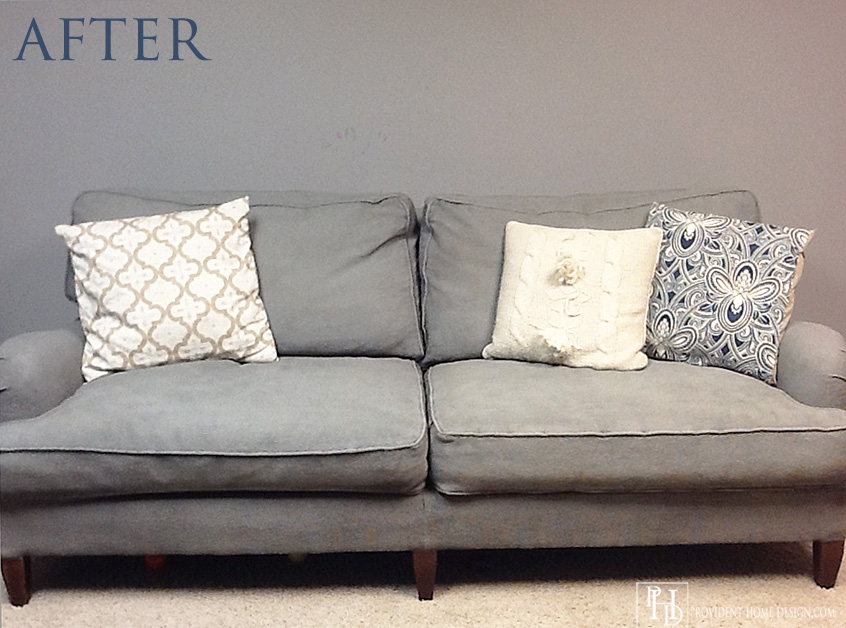
The lighting in the photos is not great because it’s in our basement where there is no natural light and lots of fluorescent lighting. I can’t wait to get the couch upstairs to the living room (anyone want to come over and help bring the huge, heavy sleeper sofa downstairs)??:-)
So here is the Step by Step process I took to paint the couch.
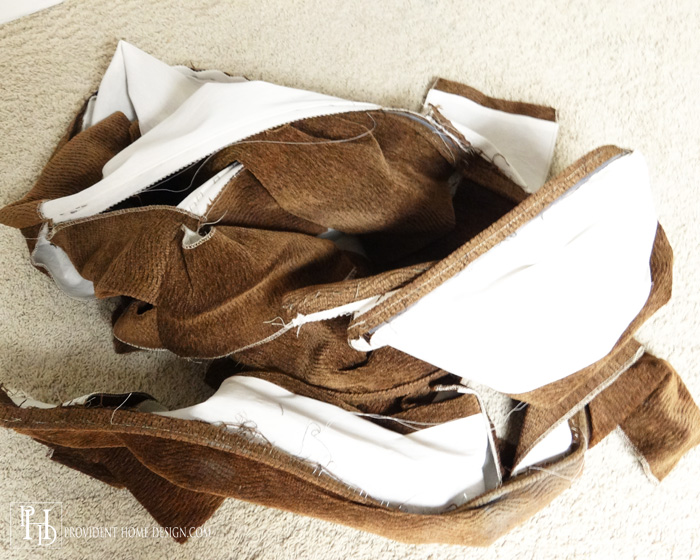
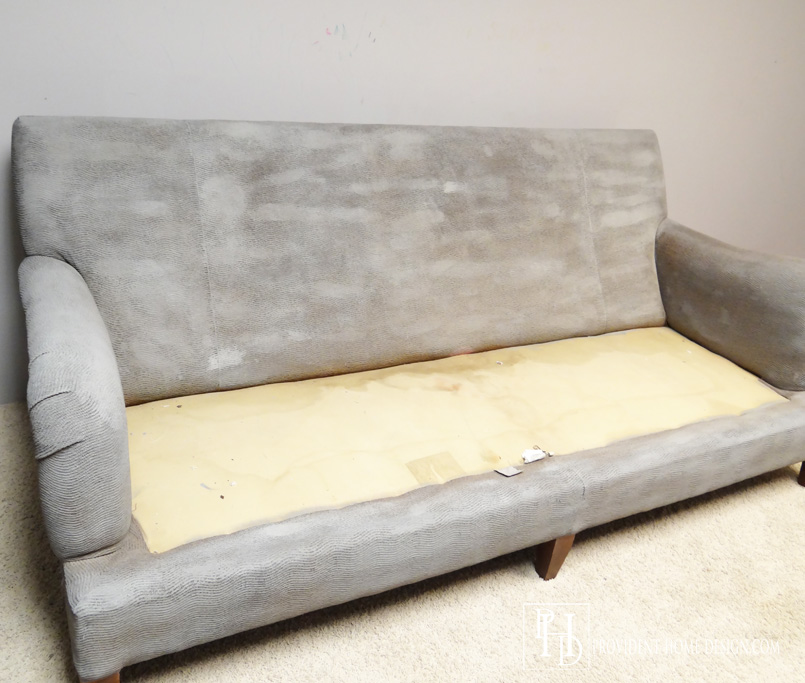
First, I removed the couch skirt from the bottom of the couch for a more streamlined appearance. It was attached by staples so I just used a pair of pliers to pull the skirt off.
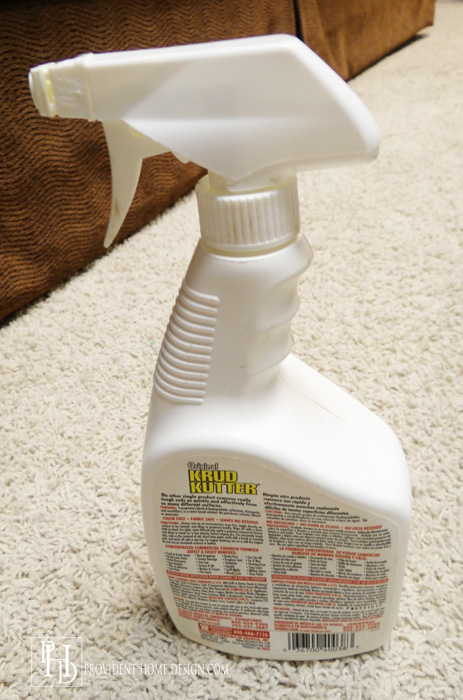
In a bucket I started by adding 4 cups of latex paint in a flat finish (color is Behr Slate Gray), 1 cup of calcium carbonate (I bought mine here off of Amazon–it was a good price and came quickly) and 1/2 cup of water. Stir really well.
I filled an empty spray bottle with water and began spraying the down the couch. Don’t soak it just wet it down.
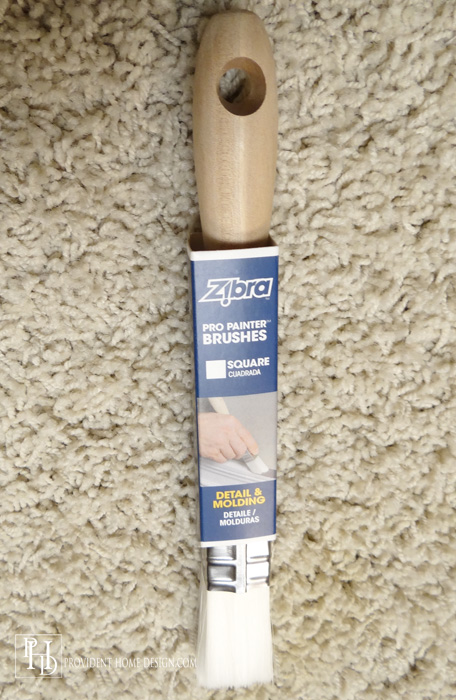
For the brush I used the Zibra square detail and molding option. It held up beautifully to all the abuse this project renders. You can also use a large, round, stenciling brush.
I took all the cushions off the couch, sprayed it down in sections and then painted the couch quickly in circular motions. A link to a helpful video demonstration of this process can be found here.
In this photo sequence you can see the step by step progress.
First Coat
Second Coat
Third Coat

Next I worked on the cushions.
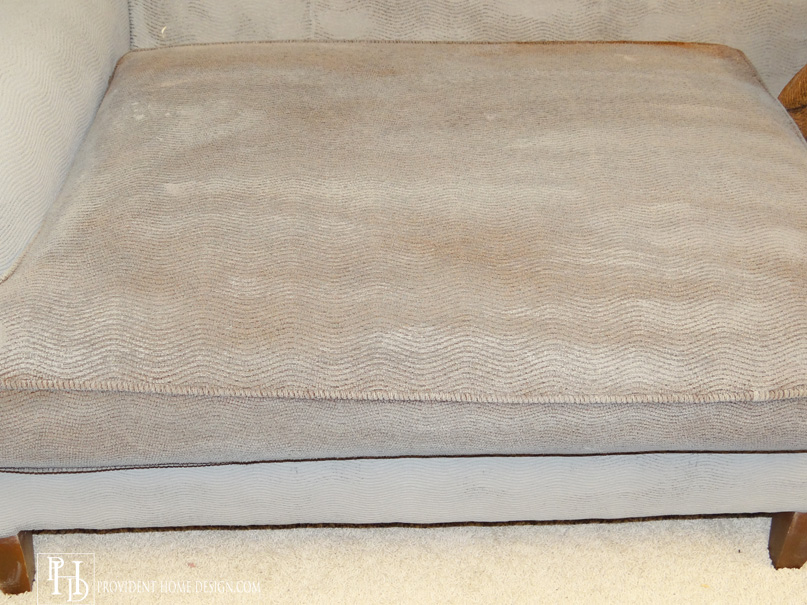
Second coat
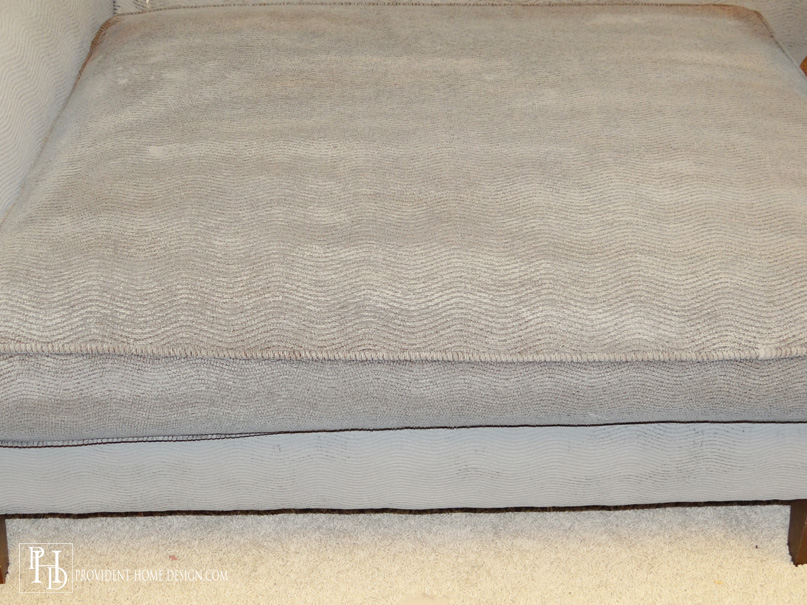
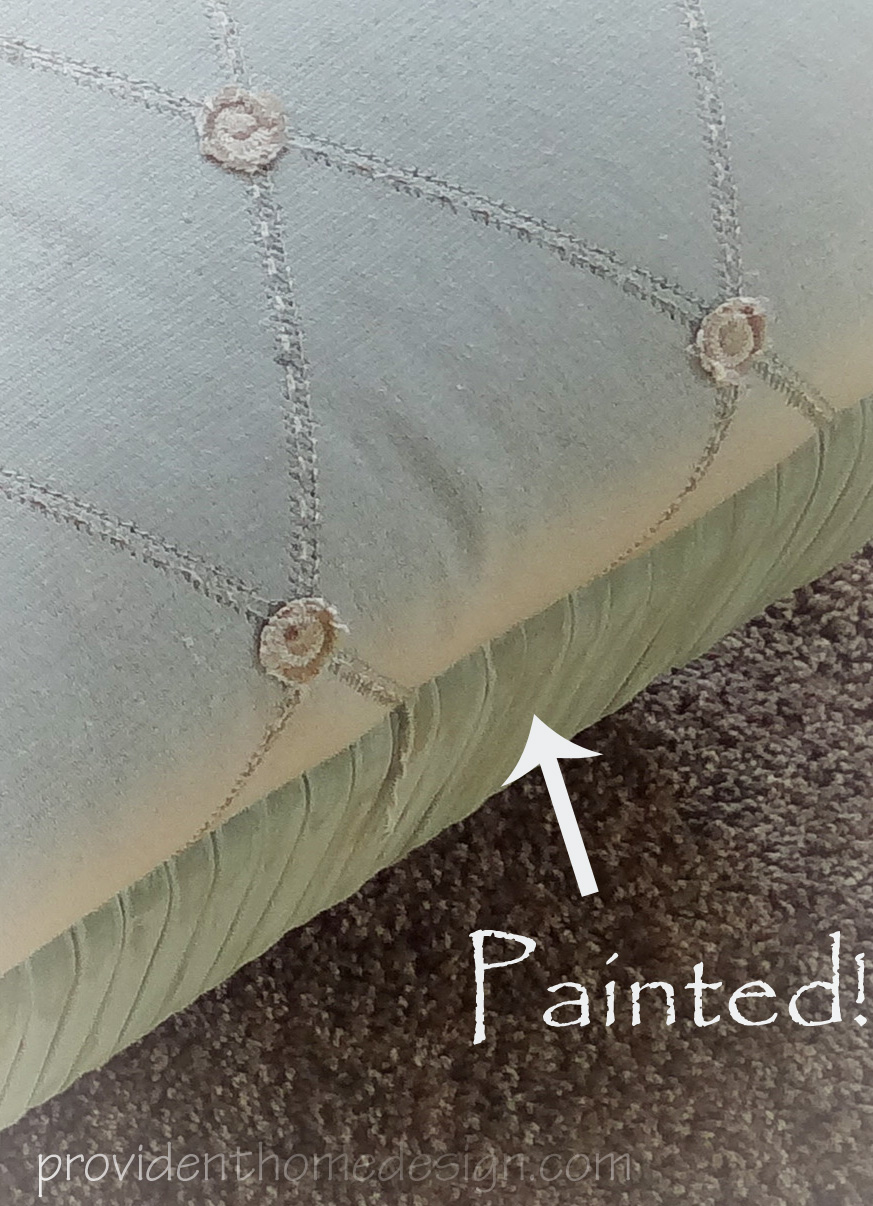
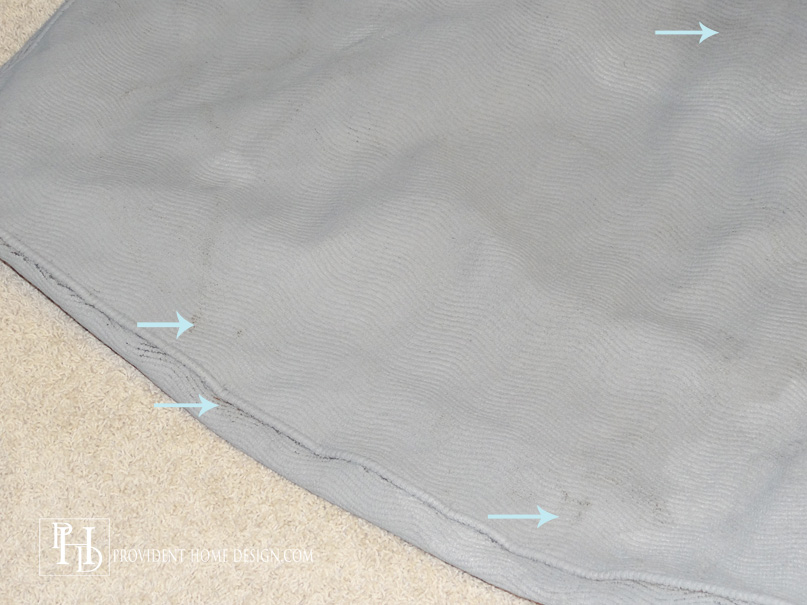
Third Coat (I had to do a 4th coat in some areas as shown by the arrows)
Once it is all painted and dry it is time to sand and sand and sand some more. I went through about 3 packs of sandpaper plus a sanding block. Sanding is what gets the fabric to not feel rough and prickly. Make sure to wipe away the dust that the sanding creates (I vacuumed the cushions to get the dust off).
I had read that some people used a clear wax to try and soften up the fabric. I tested this out in some areas but didn’t find it helpful.
Now even though the sanding takes the roughness away, the material will still be stiffer than most upholstered furniture. I had heard people compare it to the stiffness of outside furniture and I think that is a great comparison. The couch is still comfortable to me but would I rub my bare body all over it, probably not!:-)
Our living room isn’t a high traffic room so it’s not an issue to me. If you don’t want a somewhat stiff couch I would suggest reupholstering the cushions. You could take the new material for the cushions to Home Depot or Sherwin William’s paint desk and ask them to color match the material. Then you could paint the frame of the couch but have the cushions be totally normal (not outdoor fabric) feeling.
The price to paint the couch was great!
Couch-Free
Latex Paint-$25
Calcium Carbonate-$16 (I bought 2 bags and use 1 1/2)
Brush-$7
Sandpaper-$12
A grand total of $60!
Now this project does take a lot of time, patience, and ability to see things to the end but in my book it was worth it!
I’m very pleased with the couch’s new streamlined, updated persona.
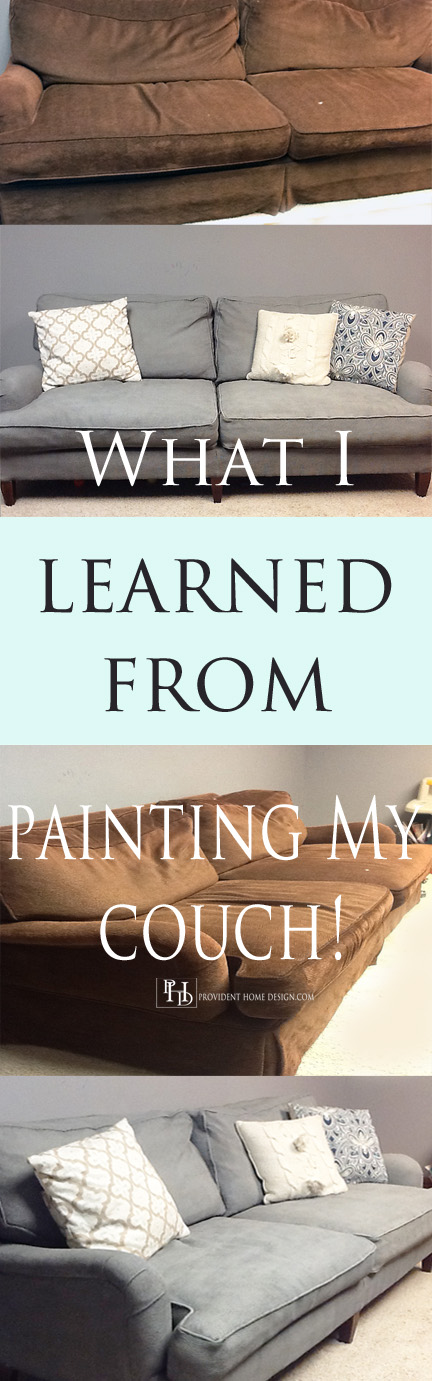
So what do you think of it’s new look?? As always feel free to ask questions!
(You can now get a 1 year update on the DIY Painted Couch, HERE).