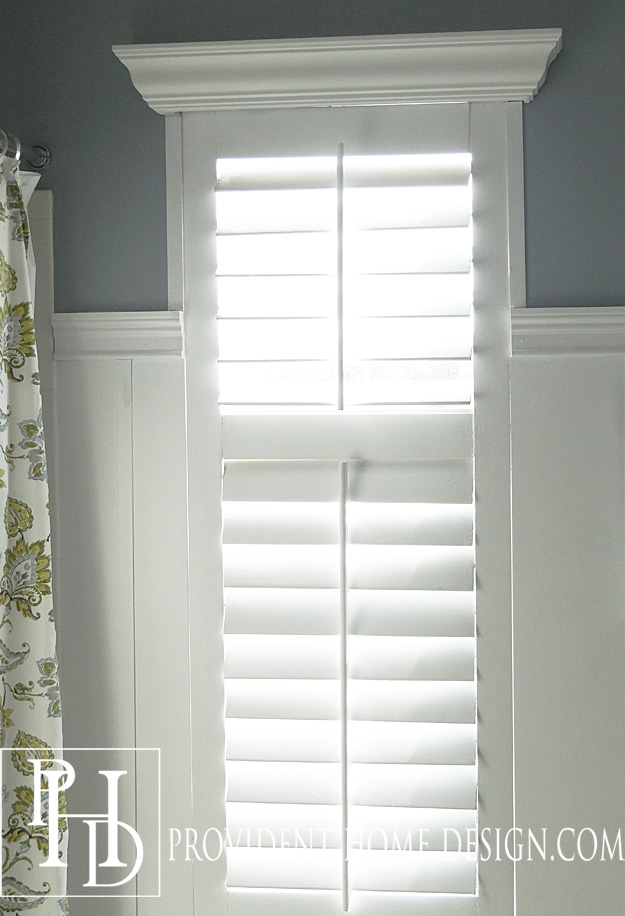
I’ve admired plantation shutters from afar for years! They are classy, streamlined, and effortlessly beautiful.
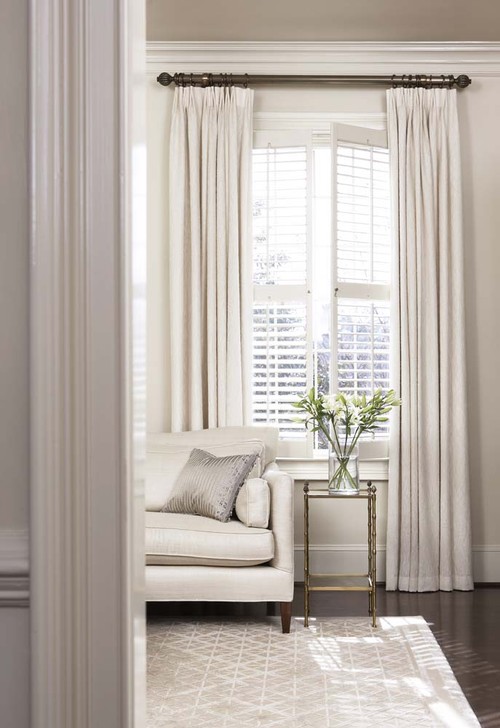
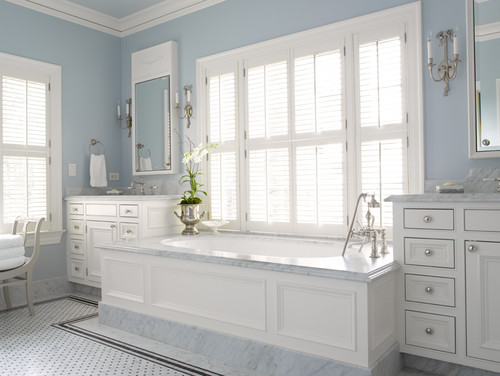
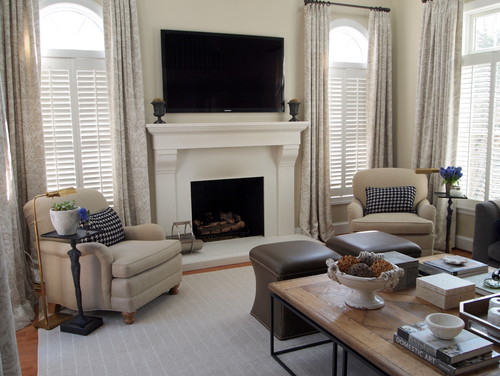

My southern grandmother use to tell my grandfather (regarding other women) that he could look but not touch. From the moment I laid eyes on plantation shutters I was in love but when I learned of their hefty price tag it sadly became a ‘look but not touch’ scenario for me!
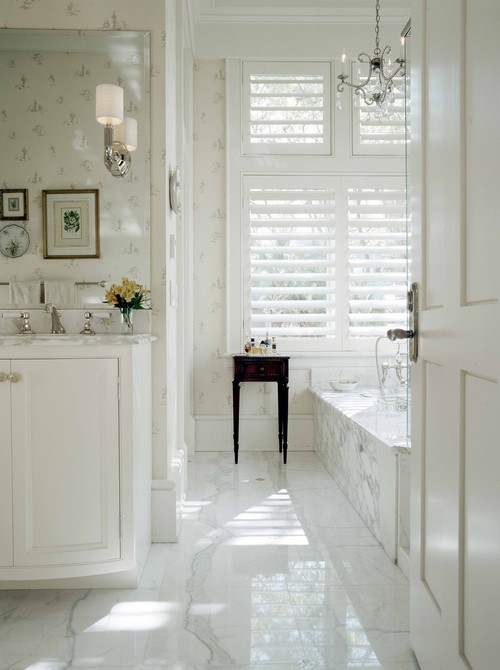
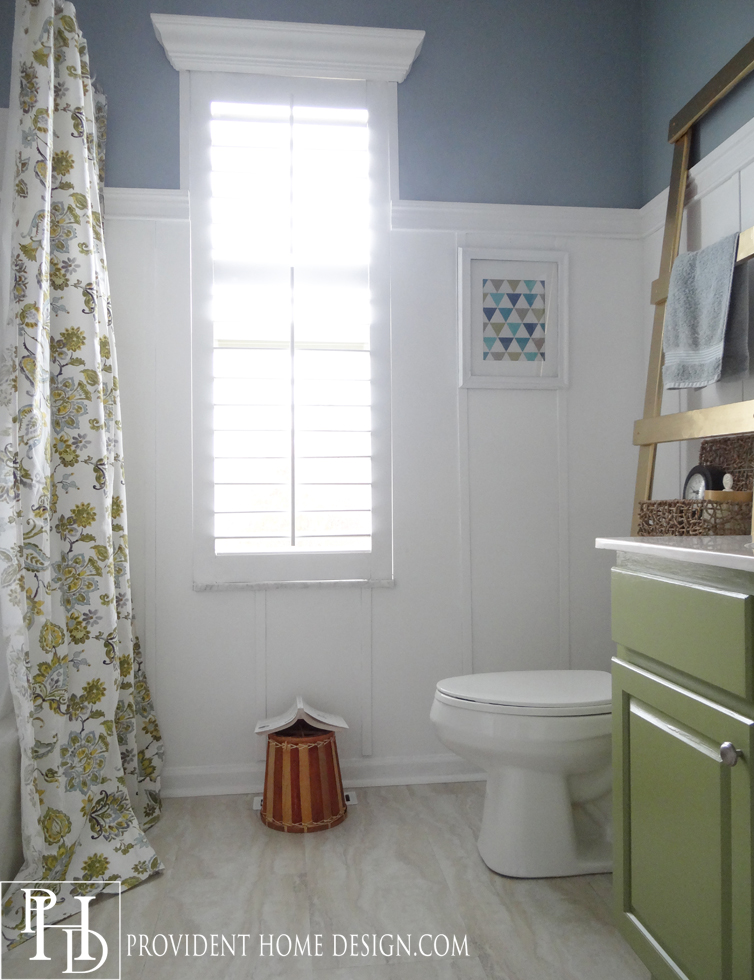
You better believe I searched for budget friendly options though!:-) For the size of my kids’ bathroom window (22 3/4 in. x 58 1/2 in.) even the ‘budget’ plantation shutters I researched cost an upwards of $260 to $300 for the shutter!
Some websites sell do-it-yourself kits where you receive the materials ready to be constructed and then you put them together. I thought that these kits may be reasonably priced but after filling out a couple of online quote forms I discovered that they were almost as expensive as the already made ‘budget’ options.
So off and on over the past couple years I’ve researched how to build them myself. I haven’t come across any other blogs or diy-ers who have attempted this feat so I had to dig a lot deeper. Today I will share with you all I have learned and show you how I built my own plantation shutters.
One of the most helpful resources that I located during my research is the website www.shuttercutter.com. HERE they have a free tool to help you know how to measure your window(s) correctly and what your cut list should be.
They also provide Shutter 101 basics such as the diagram below as well as definitions and explanations for each shutter term (Note: It is helpful to be familiar with the terms below before reading on).
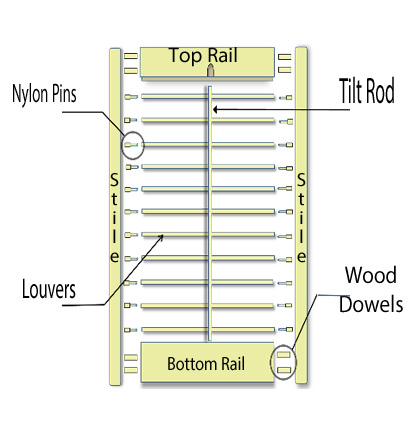
Lastly, they sell all the materials needed to make your own plantation shutters at the most fair prices out there! (Note: I am not being paid or compensated in any way for this opinion just sharing a resource that helped me in building my plantation shutter).
Below is the supply list for my particular shutter.
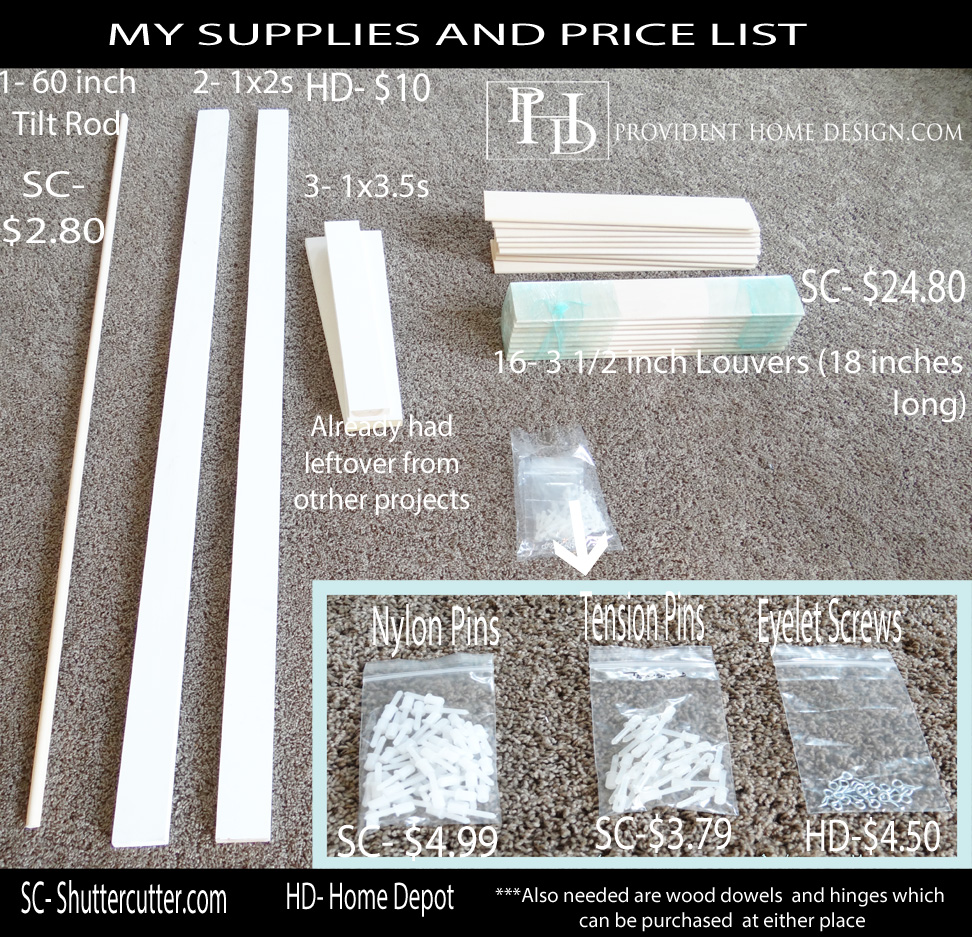
It is important to note that I wanted my particular shutter to have a divider rail. Because the shutter was for the bathroom I wanted a top section and a bottom section. The bottom section I would keep closed for privacy and the top I would always keep open for natural light. To simplify this DIY don’t use a divider rail just have the slats all controlled by one tilt rod.
Also I only used one shutter panel to cover the whole window. If you are using two or more panels to cover your window you may want to buy a rabbeted stile from shuttercutter.com that allows the panels to connect seamlessly (preventing light from bleeding in). I did not need to so I just bought wood for the stiles from Home Depot since it would be a little bit less expensive.
THIS IS HOW YOU DO IT:
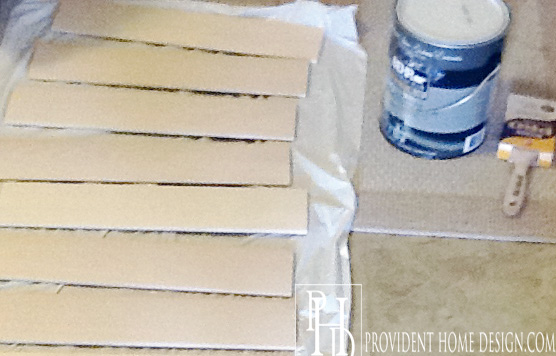
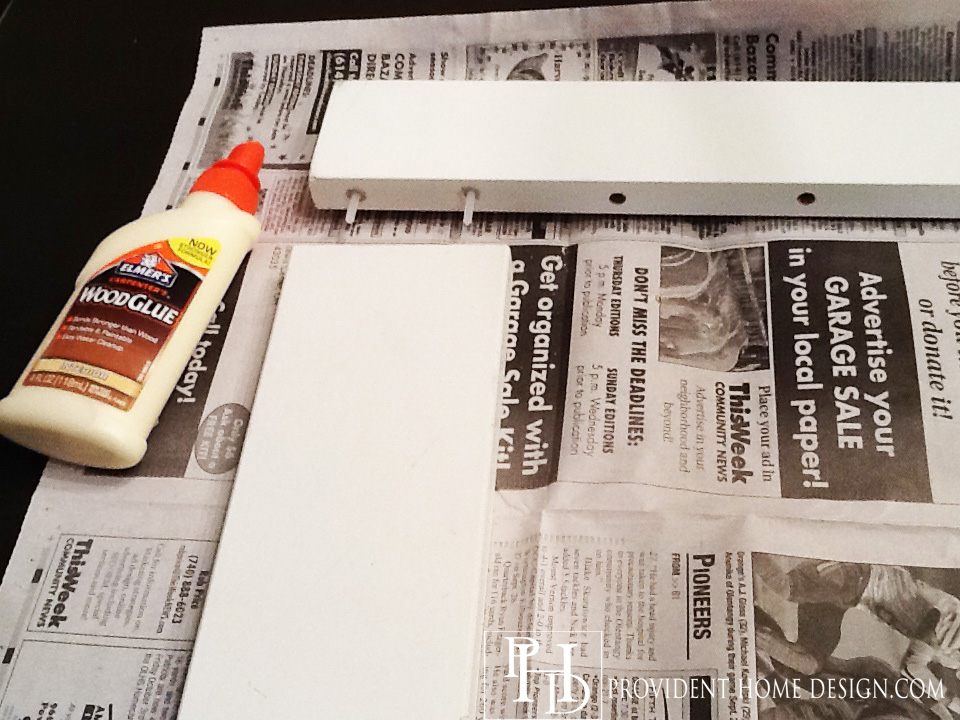
1. The first thing I did was paint the basswood louvers I ordered. They have the option to come primed but I decided to cut costs and do it myself. This would also be a good time to paint your stiles, rails, and tilt rod.
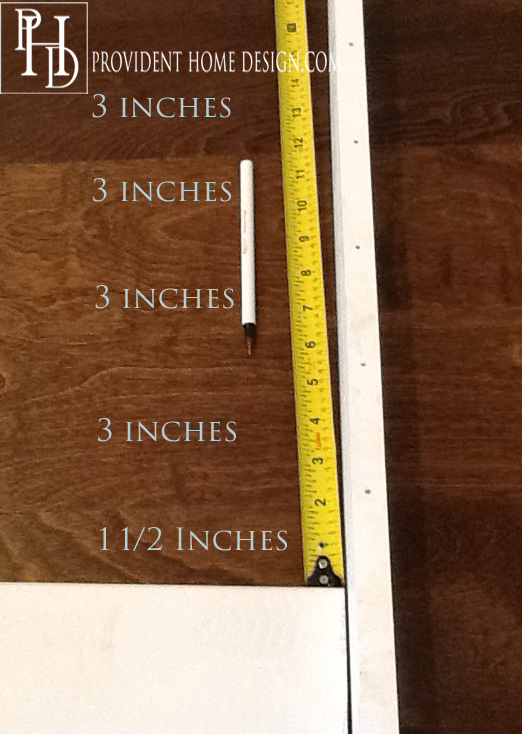
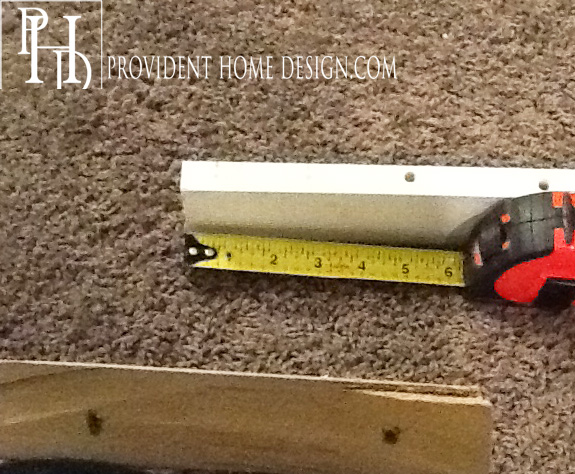
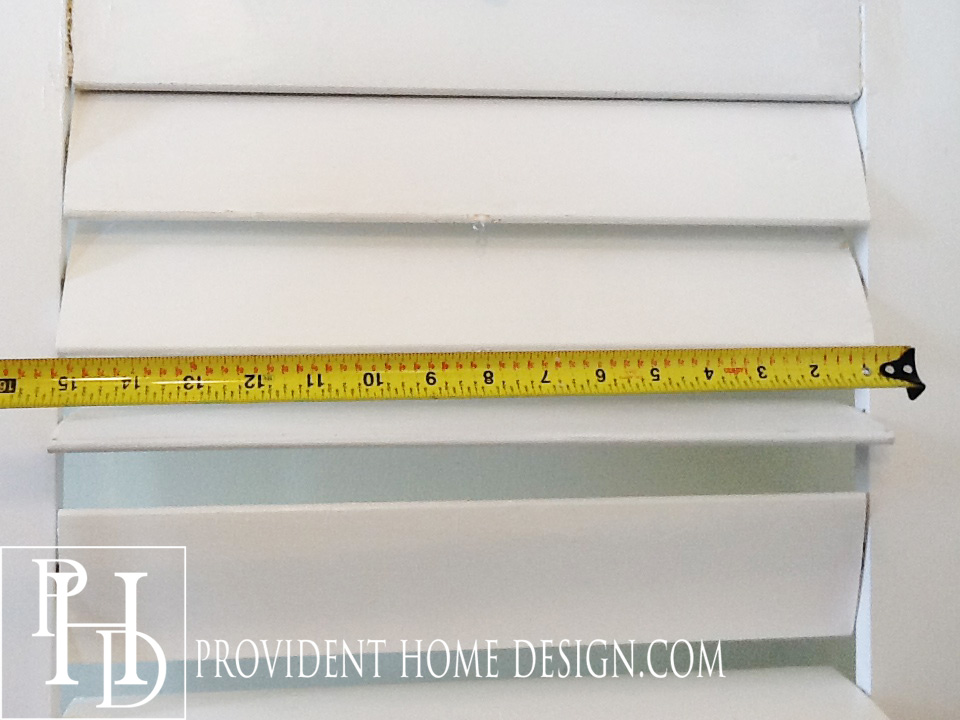
2. Next I measured and marked where the holes would go on the stiles (the vertical rails). Measure up from the bottom rail 1 1/2 inches and then 3 inches between every hole. 2 1/2 inch louvers are spaced 2 inches apart , 3 1/2 inch louvers 3 inches apart and, 4 1/2 inch louvers 4 inches apart.
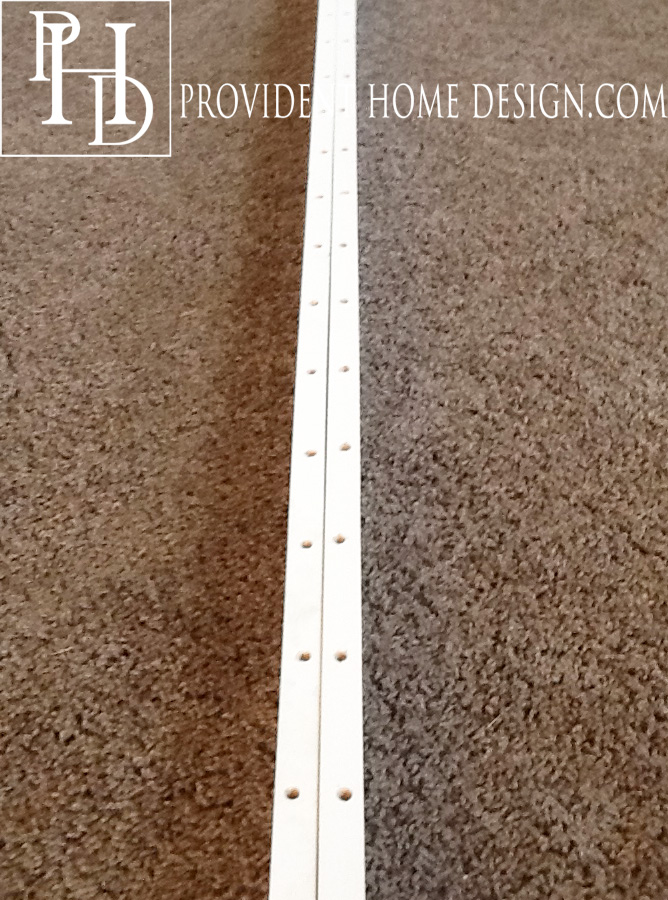
3. Once I marked both insides of the stiles I put them up to each other to make sure they lined up exactly! I’m not a perfectionist but with plantation shutters you have to be precise for them to look right so try to be a precise as humanly possible. After making sure the marks on the two stiles line up, make holes where the marks are using a 5/32 drill bit.
4. Then go back and make the holes for the bottom rails and top rails and divider rails (if you have any). In the diagram on shuttercutter.com they use 2 inch wooden dowels to connect the rails to the stiles. In retrospect I wish I had as well. Instead I knew I would have extra tension pins and thought I would just use those to connect the rails to the stiles. I will explain later what happened but for now use two wood dowels instead of tension pins as shown below.
5. Now that the rails are connected to one of the stiles place the nylon and tension pins into that stile. Tension pins should be used in 25-30% of the holes. So if you have 16 louvers 4-6 of them should contain a tension pins and the rest nylon pins.
6. Now measure and mark a dot on the center of both ends of each louver. Drill a hole on the dot with a 9/16 drill bit.
7. Slip the louvers onto the nylon and tension pins so that they are connected.

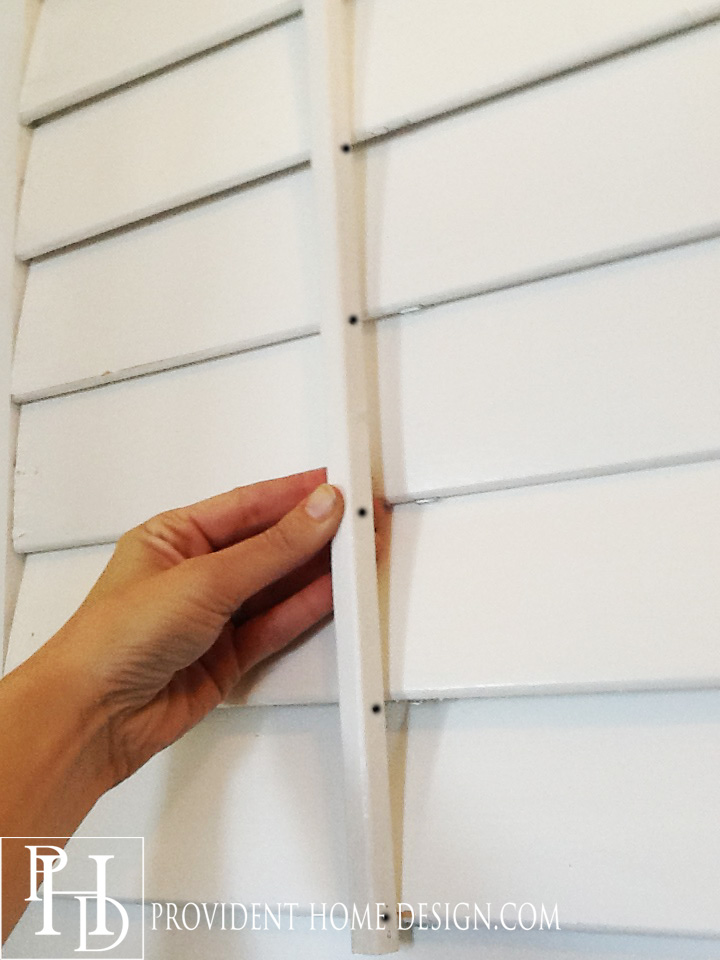
8. Next is the trickiest part and it may be helpful to have another set of hands. Place tension and nylon pins into the other stile. Make sure that the tension pins are in the same number hole as on the other stile. Now move the stile with pins sticking out close to the side of the louvers without a stile. Match the stile up to the correct place. Now starting from the top one by one manually shift the pins from the stile to the louver so that each louver is connected to both stiles. In order to do this neither stile will be flush with the louvers (as shown below)
9. Make sure all of the pins are at least a little bit in both sides of the louver holes. Then on the count of 3 (and with an extra set of hands) push the stiles towards each other so that the pins go all the way into the louvers and the louvers and stiles become flush against each other as shown below.
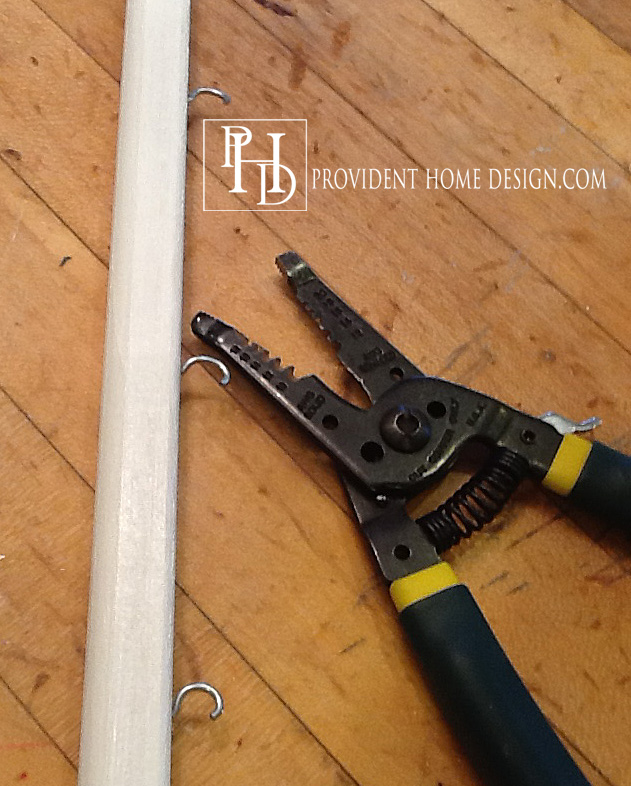
10. Now we will be getting the louvers ready for the tilt rod. To do this measure and mark the center bottom of each louver. Drill a hole with a 1/16 drill bit and screw in an eyelet screw.
11. Next cut the tilt rod to size and hold it up to the shutters where it would lay when the shutters are closed. Then turn the rod on its side and place a dot on the back of the rod exactly where it meets the eyelet screw on the louver. Note: Before using eyelet screws I tried employing staples in the louvers but they kept falling out, hence, the photo below shows staples on the louvers. Just pretend they are eyelet screws.
12. Next with your 1/16 drill bit drill a hole in the rod where the it is marked and screw in the remaining eyelet screws. Then with needle nose pliers or the tip of wire cutters pull the eyelet screws open as shown below.
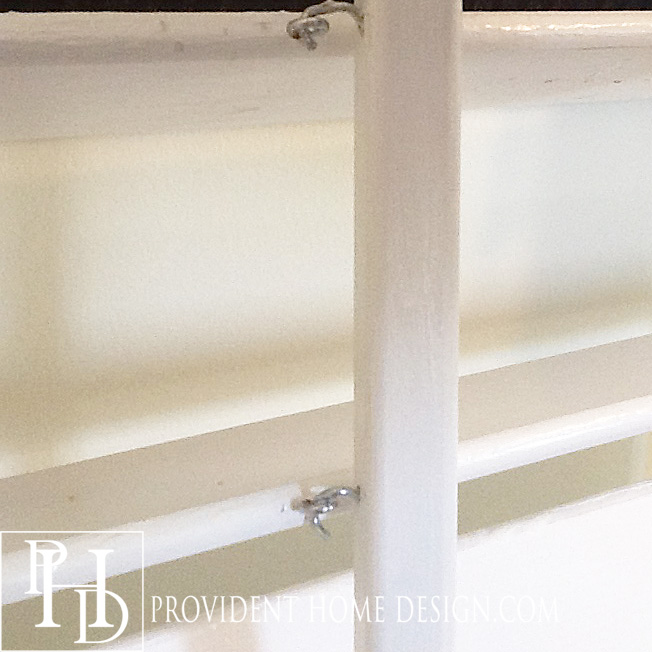
13. Next starting from the top one by one connect the tilt rod eyelet screw to the corresponding louver eyelet screw. Then close the eyelets on the rod with the needle nose pliers as best you can.
14. Okay so this is where we need to come back to the 2 inch wooden dowels conversation. If you remember from the diagram at the beginning shuttercutter.com recommended using 2 inch wooden dowels to connect the rails and the stiles together.
I wish I would have made the holes for the wooden dowels and then filled them with wood glue and pushed the rail and stile together and let it sit for 24 hours before adding the louvers. Then after the louvers were added do the same thing for the other stile in joining the rails.
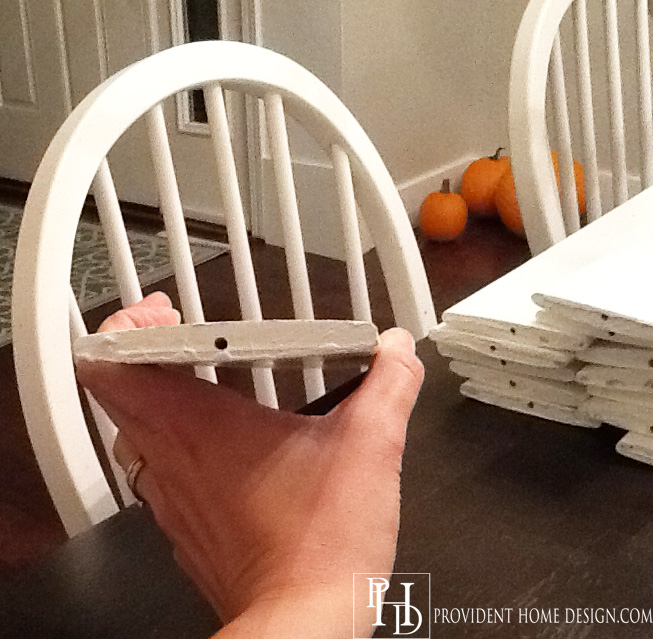
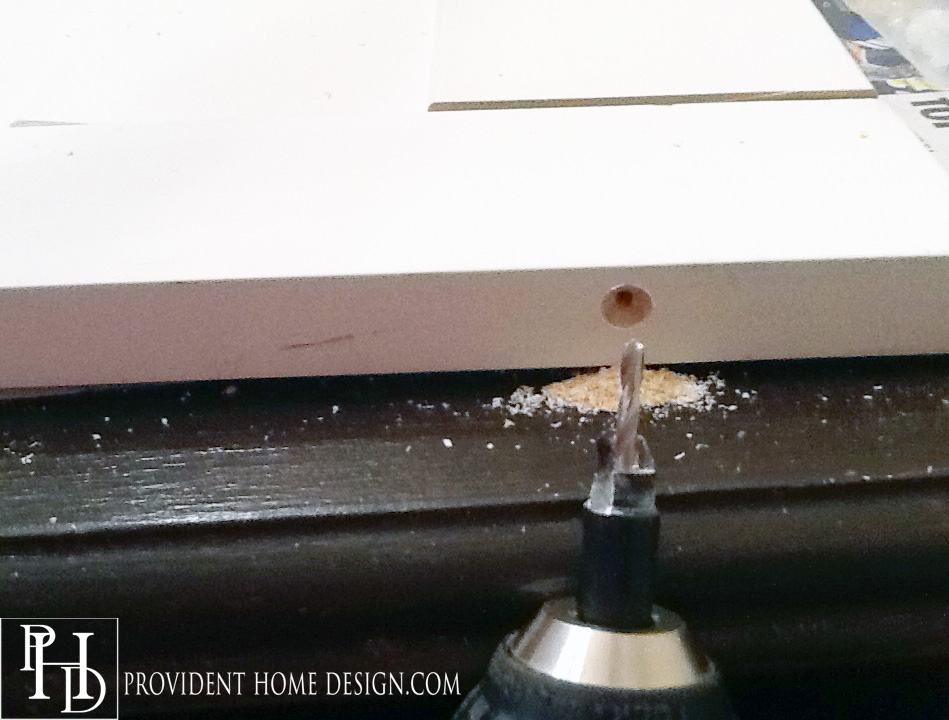
Instead I used tension pin to connect the rails and stiles. I didn’t feel this connection was sturdy enough so using a countersink drill bit I drilled a hole into the outside of the stile where the stile meets the rail and screwed a 3 1/2 inch screw into it. The counter sink drill bit allows the screw head to go all the way into the wood so that it is flush with the wood and doesn’t stick out at all.
The problem I had with this method is that when I drilled the screw in the rail and stile kept separating at the last minute. I asked my hubby to push the pieces of wood together while I drilled but it still wouldn’t stay tightly fit together.
I used white caulking to fill in the small gaps between the rails and stiles and it looked great. However, the problem came when fitting the shutter to the window sill. I had thankfully left a 1/4 gap for the hinges but since the rails and stiles would not screw in all the way together the shutter was about 1/4 wider than planned. Hence, the plantation shutter fits so snugly into the window sill that there is no room for the hinge hardware.
So, my plantation shutters will have to be manually removed if I ever need to get access to the window (which realistically won’t be happening unless there is a fire and we need to jump out that particular window because heaven knows I won’t be cleaning that window ever anytime soon and if I need to open the window I will be sticking my fingers through the shades like a crazy lady trying to shimmy the darn thing up so I don’t have to take the whole shutter off)!:-)
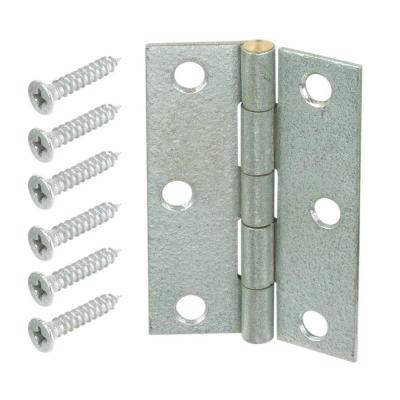
Do yourself a favor and use wood dowels and glue to connect the rails and stiles. Shuttercutter.com has some great hinge options as well as home depot who sells this 2 1/2 inch narrow utility hinge in a 2-pack for $4.37. This is what I had bought and now will be returning.
For more mounting info click HERE
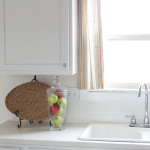
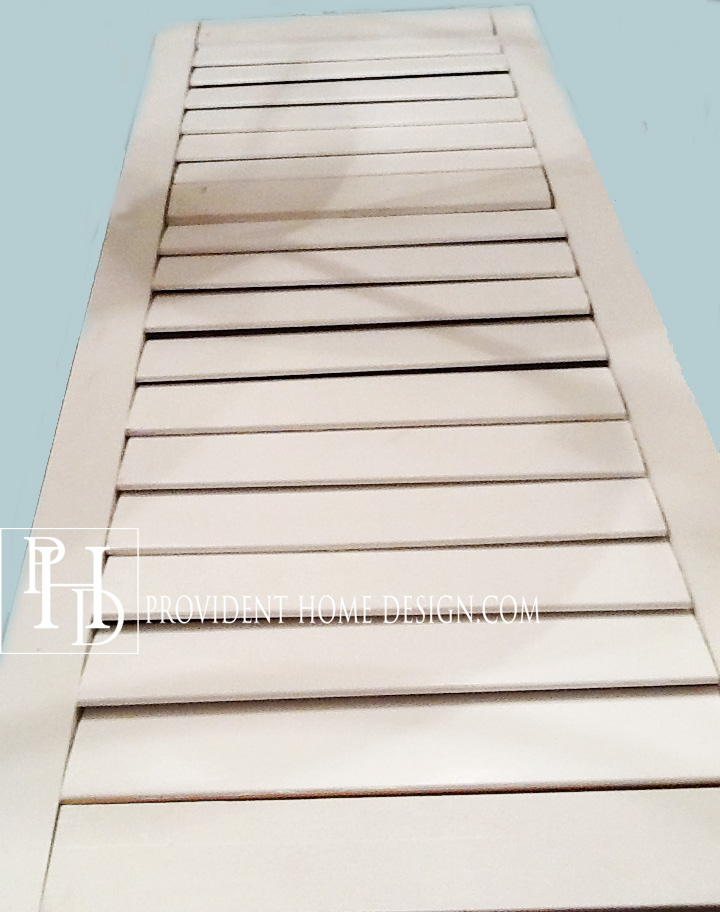
I’ve been so happy with how the plantation shutters turned out and it has allowed the room to receive an abundance of natural light. I won’t lie it was a lot of work especially with doing all the preliminary research! But as with 95% of my DIYs I can look back and say it was worth it. And heck if you’ve made it this far in the post it shows you have what it takes to get through anything!;-) You can do it!
 Did you miss my kids/ guest bathroom makeover? Click, HERE.
As always let me know if you have any questions and I will do my best to answer them! Have a great weekend!