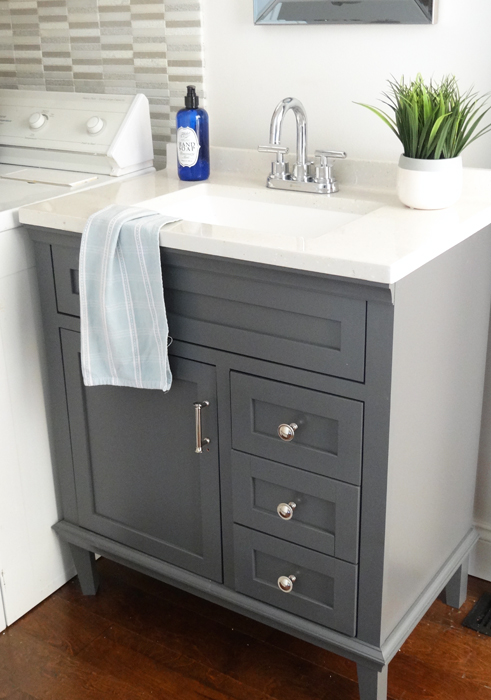
Hello! Today I’m here to teach you how to paint a bathroom cabinet/vanity like a pro! I just completed my kid’s bathroom vanity and I am so happy with how it turned out. This was my 5th bathroom vanity that I have painted and I have finally found a product and system that completely rocks!

This was by far the best experience and since practice makes perfect better I want to save you the trouble of doing it the less effective ways and allow you opportunity to get the outcome you desire the first time you try! For years I have been trying to find a paint product that gives the look, feel, and durability of being professionally done. I’ve wanted a smooth, glossy, no brush mark look and a smooth, hard enameled feel.
I have experimented with lots and lots of paints products and methods but I never felt any of them were “the one”. So, guys, I have found “the ONE” (and no this post is not sponsored in any shape or form) and I’m so excited to share it with you! I mentioned in this post that I have a new found love for Behr’s Premium Plus Ultra Paint for painting walls.
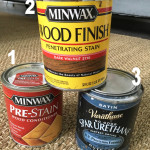
Well, I decided to go to Home Depot and ask them if they had any Behr products for painting furniture and cabinetry. After some discussion the worker introduced me to a product called Alkyd Semi-Gloss Enamel. It basically performs like an oil-based paint but without the horrible smell and difficult clean up. I LOVE this product! It is so easy to work with and has fabulous results.
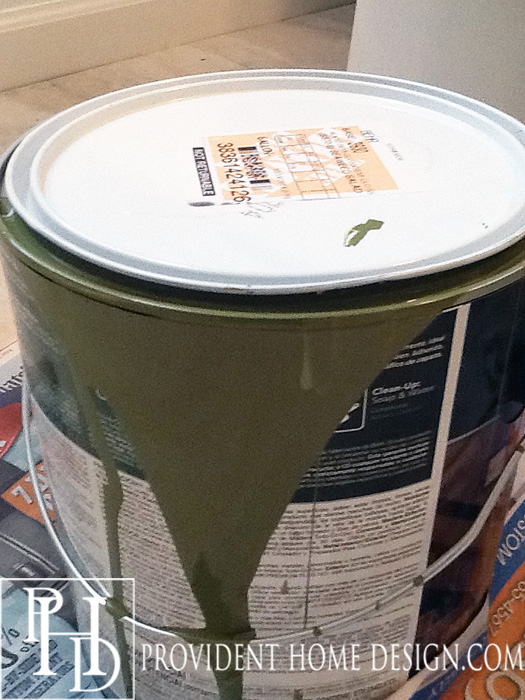
After getting home with my gallon of paint I realized they had given me the wrong color! I had asked for Behr “Pesto Green” but they had given me a darker green color called “Seaweed Salad” which I can assure you is as disgusting looking as it’s name suggests (as shown above).
Because these days time is not on my side I decided to take the chance and mix in some white semi-gloss paint I had on hand instead of going back and demanding nicely asking for the right color.
Thankfully it worked! Phew! So once you have your alkyd Semi-gloss enamel in the color you desire you will need these other important supplies listed below.

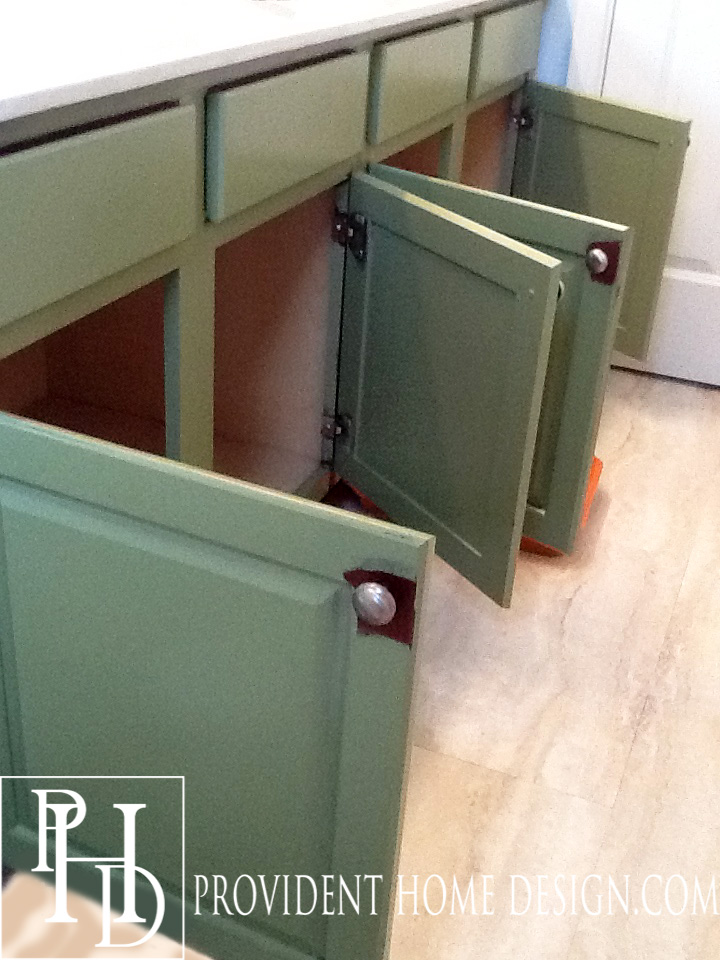
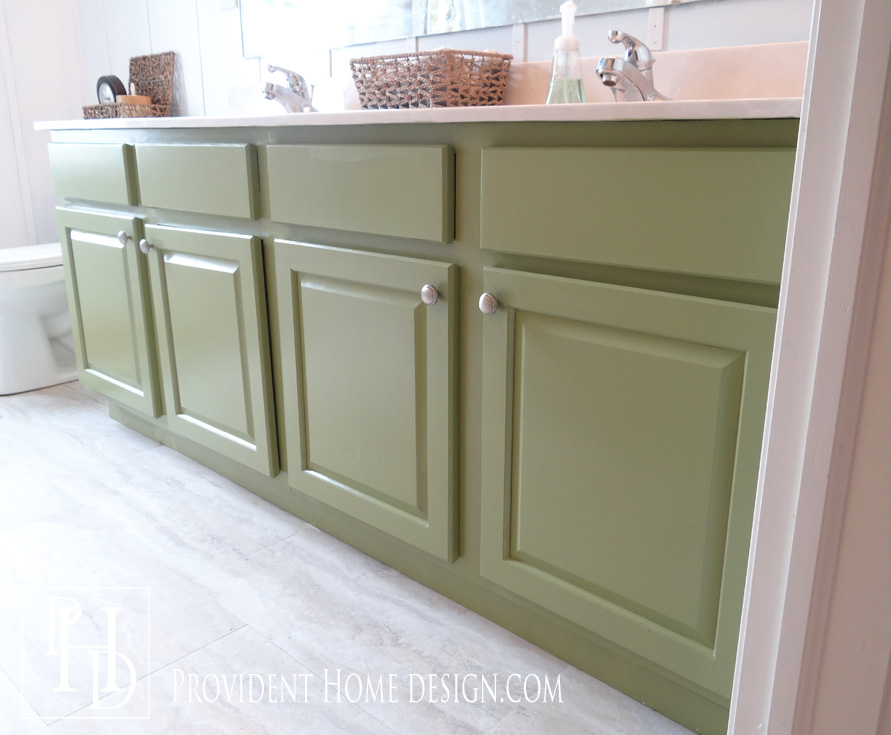
I have painted cabinets with the doors on and also with taking them off. This time I kept them on and had no problems. I just kept the door open as you can see below and I kept the door knobs on until I was all done so that I could use them as I handled the doors during the painting process.
I used the foam roller for basically 90% of the job. However there are certain areas the foam roller won’t work well like when working around the hinges and along the edges of the cabinets.
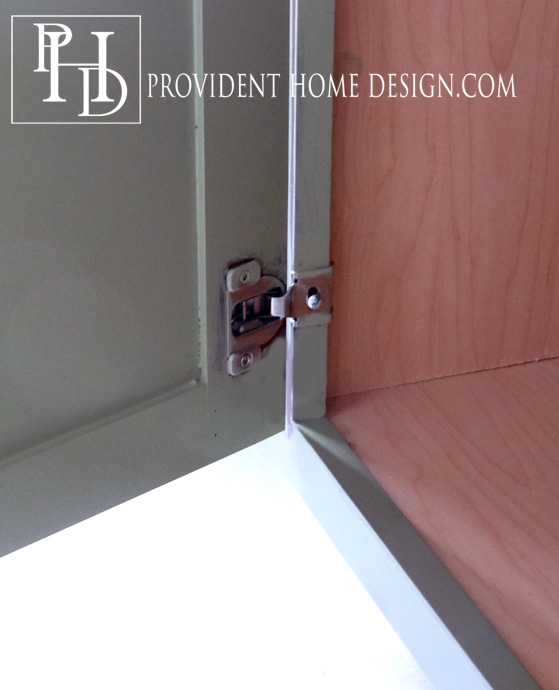

For these areas I used a quality foam brush. This is also where the painters tape comes in handy. You will likely want to tape along the wall where the cabinetry meets the wall so that you have a nice clean line.
You may have noticed from the photos above that I didn’t use any primer! In the painting world that’s equivalent to going out and about without your underwear on!
Instead of using a primer I used a liquid deglosser. The liquid deglosser prepares the surface for painting. I just applied it with old rag. In this situation I had absolutely no negative consequences of not using a primer first. However, most people do use a primer so if you want to play it safe put on a good primer (such as Zinsser) and your underwear while your at it.:-)
Warning: If you choose to use a primer (again I never have) then be sure to use an oil based primer and NOT a water based one. This paint is a ‘man-made’ oil based paint and will only adhere well to a primer that is oil based!
I ended only having to do 2 coats even without priming first. The first coat wont look pretty but don’t let that scare you. Take time (about 4 hours) between coats and when you are completed let the cabinets remain untouched for at least 24 to 48 hours (leave the cabinet doors open during this time).
This product can take up to 7 days to harden completely depending on the humidity and temperatures. But harden it does! I tested a spot on the inside of the door with my fingernails. I tried to leave a mark but it didn’t.
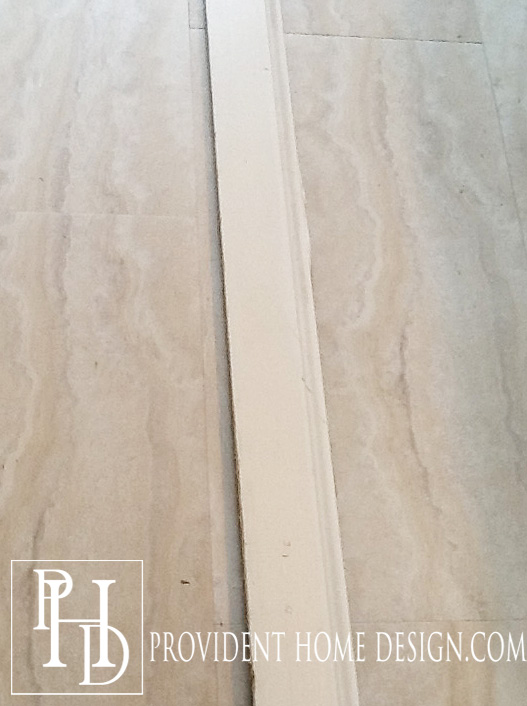
Lastly, whenever I have painted cabinets a lighter color than they were before there is often a dark piece of vinyl trim at the base of the cabinetry (as shown below). It really shows up a lot more after the cabinetry has been painted and takes away from the desired professional, custom appearance
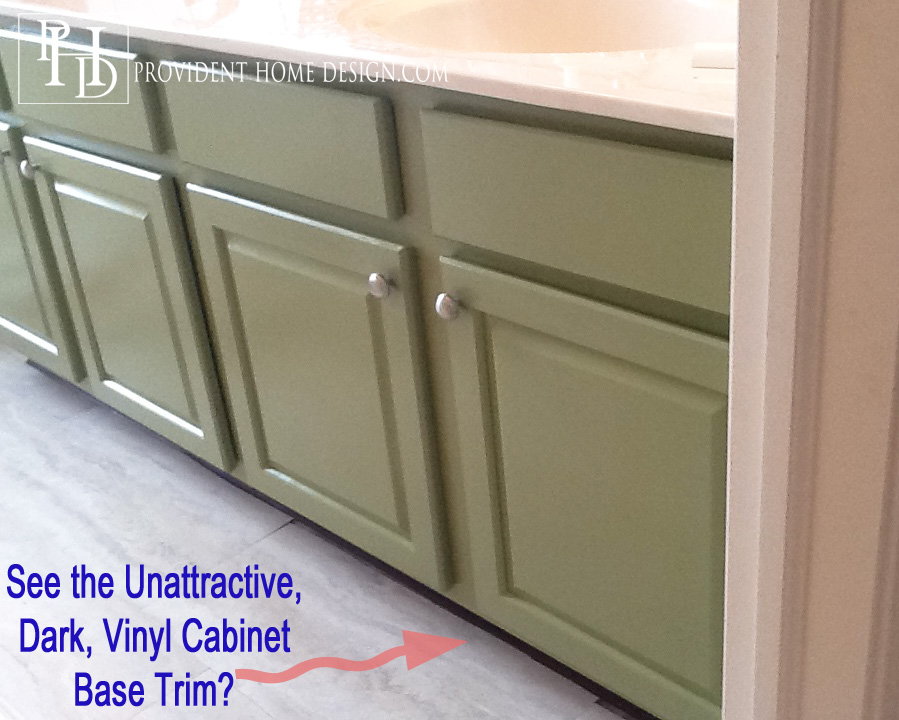
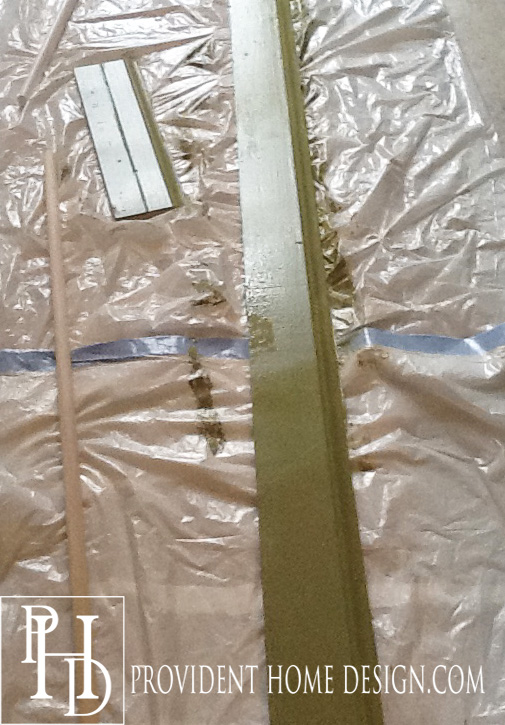
The solution that has worked great for me is using an approx. 3 inch piece of trim such as a baseboard, painting it the same color of the cabinetry, and then securing it over the existing vinyl one.
Makes a big difference, doesn’t it??
So that is how you paint a bathroom vanity like a pro! If you have any questions please don’t hesitate to ask!
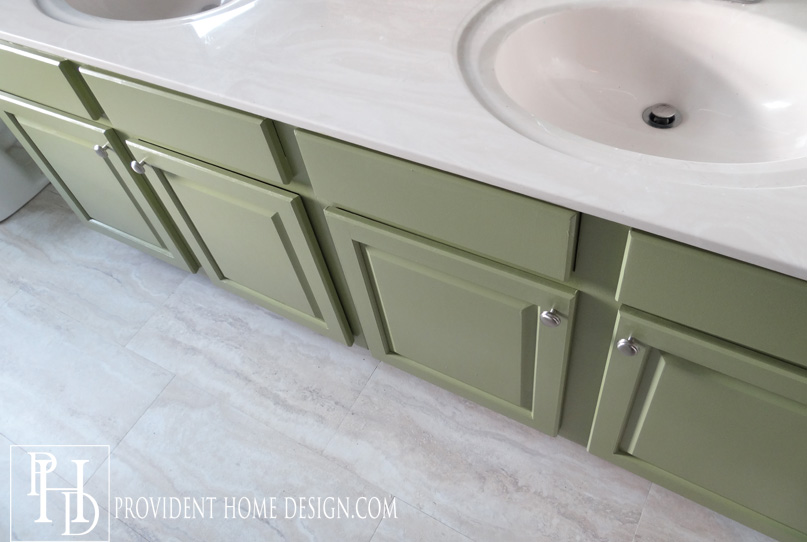
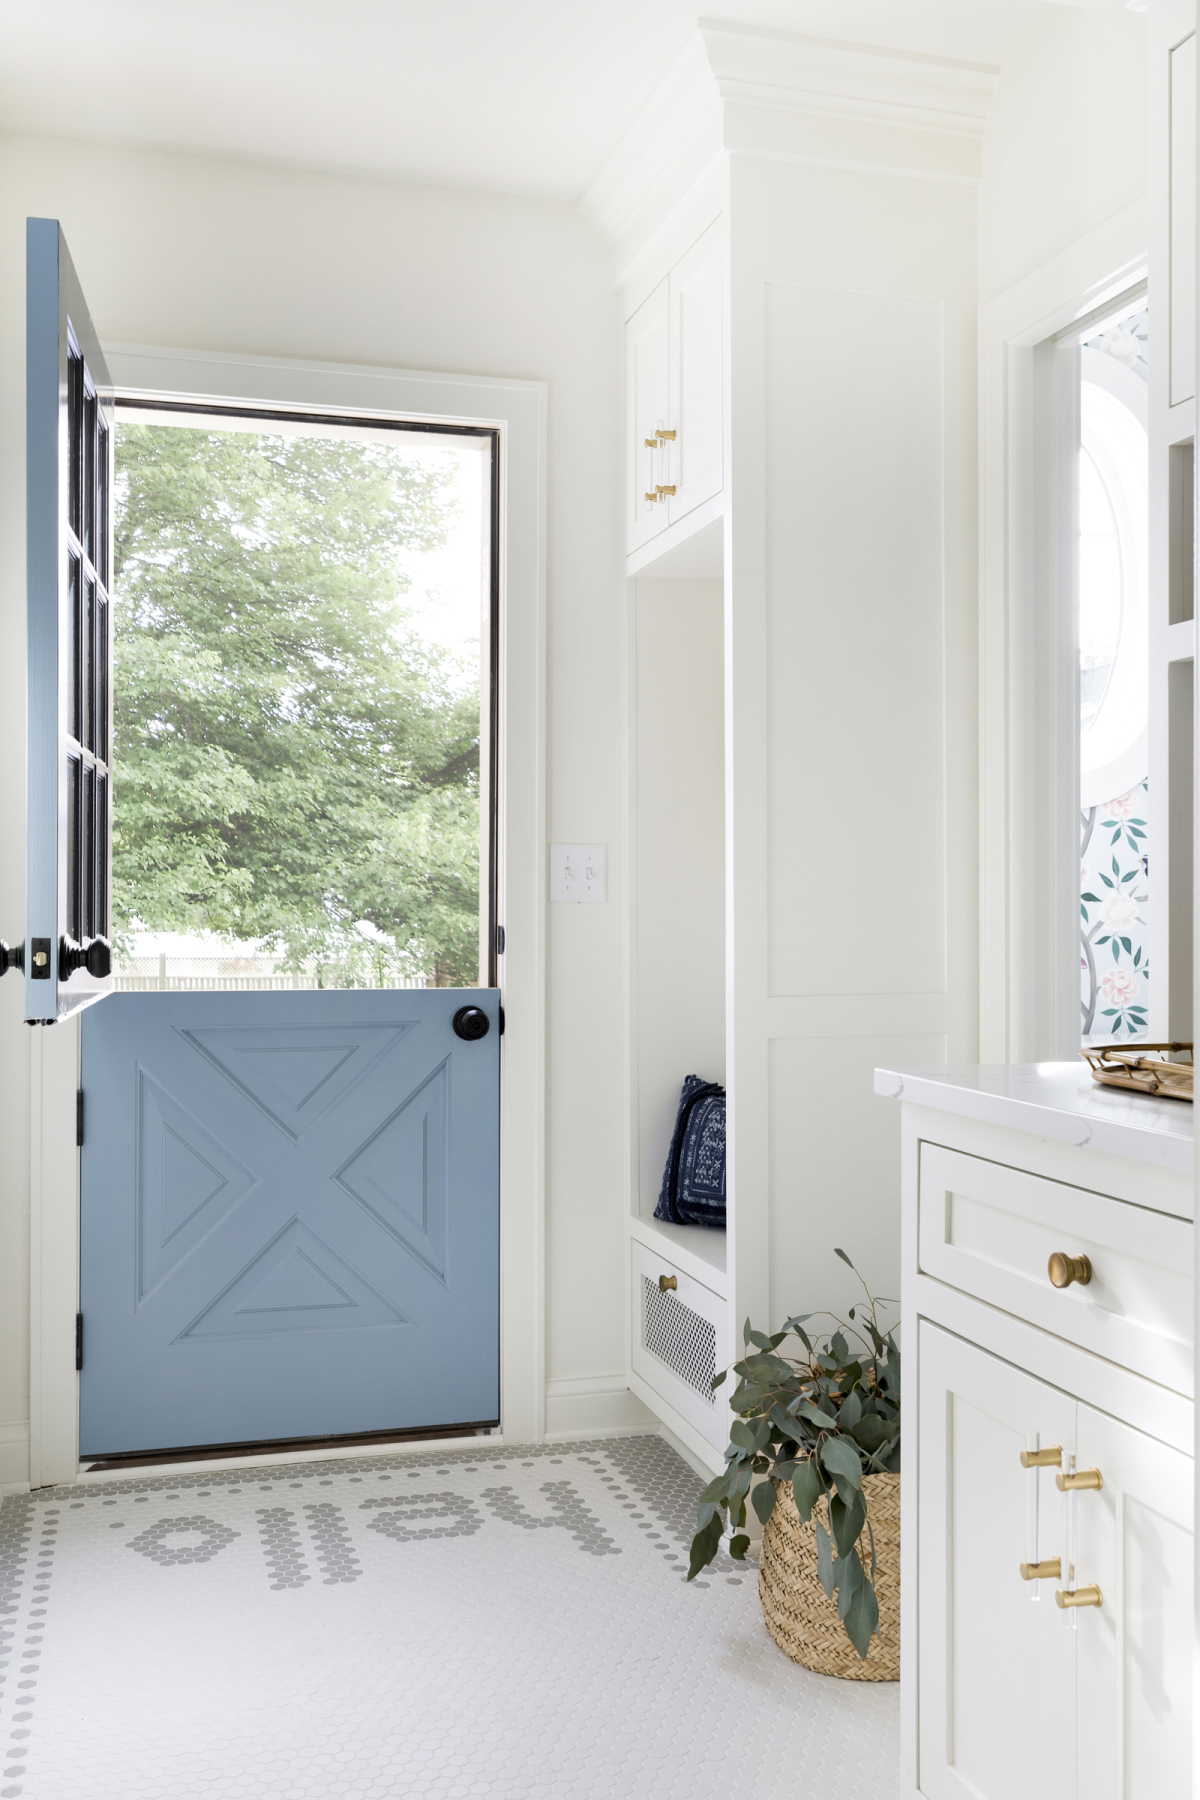
Next week I hope to be able to reveal the kids/guest bathroom makeover. Today you got a sneak peak of the painted cabinets and new flooring.:-) The new floors are vinyl by the way! More details later!:-)
UPDATE: The makeover is done! You can check it out HERE. I think you will love it!:-)