Approximately 10 months ago I was zoning out while nursing my baby on the couch in the family room when I heard a large shatter of glass coming from the front of the house. After quickly getting appropriately covered and with a very unhappy baby in tow I bee-lined towards the front of the house. There I found the entire stairs covered in shards of glass.
The light fixture at the top of the stairs (basically the upstairs hallway light) had exploded. To this day I don’t know if it was caused by using wrong light bulb wattages or if the light bulb had somehow rested too close to the glass but either way it didn’t matter now. What did matter was that thankfully no one was on the stairs when the incident happened and that now I would need to figure what to do about replacing the light fixture.
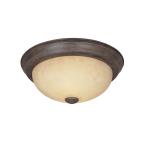
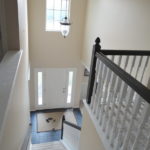
The light fixture use to look something like the picture below. It was builder basic but I didn’t mind it, especially since it was rubbed oil bronze.
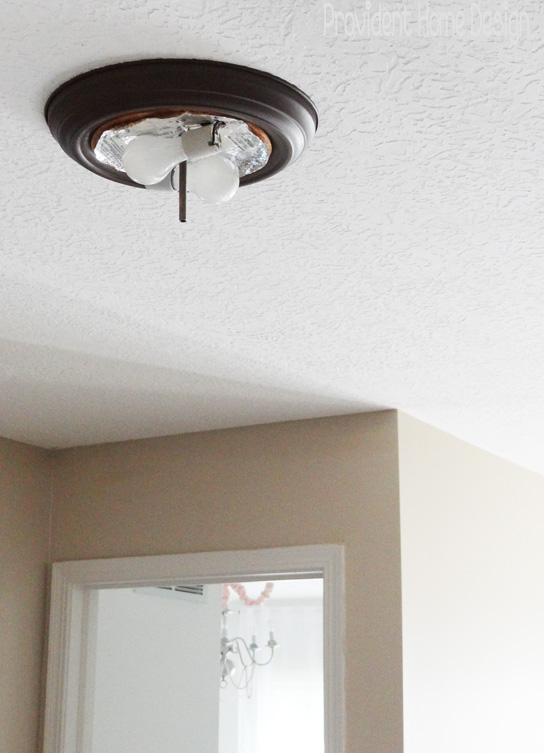
After the light fixture combustion it was left looking like this:
I initially looked into replacing just the glass part. Lowes sells glass cover replacements for floor lamps which came in handy once when one of our kids took a glass torchiere to the ground accidentally. But I couldn’t find any glass cover replacements for the ceiling light fixture I had.
I really didn’t want to replace the whole fixture because it is in a very awkward place at the top of the steps. It is scary enough trying the change it’s light bulbs because you have to put a chair at the top of the last step and reach diagonally over the stairs to get to it. One wrong move and you are a goner! Death by changing light bulb and subsequently falling down the stairs.
I didn’t want to have to try to wire a new light fixture there and didn’t want to have to pay someone else to either (nor the lawyer bills when we got sued from their flight down the stairs):-)
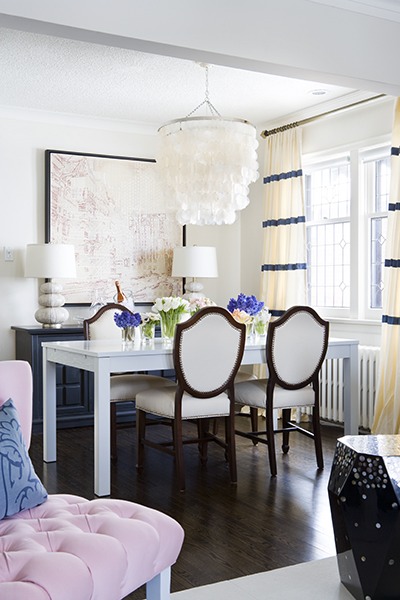
Below is the solution I came up with:
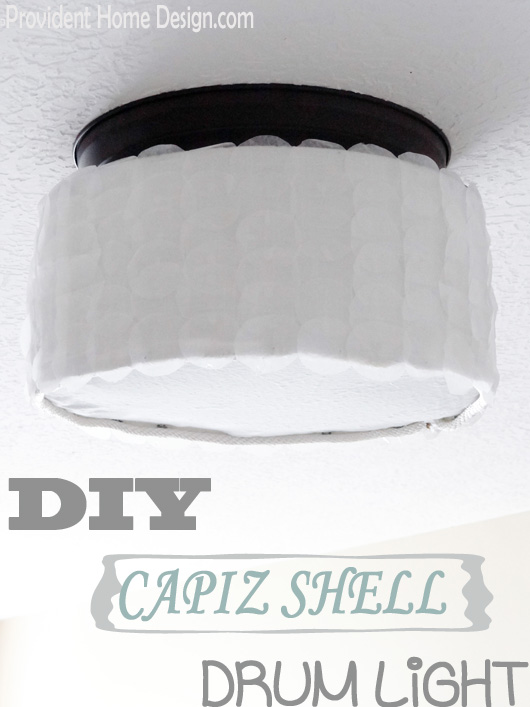
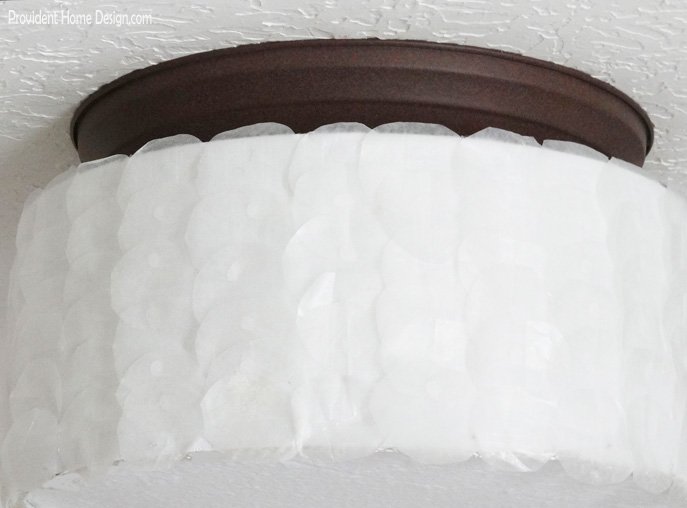
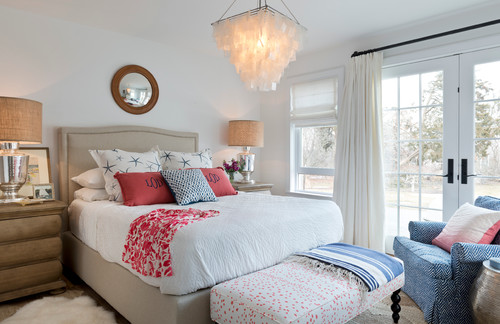
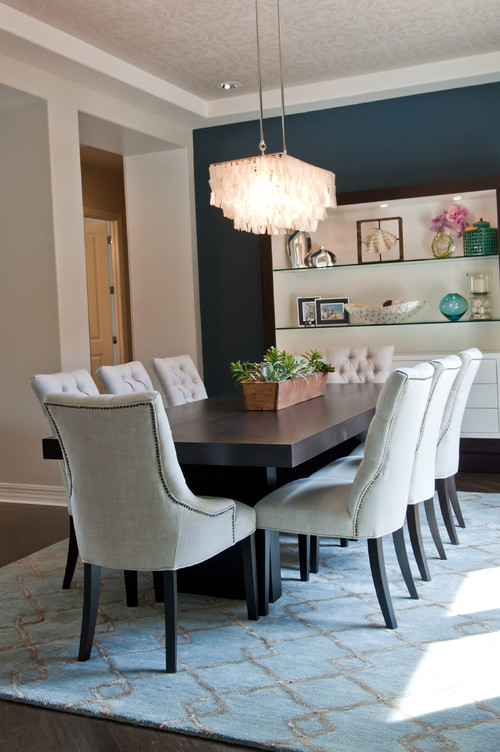
And for $15 and no re-wiring I am very happy with the outcome! I have always LOVED the capiz shell chandeliers! They lend their way to a casual, elegant feel (Learn more about casual elegance here).
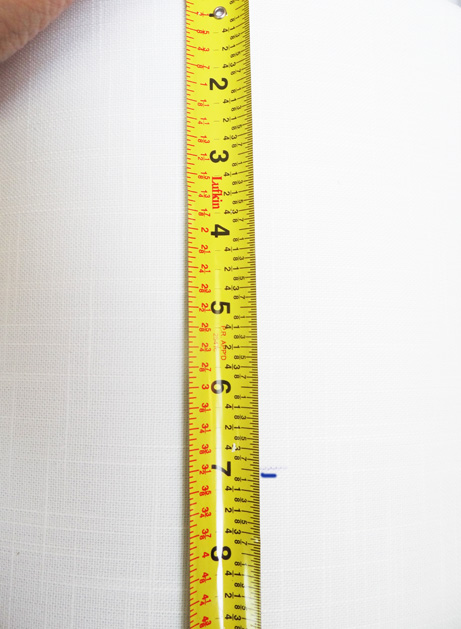
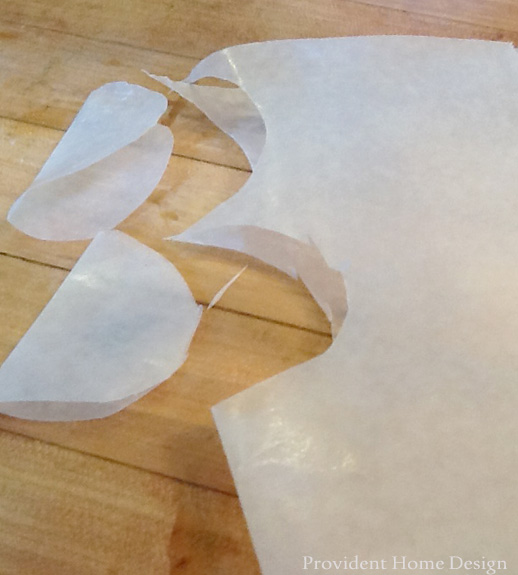
Next I got out my wax paper roll and cut the paper in 4 inch strips. I then lightly folded (no crease) the strip and cut semi-circles as seen below. As soon as you cut them lay them out flat so that they don’t get deep crease marks. Cut out lots and lots of circles! Most of my circles are 1 1/2 to 2 inches in size.
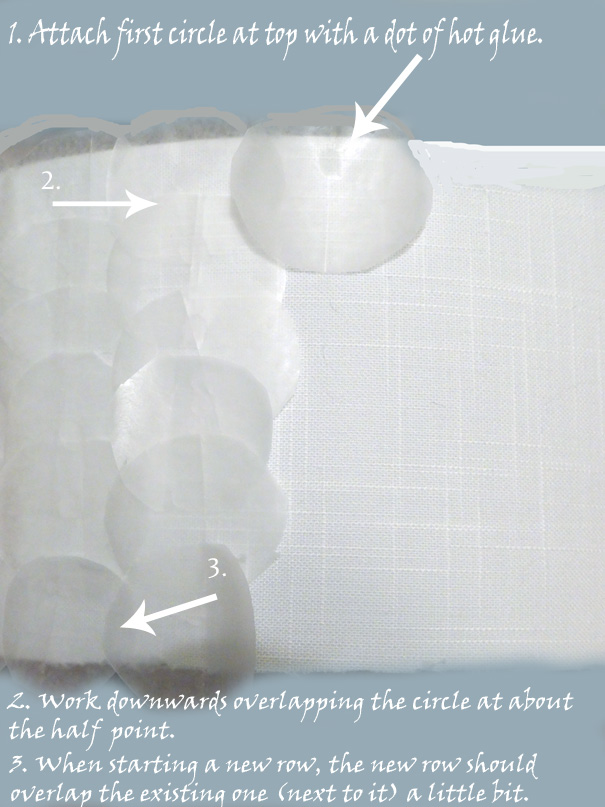
Next I started hot gluing the circles onto the shade. Just a dab of glue will do. Start at the top of the shade and work down. I had 6 circles in each vertical row. Then would move on to the next row being sure to overlap the previous row a bit.
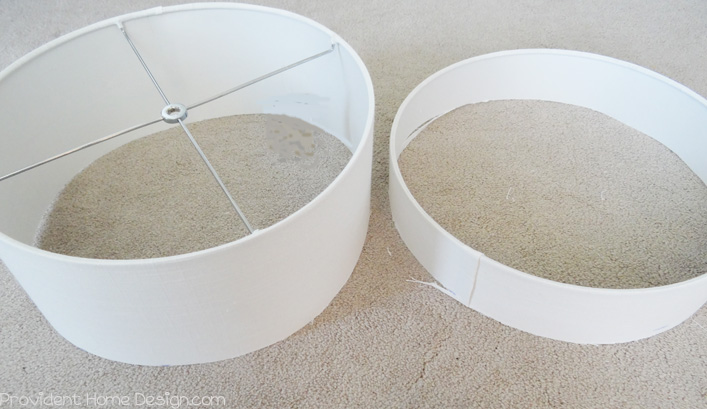
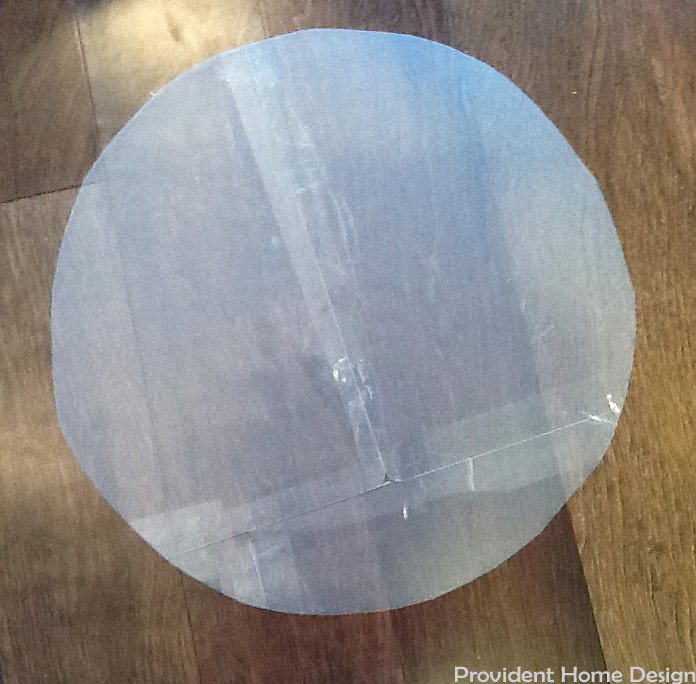
Next I made a diffuser for the drum shade since I knew coming up the stairs it would be unsightly to look up into the fixture. To do this I bought 2 packs of clear chopping mats at the Dollar Tree (2 come in each pack). I took them out and taped them together with clear packaging tape. Then I gently put the drum shade on the mats and traced the inside of the drum shade with a pen. Using scissors I cut the mats along the designated line.
Next I laid the ‘mat circle’ on top of a white scrap piece of fabric and traced with a pen around the circle. Then cut the fabric along the traced line.
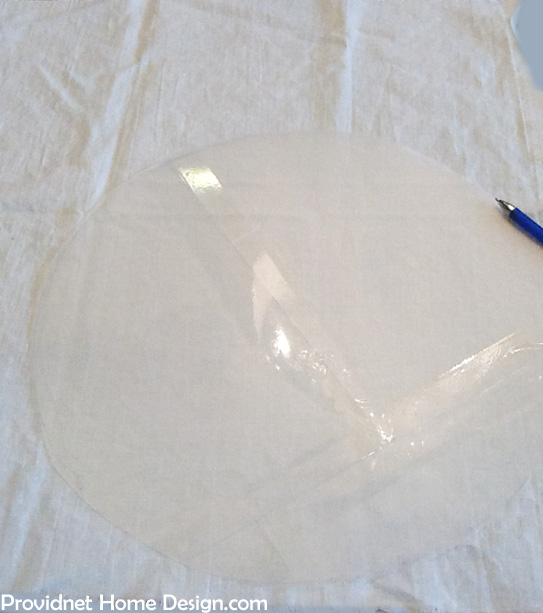
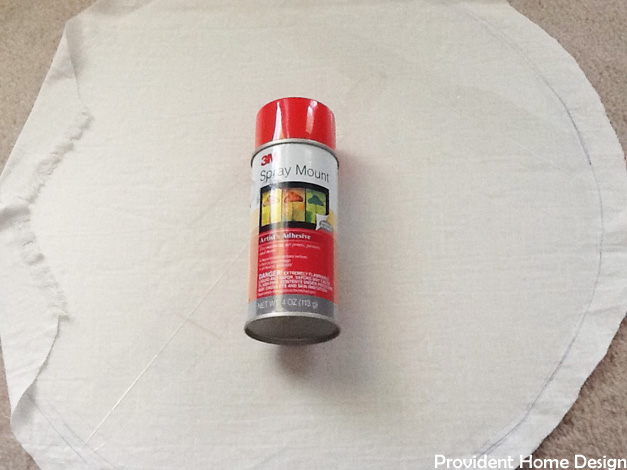
I then sprayed the ‘mat circle’ with spray adhesive and put it on top of the fabric circle pressing firmly to adhere the mat to the fabric. Don’t be confused by the picture below– I ended up cutting the fabric flush with the diameter of the ‘mat circle’.
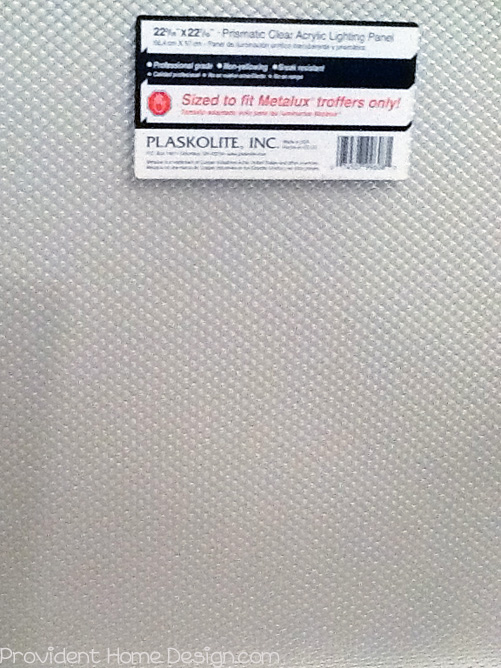
If you want, instead of making your own diffuser you can purchase a light diffuser at most home improvement store for about $6 and then cut it to size like the one shown below.
Okay we are almost done! I bought some white rope at I think Lowes. Buy it by the yard because it is SO much cheaper that way! I think I bought 2 yards and it was under a dollar. I then hot glued it to the inside edge of the drum shade. This will hold up the diffuser.
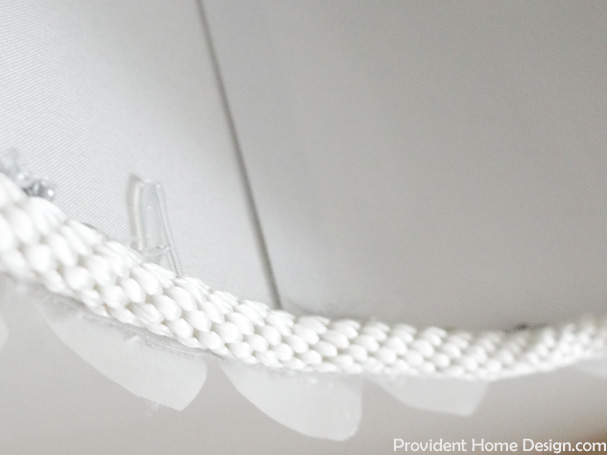
Lastly, I added a few nuts to the anchor of the light fixture so that the drum shade would sit where I wanted it to. Make sure if you use a diffuser to give your light fixture enough space at the top for the heat to escape!!

Then I carefully folded the diffuser up into the shade and shifted it around until the diffuser evenly sat on the inner rope trim.
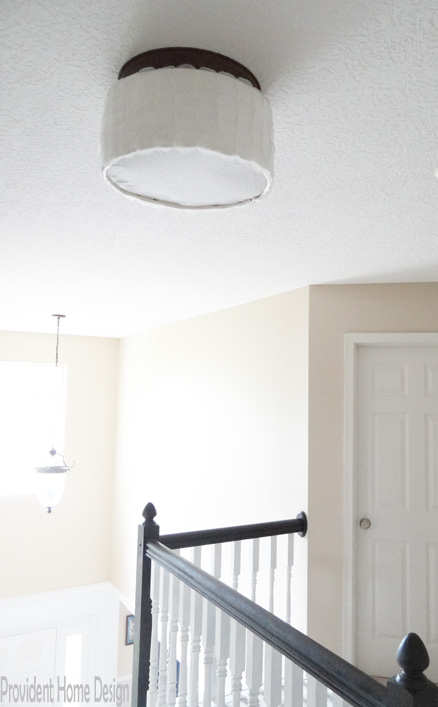
TADA a chic, new light fixture for only $15!
And with the light on there’s a warm glow.

So whether you just want to replace your current basic light fixture OR your glass fixture spontaneously combusts (let’s hope not) know you have inexpensive, chic options out there! 🙂
Remember how I’ve been on the look for a rug for my living room? Be back next to share with you what I came up with.;-)

Related Posts From the Blog:
 How to Paint Stair Railings like a Boss
 How to Remove Tile
 DIY Beadboard Ceiling + The Fall Season
 Design 101- Knowing the Best Furniture Layout for a Room (without Moving Your Furniture)!
 DIY Ceiling Beam-One Room Challenge Week 3`
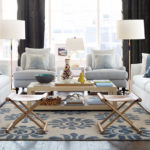 Design 101- How to Define Your Own Unique Decorating Style
 What I’ve Learned in my First Year of Blogging & a Favor to Ask
 This Week’s Deals