NOTE: The new look is due to technical difficulties. Thanks for your patience as it gets worked on!;-)
Tile is all the rage in design and I can understand why. It is a durable surface that makes a statement in bathrooms, kitchens, on floors, on walls, and even on ceilings(haha, j/k I haven’t seen in on ceilings but I wouldn’t doubt it happening). I love tile! I even created a post on how to tile a backsplash (you can view it here) but what can be troubling about tile is the quandary of how to remove it!
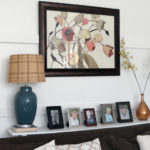
via bhg.com
As I dreamed about installing our new hardwood floors I also simultaneously had nightmares about removing our 600 sq. ft. of 12 x12 ceramic floor tiles. I couldn’t seem to wrap my mind around how these tiles were going to come up. I researched and listened to people explain but much like my perplexity in comprehending how a plane can fly I didn’t quite have confidence that tile could really be removed with just a pry bar and a hammer!
It was definitely one of those things I had to experience for myself to believe! 🙂 Hopefully you will be more trusting than I was when I say it’s totally a DIY project anyone can do and it’s really not as daunting as I had feared. Don’t get me wrong if you have a lot of tile it might take some time but the process is really quite simple. Here is a step by step complete with my first ever youtube videos (lets just say that after viewing these videos I promptly scheduled an appointment to get full highlights. After 4 babies partial highlights are cutting it anymore!!) 🙂 🙁
The process is as simple as 1, 2, 3.
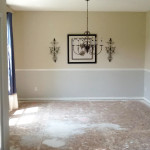
1. Locate a place to start like the edge of the tile. When we took up the carpet in the living room it left the tile edge exposed. This is where we started.

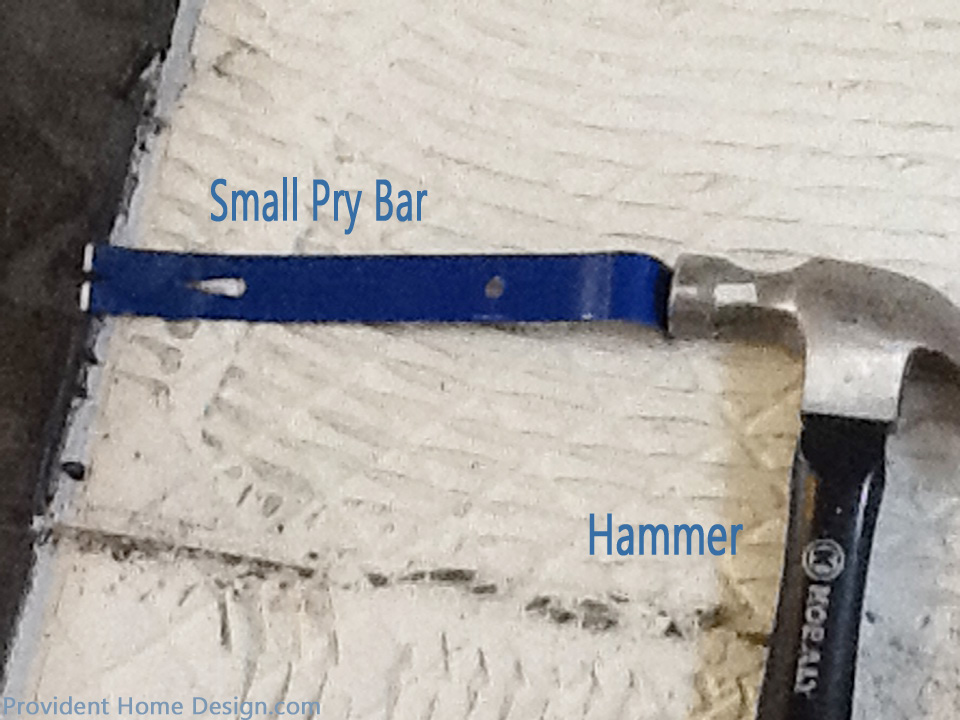
2. Using a pry bar and hammer
Or a Crow Bar and Mallot
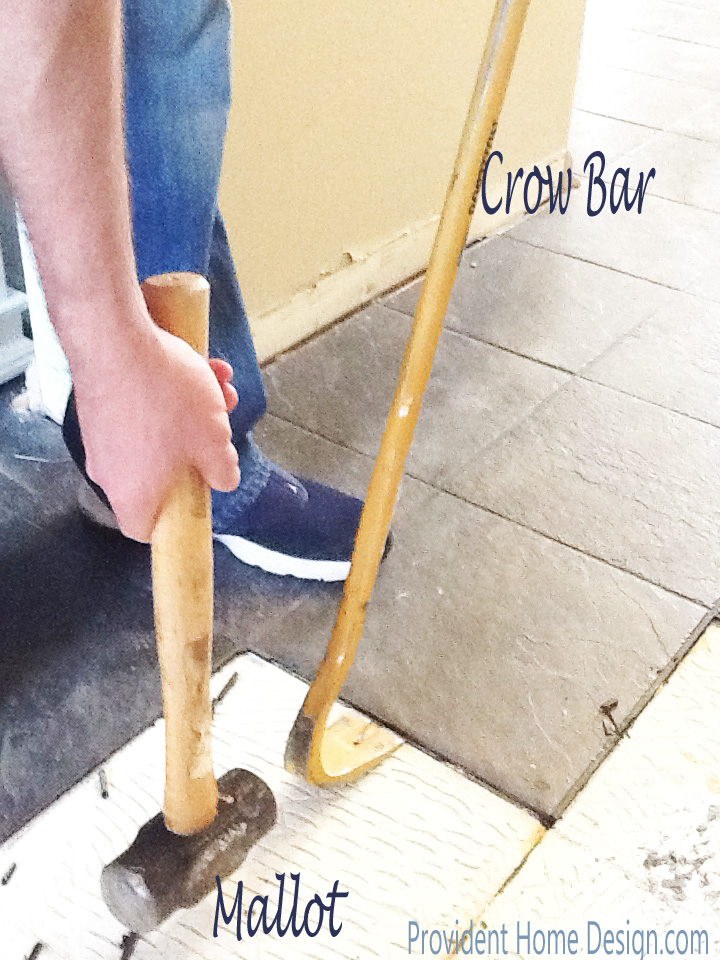
rest the front part of the pry or crow bar next to the tile edge and whack the back of the pry or crow bar firmly and repeatedly until the tile loosens from the adhesive below.
To watch a Video Demonstration of me using a small pry bar and hammer to remove tile click HERE
To watch Video Demonstration of me using a crow bar and mallet to remove tile click HERE
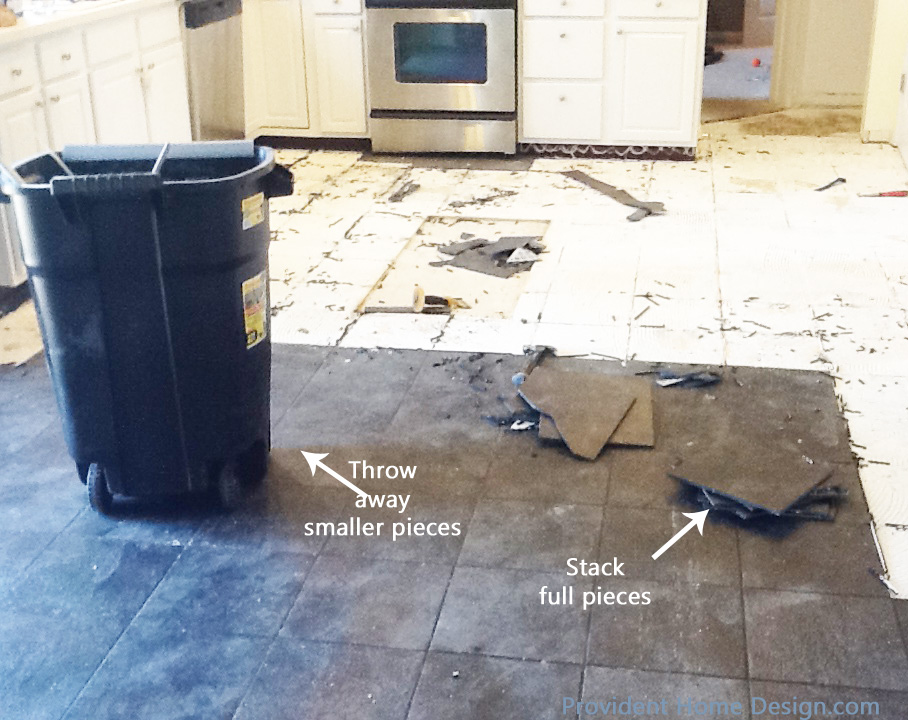
3. Have a large garbage can nearby to throw away small tile pieces and debris. You can stack tiles that come up in one piece and then put them in a trash bag and throw them away.
4. Often if floor tiles are installed correctly they will be installed on top of a board above the subfloor and not on the subfloor. If this is the case remove the board using the same method of removal as the tile (crow bar and mallet work well for this).
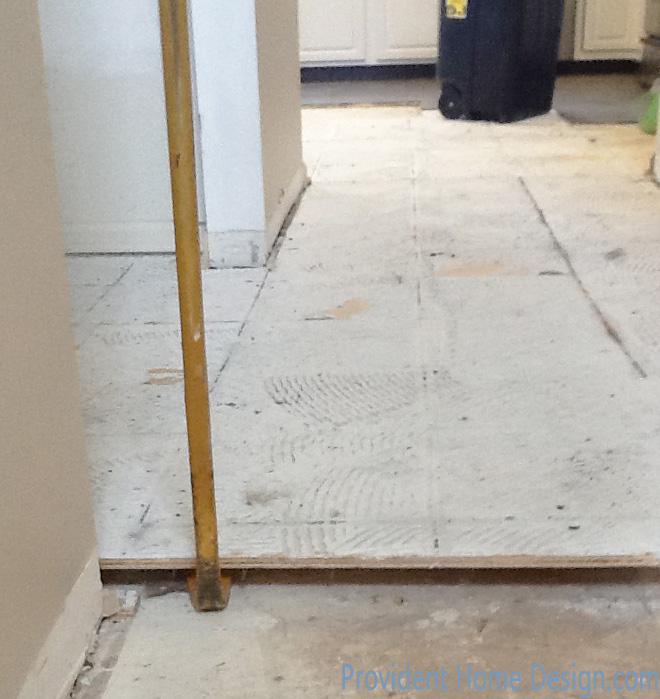
Once you get the crow bar under the board pull down and this will leverage the board up. Be prepared for the underside of the board to look like a death trap. There will seriously thousand of nails poking through. Dispose of carefully.
5. If the tile was adhered to the subfloor, slab, or wall there is a tool called a scraper that can help remove the thinset residue. For a easier faster removal you could rent an electric scraper for about $50.
To watch a video of this process-Click HERE
I hope this tutorial on how to remove tile empowers you with the confidence you need to create a home you love if for you that means removing tile. It was physical work but I enjoyed it and I found it interesting to see parts of our home that I’d never seen before (namely the subfloor). As always let me know if you have any questions!! 🙂