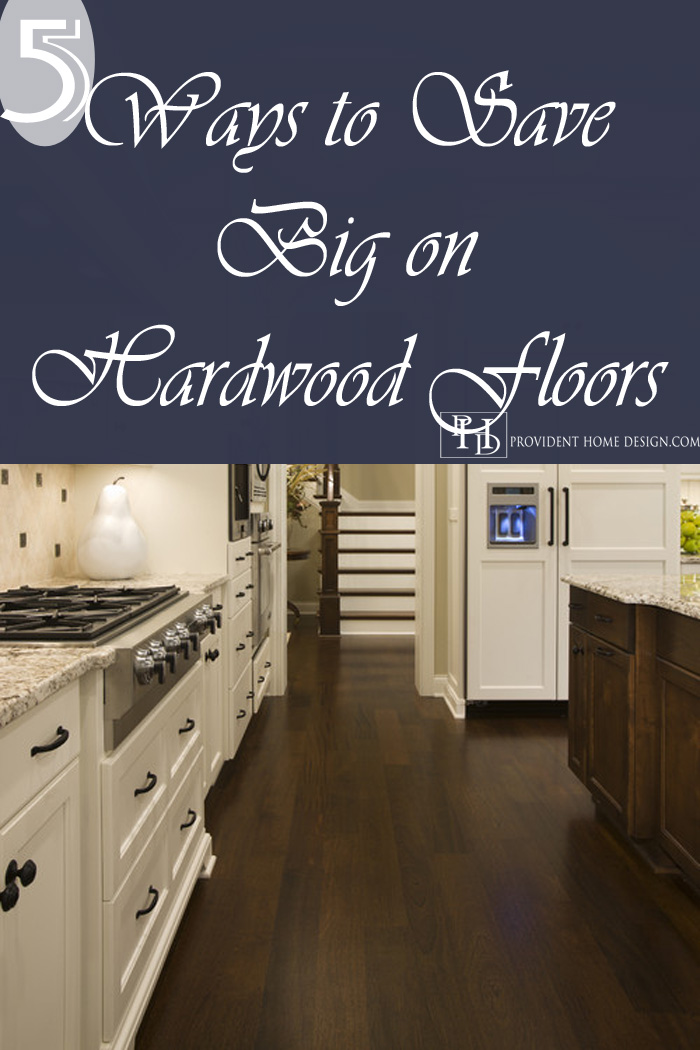
From the moment I first saw our home I knew that someday (and I really hoped sooner than later) I would want to get hardwood floors that flowed seamlessly from room to room throughout the majority of the main floor.
I love these floors!
Our main floor jumped around from carpet to tile back to carpet then back to tile and back to carpet again. We have two halls that run parallel to each other on either side of the staircase and it always bothered me that one of the halls was tile and the other carpet (I know, what a strange pet peeve to have). Anyways, throughout the first year of living at our home I was determined to find a steal of a deal on hardwood or engineered hardwood floors as well as the labor to put them in. Ha, no such luck!
I saw some engineered hardwood I liked for as low as $1.69 once but when I called around to see how much it would cost to have them installed my hopes were dashed to pieces (I love how dramatic that sounds). The lowest quote I secured for floor installation was $2 a square feet. We would be installing a little over 1,000 square feet so labor would be at least $2,000 (not including demo for the tile which I got a quote for $500). If you add that all up plus $250 in underlayment the total would have been $4,440.
Believe it or not $4,440 is not a terrible price for 1,000 square feet of hardwood floors but was definitely NOT in our budget.
I normally would have then concluded that I should install the floors myself but being heavily pregnant at the time stopped me very quickly from entertaining the thought! Heck, even not pregnant the thought seems super overwhelming.
Anyways, I accepted the fate that my dream of hardwood floors would have to wait 3-5 years down the road. Well, that was until last November when I got a Lumber Liquidator’s flyer in the mail. I had somehow gotten on their mailing list and had received flyers from them before but their prices although competitive were never the rock bottom low that I needed. Well, until that cold, crisp day in early November when I thumbed through the flyer and saw the words 5/16 x 5′ Mayflower Bund Birch Engineered Hardwood Floor .99 cents sq. ft.
I read it many times just to make sure my eyes weren’t fooling me. I had never seen engineered hardwood that low so I called to make sure it wasn’t a typo! To make a long story short I went in the next day (it was only a 2 day sale) and brought home a couple of samples.
Because it was the color, size (5 inch wide), and price we were looking for we decided to buy it even though we were not in a position to install it yet. It patiently sat in the basement for 9 solid months until we were ready (physically, financially, and psychologically:-)) to install it.
Here is how we saved big on installing our hardwood floors.
1. Be familiar with the going rates for various kinds of hardwood flooring so you know what a good deal is when it comes. Saved us over $1,000
2. Do the demo yourself especially if it’s just carpet you are pulling up. Saved us $500
3. DIY or look around (I looked on Craigslist just be sure to get references) for a flooring person who will assist you on an hourly rate rather than for a whole job quote. After some searching we found one that charged $25 an hour and had lots of tools, experience, and references. Saved us $1,000
4. Do your research on prices and reviews of underlayments and get the best price without sacrificing quality. Saved us $140.
5. Re-install baseboards and shoe molding yourself- Saved us approx. $300
This equals a total savings of almost $3,000!
Here are our floors! I’m still working on putting up baseboards in the kitchen, powder, bath and halls so I’ll save those photos for later!
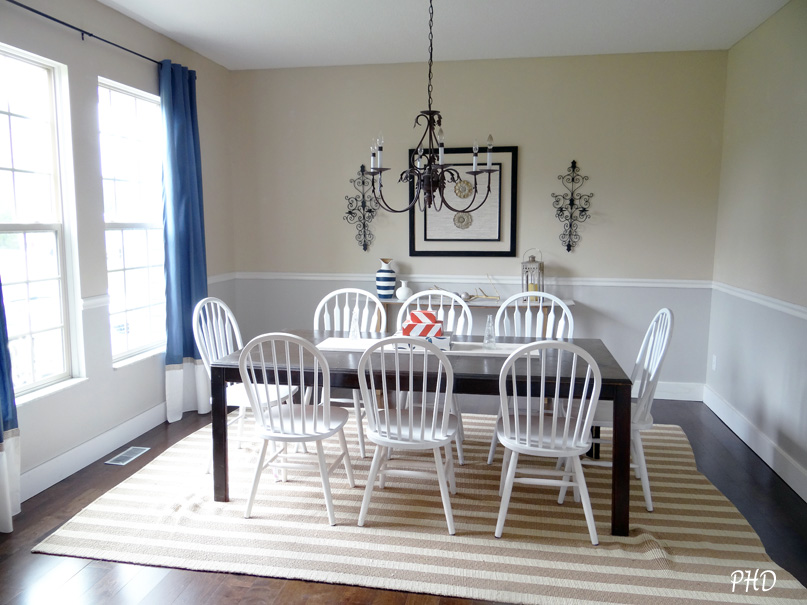
Here is the Dining Room–this photo gives the most accurate depiction of the floor’s coloring!
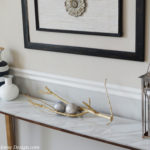
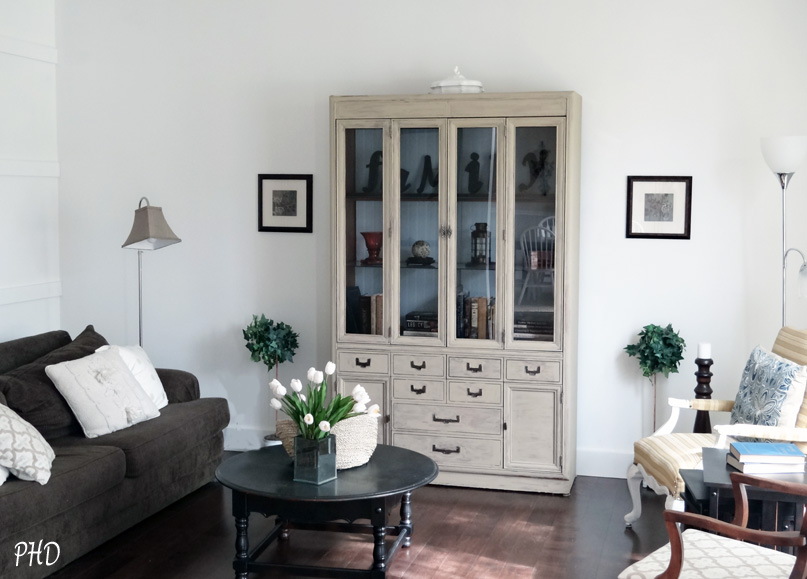
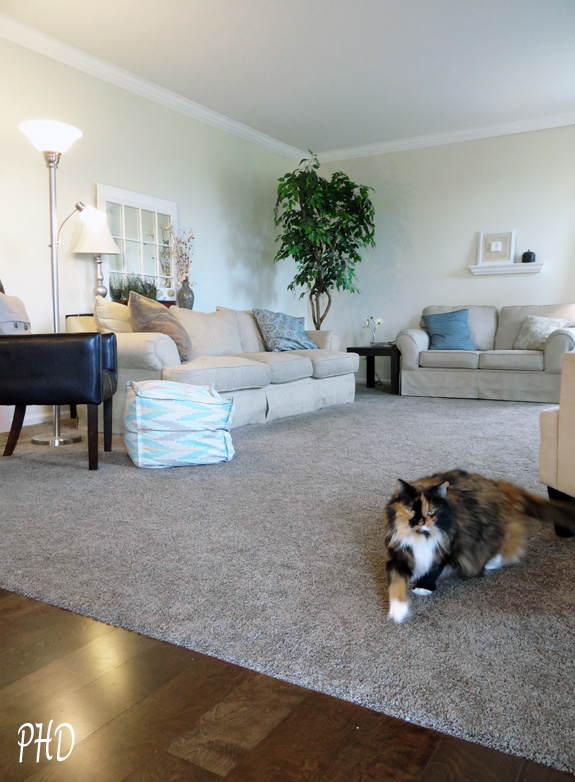
The Living Room- The middle of the room where the light is hitting the floors isn’t true to color in real life. I’m brainstorming on possible rug options for this room.
We chose to keep carpet in the family room and “media room” because they are rooms that the kids like to sit on the floor and play in. Here is how the wood in the kitchen looks next family room carpet. And as I squatted to take the picture our lioness came beckoning for some lovin’.
I do love the look of the floors, however, in the process of installing the floors we have realized that this particular brand and make of engineered flooring has a pretty thin (equals sensitive) top layer of wood. Hopefully we can keep it pretty! High maintenance is definitely a con of hardwood floors. We’ll see how it goes!
I noticed when I was trying to find a link to the floors we bought (I couldn’t find it I’m wondering if it’s been discontinued) that Lumber Liquidators is having a sale on a very similar flooring (pictured below) for only $1.69 sqft! You can check it out Here.

What do you think about hardwood flooring? Is the beauty and warmth worth the upkeep required? Have any money saving tips to add to the list?
To see Before photos of these rooms, click HERE.
To see some photos of the floors during the installing phase, click HERE.